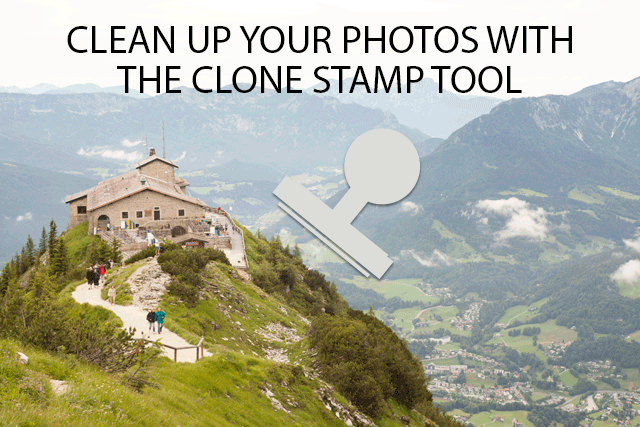
Clean up your photos with the Clone Stamp Tool
While I always advocate getting as much right in-camera as possible, most photos can still look better with a little touch-up in post production. It might be something in an otherwise great shot that you had no way of changing. Or it might be something you just didn't notice at the time you took the shot. But there's no foul in retouching your photos to make them look better (unless it's a strictly documentary photo).
In this article we'll look at some tips on using the clone stamp tool. This is a very useful tool for quickly and easily removing an unwanted item from an image.