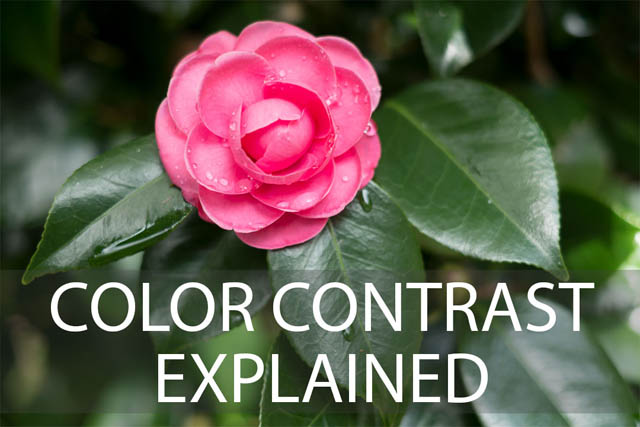
Color Contrast Explained
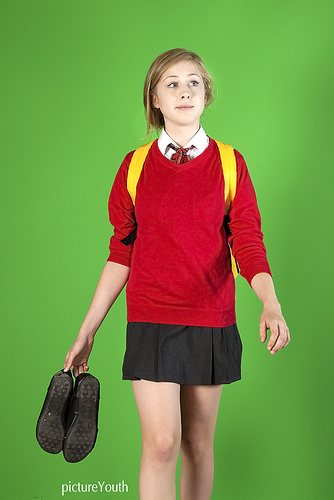
Color contrast can be used in color photography to help a subject stand out, or alternatively, blend in, with a background. It's also important for black and white photography as an item that stands out due to a strong color contrast may disappear into the background in black and white.
In this article we'll look more at color contrast - how it can help or hinder, and how you can control it.