Product photography on the cheap with only one light pt. 2 – Compositing the images
In the previous article Product photography on the cheap with only one light pt. 1 - Taking the photo, we looked at taking multiple photos of a product using only one light, and lighting each shot differently. The next step is to combine those images into a single image, which will look like it has been shot with multiple lights.
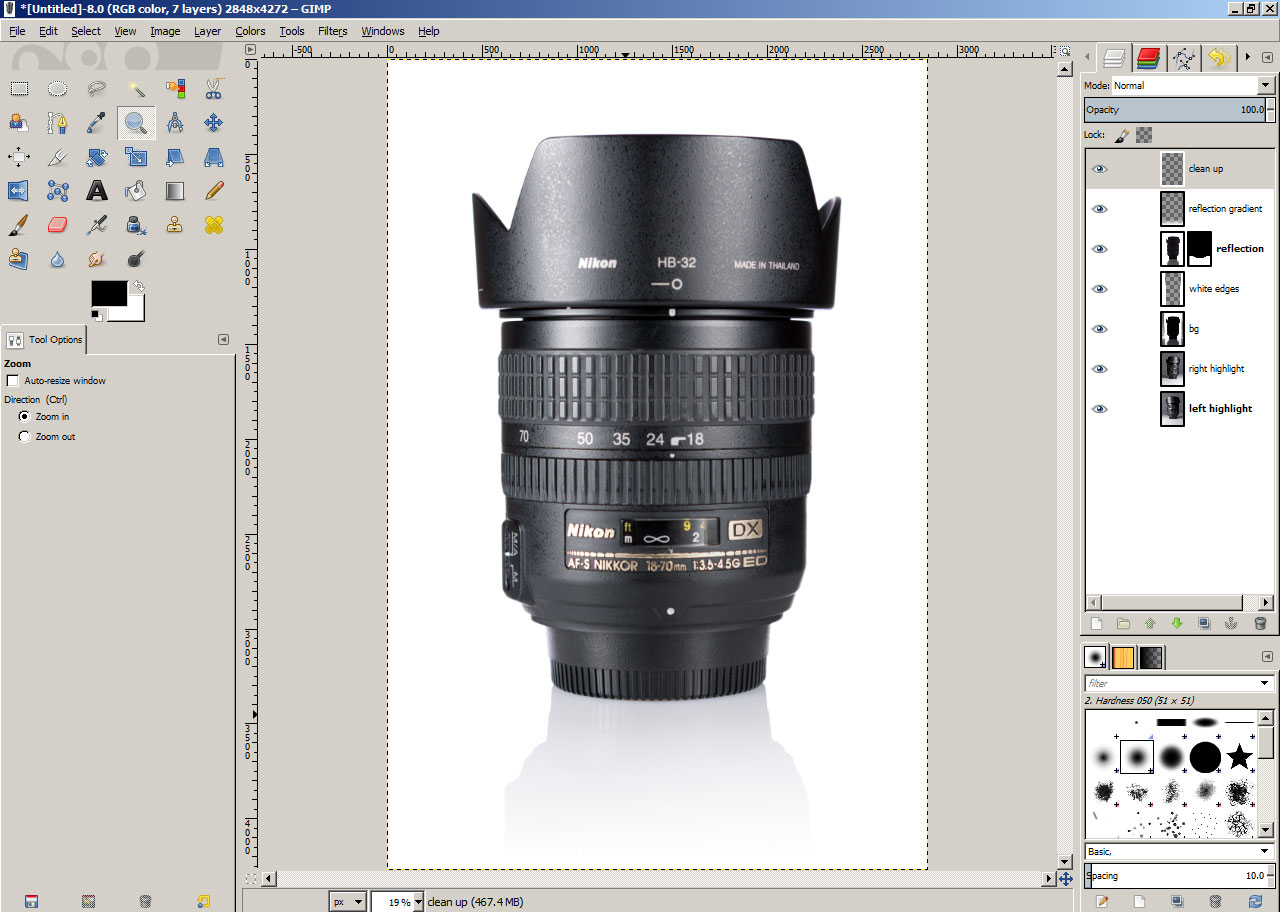
The final photo will look like this:
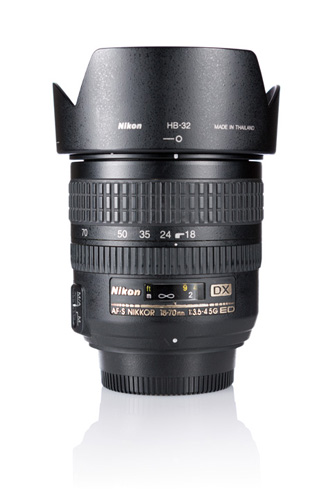
The photos that the image is comprised of are as follows. You can download a zip file of the images if you'd like to follow along with the tutorial.
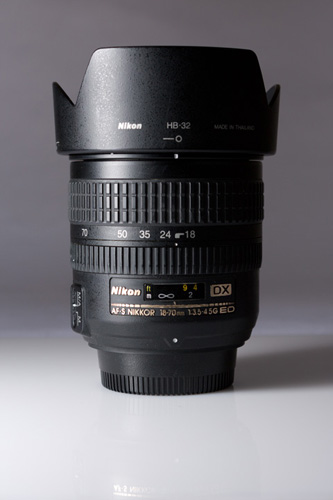
Photo with lighting on left
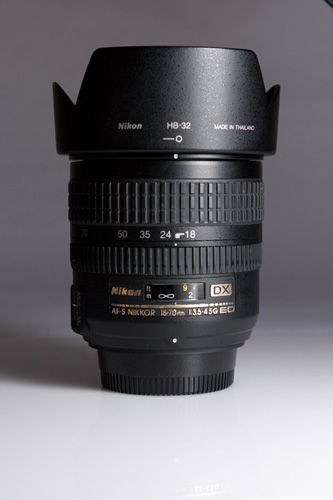
Photo with lighting on right

Photo with background lit
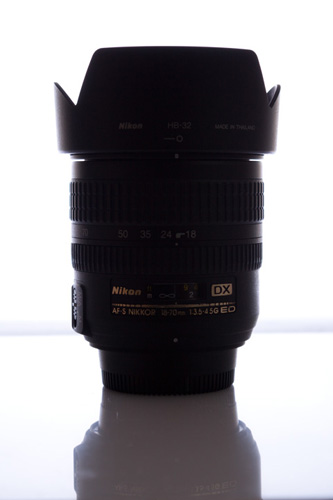
Photo for reflection
For compositing the images into a single photo I'll be using GIMP, a free image editing program. Personally I prefer using Photoshop, but it is very expensive, and for the majority of people the GIMP will do everything you need.
As I am not used to using GIMP, the methods I am showing here might not be the most efficient way to do things in GIMP. But it is the end result that is important. A video of the process is just below, and the rest of the article explains the procedure.
Open the images in GIMP.

Near the top of the window there are tabs showing the image thumbnails. Click on the leftmost tab and drag it to the middle tab (but don't let go of the mouse button yet).
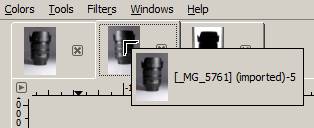
The image will switch to the middle image, now drag the tab downwards into the image area. You'll see that a plus sign is added to the cursor.

Let go of the mouse button now, and it will drop the image in as a new layer.

Now repeat the same process with the right tab: Click the right tab thumbnail and drag it to the middle tab. Then drag it down onto the image in the middle tab and let go of the mouse button to drop it in as a layer.
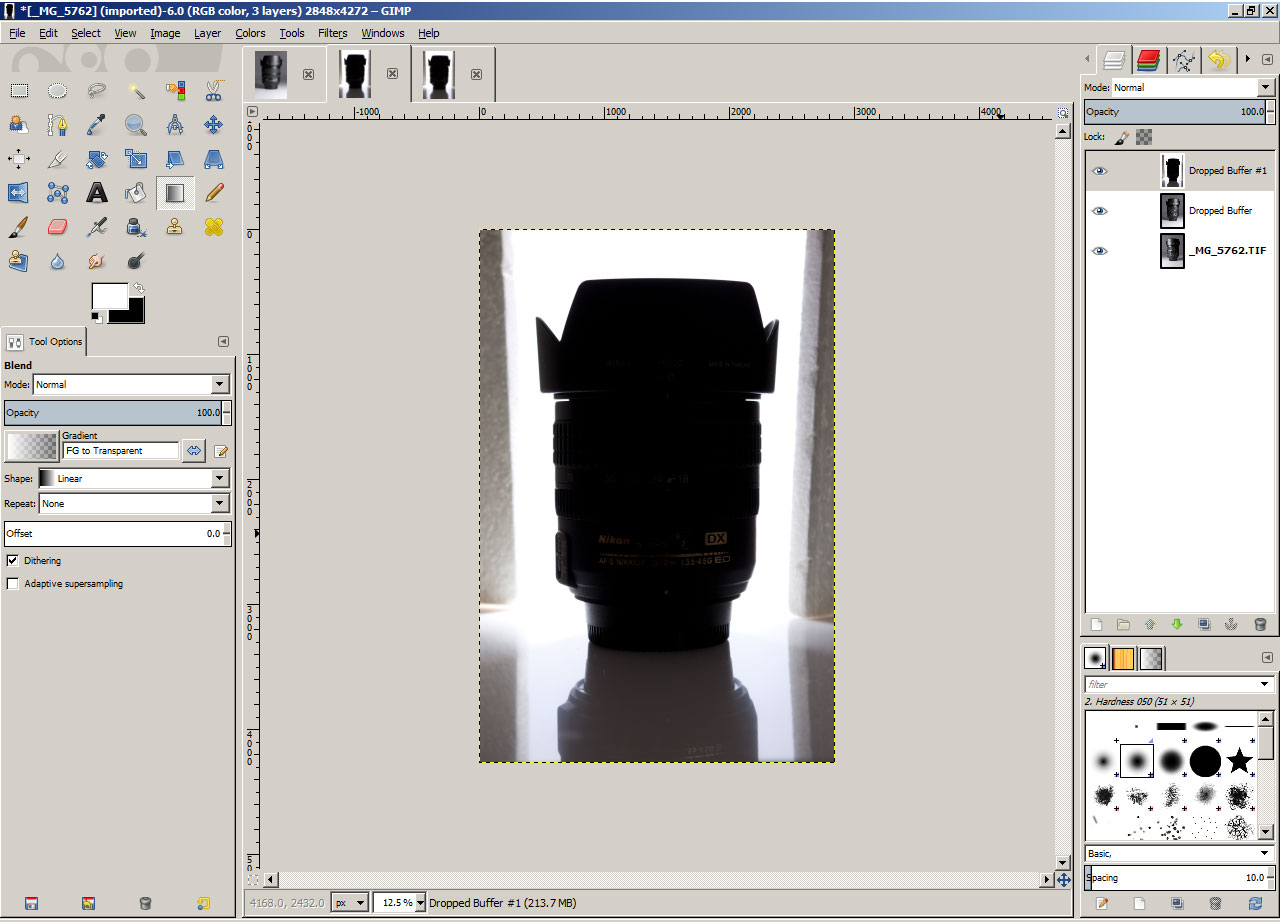
We have all our images in a single document now. Make sure you can see the layers palette. The icon looks like 3 white layers, and should be near the top right of the screen. On Windows you can press Ctrl + L to show the layers palette.
You can rename the layers to help you see which layer is which if necessary.
The next step is to align the images. This is particularly important if you're using a cheap tripod as there is likely to be some movement between the images. Even on my expensive tripod there was a small amount of movement between the images.
The movement is caused by touching the camera e.g. to review the just taken photo. To eliminate any movement would require hooking the camera up to a computer and using the computer to control the camera (that way you don't have to touch the canera at all). Some camera manufacturers actually provide camera control software free of charge and include a USB cable in the box, so this could be done without adding any extra cost to the shoot.
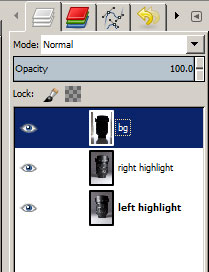
Anyway, I'll assume most people wouldn't use a computer for controlling the camera, and so the shots need aligning. In the layer palette click the little eye icon next to the top layer to hide it.
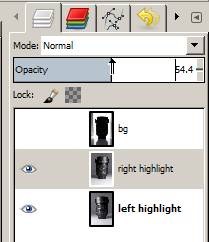
Select the middle layer and move your mouse cursor into the top half of the opacity box just above the layers. The cursor will turn into an up pointing arrow. Click about half way across the opacity box to set the opacity (transparency) around 50%.
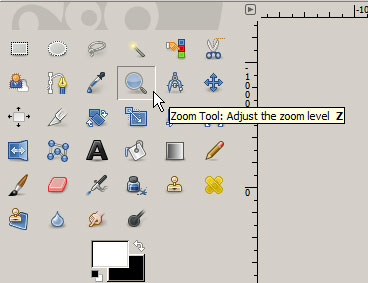
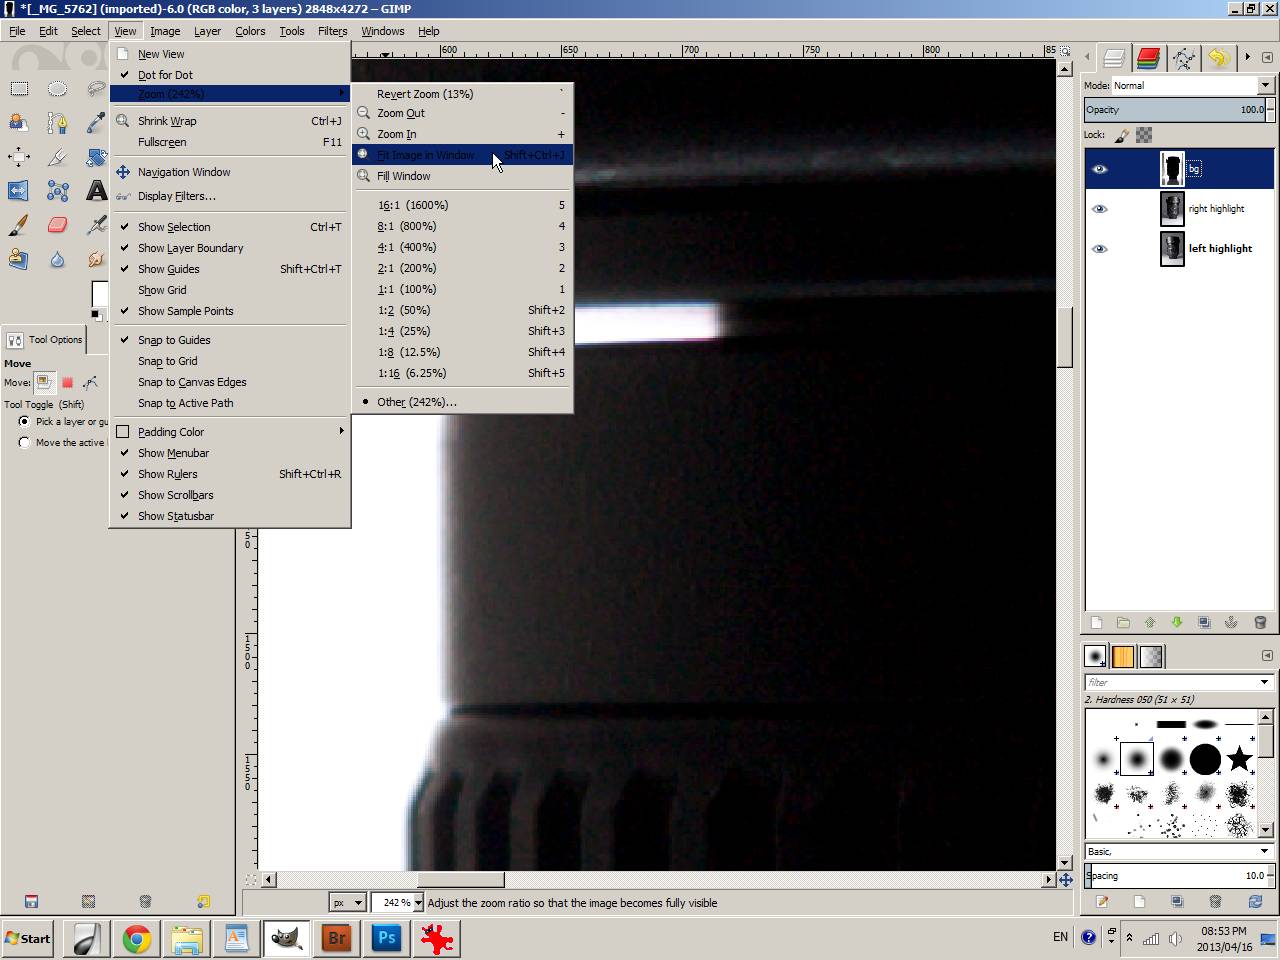
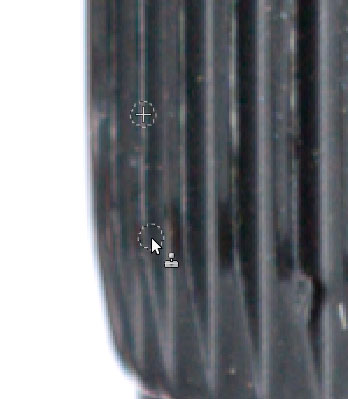
Next, use the zoom tool to zoom in on the edge of the product.
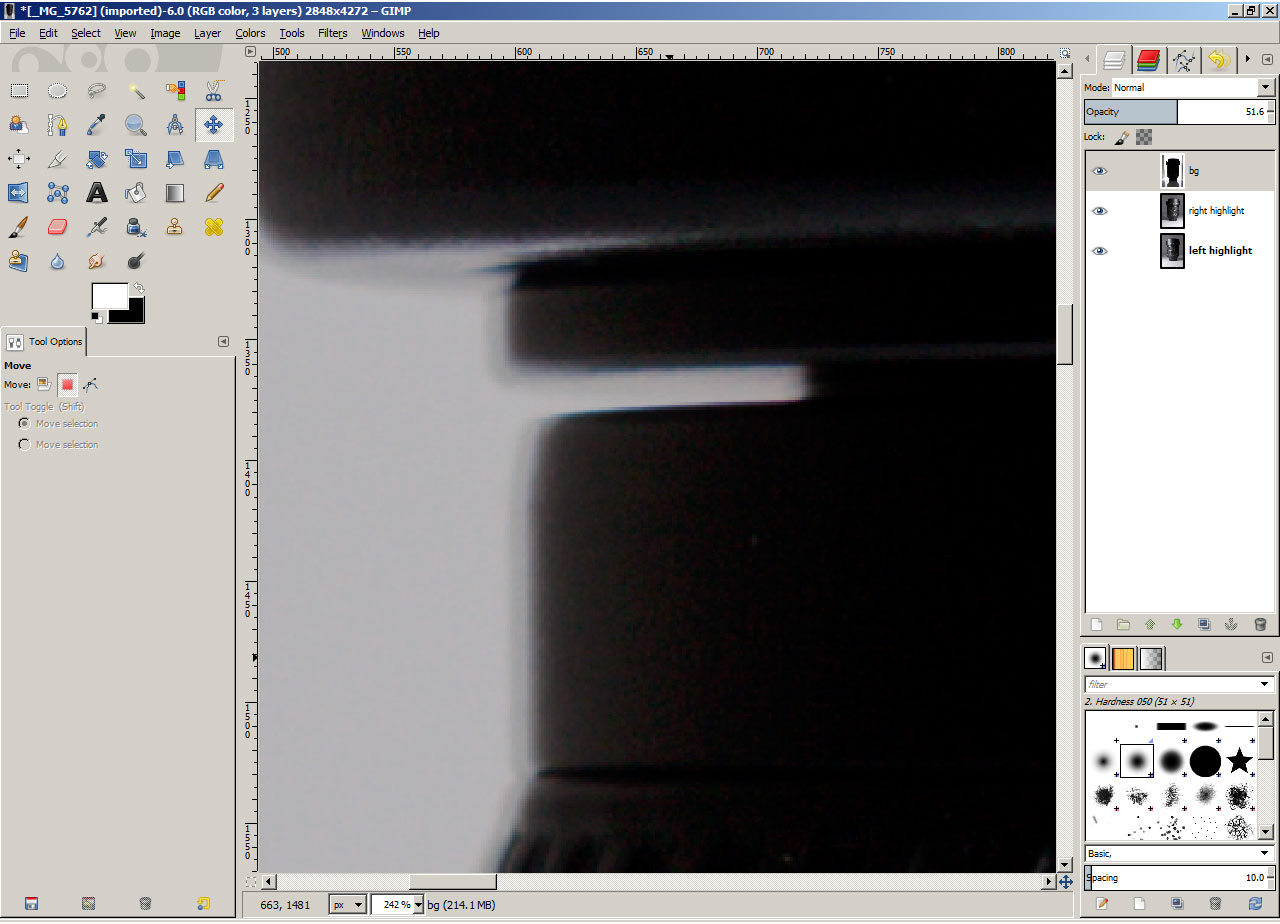
You can toggle the middle layer's visibility on and off by clicking the eye next to the layer in the layer palette. This should help you see if there is any misalignment between the layers.
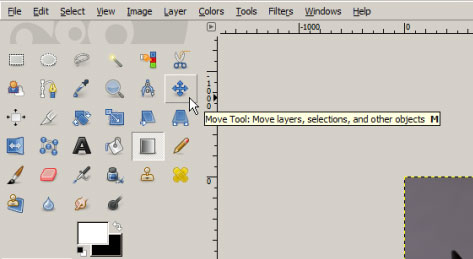
If there is a misalignment, use the move tool to move the layer until it is aligned with the bottom layer. When the move tool is selected you can click and drag the image to move it, or use the arrow keys on the keyboard to make small adjustments.
When the layer is aligned, put the layer opacity back to 100%.
In the layer palette click the eye to show the top layer and change it's opacity to about 50%. Then repeat the same process of moving the top layer to align it with the below layers.
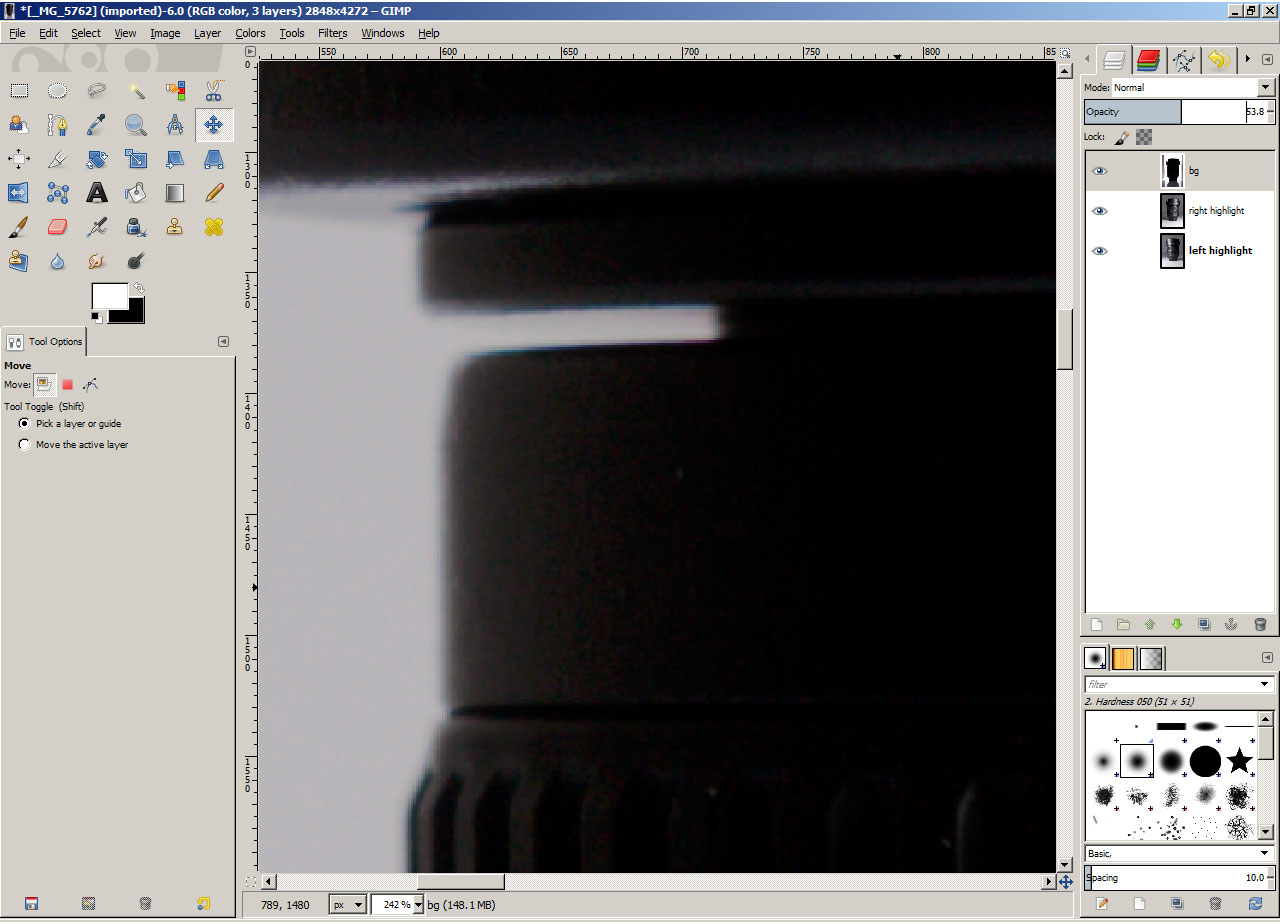
The middle layer was aligned with the bottom layer for me, but the top layer is misaligned.
Using the move tool and the arrow keys on the keyboard I moved the top image until it was aligned with the images below.
Set the opacity of the top layer back to 100%, and then zoom out to view the full image.
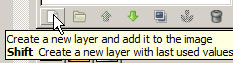
Create a new layer (Layer > New Layer...) or click the new layer icon at the bottom of the layer palette.
In the dialog that comes up, choose 'Transparency' as the fill type. Then press OK to create the layer.
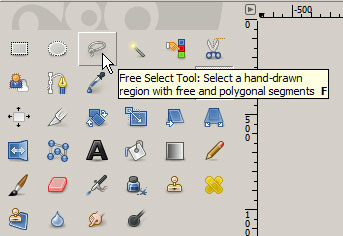
We'll use the lasso tool in the new layer to fill the edges of the image with white. In the tools palette select the lasso tool.
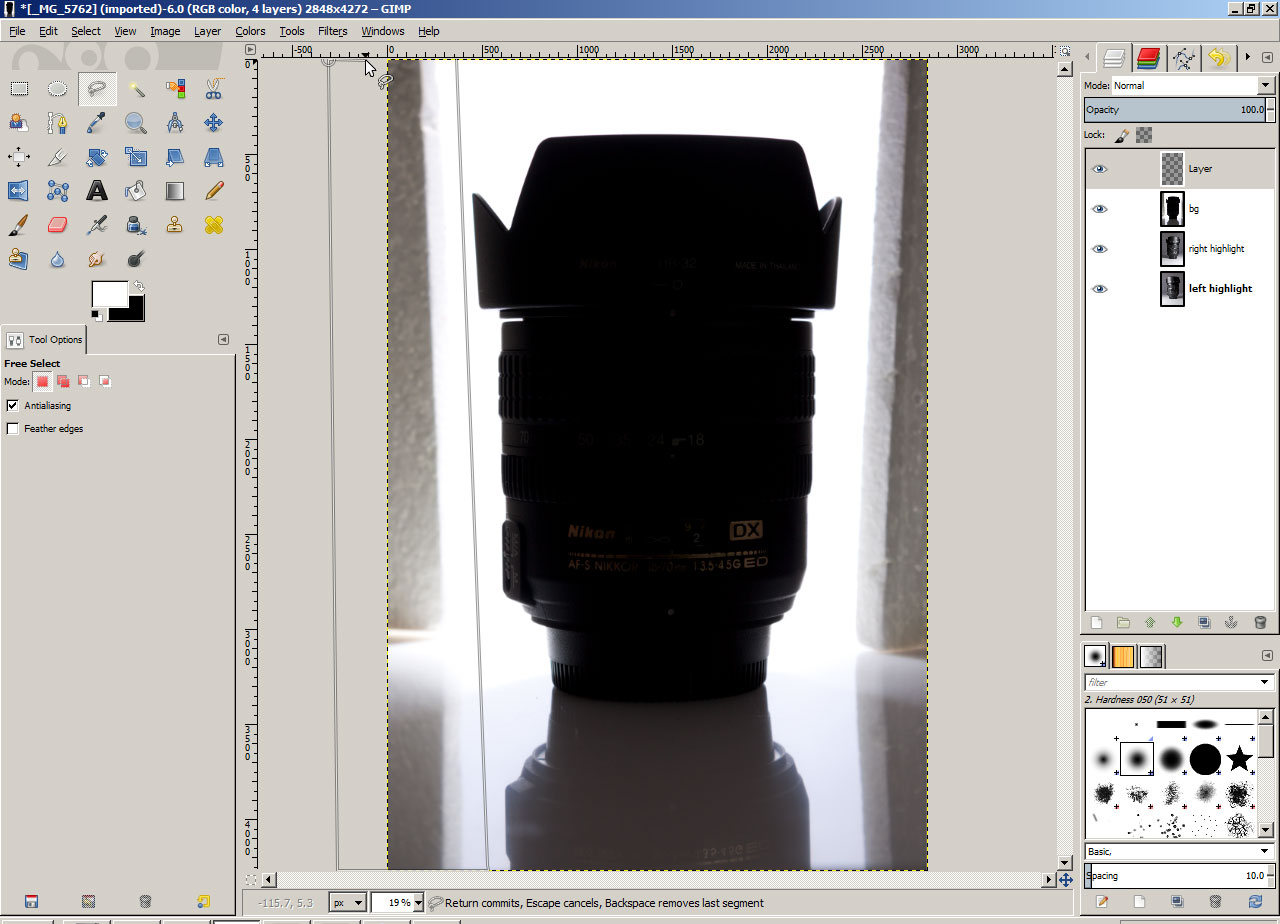
Use the lasso tool to select the left edge of the image.
To close off the selection click again on the starting point, or press enter on the keyboard. This will create a selection, shown by 'marching ants'.
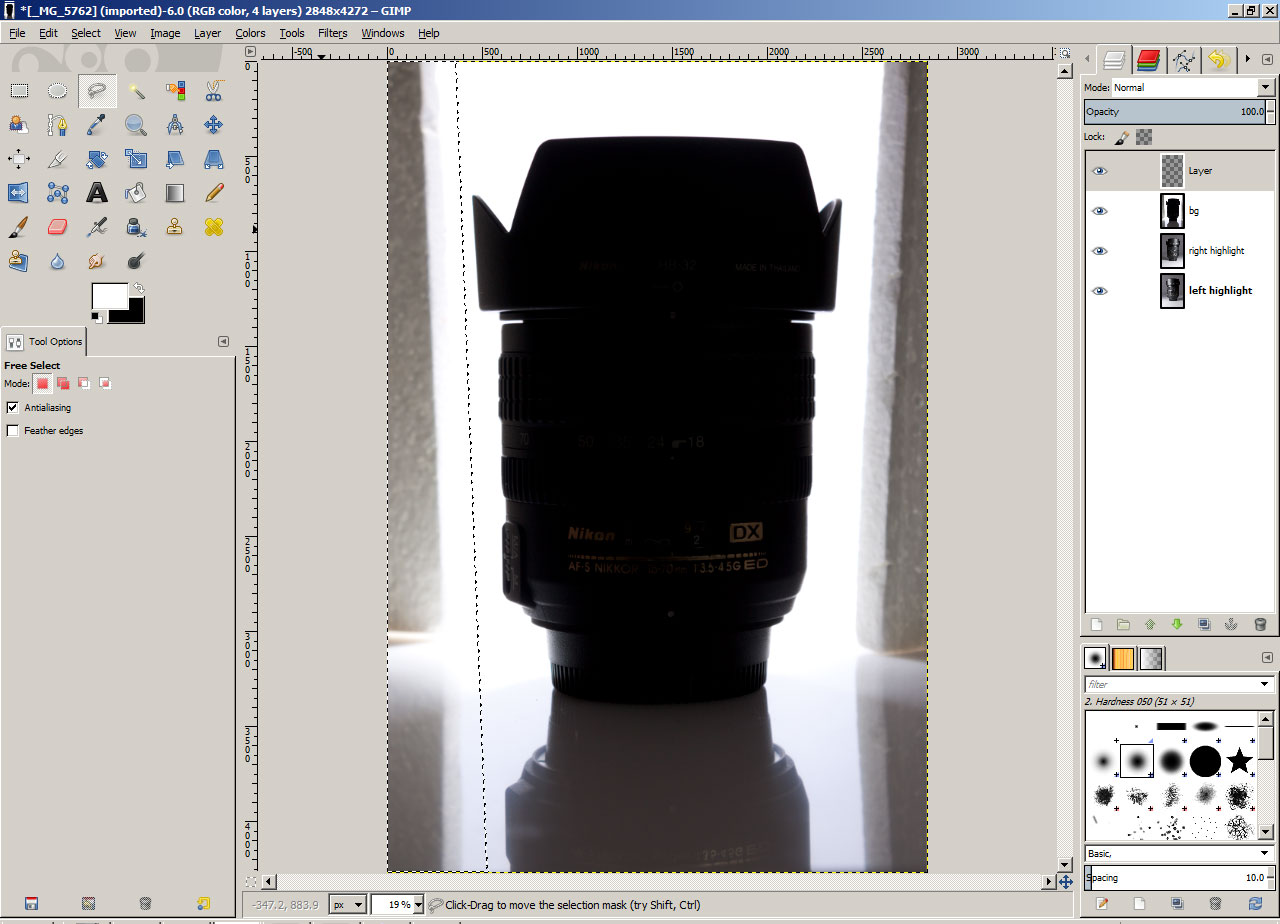
On the menu go to Edit > Fill with FG Color. (Assuming your foreground color is white).

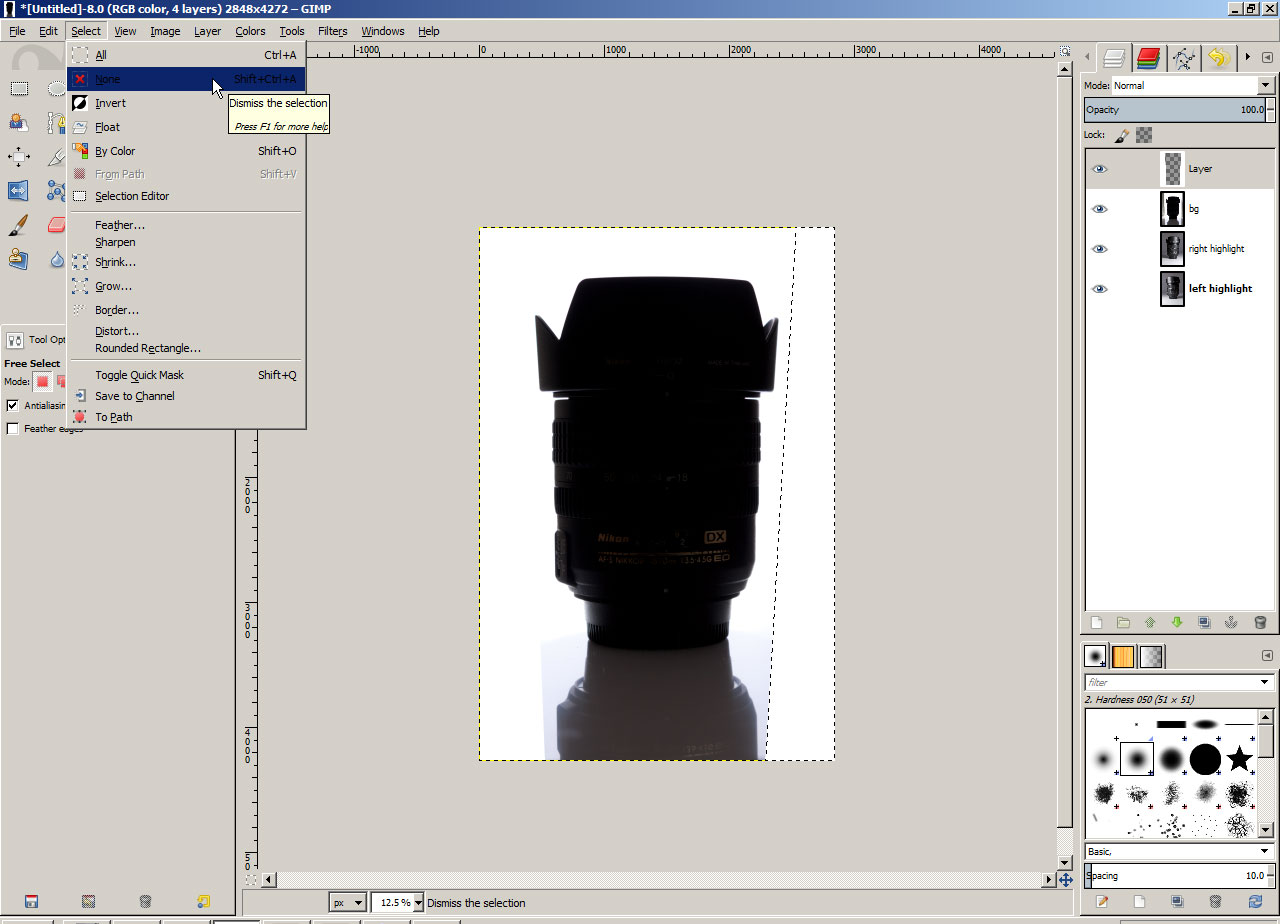
Select the right-hand side of the image and do the same thing to fill with white. Then go to Select > None on the menu to deselect. (You can see in the screenshot below I zoomed out a bit more to make selecting the right edge of the image easier).
None of the images in my document have a very good reflection, so I am going to add in another image that I will use for the reflection at this point. (The photo taken with the background lit but without anything blocking spill from the background). This is totally optional, and you may find that one of the images you already have in the document might have a nice reflection, or you might not want a reflection.
I added the reflection image as a layer by just dragging the image into the document, then aligning it as before. I then selected the bottom area of the layer that contains the reflection using the lasso tool. Then I added a layer mask using Layer > Mask > Add Layer Mask. In the options I chose to initialize the layer mask to the selection.
Finally I used a soft brush along the edge of the selection to smooth the transition.

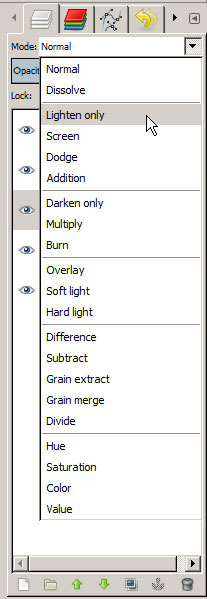
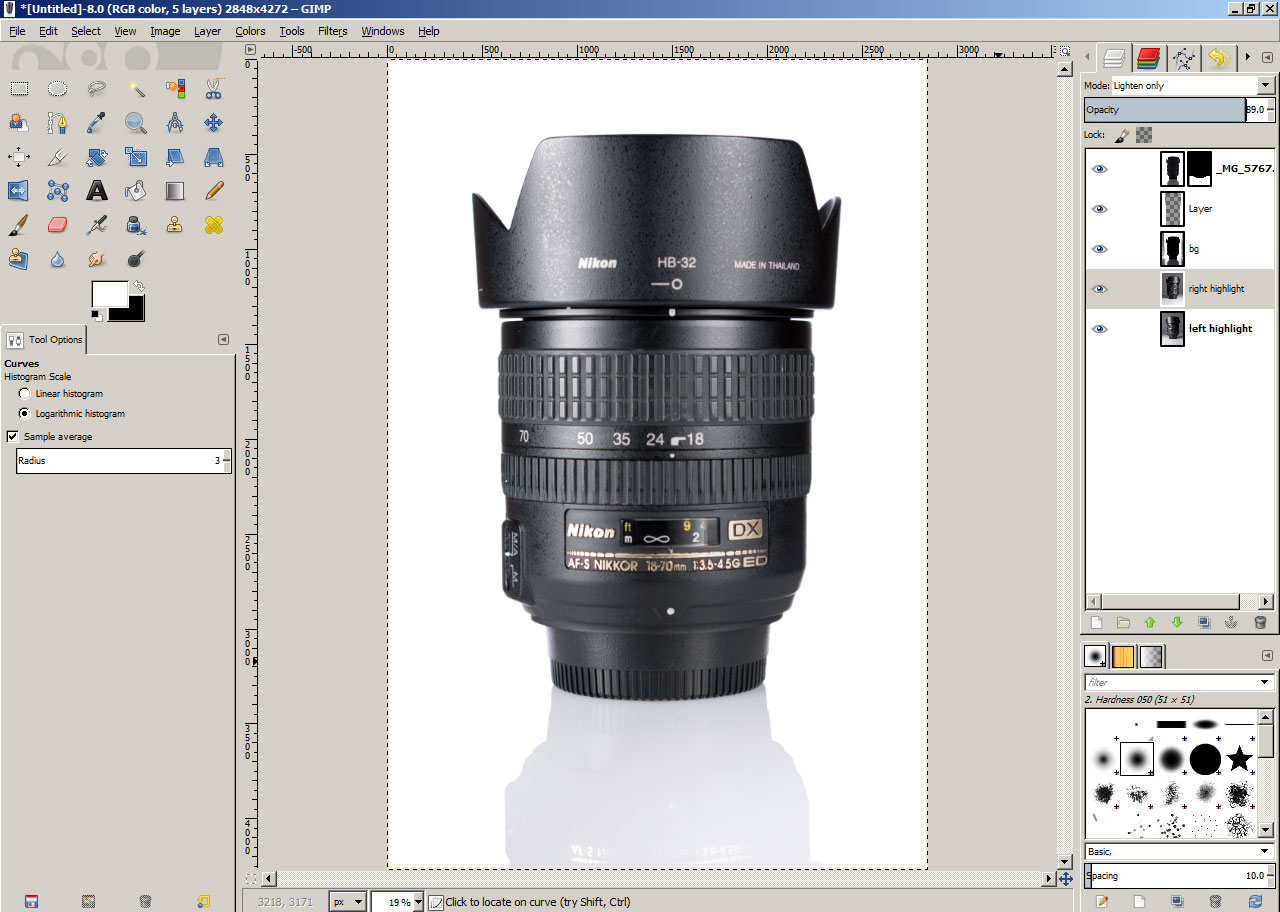
The next step is to make sure the foreground (other than the reflection if wanted) is pure white. Select the layer that contains the image with the white background, and change its blend mode to lighten only.
The lighten only blend mode means that for this layer the only parts that will show are those that are lighter than the layer below. So only the white background from this image will be visible as the product (lens) is darker than in the images below.
If you have a reflection layer, change that layer's blend mode to lighten only as well.

It's looking quite good so far, but the area around the reflection is not pure white. Time to fix that.
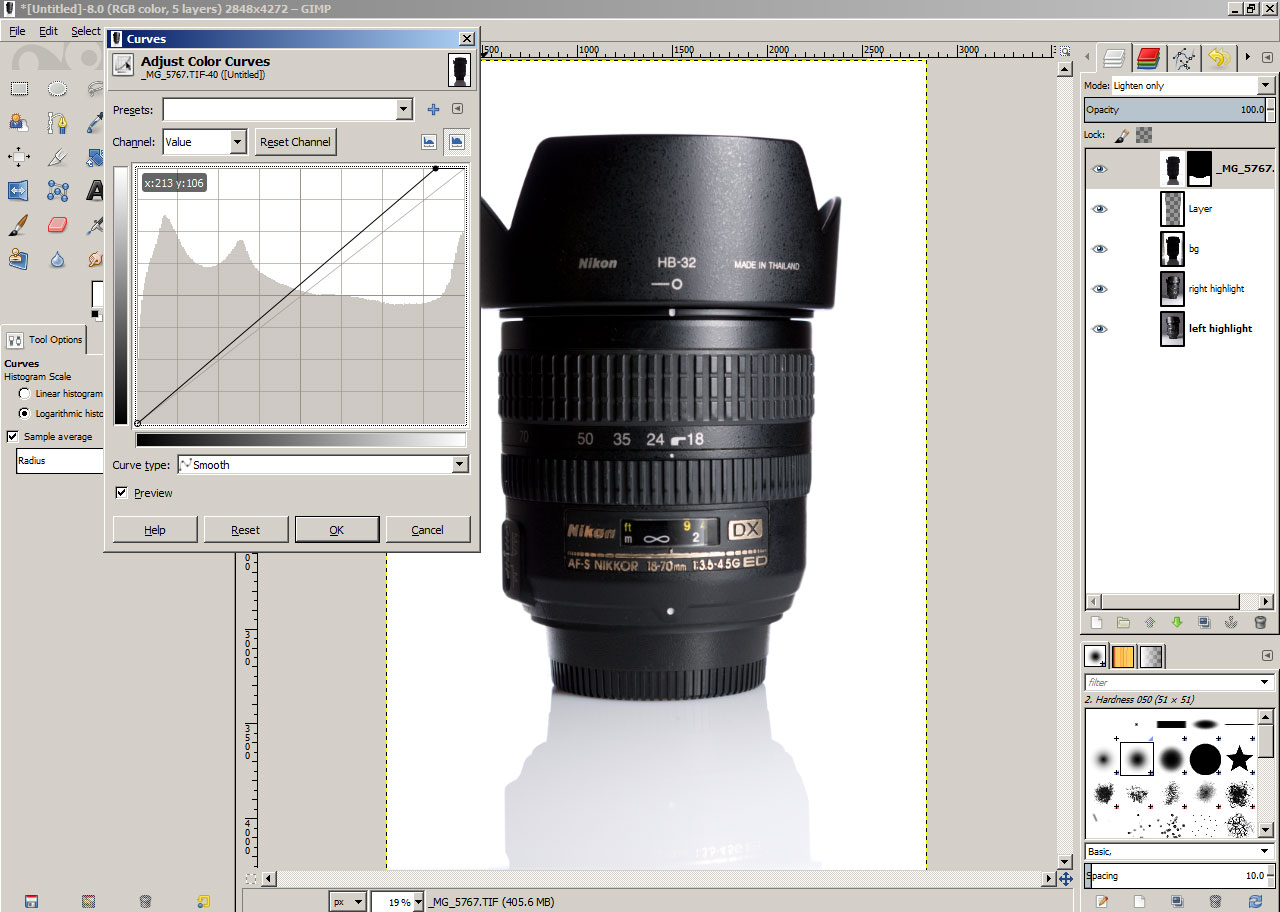
On the menu go to Colors > Curves. The curves dialog will open. Click the top right corner of the curve and drag it towards the left until the foreground (bottom) of the image turns white. Note that after making an adjustment to the curve it might take a couple of seconds for the image preview to update and show the effect. For more information on how curves work, see Using the curves tool in Photoshop etc. to improve your photos.
After adjusting the curves you should have a reasonably good image of the product against a pure white background. The next step is showing the effects of the other highlight image. Select the image above the bottom layer (right highlight) and change the blend mode to lighten only. I have also reduced the opacity of this layer slightly to lessen the effect.
Since I am including a reflection in my image, the next step is to add a gradient over the reflection. This will make the reflection appear to fade in and makes the image so it doesn't appear 'cut off' at the bottom.
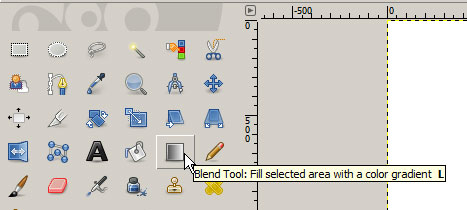
Create a new layer above all the other layers, filled with transparency. In the tool palette select the gradient tool.
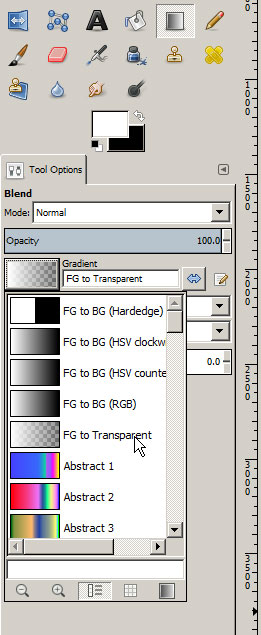
In the gradient tool options change the gradient to go from foreground color to transparent. Ensure that white is your foreground color.
Click near the bottom of the image, then drag a line upwards towards the base of the product. Hold down the Ctrl key to draw a straight vertical line.
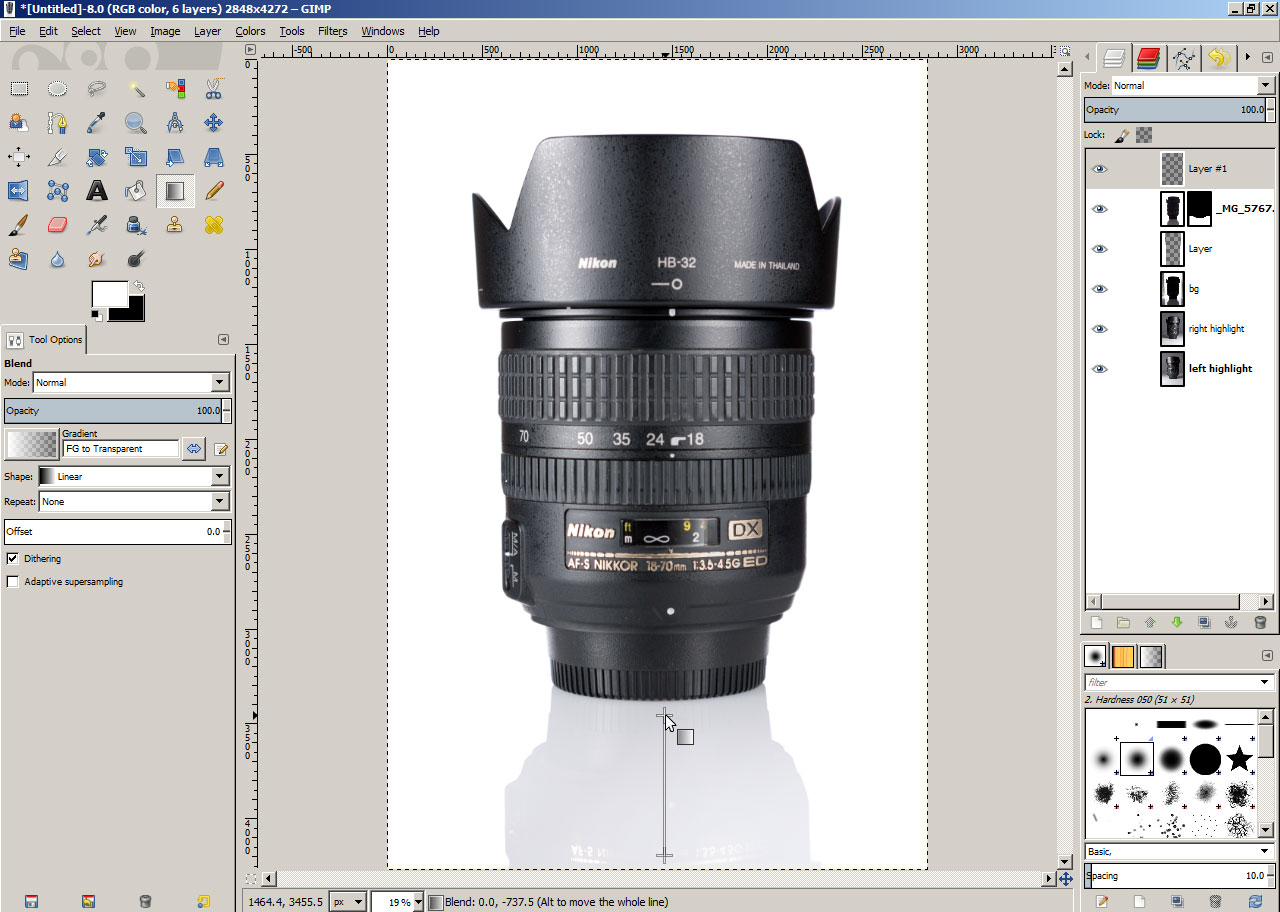
Let go of the mouse button, and the gradient will be added.

The last thing to do is touching up bits of dust that we missed when we cleaned the product. (No matter how well you clean the product before photographing it, there will likely still be a few bits of dust). Create a new layer to keep these adjustments on. Use the zoom tool to zoom in on an area where you can see some dust that needs cleaning.
In the tool palette select the clone stamp tool, and ensure that 'Sample merged' is ticked in the tool options. If sample merged is not checked, then the clone stamp will only clone from the current layer (which is empty at the moment).

The clone stamp allows you to copy one area over another. You do this by Ctrl-clicking on the area you want to copy from. Then paint with the stamp over the area where the dust is you want to remove.
After removing various pieces of dust using the clone tool, I am left with the following final image:
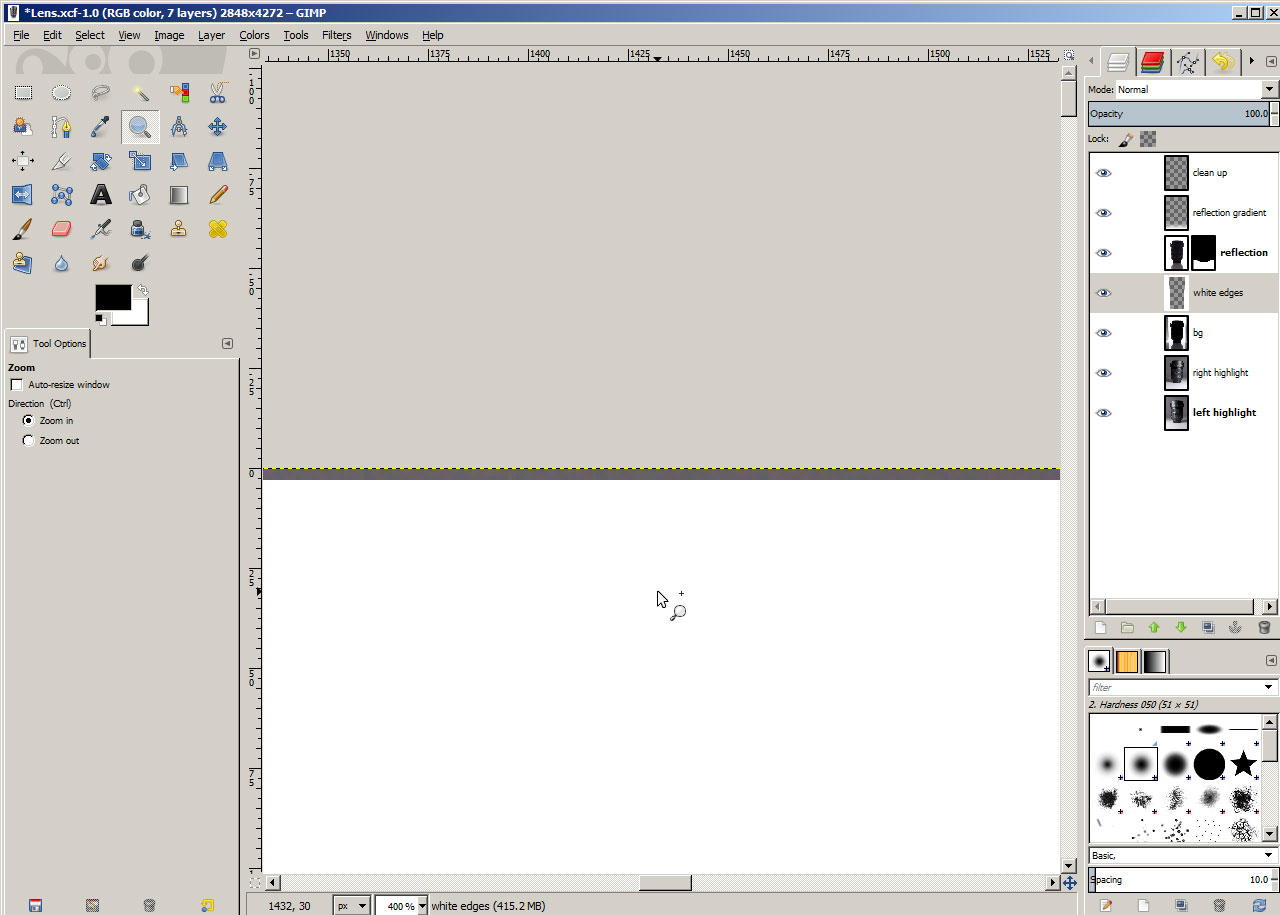
Depending on if / how you had to align your images, and if you're using a gradient over the bottom of the image or not, you might find that you have a dark area at the top or bottom of the image. On my image I have a line (about 1-2px high) along the top of the image. This is because I moved my white background layer about 1-2px down when aligning it with the other images.
To get rid of this there are a couple of options. You can select the area and then fill it with white.

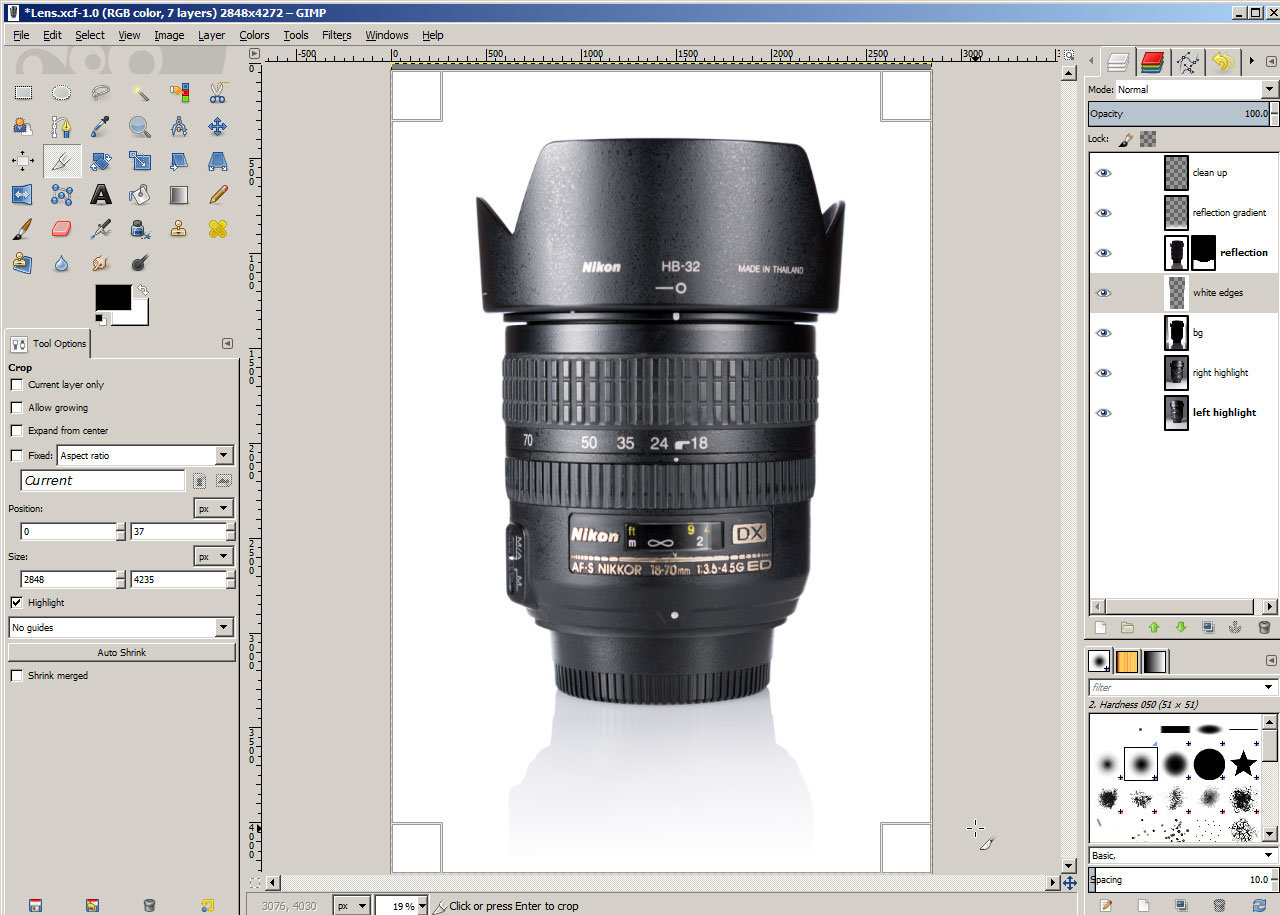
The other option is to use the crop tool and crop the image so that the top is no longer included.
Save (File > Save) the image as a GIMP .xcf file. This will produce a large file that includes all the layers, which you can go back to later and edit further if necessary, without introducing any image degradation from opening and resaving.

Lastly export the image as a standard JPEG file. Go to File > Export Image. In the dialog window that opens, click the small plus sign next to where it says 'Select File Type'. This will expand a large list of file types that you can save the image as. Scroll down the list to find 'JPEG image', and click to select. Then click the Export button.

Another dialog window with JPEG compression options will pop up. The default settings should be fine, or you can change them if you want. Then press Export to save the image as a JPEG file.
I hope this tutorial has been helpful, and shows how you can get good product photos without expensive camera equipment or editing software. Please feel free to leave a comment or ask a question if anything wasn't clear in the comments section below.


