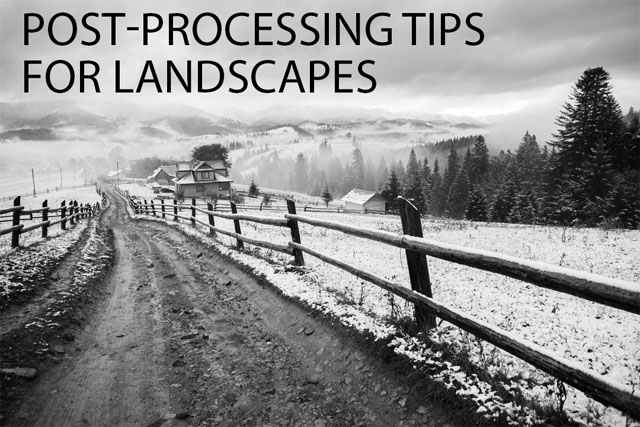
Post-processing Tips for Landscapes
The vast majority of photos look better with some post-processing, and this is particularly true for landscape photos. Often landscapes can come out with colors that look quite dull compared to what we remember, or flat and lacking in contrast. Thankfully, this can be remedied through a bit of careful processing.
You might even want to make more extreme changes, in order to more strongly evoke a feeling with the image, rather than just give an accurate portrayal of what you saw.
In this article we'll cover several post production techniques that can be very useful for landscape photographers. You can use them minimally to enhance what was captured, or make stronger adjustments to completely change the mood of an image. How you use the techniques is up to you.