How to use Photoshop Layer Masks
Learning how to use layer masks is very important for performing more advanced, localized edits on photos. Thankfully they are very simple to use once you understand how they work. Masks are available in most image editing software, including Photoshop Elements, Photoshop, PaintShop Pro, and GIMP.
Layer masks can be used for creative composites of photos, blending photos together for exposure, blending images for panoramas, and applying effects selectively. For the purpose of this tutorial we'll look at using masks to blend exposure bracketed photos in a landscape photography context.
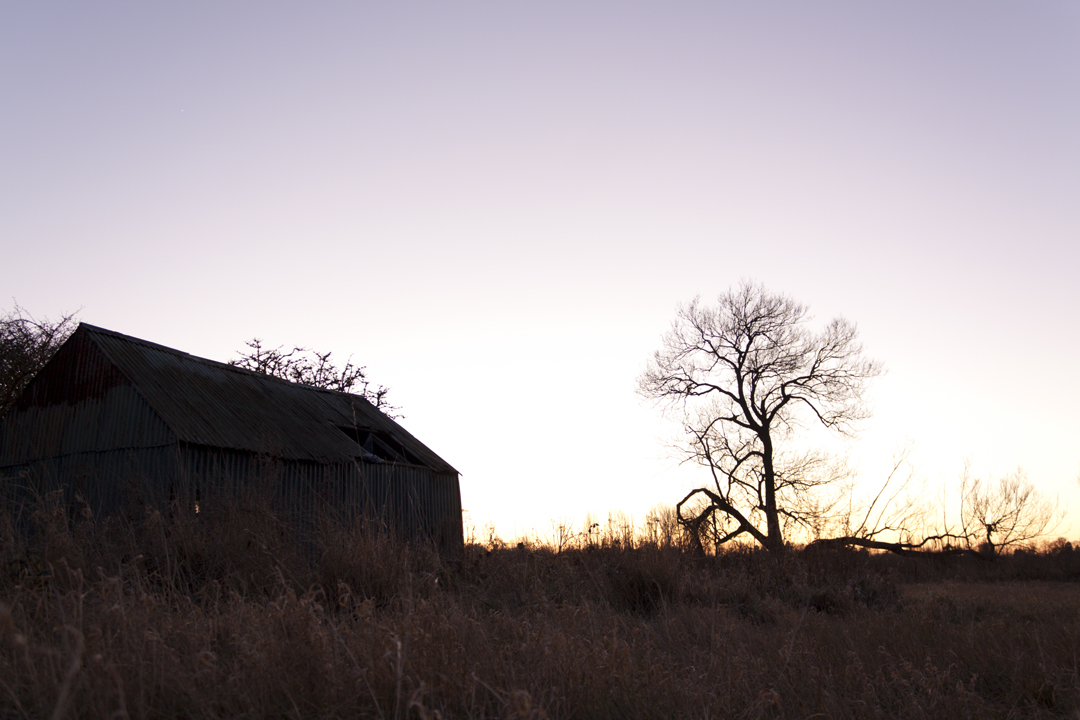
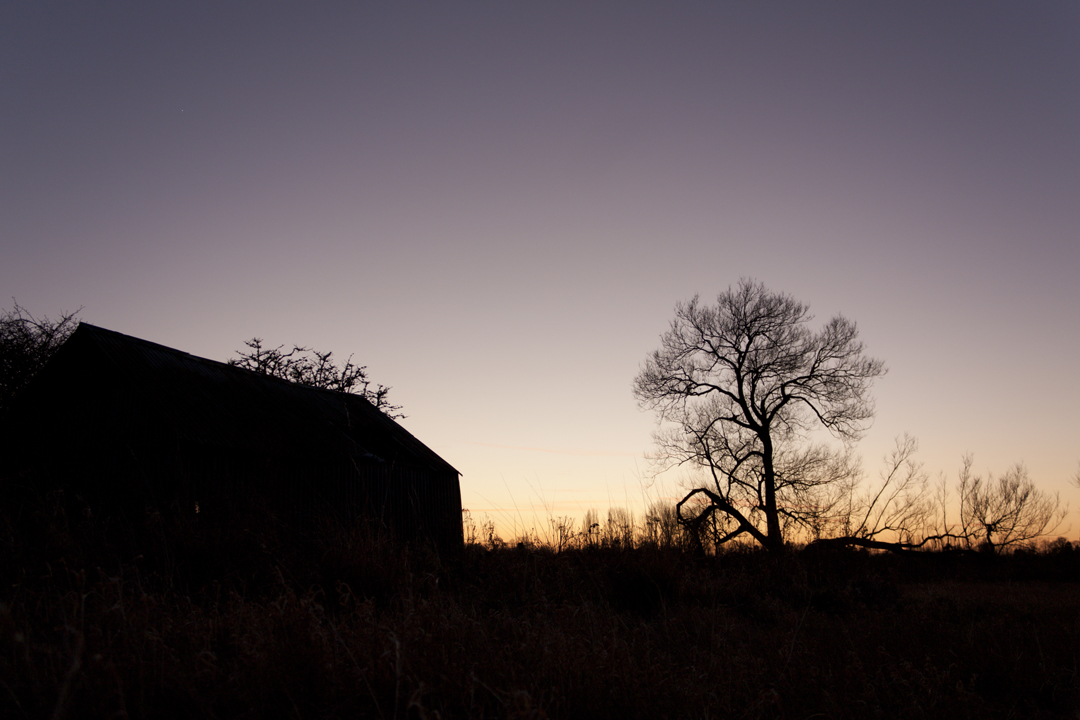
So, here we have our exposure bracketed photos. You might recognize them from the previous article on Graduated Neutral Density filters. If you would like to work along with the example in this tutorial, you can click the images to download a larger version.

We load the files as layers into a single image. You can do this by first opening the files, and then choosing Window > Cascade (or tile). Then click on the image thumbnail for one of the images in the layer palette. Drag it into the one of the other file windows while holding down the shift key. This copies the image to a new layer in the other file.
To convert the Background layer to a normal layer, you can double-click its name, and rename it as Layer 0 (or anything else you like).
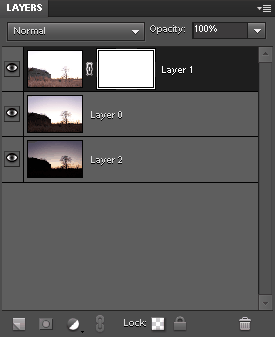
Add a layer mask to the top image. In Photoshop and Paintshop Pro you do this by clicking the small mask icon at the bottom of the layer palette. In GIMP you do this via the Layer menu.
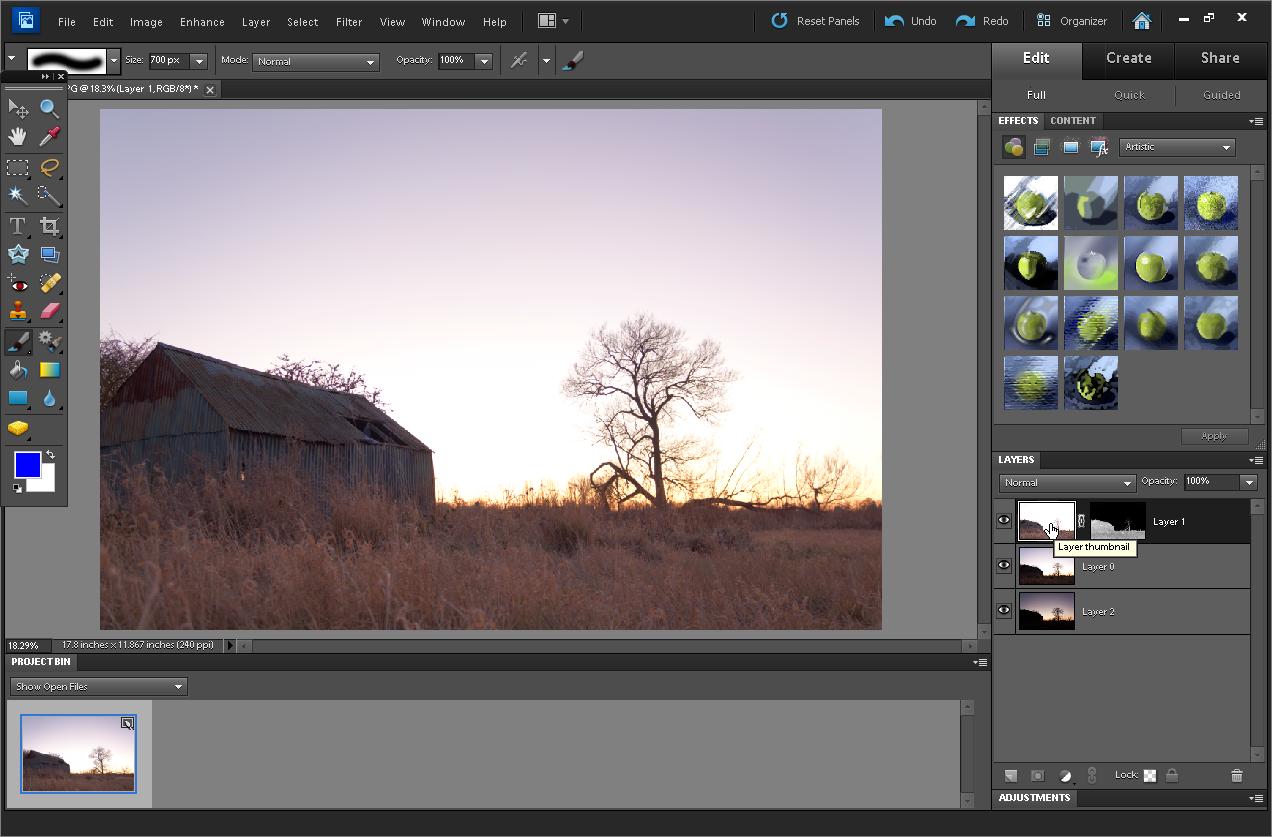
A white layer mask thumbnail will now be shown in the layer palette next to the layer thumbnail. (Or above the layer thumbnail if you are using Paintshop Pro).
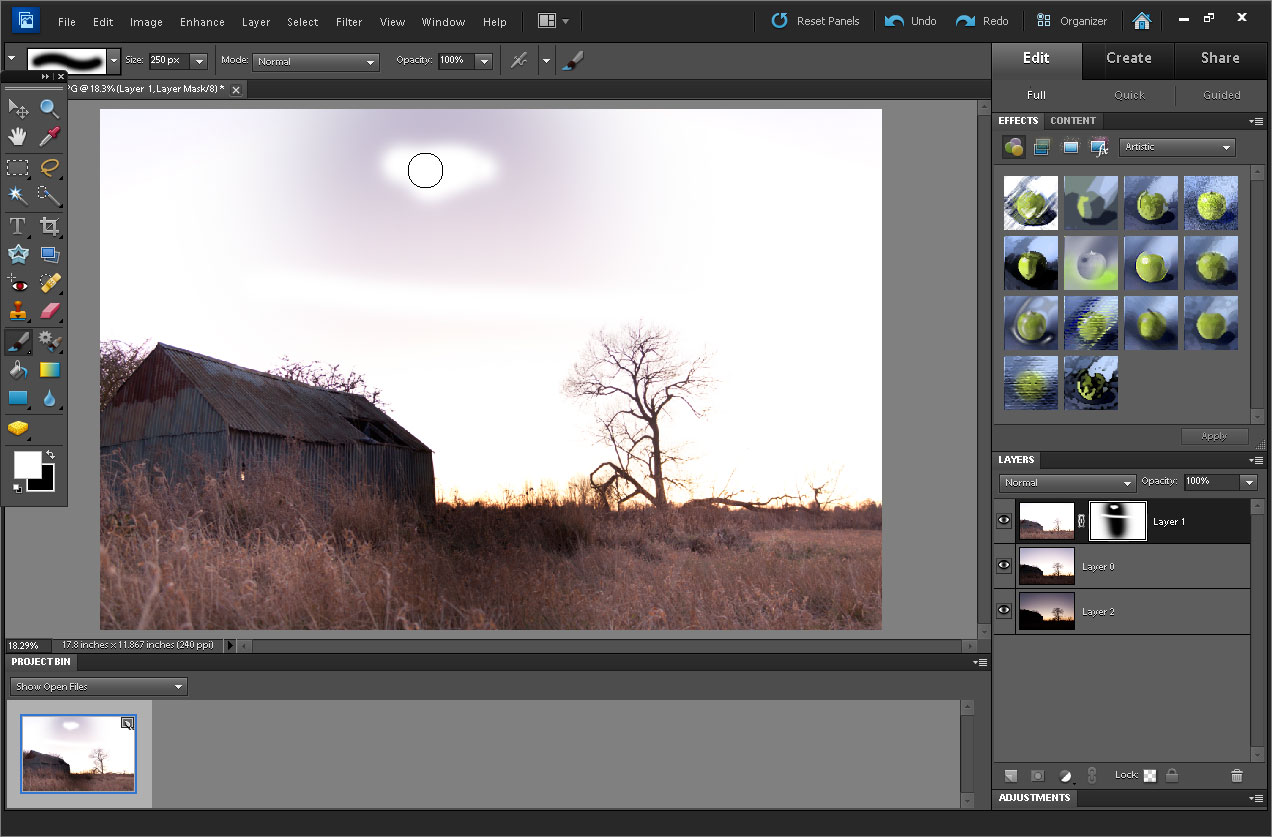
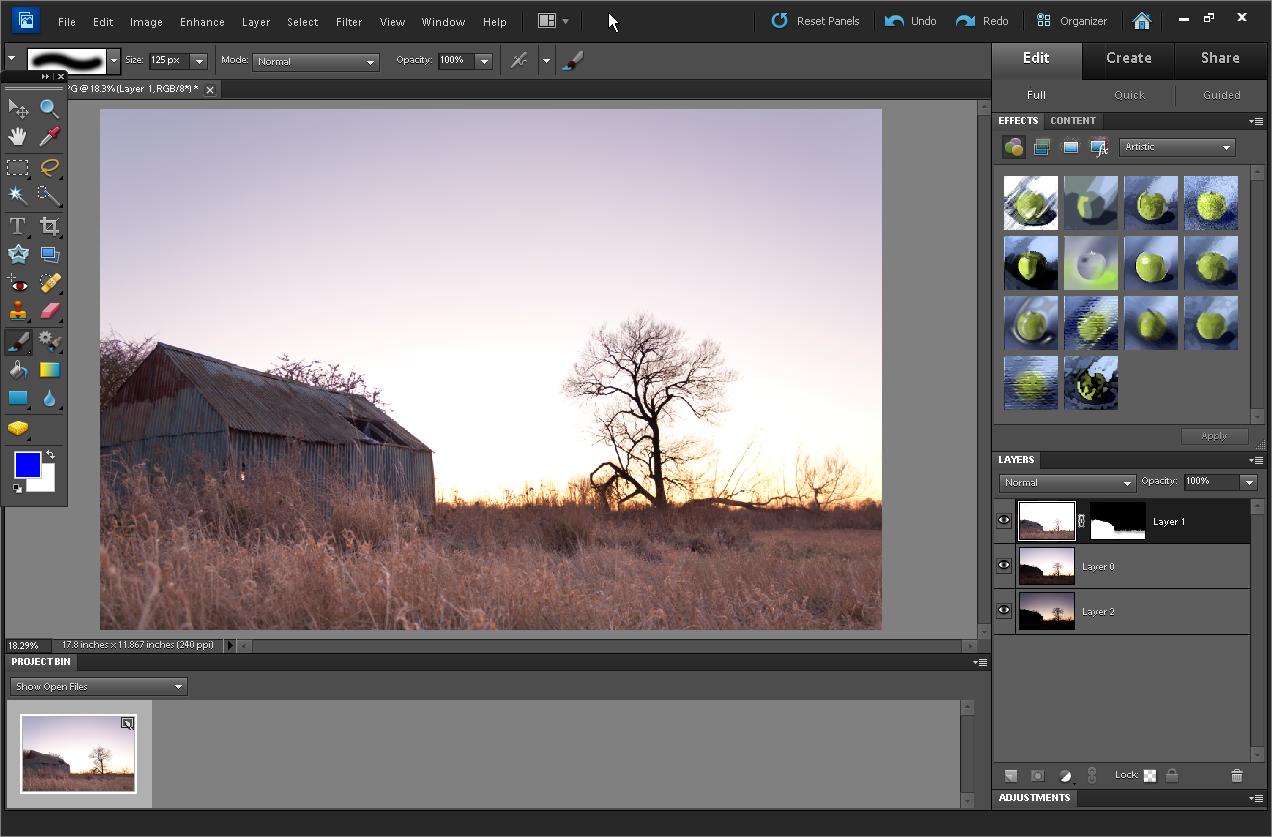
Now click in the layer mask thumbnail to make sure it is selected, and choose the brush tool. (In Photoshop and Paintshop Pro you can use the keyboard shortcut B). Make your colors white as the primary color and black as the secondary color. (In Photoshop and GIMP you can use the keyboard shortcut D).
Paint on the layer mask with black paint, and you'll see that it hides the current layer, revealing the layer below. In the opposite way, if you paint with white paint you can show the current layer, hiding the layer below.
Every shade in between black and white can be used as well. 50% gray will make the area painted 50% transparent. Nearly black will just show a little of the layer, mostly revealing the layer below. While nearly white will reveal just a little of the layer below.
When painting layer masks to reveal or hide a layer, it is important to use a brush with the right edge hardness. A soft edged brush is best where you want a soft transition between the layer you're masking and the layer below. A hard edged brush is better for masking objects with hard edges, such as an object where you want to remove the background.

In Photoshop Elements click the brush icon on the top toolbar to change the brush settings. The mask shown here has been painted with a 0% hardness brush on the left, a 50% hardness brush in the middle, and a 100% hardness brush on the right
You may be wondering what is the advantage of using a mask to hide parts of a layer instead of just using the eraser tool? The answer is that with a mask, if you accidentally mask out part of a layer, you can easily fix it by painting it back in again.
So long as you save your file in a format compatible with layers and masks (e.g. PSD files), then you can alter the mask even after you've saved and closed your image. Something you can't do if you use the eraser tool.
Here is a video version of this tutorial, showing masks in action:
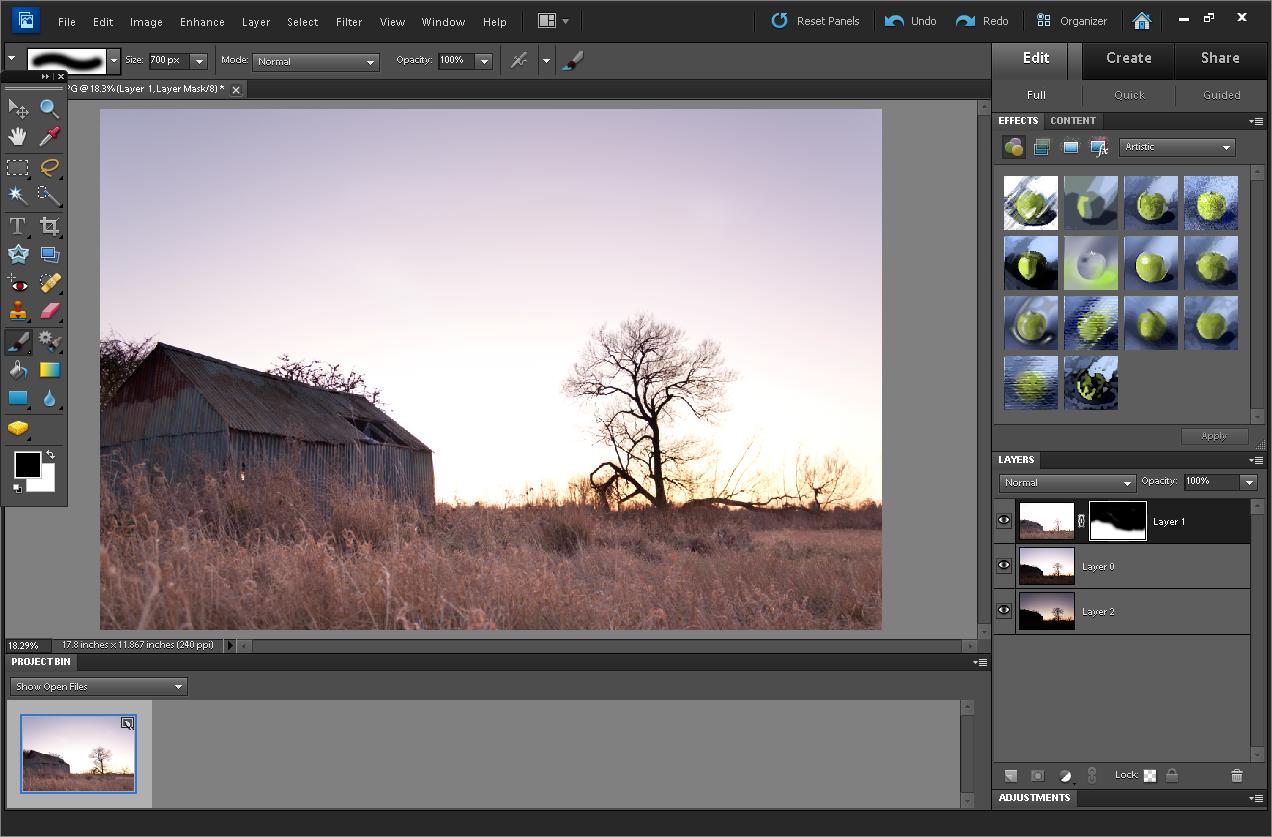
Now, on to our practical example of what layer masks can be used for. The image in our top layer has a blown out sky, but correctly exposed foreground. So we can paint the sky out with a soft black brush to reveal the sky from the darker image below.
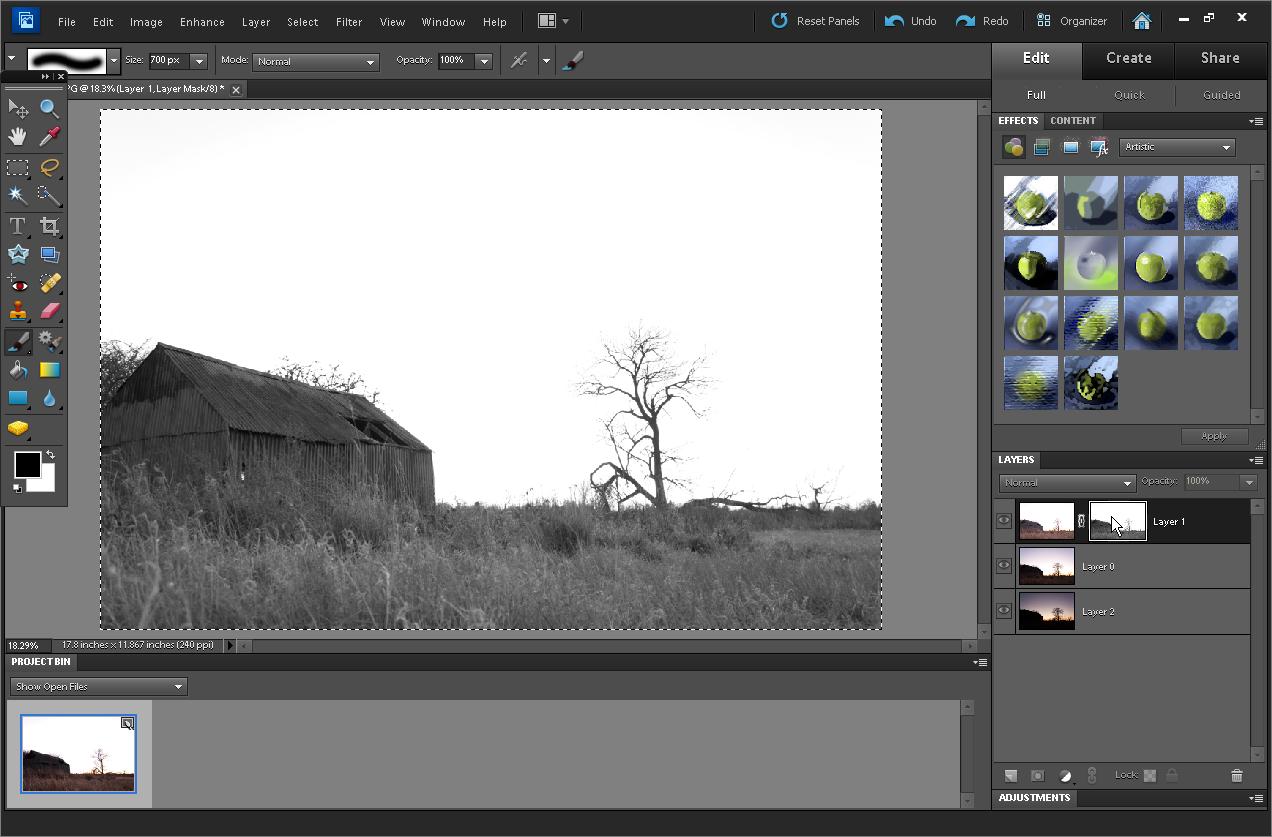
For trickier subjects, an alternative to manually painting something out can be to create a luminosity mask. With your mask disabled (In Photoshop shift-click the layer mask thumbnail), press Ctrl+A to select all. Click on the image thumbnail, then press Ctrl+C to copy the image.
Alt-click the layer mask thumbnail and press Ctrl+V to paste the image into the mask.
Remember that white shows the current layer, and black hides it. Currently the sky of our mask is white, while the landscape is darker. So this will show the sky of our top layer while partially masking out the foreground - the opposite of what we want! To fix this, press Ctrl + I to invert the mask. Lastly, you can press Ctrl + D to deselect the canvas.
Now click back onto the image thumbnail, and you'll see the image with the mask applied.
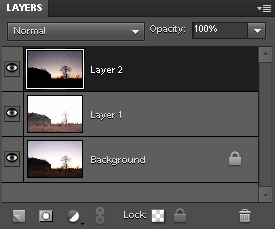
We can, of course, paint on the mask to touch it up a bit as well. In the image below I've painted in (white) the foreground and the shed from the top layer, while painting out (black) the tree.
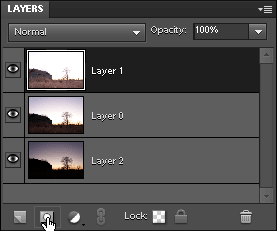
We can hide the top layer now and do the same thing to the middle layer. If you are using the full version of Photoshop rather than Photoshop Elements, you can create a luminosity mask much faster. Press Ctrl + Shift + 2 to create a luminosity selection, then alt-click the mask button.

Photoshop will create a mask based on the selection. By Alt-clicking the mask button, it creates the mask inverted.
After creating the mask on the second layer, my photo looks like this:

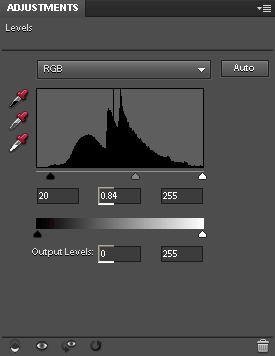
I make some adjustments to the second image layer mask. Then for this image I would apply a levels or curves adjustment to the first layer, as it looks too bright to me.
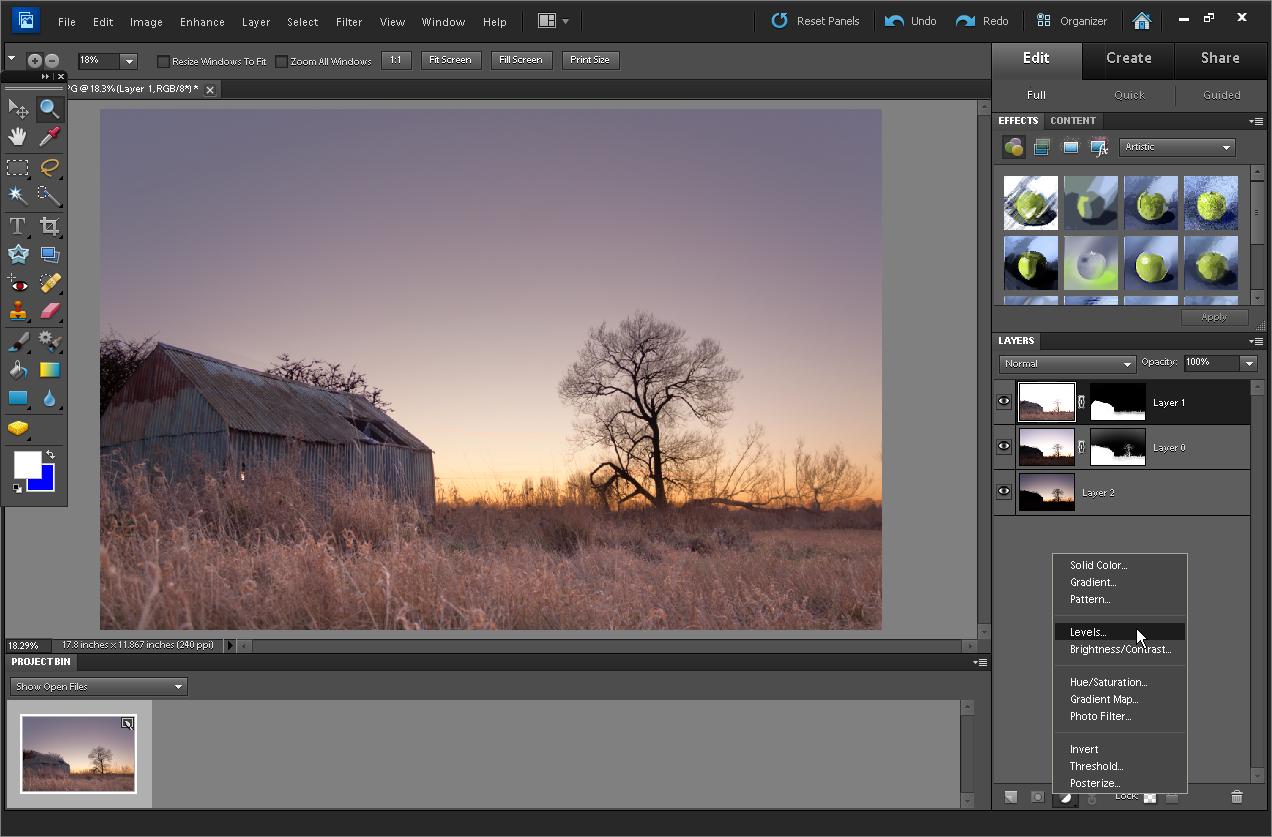
With the adjustment layer active, Alt-click between layer 1 and the adjustment layer. This clips the adjustment layer to layer 1. So the effects of the adjustment layer only apply to layer 1.
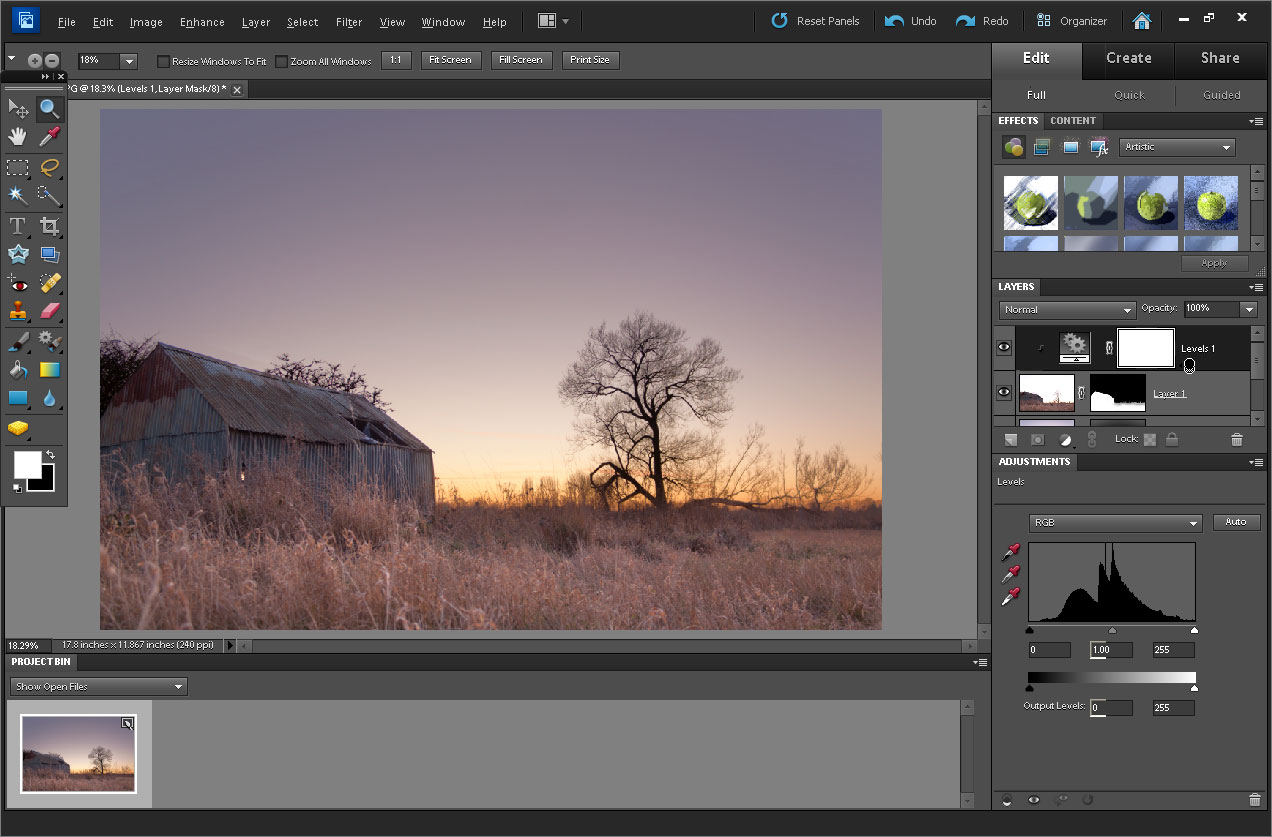
I have brought the black point and mid point up using the levels tool, to darken the top layer.
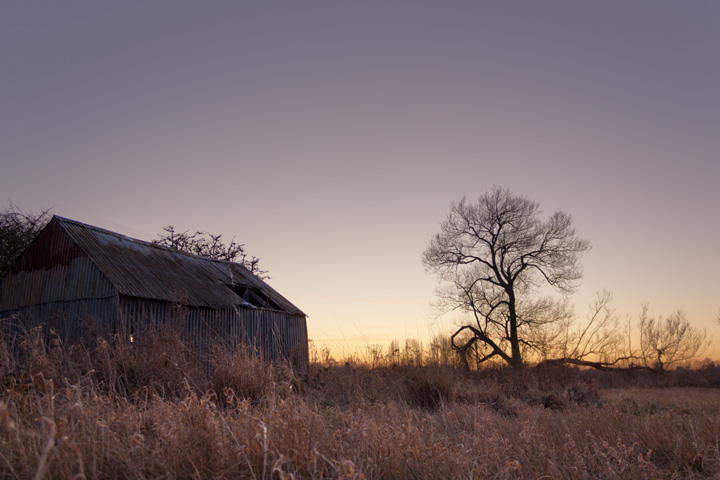
This gives a final image like so:
I hope this has given you a good understanding of how layer masks work. They are extremely useful for more advanced editing work. If you have any questions on masks (or anything else) please leave a comment below and I'll try to help.


