Posts Tagged ‘Adobe Photoshop’

How to choose Photography Software

without comments

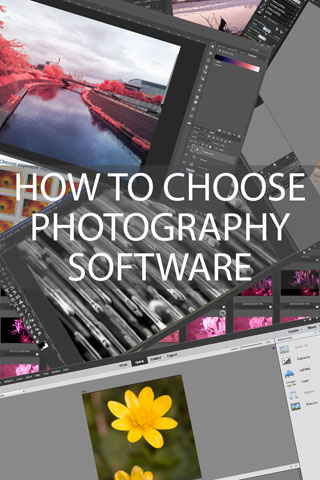
There are a large number of different software packages available aimed at photographers. Deciding which one is right for you can be a tricky business. Different software is good at different things, and the right software for you may not be the right software for another photographer.

So, I'm not going to tell you what the best photography software is, as that depends on you and your workflow. But in this article I'll cover the main points you should consider when looking at photography programs. This will help you evaluate what features are most important for you and which aren't needed, so you can make a more informed choice when deciding what software to go for.

How to choose Photography Software

Read the rest of this entry »

Written by Discover Digital Photography

August 7th, 2016 at 10:38 am

Post-processing Tips for Landscapes

with 2 comments

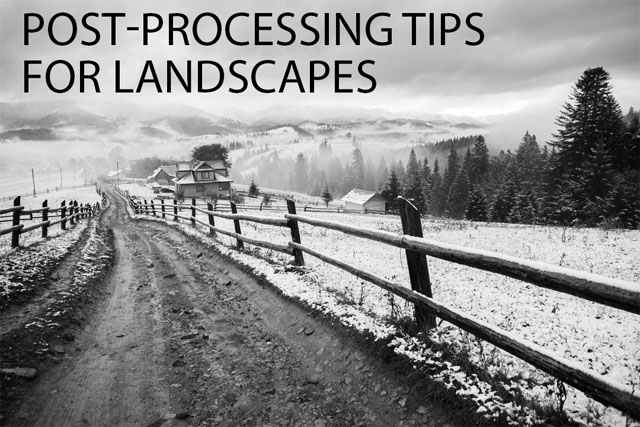
The vast majority of photos look better with some post-processing, and this is particularly true for landscape photos. Often landscapes can come out with colors that look quite dull compared to what we remember, or flat and lacking in contrast. Thankfully, this can be remedied through a bit of careful processing.

You might even want to make more extreme changes, in order to more strongly evoke a feeling with the image, rather than just give an accurate portrayal of what you saw.

In this article we'll cover several post production techniques that can be very useful for landscape photographers. You can use them minimally to enhance what was captured, or make stronger adjustments to completely change the mood of an image. How you use the techniques is up to you.

Post-processing Tips for Landscapes

Read the rest of this entry »

Written by Discover Digital Photography

July 24th, 2016 at 7:16 am

Split Toning Explained

without comments

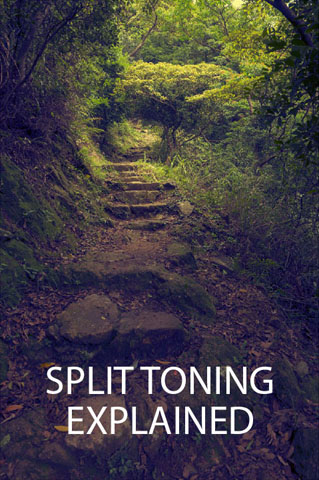
Split toning is a technique where a color cast is applied to an image, but the color cast applied to the highlights is different to the color applied to the shadows.

Different color casts can give different feelings to an image. Oranges, reds, and yellows can give a warm, sunny day feeling. Blues can give a cold feeling. Greens and magentas can give a cross-processed film look.

There are quite a few different ways a split toned effect can be applied to an image. Different methods can be applied at different stages of the image editing process, they differ in how much control they offer, and how quickly they can be applied. In this article we'll look at the main split toning methods so you can decide for yourself which one would work best for your needs.

Split Toning Explained

Read the rest of this entry »

Add a 35mm transparency slide frame border to a photo using Photoshop CC, CS, or Elements

without comments

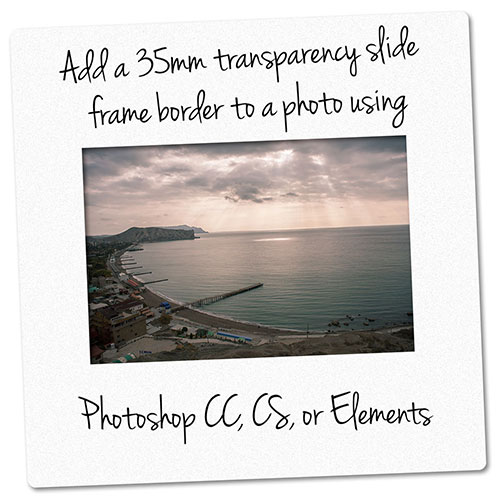
In this tutorial we'll look at how you can create a replica 35mm transparency slide frame to add as a border around a photo. The process is pretty much the same in Photoshop CC, CS, or Photoshop Elements. I'll also cover how to add text to the frame, which allows you to add branding or information to the image without covering up any of the actual photo.

Add a 35mm transparency slide frame border to a photo using Photoshop CC, CS, or Elements

Read the rest of this entry »

Written by Discover Digital Photography

November 1st, 2015 at 3:50 pm

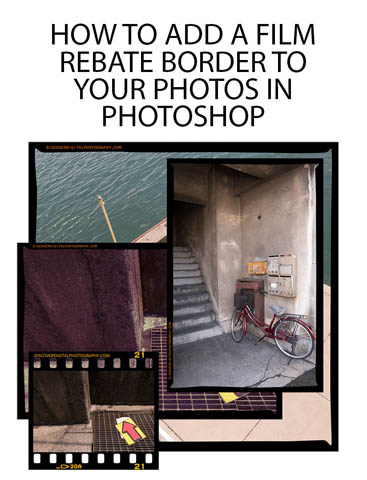
How to add a Film Rebate border to your photos in Photoshop

without comments

A film rebate border refers to the black border around each frame of film, which often contains the name of the type of film. If you were shooting film, to include this border as part of the image would mean scanning the film yourself. Film processing companies would only scan or print the actual image area of the film, and wouldn't include the border areas.

With digital though, we can quite easily add in a faux film rebate border ourselves. Adding a border can act as a nice way to frame the image. It can also be used for adding copyright and branding text, rather than putting a watermark over the image.

In this article I'll go over how you can create a medium format style film rebate border using Photoshop CC / CS. We'll create a flexible border that can be easily resized to accommodate images of different aspect ratios and dimensions. And I'll also cover using a scan of a real film frame, which can be an easier and more realistic (though less flexible) solution in many cases.

How to add a Film Rebate border to your photos in Photoshop
Image incorporates Film rebate by Graham Richardson (licensed CC-BY)

Read the rest of this entry »

Written by Discover Digital Photography

October 18th, 2015 at 9:15 am

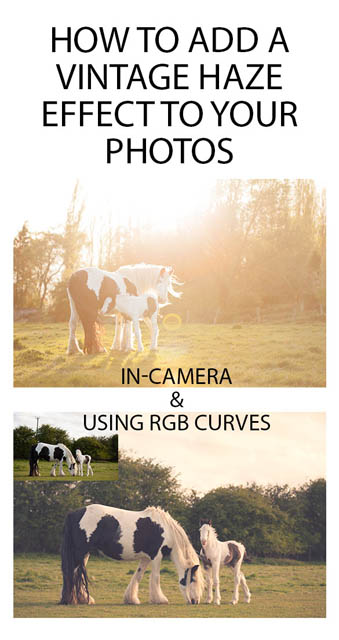
How to add a vintage haze effect to your photos

without comments

Photos with a soft, low contrast hazy look seem to be very popular at the moment. You can purchase packs of film presets for most image editing software that allow you to easily create this look.

I've also seen several Photoshop tutorials that show how to create a similar look, making use of various adjustment layers. However, the look can also be achieved using only RGB curves, which are available in Adobe Camera RAW, Lightroom, Photoshop, GIMP, and the majority of image editing software. No need to purchase anything additional, and no need for multiple layer Photoshop documents.

In this article I'll cover both creating the hazy look in-camera and using RGB curves. Plus, I'll explain why the curves adjustments create the effect, so you'll better understand how you can modify the curves to fine-tune the effect.

How to add a vintage haze effect to your photos

Read the rest of this entry »

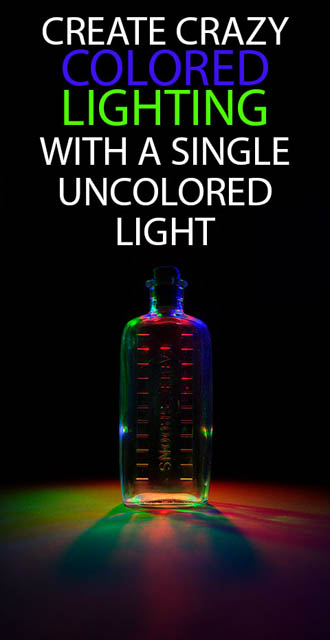
Create crazy colored lighting with a single uncolored light

without comments

In this article we'll look at how you can create unusual images that look like they were taken with red, green, and blue lights, but are actually a composite of three different images taken with any light source (colored or not).

I'll cover how to create this type of image using a technique that works in Photoshop Elements and the full version of Photoshop (CS / CC), plus two alternative techniques that you can use in the full version of Photoshop.

Create crazy colored lighting with a single uncolored light

Read the rest of this entry »

Written by Discover Digital Photography

December 28th, 2014 at 7:50 pm

Create a Hand-Colored Black and White Photo

without comments

Before the advent of color photography, a process of hand coloring black and white photos was sometimes used. Color (often using watercolors) was simply painted on top of the photograph, to create a color image.

This process gives the images quite a unique look. In this article I want to look at how you can do the same, giving any image that hand-colored black and white photo look.

Create a Hand-Colored Black and White Photo

Read the rest of this entry »

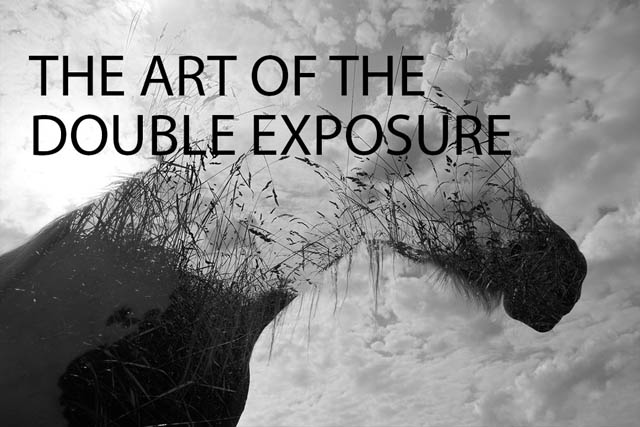
The art of the Double Exposure

with one comment

A double exposure is a creative technique where you combine two (or more) photos in a single image. It is quite an old technique, before digital it meant capturing two exposures on a single frame of film. But with today's modern cameras and software, creating a good double exposure image is much easier.

The art of the Double Exposure

Read the rest of this entry »

How to use a green screen to put a different background behind your subject

without comments

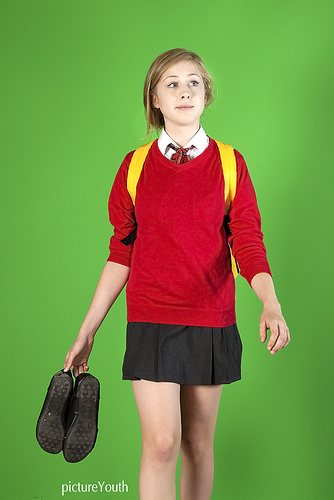
Have you ever wanted to extract a subject from one photo and then place them in another photo? For example, taking a photo of your child in their sports kit, and then making it look like they're playing in a full size stadium.

This process of mixing images together is known as compositing, and is becoming increasingly popular. While it might sound difficult, it can actually be very easy. The trick is taking the photo of your subject against a background that makes it easy to extract the subject from the background.

Private School Girl
Private School Girl by "PictureYouth" on flickr (licensed CC-BY)

For this purpose a green screen (also known as chroma key) background is often used. In this article we'll look at how to take a photo using a green screen, and then how to use photo editing software to remove the green screen and composite the image.

Read the rest of this entry »