Photoshop tutorial: How to apply a texture to a face by using a displacement map
In this post we'll look at how to apply a realistic looking texture to a person's face using a displacement map in Adobe Photoshop.
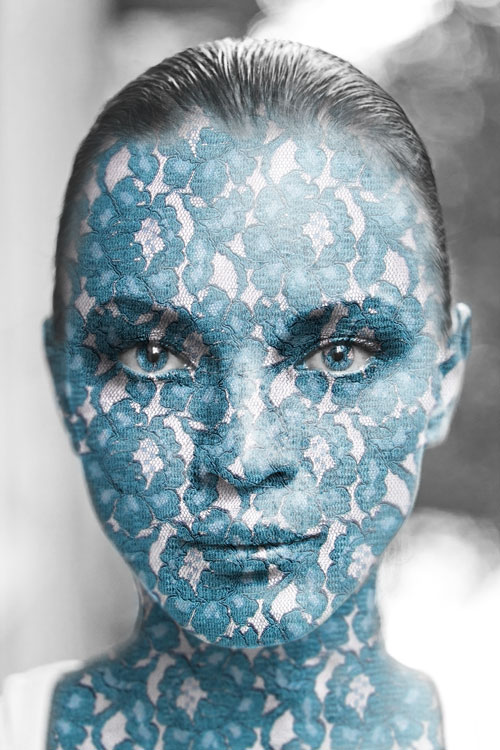
The end result we will be working towards in this tutorial
The process is exactly the same in the full version of Photoshop and Photoshop Elements, they both feature the displace filter and work in the same way. GIMP also features the displace filter, as does Paint Shop Pro. This tutorial focuses on Photoshop, but the process is similar in GIMP and PSP.
To start off with, you need your image that you want to apply the texture to, and your texture. For this tutorial I am using the following images:
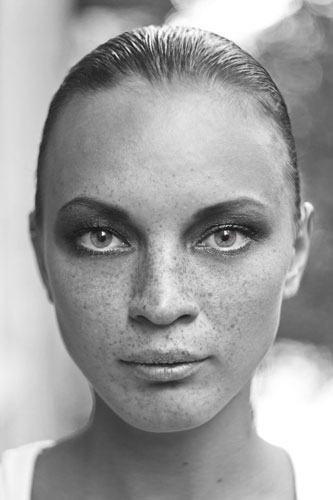
closeup portrait of the beautiful girl with freckles by Belovodchenko Anton
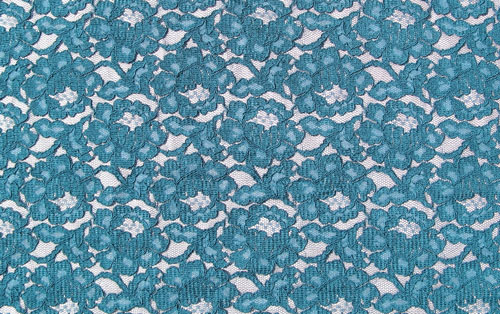
Lace... 2 by nkzs
Both of these images were obtained from the stock exchange website. Unfortunately neither of the images seem to be available any longer as of 2015, but you can use your own images, or download some similar stock images to follow along with the tutorial.
Here is a video version of the tutorial:
Open the image you want to apply the texture to (in my case the portrait) in Photoshop. We are going to create what is known as a displacement map to apply to the texture. This makes the texture seem like it wraps round the face, instead of just being a flat texture in front of the face.
We want the displacement map to be quite smooth, so apply a blur to the image. I used Filter > Blur > Gaussian Blur and set the radius to about 30 pixels. The exact amount of blur required will depend on your image size, the example image I am using is about 10 megapixels. You want the image to be quite smooth, but still have a reasonable amount of definition.
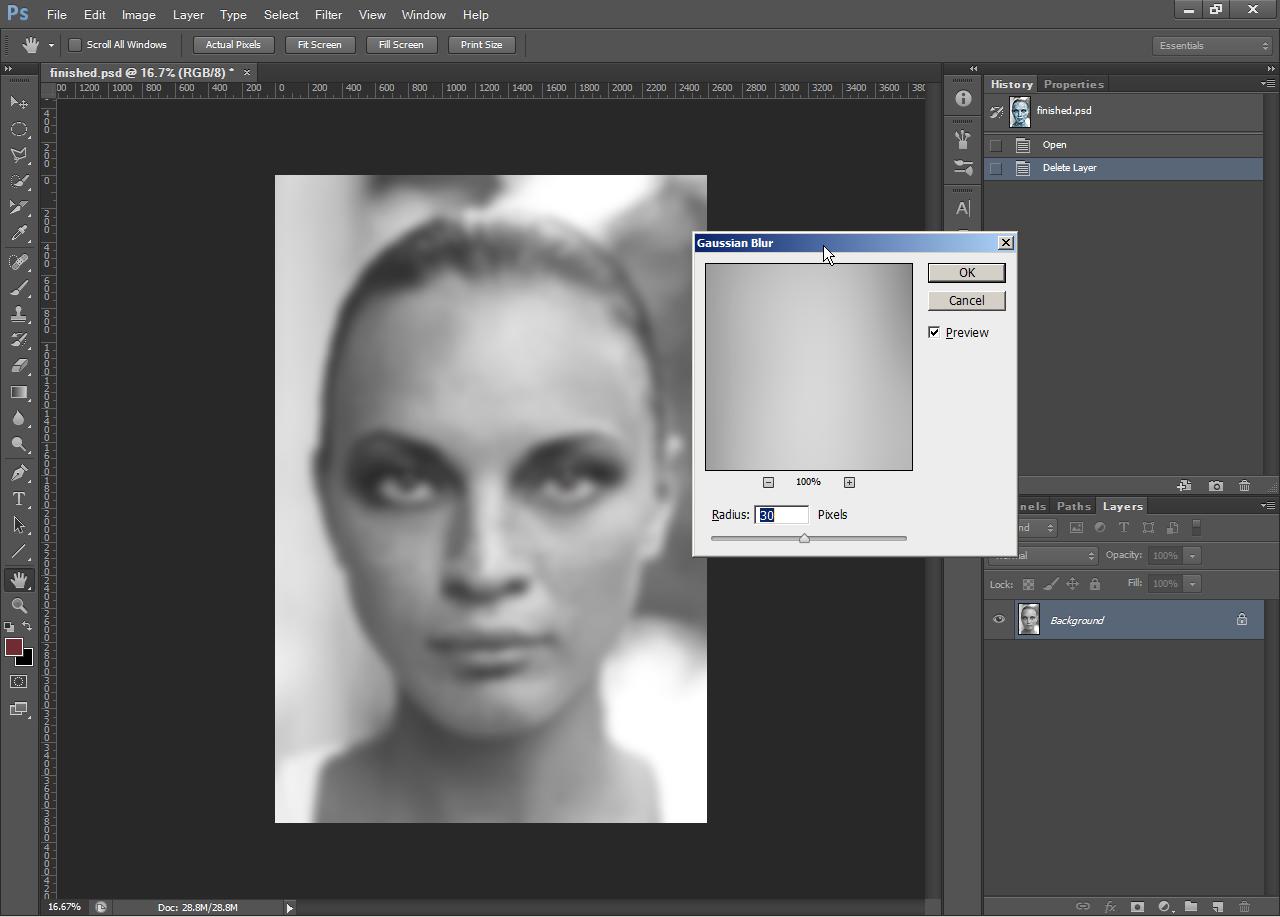
Gaussian Blur dialog in Photoshop
Save the file as a .psd (Photoshop document) file. Now either close the file and re-open the original, or go back to the state of the original image. To do this make sure you have your history palette open (Window > History in Photoshop, Window > Undo History in PSE). Click on the history state that says 'Open'. This will put the image back to the state before you blurred it.
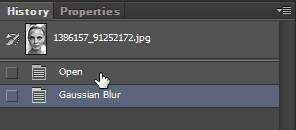
Using the history palette to restore the unblurred image state
Load the texture file into Photoshop as well, and arrange the image windows so that you can see both images. You can use Window > Arrange > Tile vertically in Photoshop or Window > Image > Tile in Photoshop Elements. With the texture image selected, click and drag the layer thumbnail from the layer palette while holding down the shift key on the keyboard. Drag the layer onto the image that you want to apply the texture to.
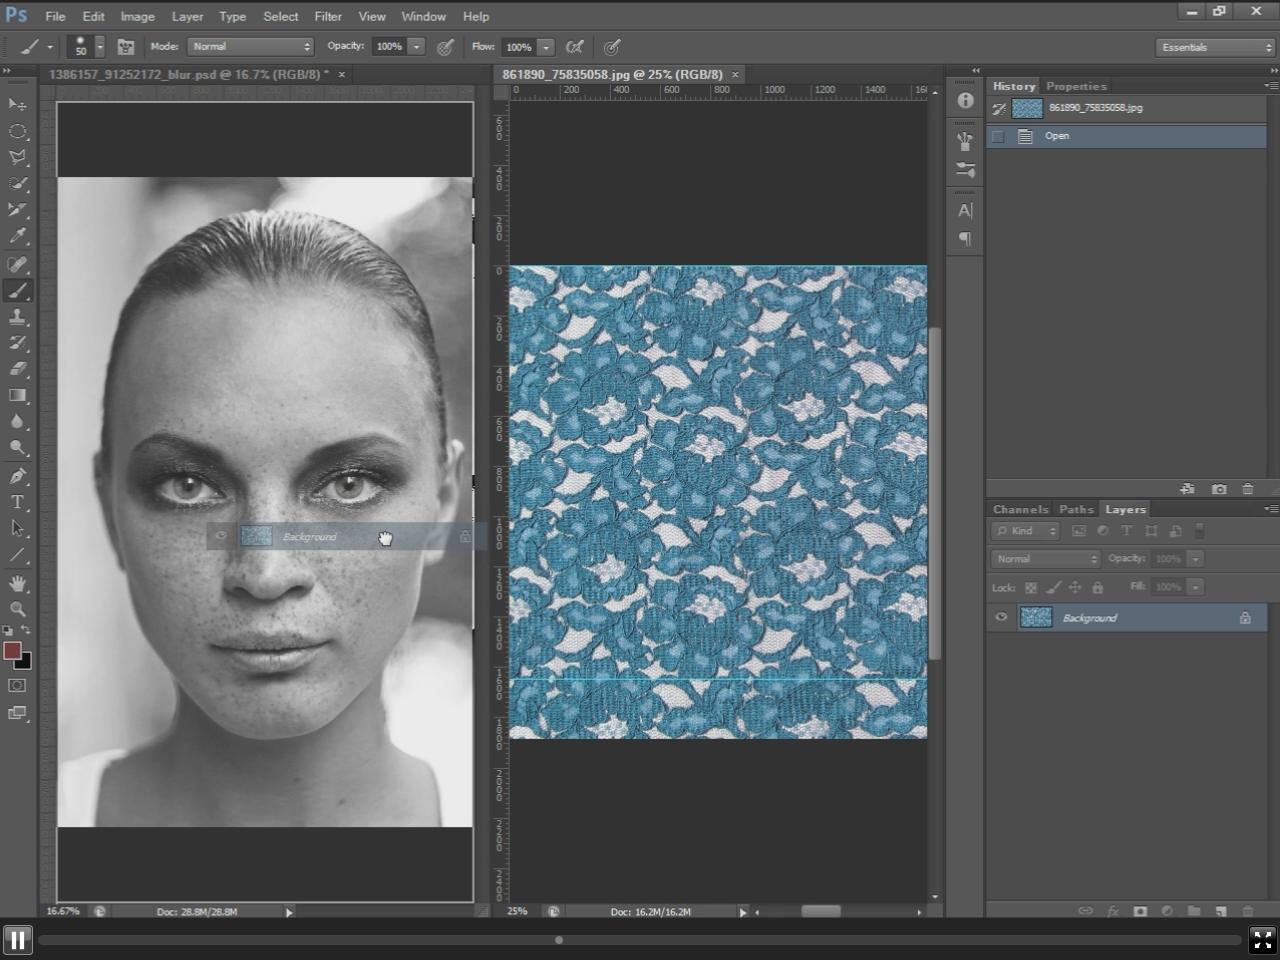
Dragging the texture onto the portrait image
After copying the texture layer to your main file, you can close the texture file. Now resize the texture layer so that it fills up the entire image. In Photoshop you can press Ctrl + T for the transform tool, which allows you to resize and rotate the layer. Hold down Alt + Shift and drag a corner of the layer to resize it proportionally in place.
To rotate the image move the cursor just outside the edge of the layer, and you should see the cursor changes to a rotation icon. Click and drag to rotate the layer as necessary. You can hold the shift key while rotating if you want the layer to snap to 90 degree increments.
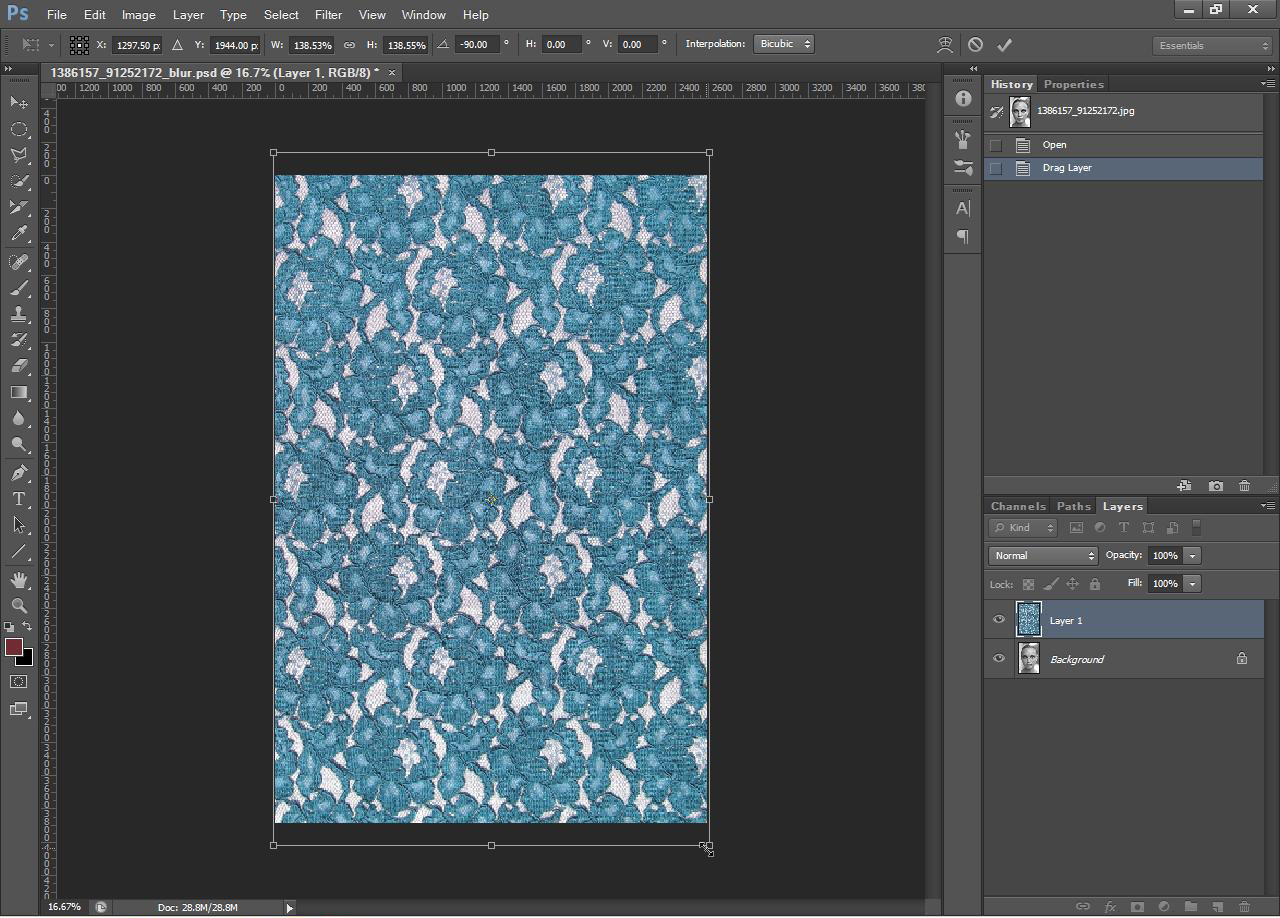
Resizing the texture layer to fill the image
Press enter when you are done resizing the texture layer to accept the transformation. Duplicate the texture layer to create a copy (Ctrl+J with the layer selected).
Now go to Filter > Distort > Displace.
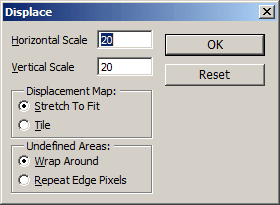
The displace dialog window
The Horizontal and Vertical scale sliders affect how strongly the displacement mask will affect the texture. Higher numbers create a more 3D look to the texture, but can also create smeared areas of distortion.

Overlaid texture after applying displace filter with vertical and horizontal scale values set to 95 - notice the distortion and smearing in some parts of the image
Overlaid texture after applying displace filter with vertical and horizontal scale values set to 20 - the effect is not quite as "3D" as the 95 setting, but there is much less distortion and smearing
In the video tutorial I used a setting of 95, but for this text version of the tutorial, I think I'll go with 20 for the vertical and horizontal scale settings.
The Displacement map setting should be set to "Stretch to fit". Undefined Areas should be set to "Wrap Around".
Click OK and you will now be prompted for the file to use as the displacement map. This is the blurred version of our image that we saved as a .psd file earlier. Select the file, and then click OK.
In the layers palette, hide the original version of the texture layer. Then change the blending mode of our displaced texture layer to overlay, soft light, or multiply.
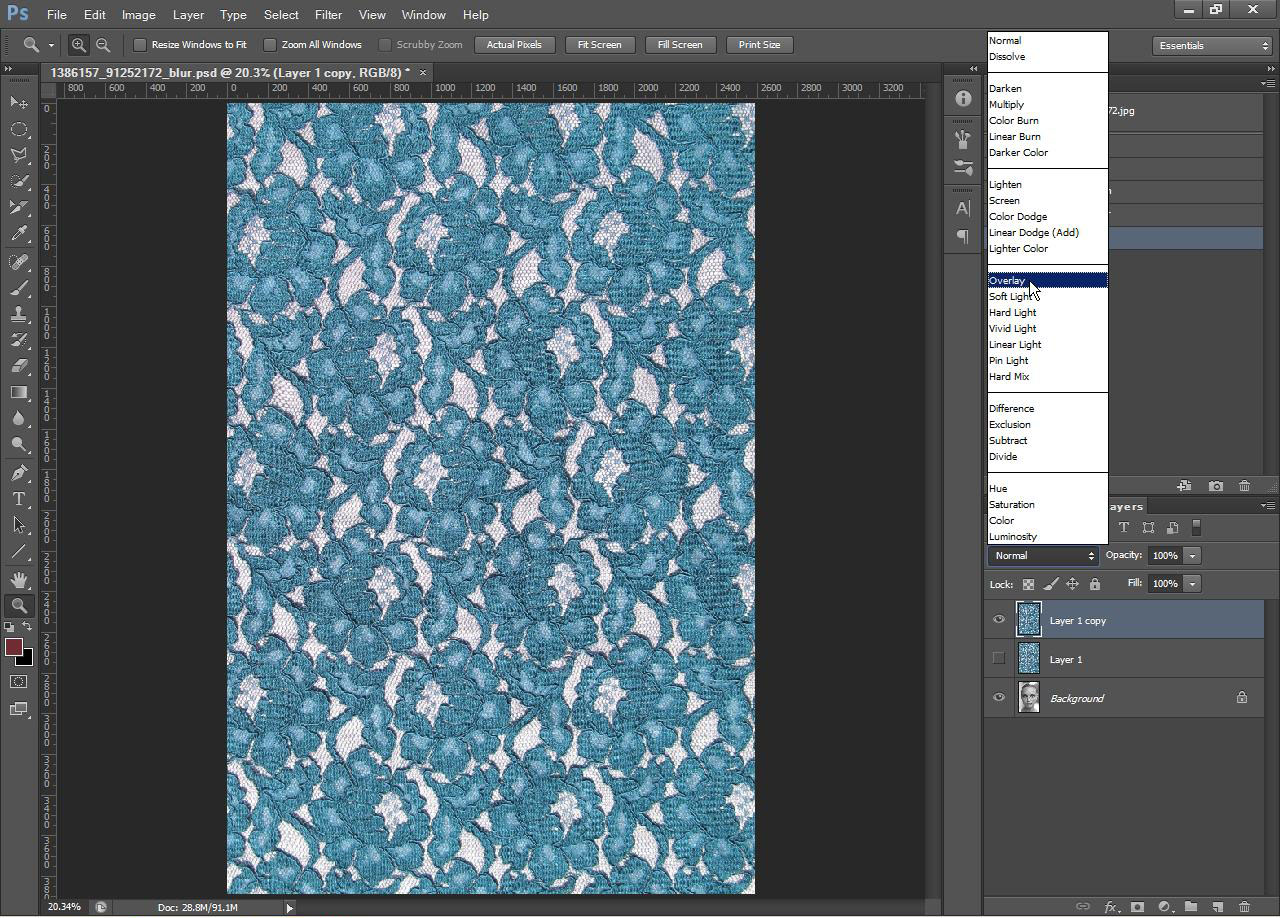
Changing the blend mode of the texture layer
I would encourage you to play around with the blending modes, the best blending mode to use depends on the images you are using.
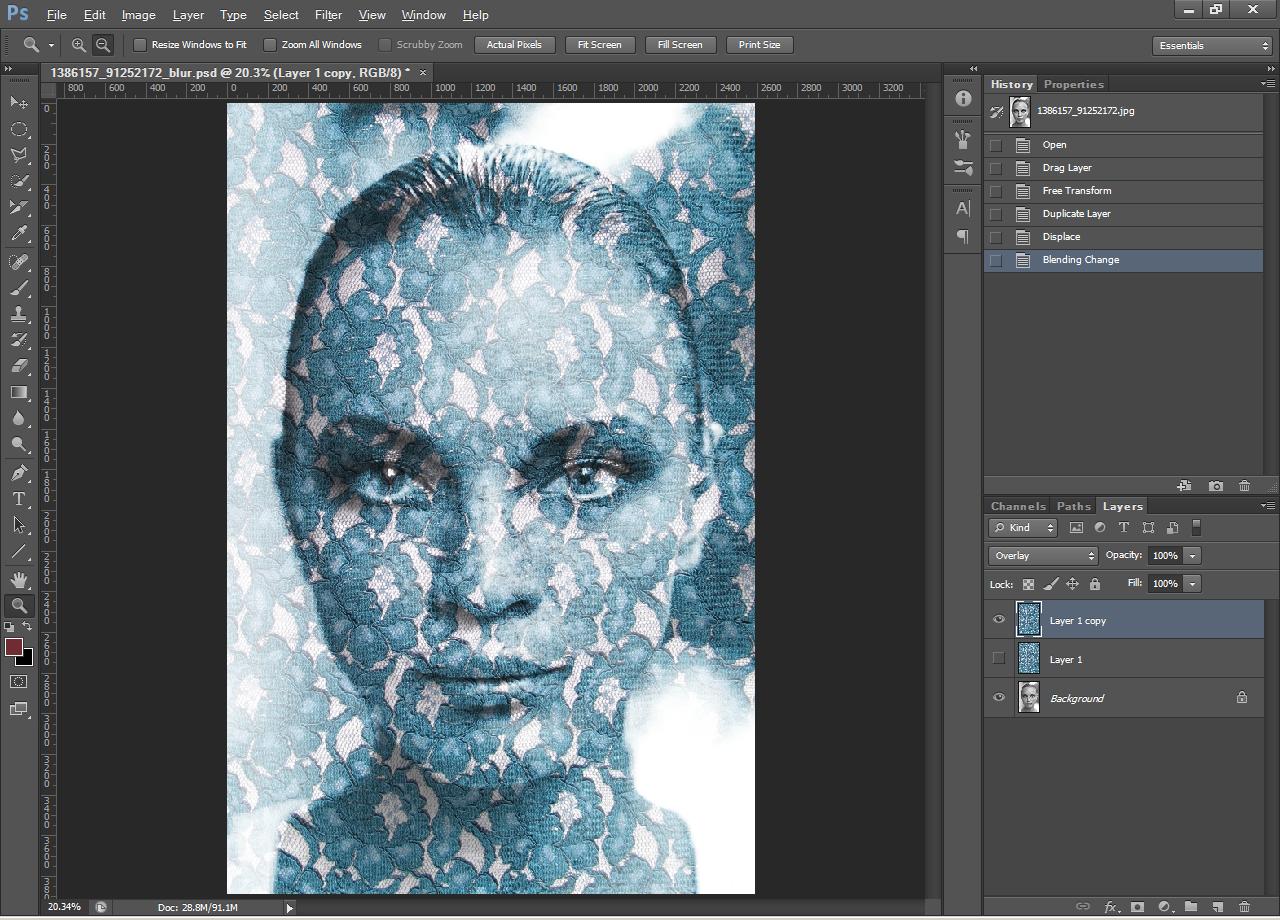
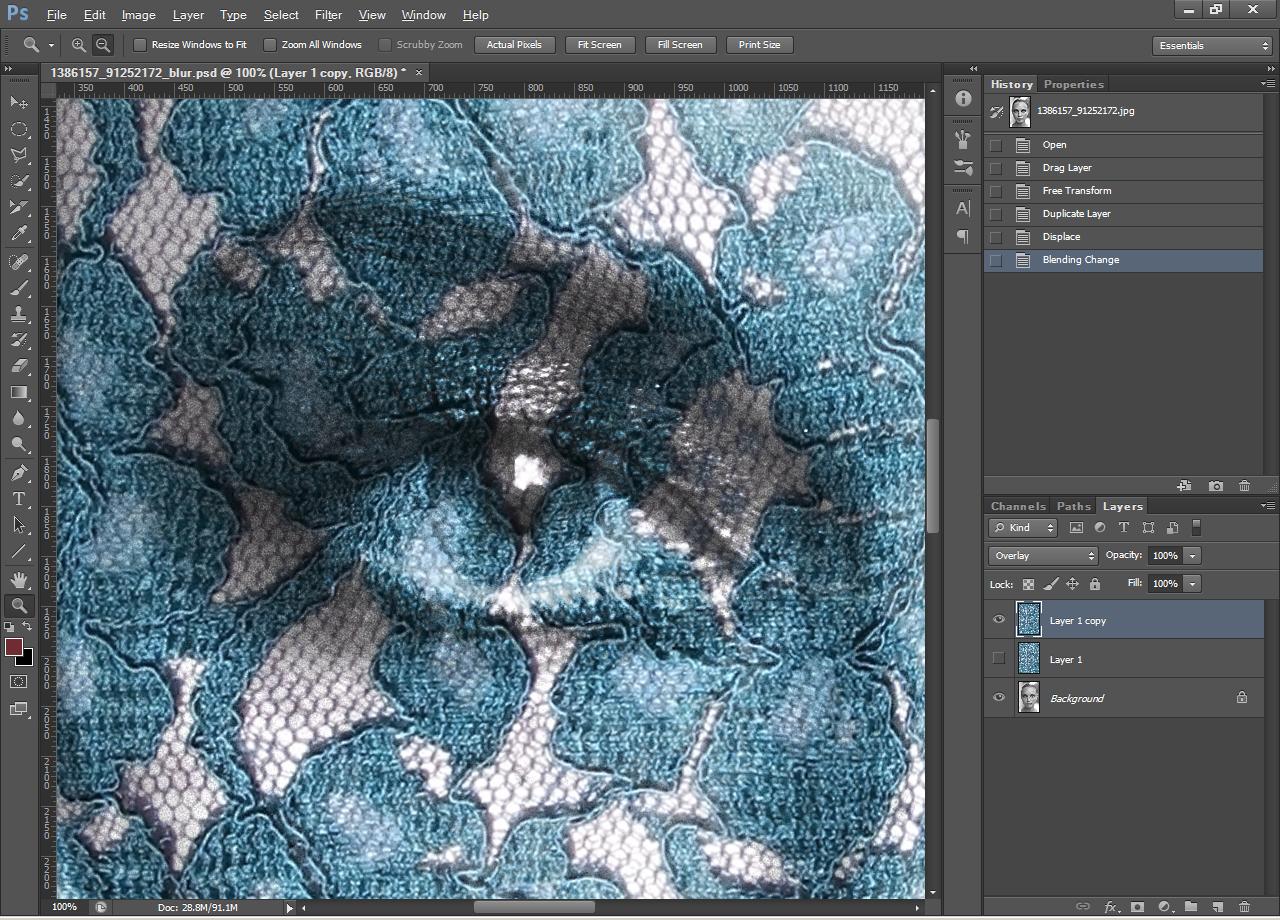
After changing the texture layer's blend mode to overlay
I only want the texture to apply to the woman's skin, so it is time to use a layer mask to adjust where the texture is applied. You can read more about layer masks here: How to use Photoshop Layer Masks.
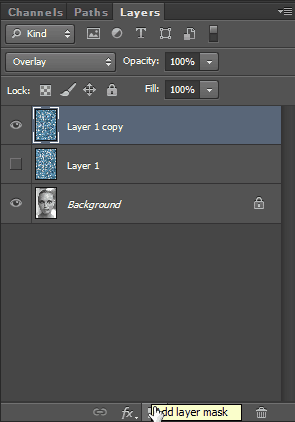
Adding a layer mask
Alt-click the create layer mask icon to create a mask filled with black. Black hides a layer, while white reveals. So paint on the layer mask using a white brush to reveal the effect of the texture where you want. If you make a mistake and paint white where you want the effect hidden, just paint with black paint on the mask to hide it again.
You should vary your brush hardness depending on what the edge of your subject looks like. The ears of the lady in the photo I am working on are quite soft, as they are out of focus. So I use a soft brush round the edges of them. The center of the chin has a much harder and more defined edge, so I use a brush with a harder edge.
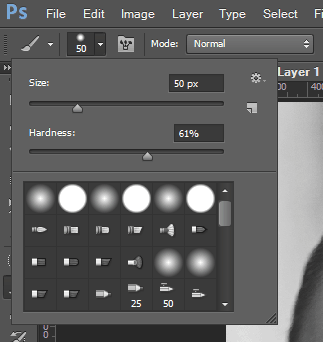
Brush hardness setting in PS CS6
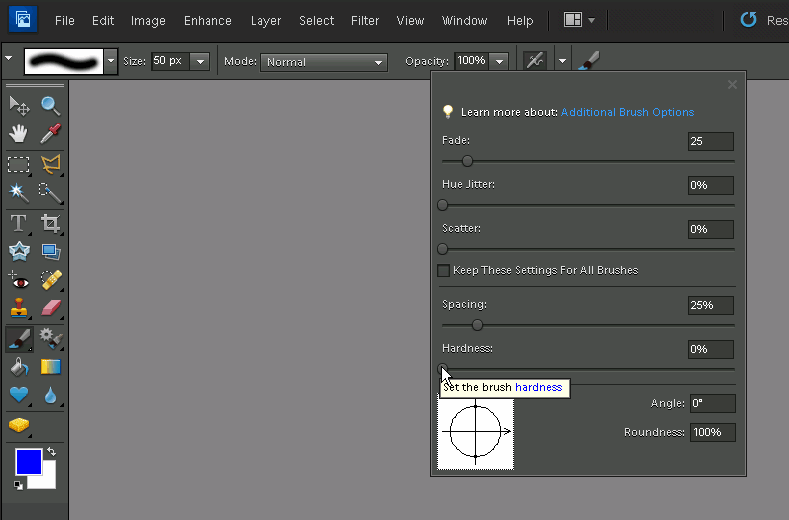
Brush hardness setting in PSE 10

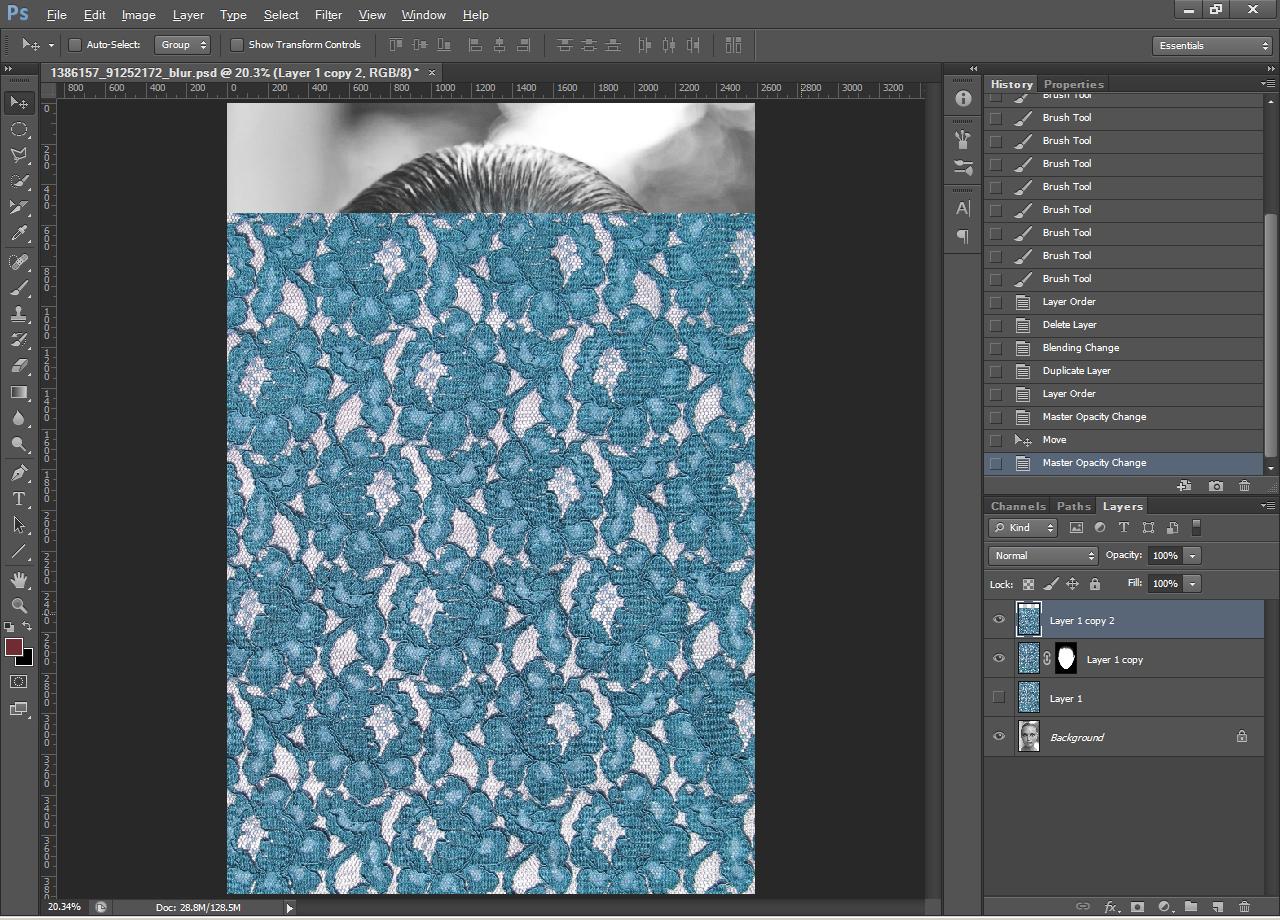
Image after painting layer mask of texture so that it only applies to the face
For this image, I want to work on the neck separately to the face. For the texture to have a realistic look, it shouldn't go straight from the face to the neck. But rather, it would run from the face, then under the chin to the neck. The area under the chin is not visible, so what we can do is to move a copy of the texture and then apply the displacement map to this.
So duplicate the original texture layer again, and then move it down a bit.
Original texture layer duplicated and moved down
Now we need to apply the displacement map to this texture. You can go to Filter > Distort > Displace again. Or, since it should be the last filter you used, it should be at the top of the filters list. You can also press Ctrl+F to apply the most recent used filter with the same settings.
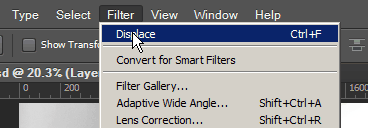
The last filter used is listed at the top of the filter menu list
Change the new layer to overlay blend mode, and create a black layer mask for it. Then paint in the area over the neck using the layer mask.

Image after applying texture to neck
In the original photo the neck is actually quite out of focus compared to the face. So we can apply a Gaussian blur to the neck texture layer to simulate it being out of focus. (Filter > Blur > Gaussian Blur). I used a radius of 6.

Image after blurring neck texture layer to simulate a shallow depth of field
I masked out the effect of the texture on the eyes, apart from the iris.

Image after masking out the texture from the whites and pupils of the eyes
Finally, I have duplicated the texture layer for the face, and then blurred it. Using a layer mask I then combined the blurred layer with the unblurred layer. This better replicates the depth of field of the real image, making the texture over the ears more blurry and out of focus than it is in the center of the face.
To do this, duplicate the face texture layer and apply a blur to the duplicate. Change the blending mode of the duplicate to normal, and fill the layer mask with black. (Keep the blending mode of the first face texture layer at Overlay).
With the blurred layer selected, Alt-click between this layer and the sharp face texture layer to create a clipping mask. Now carefully paint in the areas on the mask that should be blurred. Using a graphics tablet or setting the brush to a low opacity can help in creating a softer transition between 'in focus' and 'out of focus' areas.

The final image
This editing trick isn't one that you're likely to want to use very often. But it can be fun to use as a special effect on an image every once in a while.


I seem to have a problem wth the displacement filter. It doesn’t act like the tutorial says it does. It brings up a box and asks me to select a displacement map. I’m stumped. The tutorial looks simple but I’m stuck here.
Hi Liam
When it asks you to choose a file for the displacement map you need to choose the blurred version of the image that you saved earlier as a .psd file.
Thanks so much for this tutorial. I went online to find one and this was the best!
Thank you!!!! I have read so many tutorials on this and watched so many videos but this is the first one that made sense for me.
I really appreciate you taking the time to explain this
Valla çok iyi olmuş bacım çok etkileyici