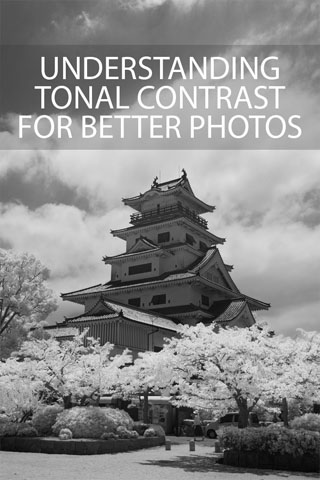
Understanding Tonal Contrast for Better Photos
Tonal contrast refers to the difference in brightness between different areas of an image. While important for all photography, tonal contrast is particularly important for black and white photography, since there is no color contrast to be had.
Understanding the differences between high and low tonal contrast and the feelings different levels of contrast can contribute to an image are quite important for good photography. In this article we'll look at this in more detail, also covering how you can affect contrast to get the look for your images you want.

 ,
,