Posts Tagged ‘Lightroom’

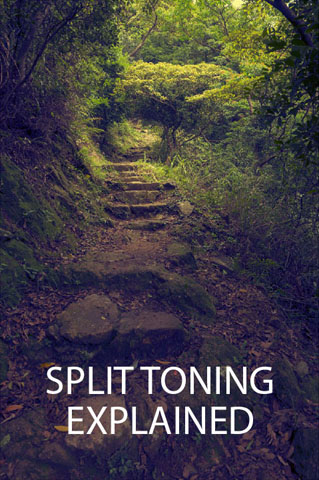
Split Toning Explained

without comments

Split toning is a technique where a color cast is applied to an image, but the color cast applied to the highlights is different to the color applied to the shadows.

Different color casts can give different feelings to an image. Oranges, reds, and yellows can give a warm, sunny day feeling. Blues can give a cold feeling. Greens and magentas can give a cross-processed film look.

There are quite a few different ways a split toned effect can be applied to an image. Different methods can be applied at different stages of the image editing process, they differ in how much control they offer, and how quickly they can be applied. In this article we'll look at the main split toning methods so you can decide for yourself which one would work best for your needs.

Split Toning Explained

Read the rest of this entry »

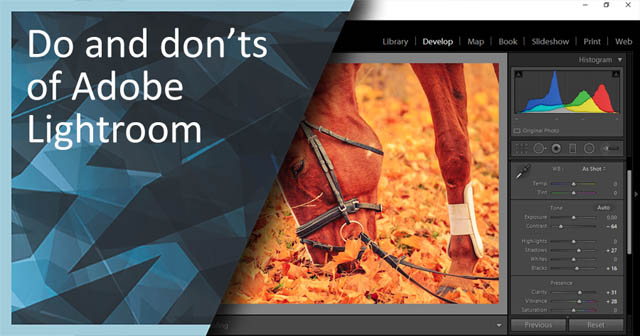
Do and Don’ts of Adobe Lightroom

without comments

Author: Sleeklens

When working with Digital Post Production, we can find several solutions to use as our prime software; however, it is a widely accepted fact that Adobe Lightroom is the industry’s standard for photography postproduction software.

Born as a spin-off project by Adobe, from its close relative Adobe Photoshop, Lightroom has all of what’s needed and more for accomplishing a quality edit. From the very first moment we plug our memory card into the PC with the exported image, Lightroom will provide us a neat, comfortable environment to enhance our images; however, we need to know which elements can seriously affect not only our end result but also the time spent on our postproduction workflow.

Let’s go through some of the do and don’ts of Adobe Lightroom, to take your postproduction workflow to the next level!

Do and Don'ts of Adobe Lightroom

Read the rest of this entry »

Written by Guest

January 24th, 2016 at 9:18 pm

How to add a vintage haze effect to your photos

without comments

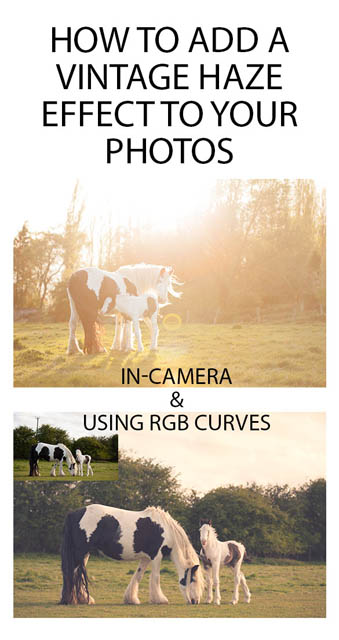
Photos with a soft, low contrast hazy look seem to be very popular at the moment. You can purchase packs of film presets for most image editing software that allow you to easily create this look.

I've also seen several Photoshop tutorials that show how to create a similar look, making use of various adjustment layers. However, the look can also be achieved using only RGB curves, which are available in Adobe Camera RAW, Lightroom, Photoshop, GIMP, and the majority of image editing software. No need to purchase anything additional, and no need for multiple layer Photoshop documents.

In this article I'll cover both creating the hazy look in-camera and using RGB curves. Plus, I'll explain why the curves adjustments create the effect, so you'll better understand how you can modify the curves to fine-tune the effect.

How to add a vintage haze effect to your photos

Read the rest of this entry »