How to Take Natural Looking Landscape HDR Photos
HDR photography can create some absolutely jaw-dropping effects when implemented correctly. This type of photography, however, can be extremely difficult to perfect. Due to the nature of HDR composite shots, the finished piece can often look artificial and contrived – in short, you can tell that it is an HDR shot. If you want to achieve perfection and create magnificent HDR photos, the finished piece should look natural, and people should not be able to tell that it has been edited.
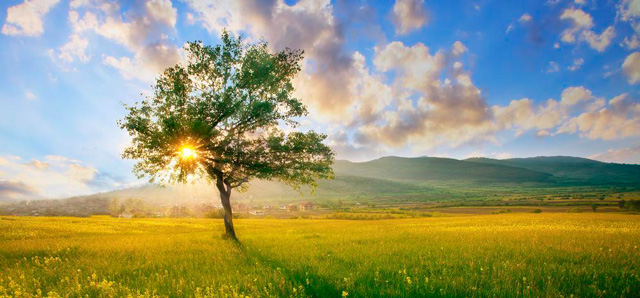
Landscape HDR photography presents additional challenges due to the high level of contrast in the composition. Let’s look at an example – you have hiked to Malham Cove in the Yorkshire Dales and want to take a shot of the rocks and surrounding countryside. The only issue is that the sky is hugely over-exposed, whilst the rocks and fields are under-exposed and wreathed in shadow – due to the extreme contrast, an HDR composition of this particular scene could look unnatural.
So how can you achieve perfection and improve your HDR photography? How can you capture stunning landscape photos and create a final effect that looks both beautiful and natural? If you follow the simple steps and guidelines we have formulated below, we are confident you can improve your HDR compositions ten-fold!