How to choose Photography Software
There are a large number of different software packages available aimed at photographers. Deciding which one is right for you can be a tricky business. Different software is good at different things, and the right software for you may not be the right software for another photographer.
So, I'm not going to tell you what the best photography software is, as that depends on you and your workflow. But in this article I'll cover the main points you should consider when looking at photography programs. This will help you evaluate what features are most important for you and which aren't needed, so you can make a more informed choice when deciding what software to go for.
Raw conversion support
If you take your photos in RAW format (which is generally a good idea if you plan on editing your photos at all), then you will probably want to make sure any software you're considering supports your camera's RAW format.
Some software doesn't support RAW files at all, only more basic formats such as JPEG. Other software may support RAW files from only a limited selection of cameras.
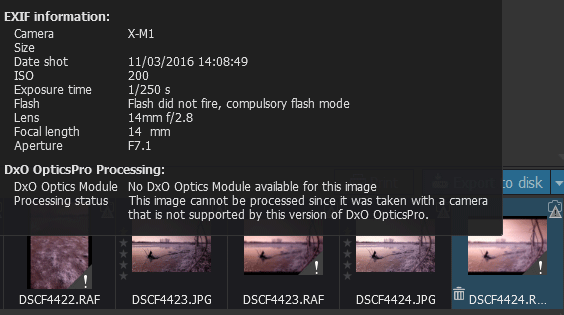
DXO doesn't support RAW files from some Fuji and Sigma cameras as they use a different color filter arrangement to the majority of other cameras.
The quality of RAW conversion also differs between software. Some give results that look very similar to what you see on the back of the camera by default. Others give default results that may be lower contrast or slightly different colors.
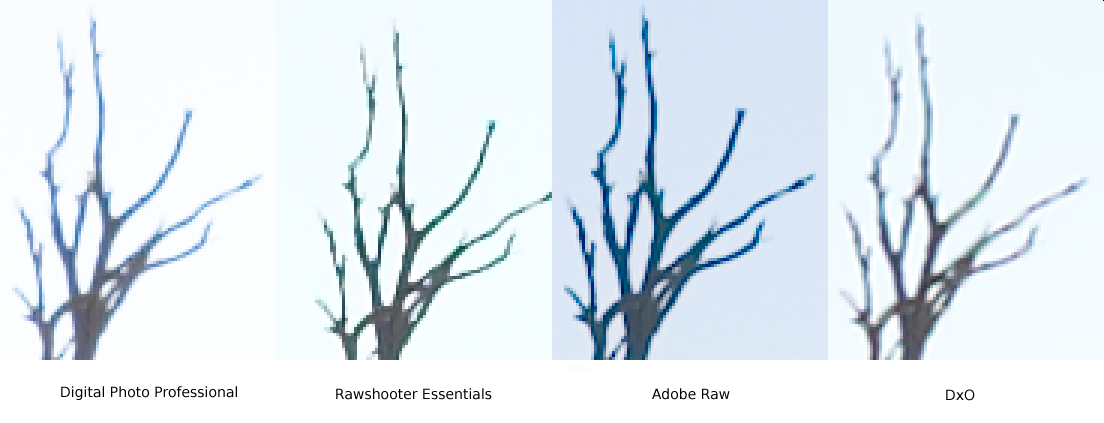
Raw convertors compared by Nelson Minar on Flickr (licensed CC-BY-SA)
Bundled software
Following on from the last point, most camera manufacturers bundle RAW conversion software with their cameras. You can use this to convert your RAW files and get an image that will very closely match (in most cases be identical to) the image you see on the camera.

JPEG image converted from RAW file using camera manufacturer supplied RAW software. The image matches the out of camera JPEG.

JPEG image straight out of camera.

JPEG image converted from RAW file using third party (Adobe) RAW software. Although close to the out of camera image, there are some subtle differences.
Most camera manufacturer produced software tends to be quite basic in the range of adjustments you can make. But depending on how much you want to edit your images, it may well offer enough functionality for you just by itself.
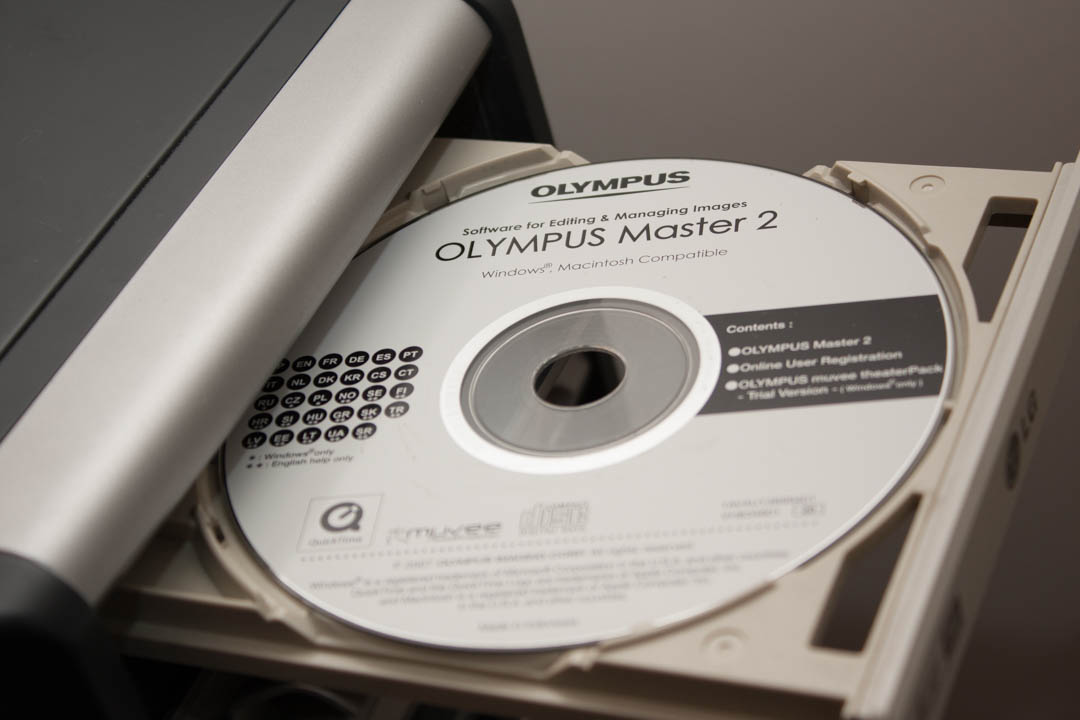
Example of a software CD bundled with a camera
And you can always convert RAW files with your camera's RAW conversion software, then edit them further in other software.
Quickly sorting through large image sets
Some image software is specially designed to enable you to quickly browse through a large set of images and mark your 'selects'. For people who take large numbers of photos such as Wedding, Sports, and Event photographers, this can be extremely useful.
The selects can then be processed immediately for quick sharing, or edited further later.
Similarly, if you take a set of very similar photos, being able to quickly look through the images and pick out the best shot can be a great time saver.
Marking selects in Photo Mechanic
Photo Mechanic is probably the most popular software for this kind of workflow. While something like Photoshop would be absolutely useless at this.
Batch processing
If you have a number of photos that you want to apply the same edits to, then batch processing is a very useful feature. You can edit one photo, then copy the settings for that photo and apply them to as many other photos as you like.
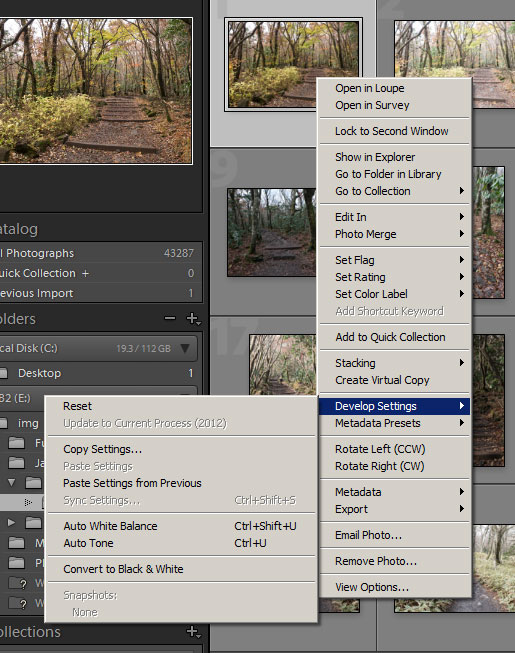
Copy & Paste options in Lightroom for copying settings from one image and then batch-pasting them to a selection of multiple images.
Being able to apply the same settings, such as white balance, or a specific stylization across a set of photos is very important for many photographers. In some cases you might apply a general preset that covers most of the changes you like to make to all your images, then edit some individual photos further.
Metadata
For stock and news photographers, metadata is very important. It lets them include information with the photograph that travels with it when it is distributed to stock or news agencies. Information such as title, description, and keywords.
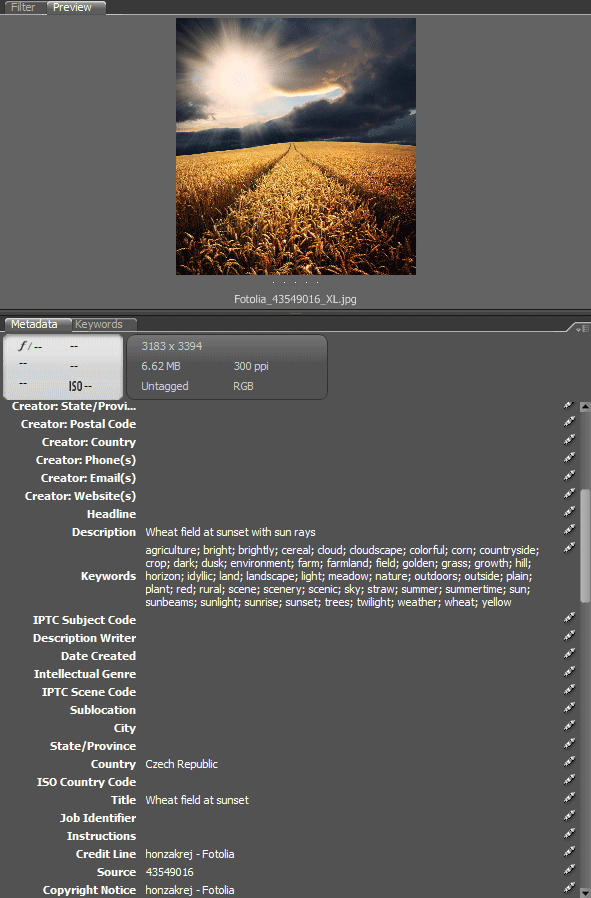
Viewing description and keyword metadata for a stock photo using Adobe Bridge
Software that lets you view, input, and search by metadata is extremely useful for some photographers then. For others it's not useful at all.
But even if you don't think it will be useful, it can sometimes be helpful to view the camera metadata for images. Looking at the shutter speed, aperture etc. you (or the camera) chose for a photo can aid in seeing how a photo was shot and why it turned out the way it did e.g. blurry or sharp. In turn this better helps you see the camera settings you're getting right or wrong, and so improve your photography.

Viewing camera metadata in Lightroom. The main points are summarized under the histogram at the top.
Extensive editing
Software varies greatly in the editing options featured, and how much control you get over each feature. For example one program may not offer any contrast adjustment. Another may offer settings of high, medium, and low. While another may allow you to adjust it using a slider from -100 to 100.
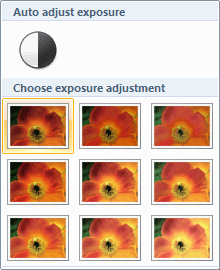
Windows Live Photo Gallery offers a simple brightness adjustment with only 9 possible choices.

ACR offers a variety of brightness controls, each of which can be carefully adjusted.
Software such as Lightroom offers quite an extensive range of adjustments compared to some programs. Indeed, it offers more than enough settings for many photographers. Yet it pales in terms of adjustments compared to full editing software such as Photoshop CC and GIMP.
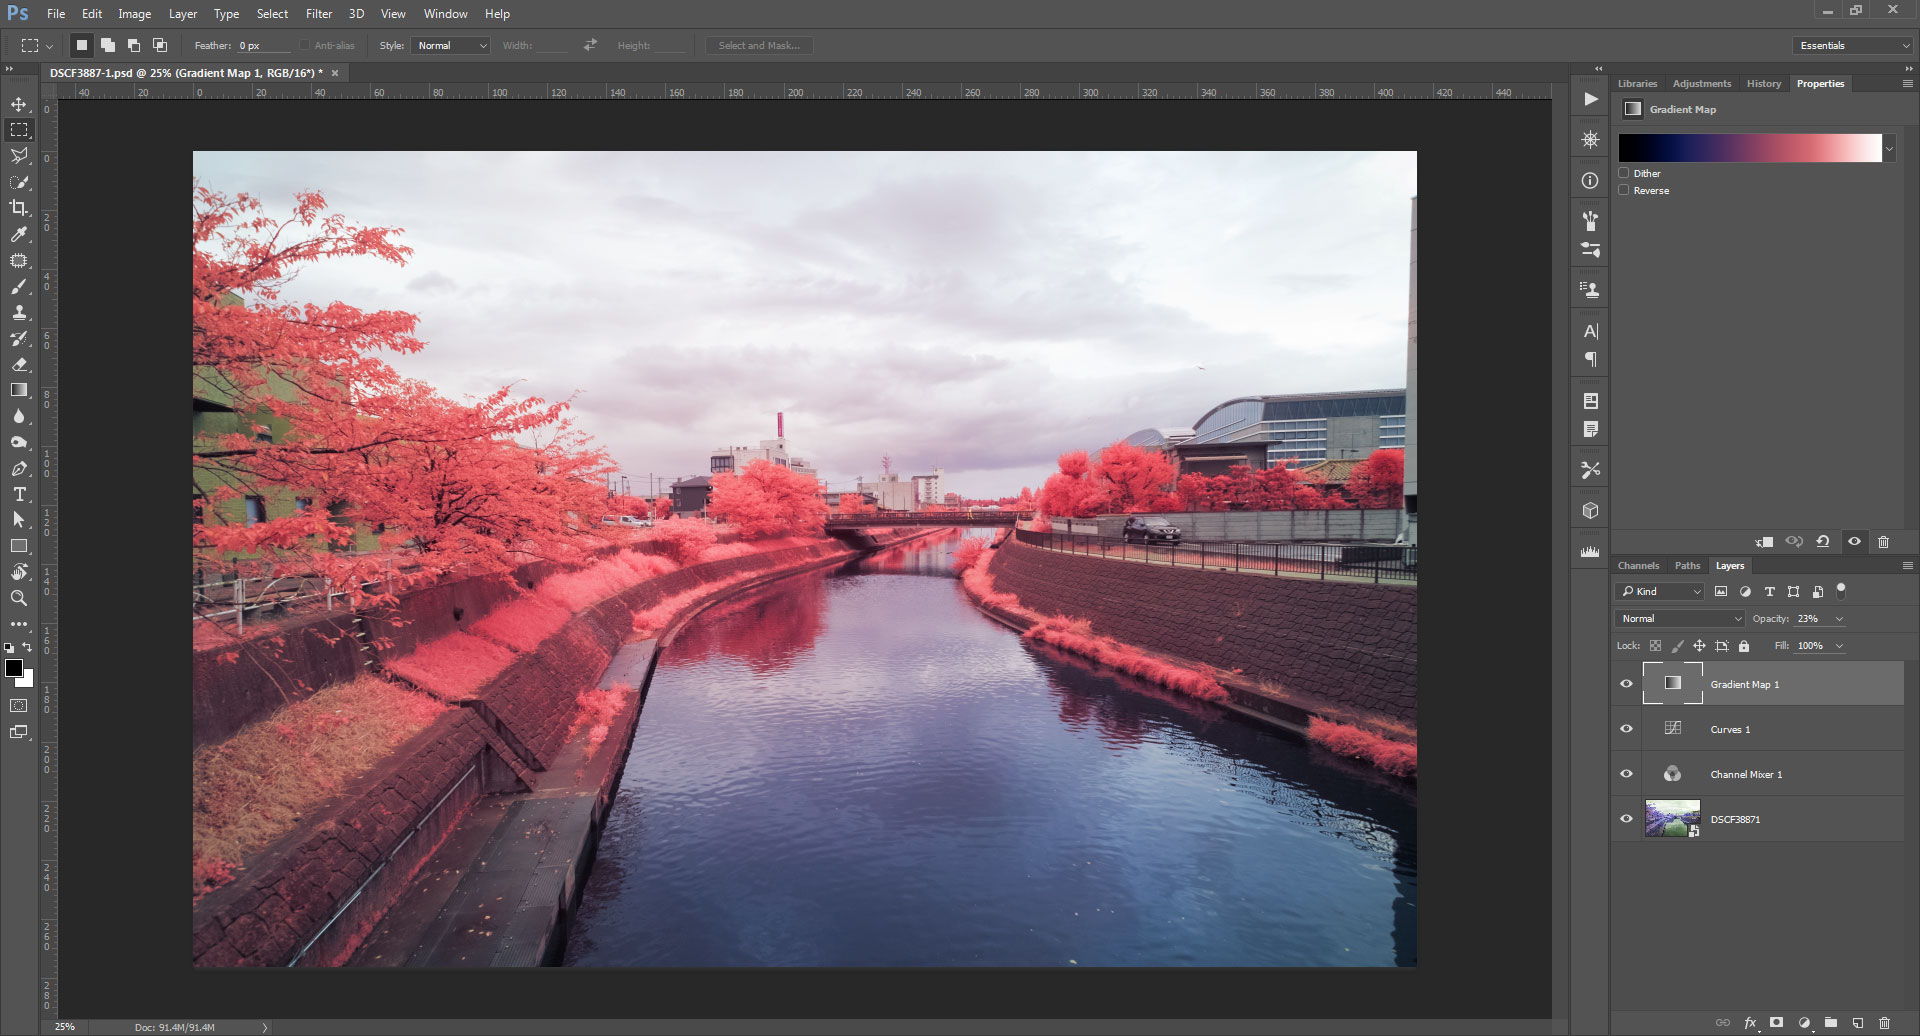
Layers
Layers are useful for layering one effect / edit on top of another. For example, you may have a color layer overlaid above a black and white image layer, overlaid at partial opacity above the full color image.
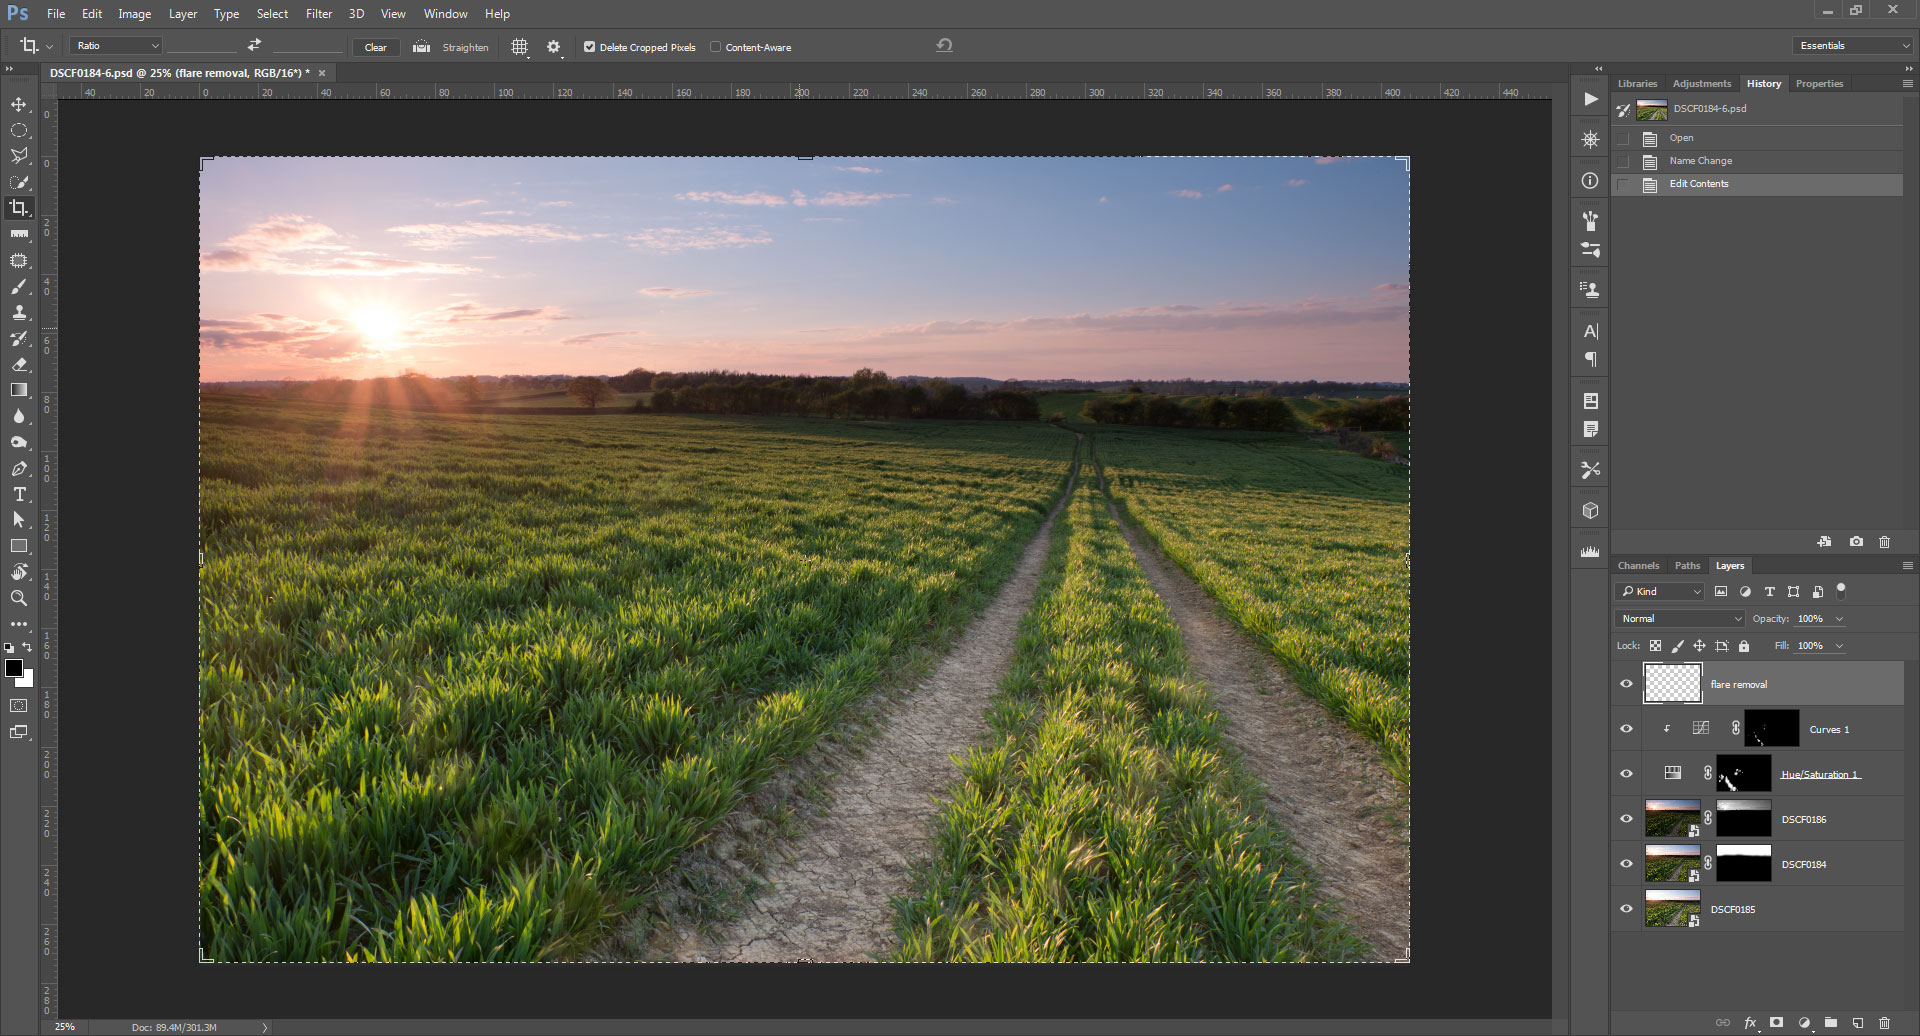
Using layers for exposure blending in Photoshop CC
They're also highly useful for compositing. You can have your main image on one layer and each element you composite in on separate layers. This allows you to easily make an adjustment to just one part of the image without having to worry about affecting other parts of the image.
Non destructive / Adjustable editing
Technically any image editing software could be thought of as non destructive. You can perform your edits then save the image as a new file, leaving the original image intact.
However, what is generally considered non-destructive editing is where the adjustments do not directly affect the image data, but are instead stored as a set of instructions on how to modify the image data.
This allows you to make adjustments to your image and save it. Then later you might change your mind about one of the adjustments you made to an image. You don't have to start over, but can simply open the file, and change that adjustment while leaving the rest of the adjustments you made intact.
Smart objects and adjustment layers in Photoshop CC make it easy to change a setting in one of the lower layers without having to redo later adjustments.
Just about all RAW editing / conversion software is non-destructive. Photoshop contains both destructive and non-destructive adjustment options. While many other software packages offer destructive only adjustments.
The thing to think about, is how often do you want to go back to an image and change it? And also how much do you edit your photos in general?
If you only perform one or two quick tweaks to an image normally, then a destructive editor where you have to go back and make those tweaks again to change it isn't a big problem. A non-destructive editing process wouldn't save you much time or trouble compared to a destructive one.
But if you make 5-10 edits with very image specific settings, then trying to make those edits again (when you've probably forgotten what settings you used) just to change one of the edits is going to be very annoying. A non-destructive editor would save you a lot of time and hassle.
Linear or non-linear
With a linear image editor each adjustment is applied in order, one on top of the other. This is all raster image editors, such as Photoshop and GIMP.
With a non-linear editor, the total effect of the adjustments is calculated and then applied - there is no order. This is most (all?) RAW editors.
For example, lets say I blur an image by using -100 sharpness over the whole image and then sharpen one area of it by adding +100 sharpness just to that area. In a linear editor the image is blurred, then the area is sharpened.

Here the image has been blurred, then an area in the bottom left was aggressively sharpened
Whereas with a non linear editor most of the image is blurred. But the area that had sharpening applied is not changed at all as the total effect of the edits in that area is no adjustment to sharpness (-100 + 100 = 0).
Same as above but using a non-linear editor
I'm hopeful that we'll see a non-linear option in software like GIMP and Photoshop in the future. Or otherwise see more of their tools appearing in non-linear software like Lightroom.
Learning curve
While it might seem of great benefit to have software that offers you the greatest range of editing capabilities, understanding how to use all that can be overwhelming.
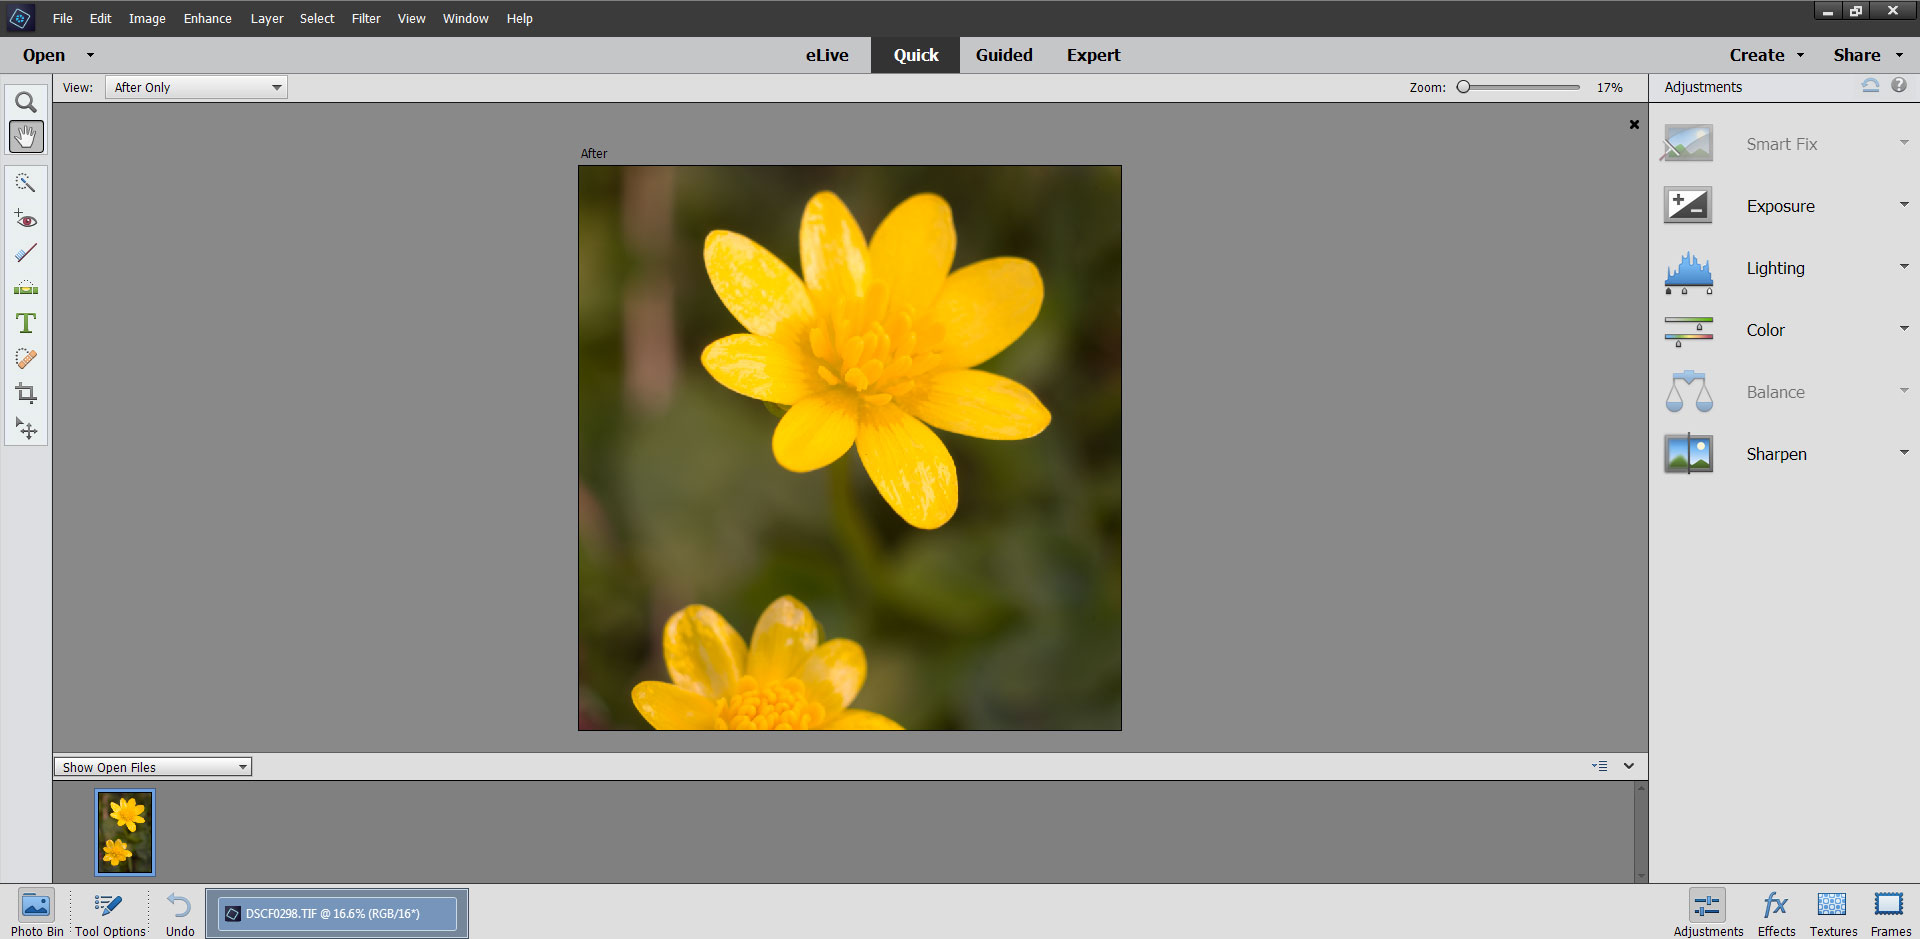
Photoshop Elements features different levels of control to tailor it to your skills
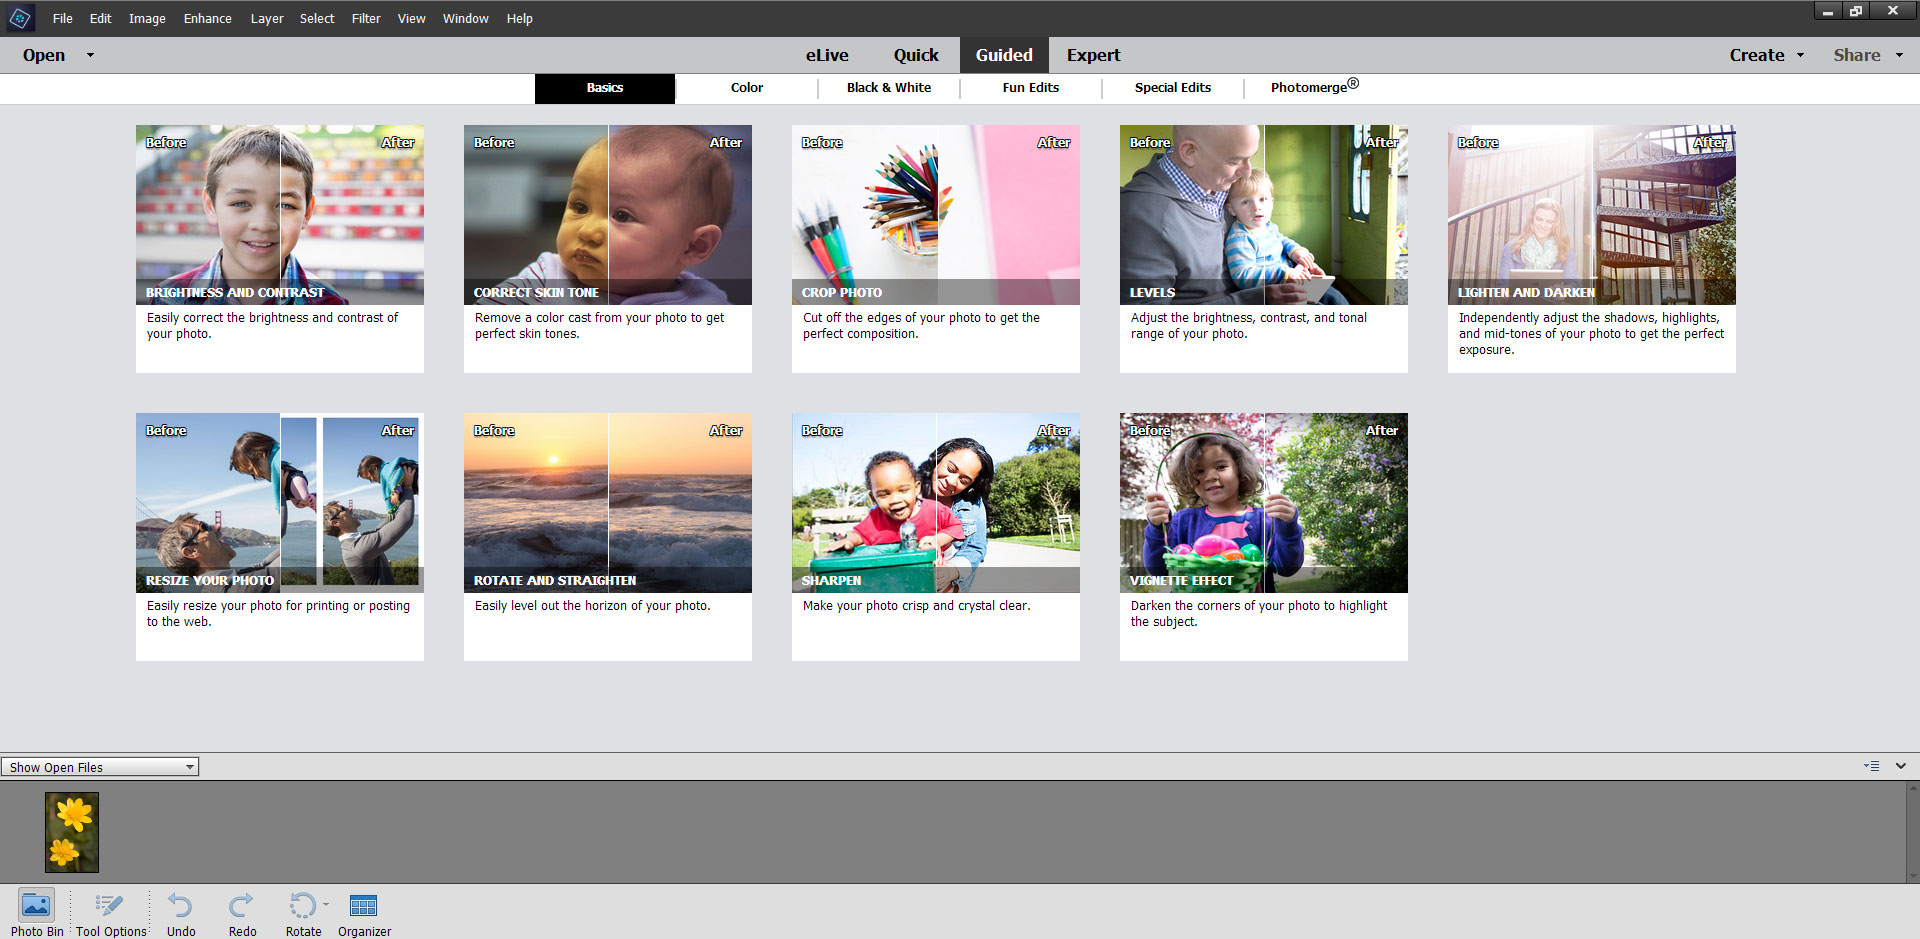
Photoshop Element's Guided interface

Photoshop Element's Expert interface with various controls and options
Think about how much time you want to spend editing, and how much time and effort you're willing to put in learning how to get the most out of the software. Also look online to see how much support and information is available to help you understand how to use the software effectively.
Cost
Cost varies widely from free to hundreds of dollars. Most software is available on a buy it once, use it forever basis. Charges are made for major updates / upgrades, but your software will still continue working the same as it always has if you don't upgrade.
Photoshop CC, on the other hand, is subscription based. So you can only use the software while you pay the subscription fee. If you stop paying the subscription, then the software will cease to work.
While Adobe's Photography subscription plan isn't too expensive, the cost does add up considerably over several years. But you need to consider that the plan includes all updates. If buying non-subscription software, you may want to upgrade every few years anyway to get access to support for new cameras, operating system(s), and new / improved features.
With free software, you can use it for as long you like, plus all updates will be free too.
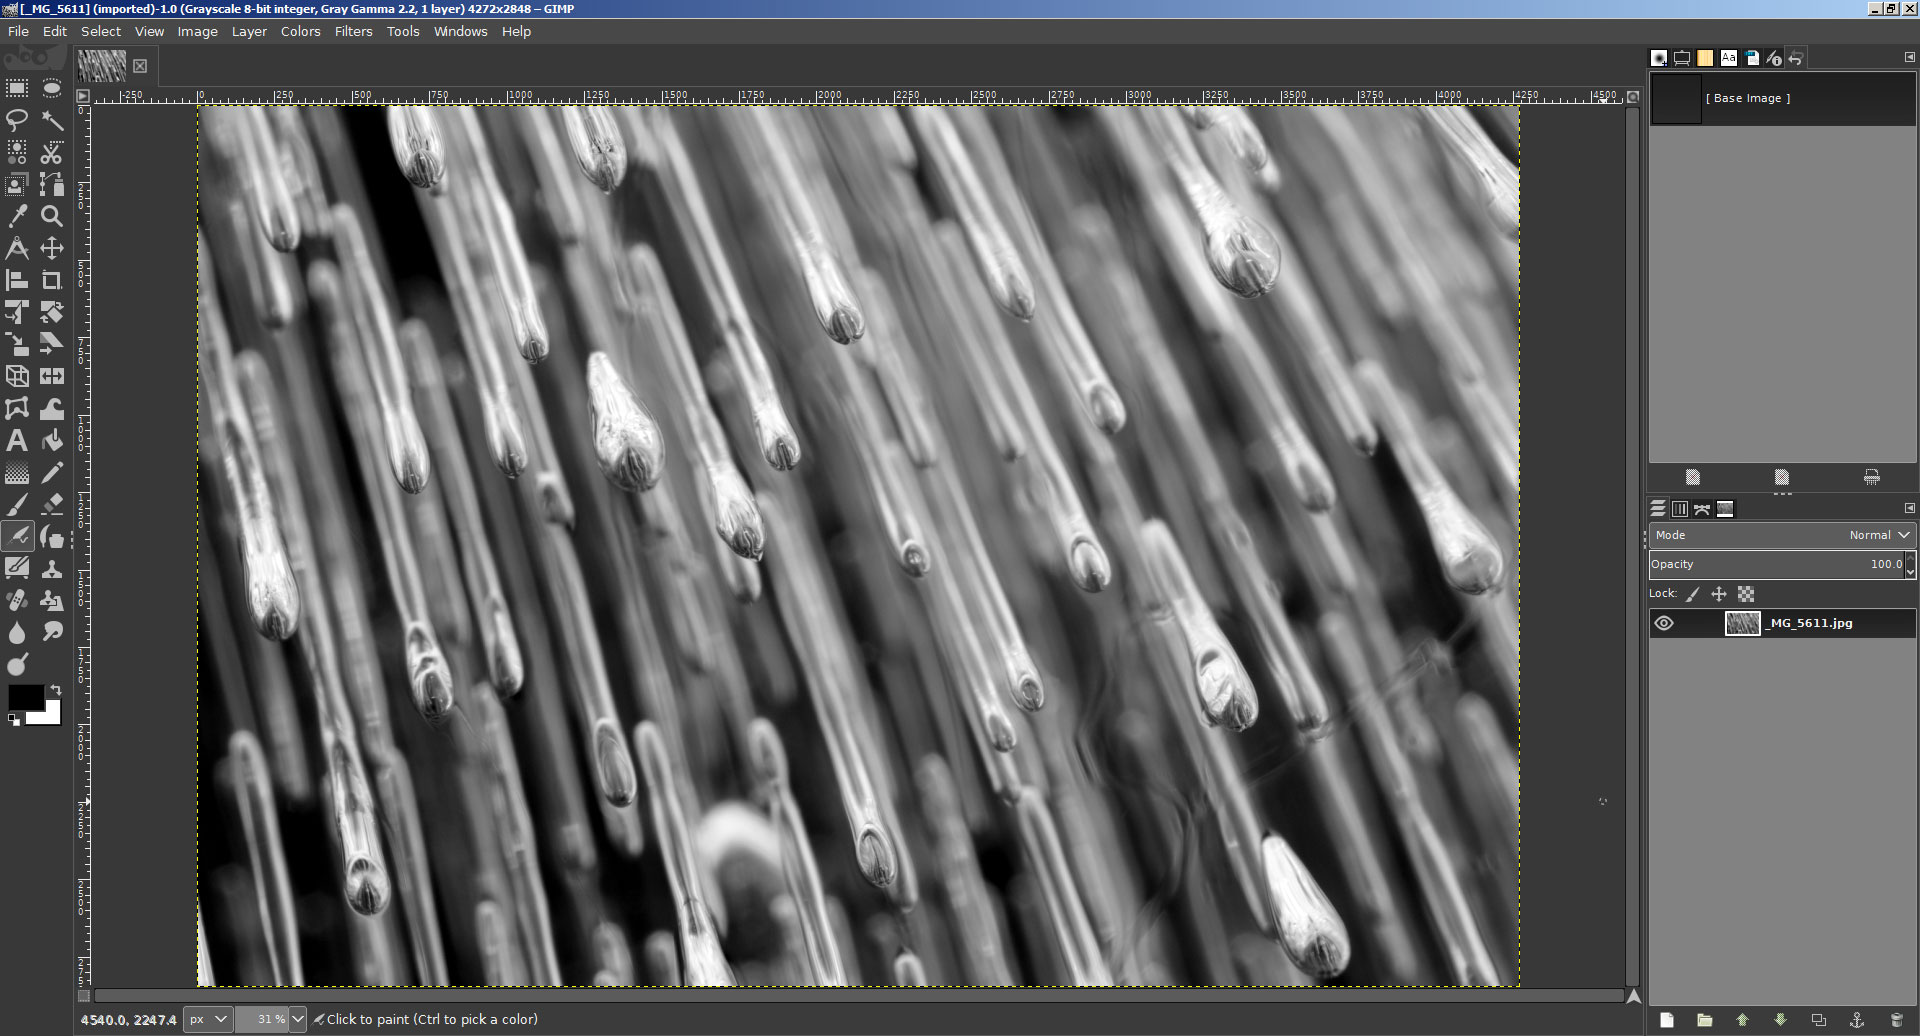
GIMP is a free fully featured image editor with regular updates
Trial Versions
After you've narrowed down what you need your software to do, you can probably find a quite few suitable software packages that will meet your requirements. Most will offer trial versions, so download them, try them out and see how you get on.
Some may offer restrictions such as no saving, or watermarks being added on top of exported images. But for seeing how the software works for you, this shouldn't really be a problem.


