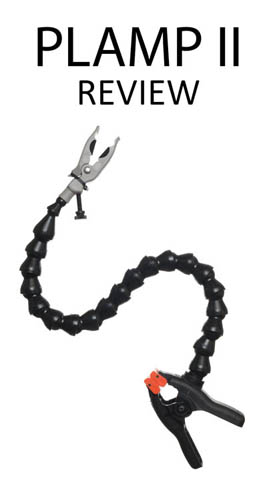
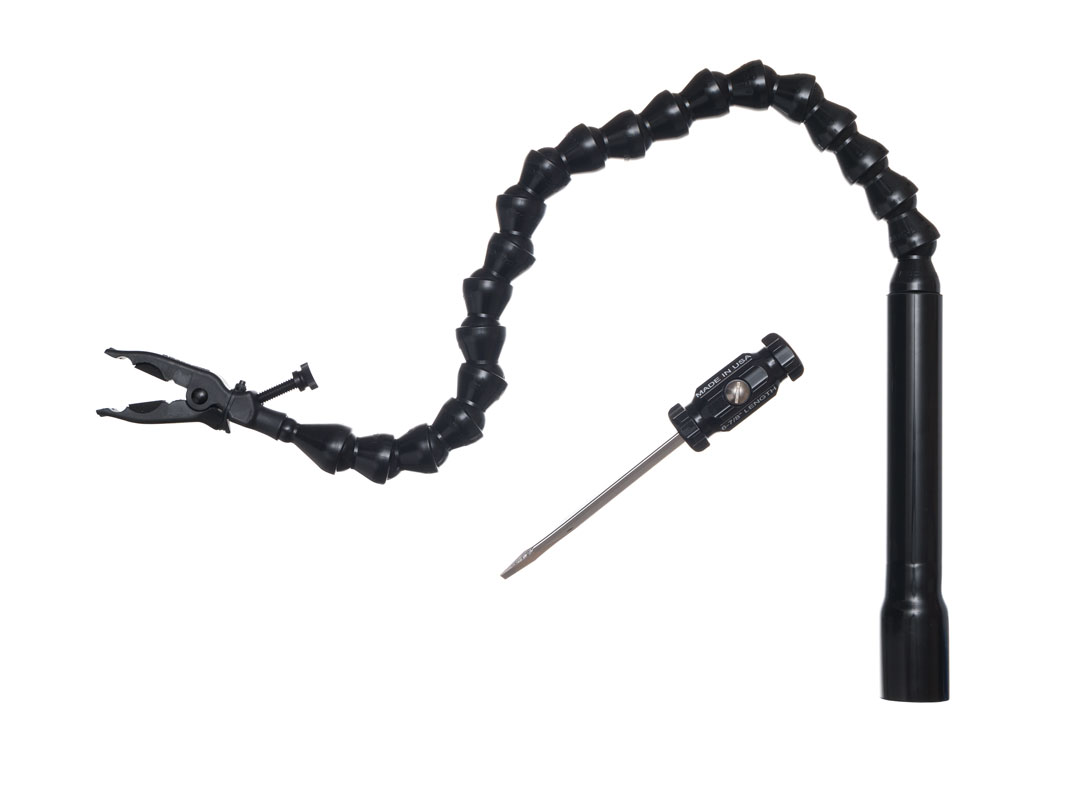
Wimberly Plamp 2 Review
The plamp is device designed for holding stems of plants steady without crushing them while you photograph the plant. Its name is a contraction of 'plant clamp'. However, it can also be used for other related tasks such as holding a small diffusion panel over the plant, giving you nicer lighting than harsh direct sunlight.
I was kindly sent a Plamp 2 and accessories by Wimberly to review. Having previously used the first version of the Plamp, in this review I'll cover the differences between the two products, and how the Plamp could be useful for your photography.
What is the Plamp?
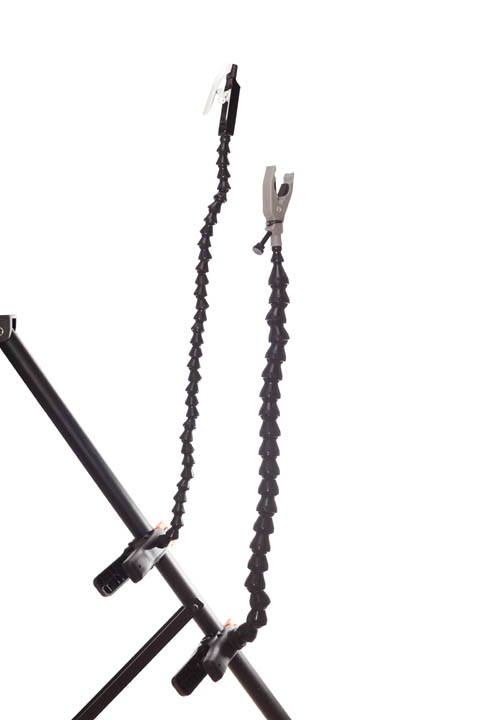
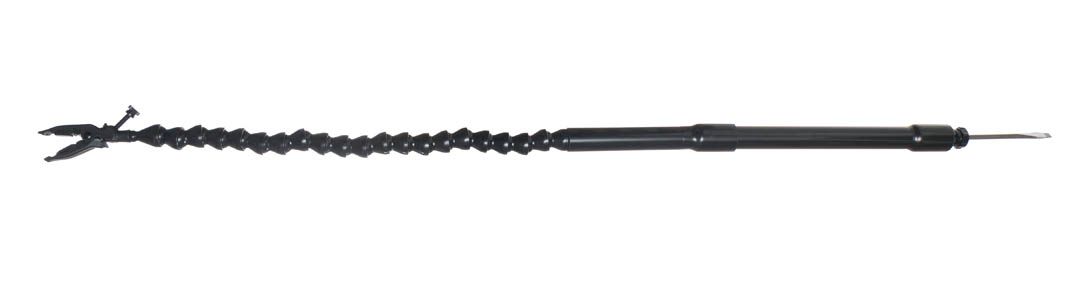
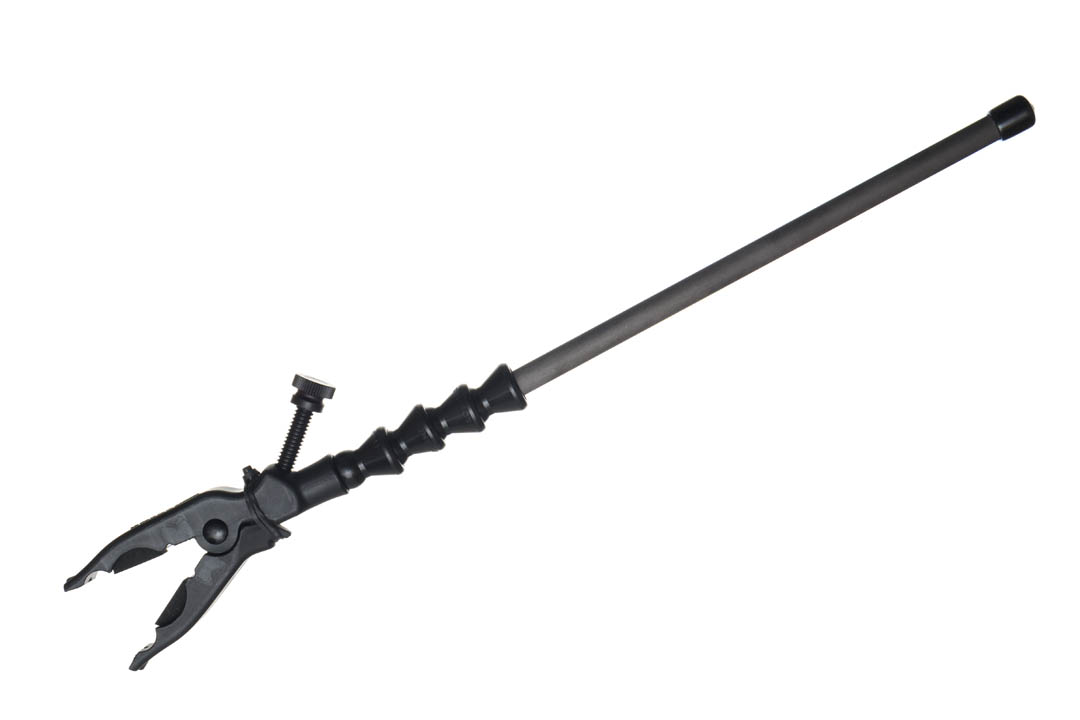
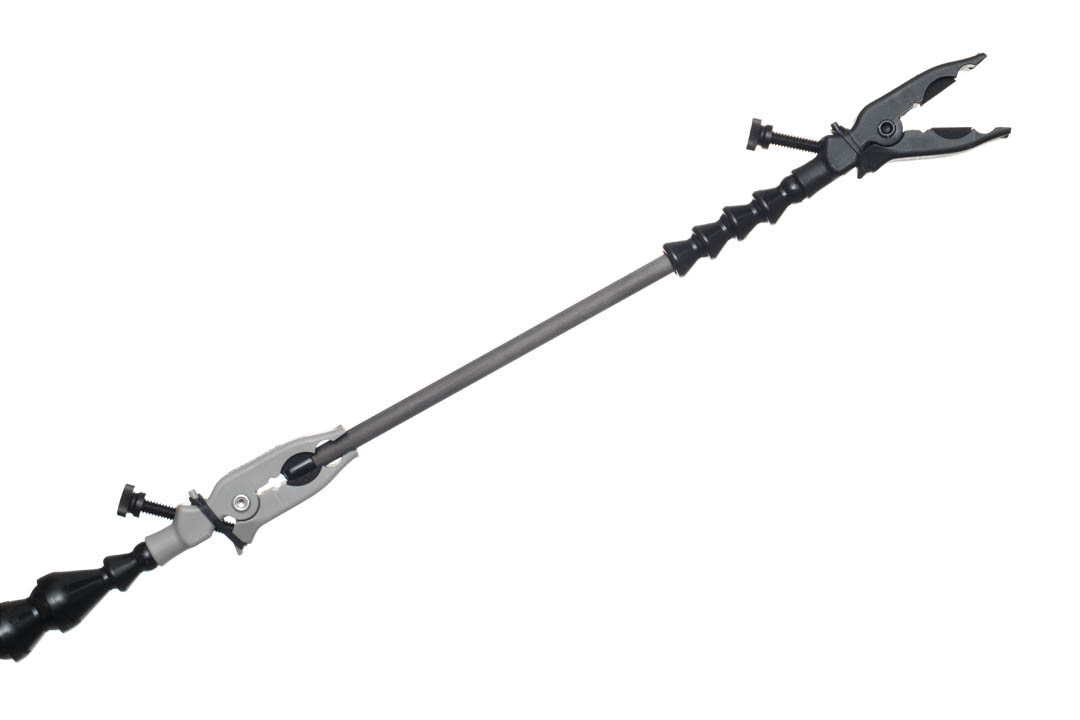
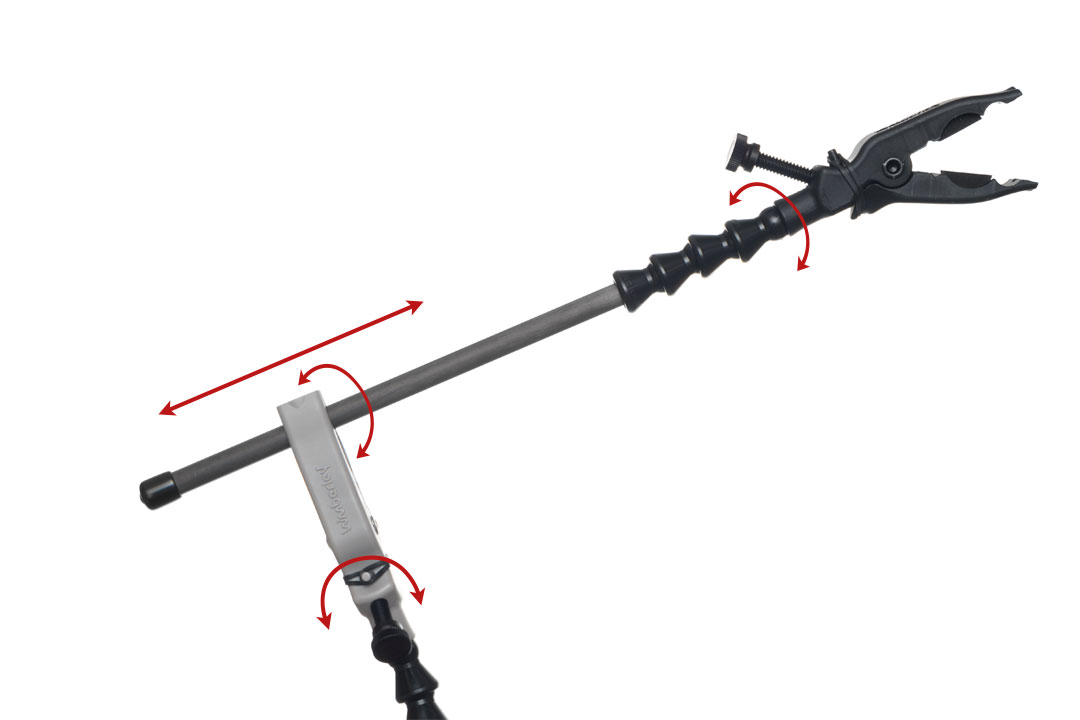
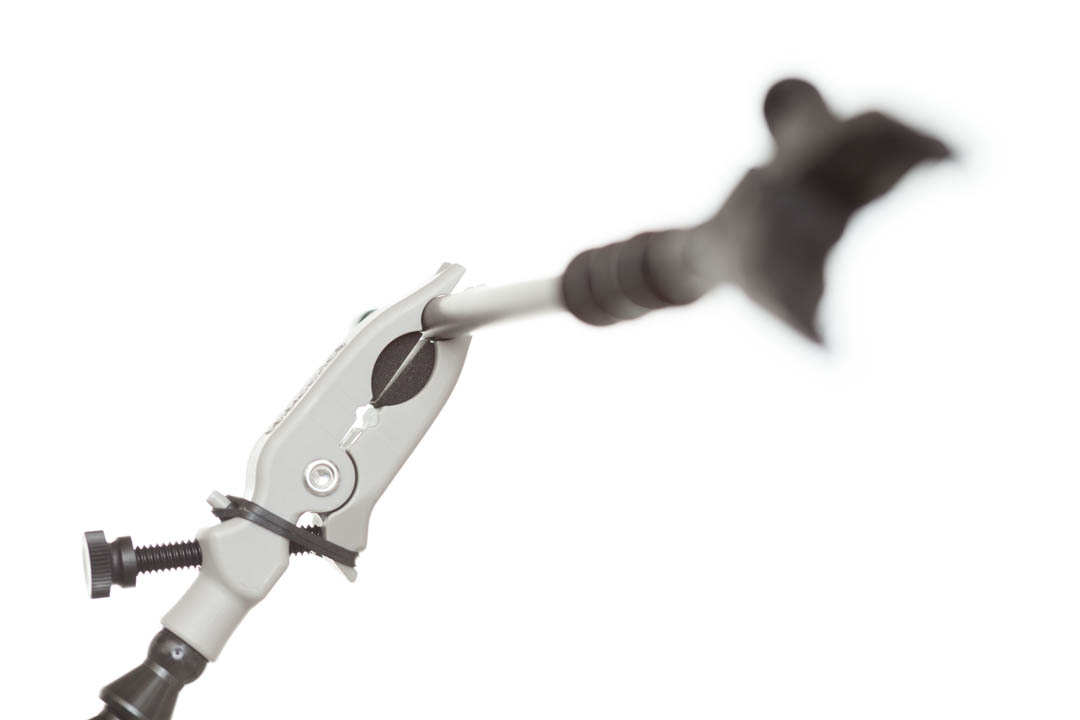
The plamp consists of a large clamp on one end, designed to clamp onto a tripod leg (or anything else of a similar size). At the other end is a smaller clamp, which you use to clamp onto the stem of the flower you're photographing and hold it steady.
The two clamps are connected together with a length of flexible loc-line tubing. This allows you to easily bend and position the arm.
The flexible arm section is around 45 cm / 18″ long, while the plant clamp is around 10 cm / 4″ long, giving you a fair amount of reach. Extensions (longer lengths of loc-line tubing) for the arm can be purchased separately. While this gives the arm more reach, it also reduces the effectiveness of the arm in keeping the plant it's gripping steady, and the ability to hold the weight of a reflector without sagging.
Compared to the original Plamp
New for the plamp 2 is that the plant clamp is normally open rather than closed. To close it you twist a screw attached to it, allowing you to precisely adjust how tightly the clamp is closed. Foam pads are in the centre of the clamp, so you shouldn't crush a stem even if you close the clamp completely.
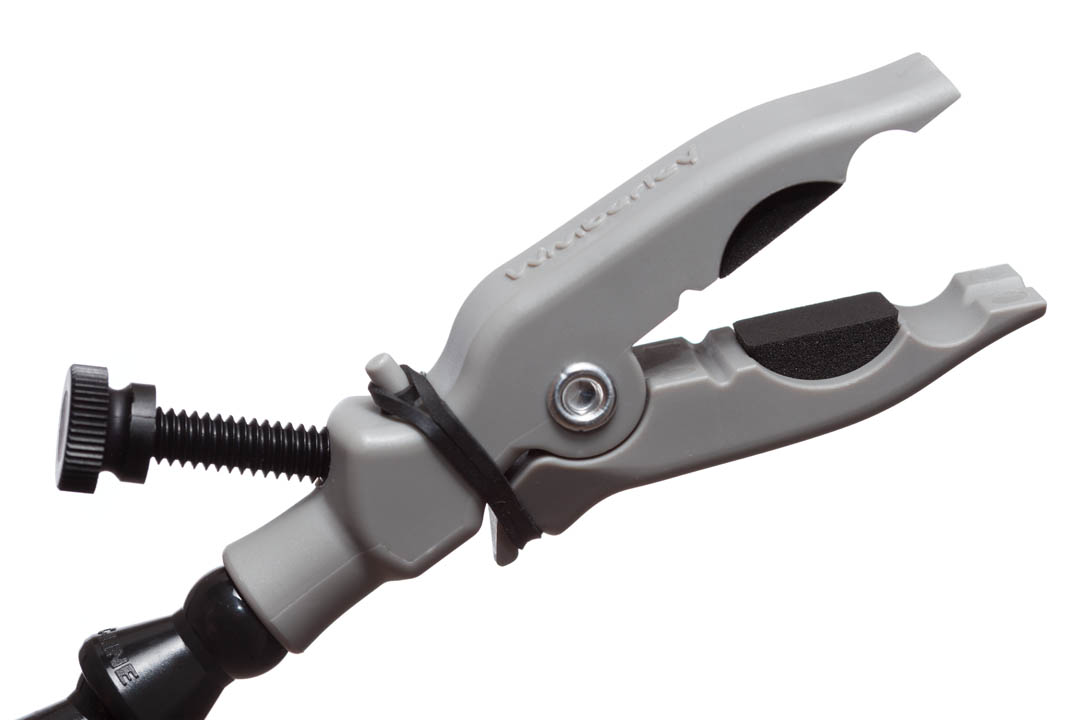
Plant clamp on the Plamp II
Plant clamp on the original Plamp
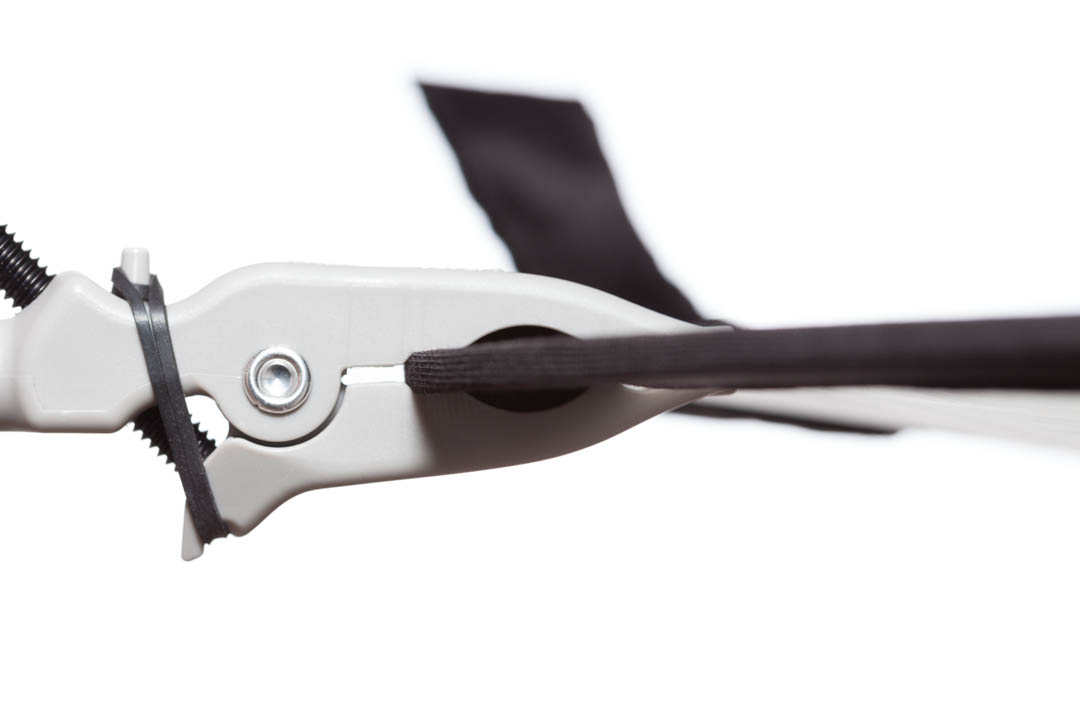
Another nice change to the plant clamp in the second version of the plamp is that it now has a notch designed to fit the steel rim of a collapsible diffuser. The original plamp was certainly useable for holding a (small) diffuser, but the new Plamp II is quite a bit better.

Plamp II holding a collapsible diffuser - note how the steel rim of the diffuser nicely slots into the notch in the clamp
Another view of the clamp holding a collapsible diffuser
When holding a collapsible diffuser it holds it nice and firmly. When adding the reflective cover over the diffuser (before attaching it to the plamp) the grip is good, but there is a bit of flop. So it would be advised to use the plamp to grip the diffuser without the cover, then put the reflective cover on over the diffuser after.
The tubing used for the plamp's arm is made of larger pieces in the Plamp II. In theory this should make it better for holding heavier items without flopping / bending than the original plamp. However, neither can handle much weight, and I didn't find anything the Plamp II could handle that the original couldn't.
Original plamp (left) and the plamp II (right) compared
The main point of the plamp is as a helping hand when photographing outdoors. It will hold a small diffusion panel, but it's not going to hold a portrait size diffusion panel. (At least not by itself, using multiple plamps to grip it at various points may work but is unlikely to be the best or most cost efficient solution).
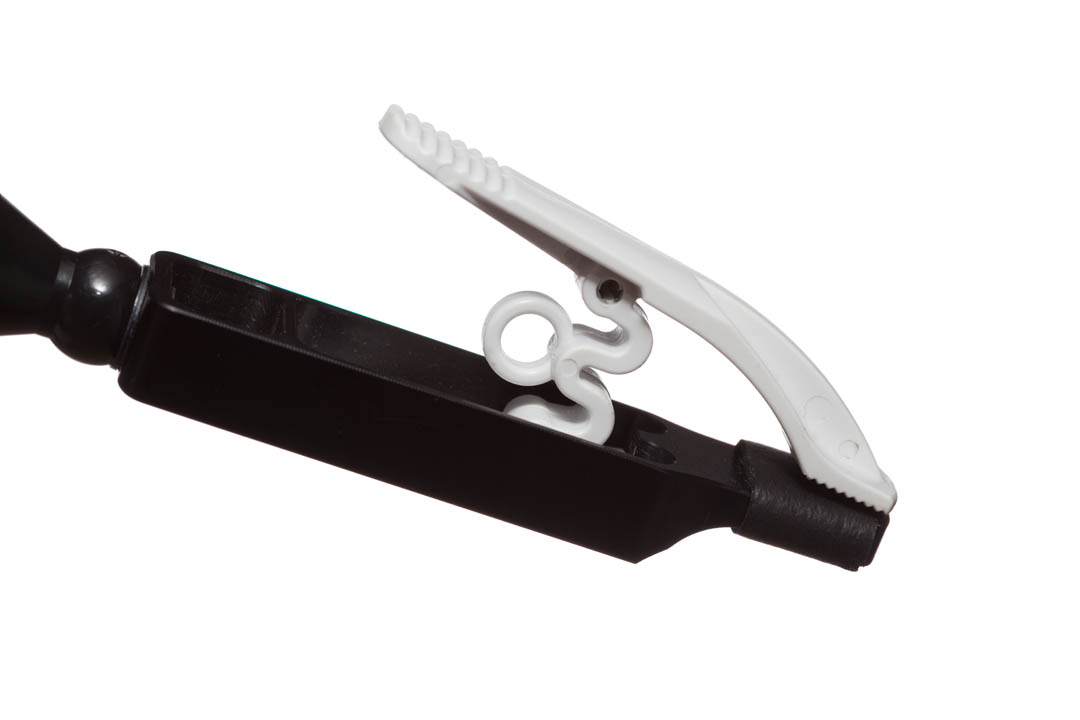
The new plant clamp opens slightly wider than the original. This means it can be used to hold a small flashlight, which may be of interest to a few photographers, but I can't see it being much of a benefit to most.
One potential negative of the Plamp II is that the plant clamp is held open by a rubber band. According to Wimberley it is: made of very weather/UV resistant EPDM (the same material rubber roofs are made of).
Whether or not the band does atrophy like most rubber bands is a question that can only be answered over time. In the event it does break, it looks like a standard rubber band could be used in its place anyway.
Using the Plamp
While you can make relatively small adjustments to the bend of the arm, you can't really make the sort of precise adjustments to get a flower framed exactly how you want it. It does help in the general positioning of the subject for framing, but you'll still need to mainly rely in getting your camera and tripod set for the framing correctly.
And mentioning that, you'll often find that when you plamp a flower stem, it will change the position of the flower. Even though it will usually be only a small change, when dealing with small subjects such as flowers, it's enough to throw off your framing and focus. So I strongly recommend plamping a flower first, then setting up your camera and getting your framing and focus correct.
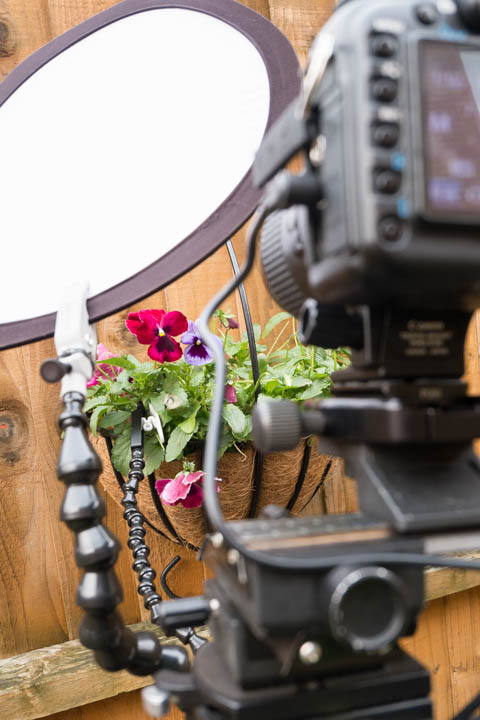
Here I'm using the original plamp, not to hold a flower steady, but rather to position it for the composition I wanted. Note the plant is clamped quite low down, with the clamp well out of the frame. A plamp II is also being used to hold a small diffusion panel, which I fire a handheld off-camera flash unit through for lighting.
The usefulness of the plamp for holding a flower steady does depend on how you are framing your shot. If you frame it with the stem leading away from the flower in the background, then the plamp will be visible if you clamp it onto that stem.
Sometimes you might frame a shot so that the plamp can hold the stem while just being out of the frame, but find that to do this it needs to be clamped quite a long way down the stem. This leaves a lot of stem for the flower to blow about on. The nearer the flower you can clamp, the less movement you'll get.
Whether you're using the plamp to hold a diffusion panel over the plant you're photographing, or to hold onto and steady the plant, you need your tripod fairly close to the plant. Otherwise when you attach the large clamp of the plamp to your tripod leg, the arm won't reach far enough to the plant.
In practice I have very rarely found this to be an issue. However, I do mainly shoot close-ups / macro, using focal lengths of 100mm or less. If you want images showing more of the whole plant, or a group of larger flowers, this could be more problematic. Similarly if you use longer focal lengths that give a large working distance between the camera and subject.
To solve this problem, Wimberley offers a couple of additional accessories - the plamp stake and an extension rod. (As well as the additional arm tubing extension sections I mentioned earlier). I'll cover these in more detail later.
Something that Wimberley mentions in the instruction sheet for the Plamp II is that you need to bear in mind that vibrations from the camera / tripod can travel down the plamp's arm to the flower, which could potentially result in a slightly blurry image. They recommend that you use your DSLR camera's Mirror up function and a remote shutter release to avoid this problem.
I've never come across this problem in actual use, but my use of the plamp is normally to hold the plant steady enough for framing, not for exposure. I normally rely on a fastish (1/100s or faster) shutter speed or flash to get a sharp image with no blurring from movement of the flower.
The instruction sheet included with the Plamp II (and the other Plamp accessories) is very useful. It gives information on the plamp, how to use it, and ideas on where / how it can be useful in your photography. There are plenty of illustrative images to make everything as clear as possible.
Plamp stake
The plamp stake is designed to stab into the ground next to the plant you're photographing, and provide a stable tube that the plamp's large clamp can grip onto instead of a tripod leg. This allows you to use the plamp to hold plants steady / hold diffusers / reflectors near plants without having to have your tripod near the plant for the plamp to grip onto.
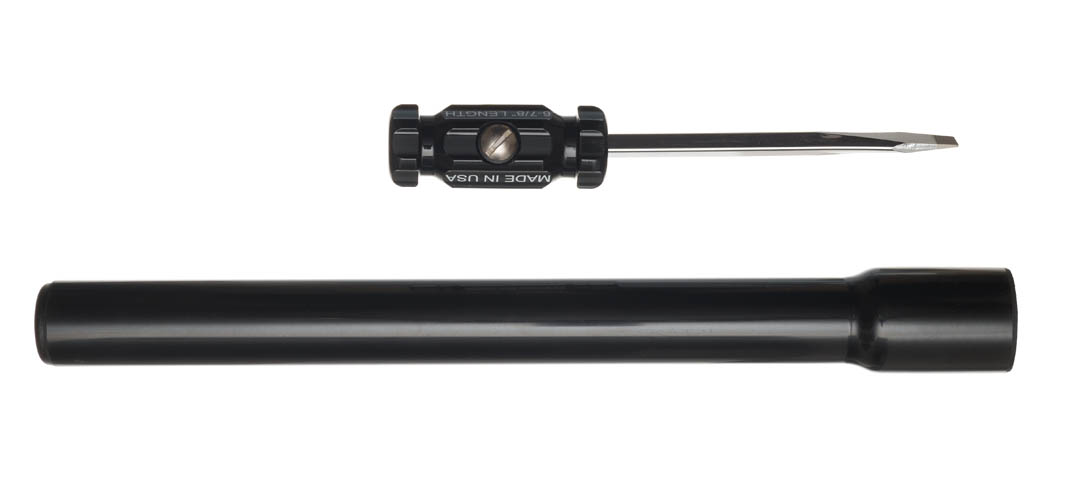
Plamp stake parts
The stake is fairly simple - it consists of a flat head screwdriver you stab into the ground, and a tube that slips over the screw driver's handle to provide an area you can clamp the plamp onto. However, it is quite well thought out.
When not in use the screwdriver can be inserted blade first into the extension tube. After inserting the screwdriver into the ground, the blade could be a bit muddy. Storing it like this with the blade inside the tube prevents it getting the rest of your gear dirty in your bag until you get home and can clean the blade off.

Plamp stake assembled
With stake part reversed for storage
Another nice point is that a screw is inserted in the handle of the screwdriver. After a long period of use you could find that the handle of the screwdriver begins to fit a bit more loosely in the tube than you would like. By loosening this screw slightly you effectively make the handle of the screwdriver fatter, so it will fit more tightly in the tube again.
The extension tube is also designed so that you can purchase spare extension tubes and fit them one on top of the other. This allows you to create quite a tall extension stake, so you can plamp flowers on bushes that are higher up. I can't imagine this functionality would be needed very much, but it's nice that the feature is there should you ever need it.
Ground Plamp
The Ground plamp is a plamp stake plus plamp II combined in one. Rather than having a clamp to attach to your tripod on one end of the plamp arm, instead it is directly attached to the end of the plamp stake tube. The arm length is the same as the plamp II, and the clamp is also the same.
The Ground Plamp with stake
Obviously the ground plamp is quite a bit less flexible (in terms of use, not how bendy the arm is) than the plamp plus a ground stake. However, if your only use is photographing plants outdoors, and you tend to work with your camera a metre or more from the plant, then it will be a more cost effective choice.
Ground Plamp with extension tube
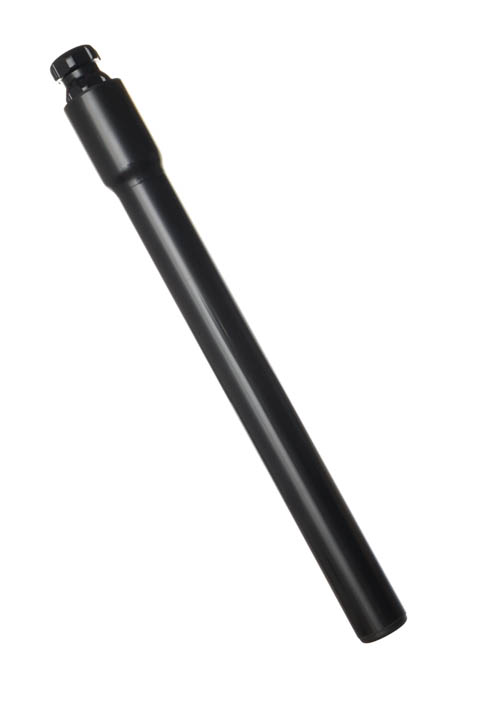
Plamp extension rod
The plamp extension rod consists of the plamp II clamp on a short piece of small loc-line tubing, attached to a thin carbon fiber tube around 20 cm in length. The extension rod is designed to be used in conjunction with another plamp II (either the standard plamp or the ground plamp).
Plamp extension rod
Rather than using the plamp to grip the plant / diffusion panel, you instead use it to grip the rod of the extension rod. This can be done two ways. You can grip the rod so it acts as an extension to the plamp, making it longer. Or you can grip the rod so that it runs horizontal to the plamp.
Extension arm gripped by plamp as length extension
With the horizontal grip, so long as you don't grip the extension rod too tightly, you should be able to slide the rod back and forth in the clamp. This enables you to make more precise adjustments to the position of the flower the extension rod is holding than you could if you were holding the flower in just the standard plamp.
Plamp holding extension arm at 90° for precision adjustments
Close-up of the clamp showing the circular notch for holding the extension arm while allowing for sliding it back and forth and rotating it
As well as adjusting the rod back and forwards, you can also rotate it. And you can rotate the plamp head holding the extension rod to tilt it further up or down. So it allows a fair bit of extra control. However, for macro work the adjustments can still be a bit crude. Don't expect precision like geared adjustments on a focusing rail or tripod head can give you for your camera.
Summary
Not surprisingly, as someone that already owns and uses the original Plamp, I found the Plamp II very useful. It's just an improved version of the original.
Is it worth purchasing if you already own the original? I would say if you mainly use your plamp for holding a collapsible diffusion panel / reflector then yes. The simple addition of the notch in the clamp for the steel rim of the diffuser to fit into makes it much easier to grip and position a small diffusion panel.
If you mainly use the plamp for steadying / positioning flowers you're photographing, then there's not a great deal of benefit the plamp II offers over the original. Being able to adjust how tightly the plamp is closed is nice, but I never found the original plamp crushing a plant stem.
If you don't already own a plamp, then you should be able to judge from your own experience whether it would make a worthwhile purchase. Do you photograph flowers quite a bit? Do you often have trouble with them blowing about in the wind? Do you often wish you could adjust the position of a flower? Do you use a collapsible diffusion panel and have trouble keeping it in place or holding it while trying to take the photo at the same time?
If any of those is true for you, then you'll likely find the plamp very useful. It's by no means an essential accessory for flower photography. For many of my flower photos I don't even use it. But I do find it useful often enough that it's worth keeping in my bag whenever photographing flowers, so that I have it when I need it.


