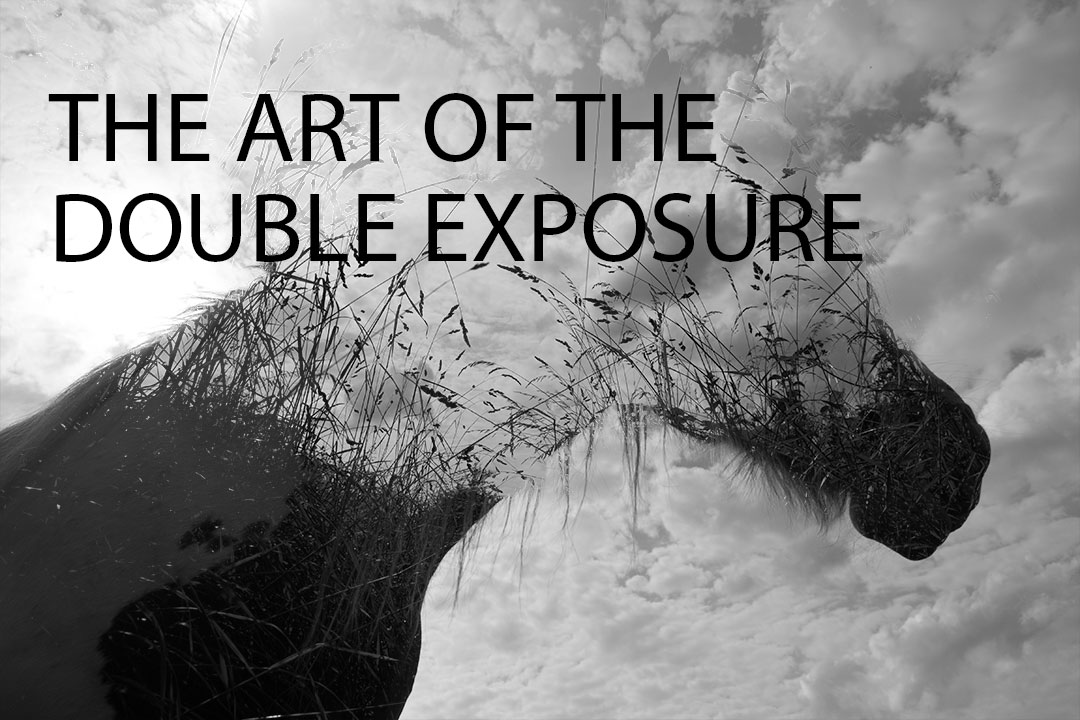
The art of the Double Exposure
A double exposure is a creative technique where you combine two (or more) photos in a single image. It is quite an old technique, before digital it meant capturing two exposures on a single frame of film. But with today's modern cameras and software, creating a good double exposure image is much easier.
The way a double exposure image works is that the exposure is additive. The brightness of the second image is added to the brightness of the first image. An area that is bright in either image will appear bright in the final image, while an area that is dark in both images will appear dark in the final image.
So, for a good double exposure you must have images with dark areas in them that will overlap (otherwise you'd just end up with a bright, blown out image).
The key is the way that these dark parts of images overlap. If they are are closely overlapping, you'll likely end up with quite a boring image. But if you have an image with both bright and dark areas overlapping a dark area on the other image, then there is a greater chance of achieving a much more interesting image.
Brad by Brad Hammonds on Flickr (licensed CC-BY)
For creating a double exposure photo, many modern digital cameras allow you to do this in-camera. While the exact implementation varies between camera manufacturers, most allow you to take a single photo, then for the next photo the first photo is superimposed on the screen. This makes creating an effective composition much easier as you can see what the final result will be.
Many cameras also offer a range of options for the double exposure. You can change how many frames to use (so you can create a triple or quadruple exposure). Or change how the two images are blended together, and use a blending method different to the traditional 'additive' one.
If your camera can take double exposures, it is well worth playing around with it and exploring the different options.

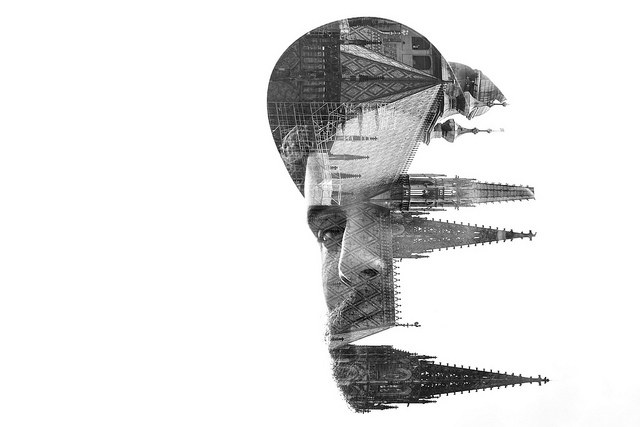
Day 79/365 — 03/20/2014: Digital Double Exposure by Brandon Nguyen on Flickr (licensed CC-BY)
However, not all cameras can capture double exposures. And even for those that can, they can't match the control you have when creating a double exposure in software. Any image editing software that supports layers and blend modes can be used to create a double exposure. (The usual suspects - GIMP, Photoshop Elements, Photoshop CC, and Paintshop Pro are all suitable software packages for creating double exposure photos).
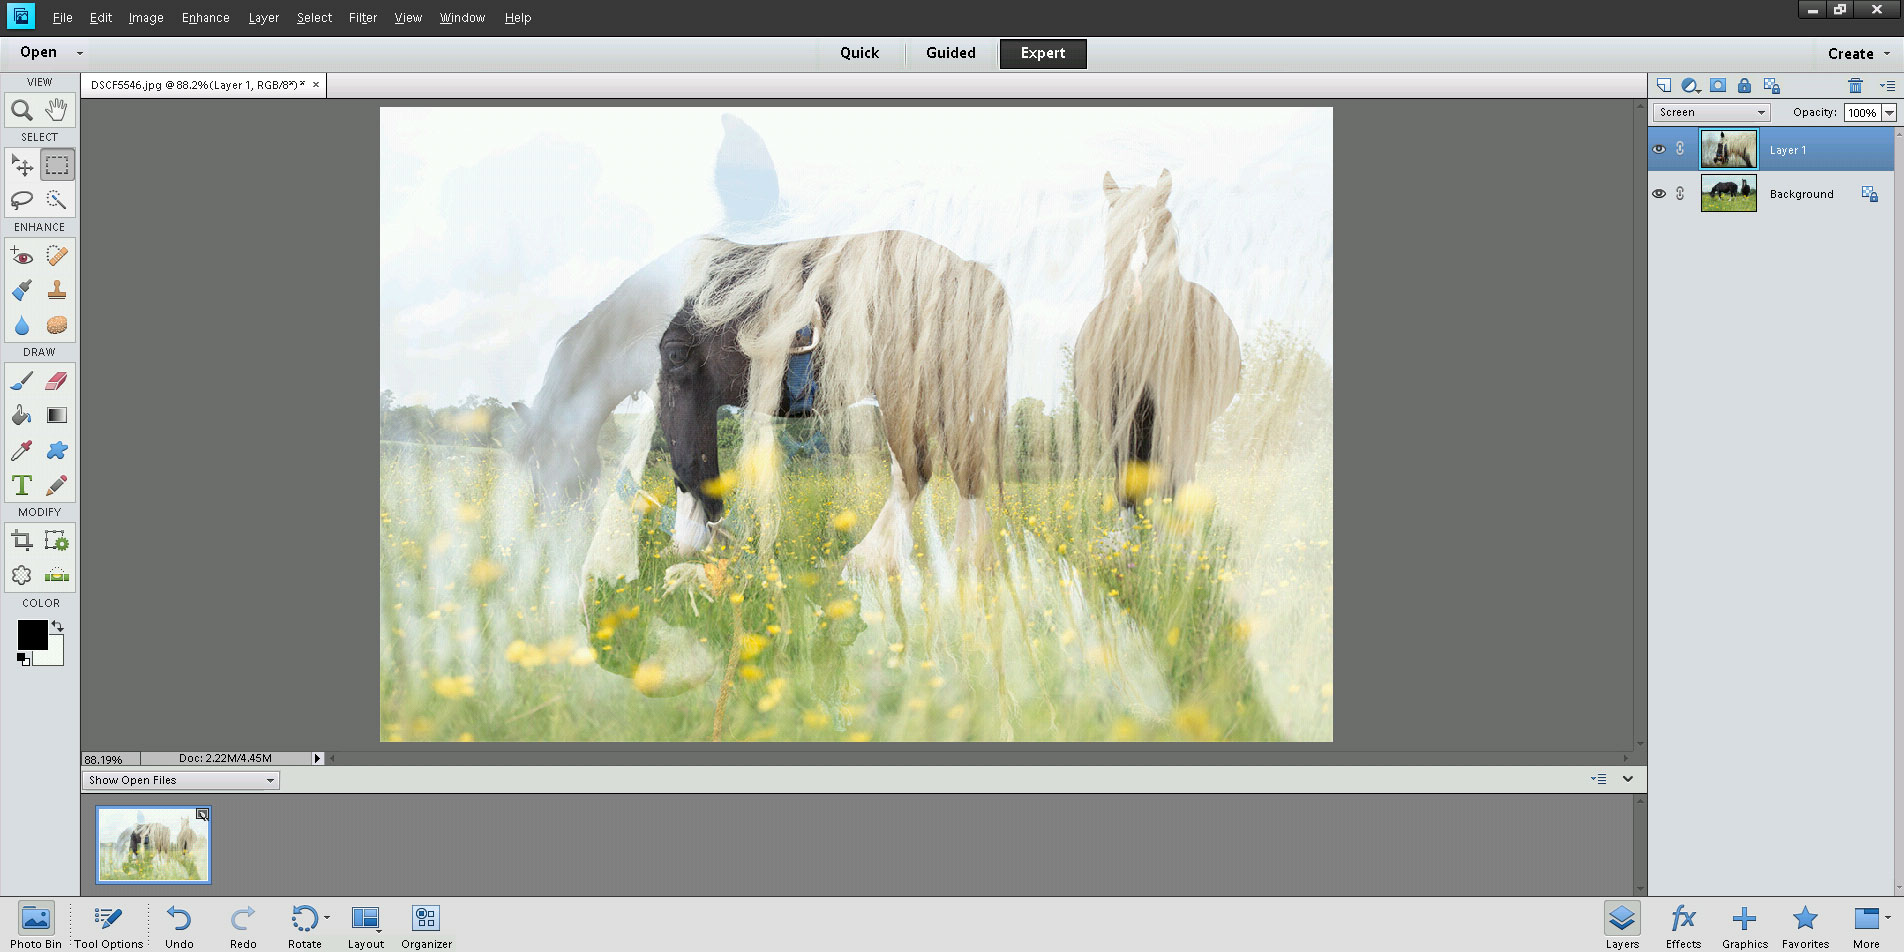
For the purposes of this article I'll be using Photoshop Elements, as that seems to be the most popular. However, the process is pretty similar whatever image editing software you're using.
Open both your images you want to create the double exposure from in Photoshop. Now go to Window > Images > Tile on the menu. This will now show you both images side by side.
In the layers palette click and drag the layer from the active image to the other image while holding down the shift key on the keyboard.
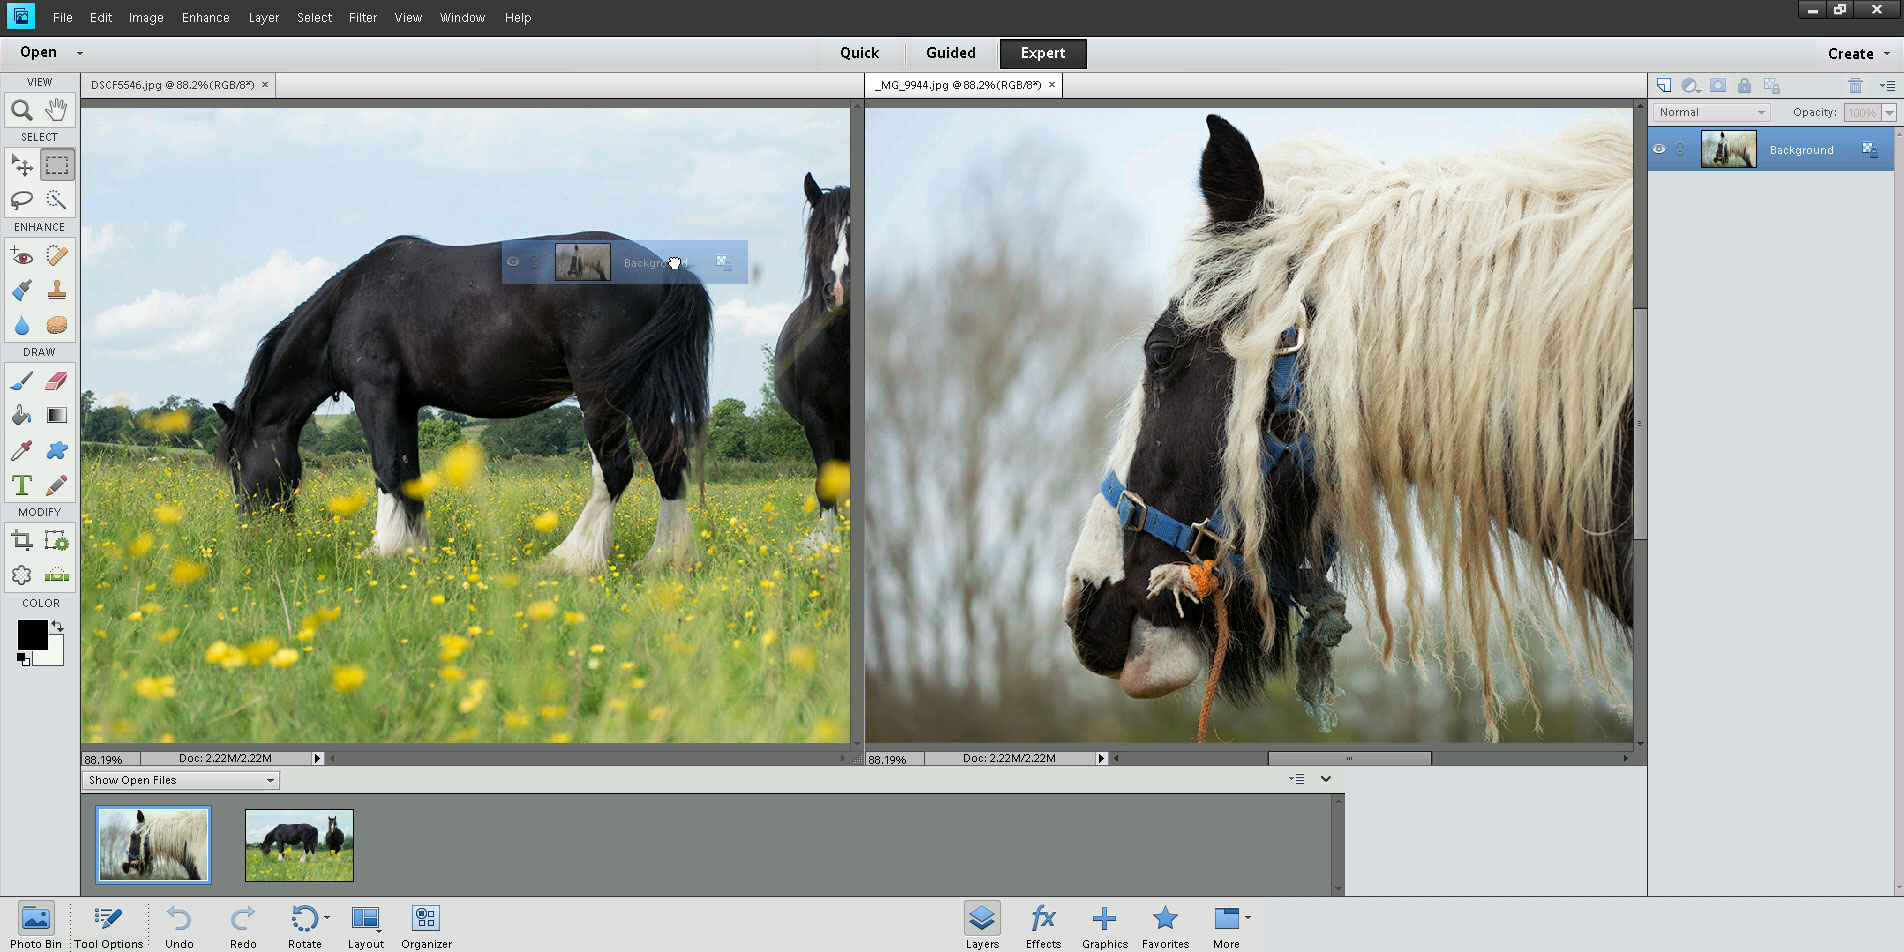
You should now have both images as layers in a single document, so you can close the other image that you just copied the layer from.
With the top layer selected in the layer palette, change the blend mode to 'screen'.
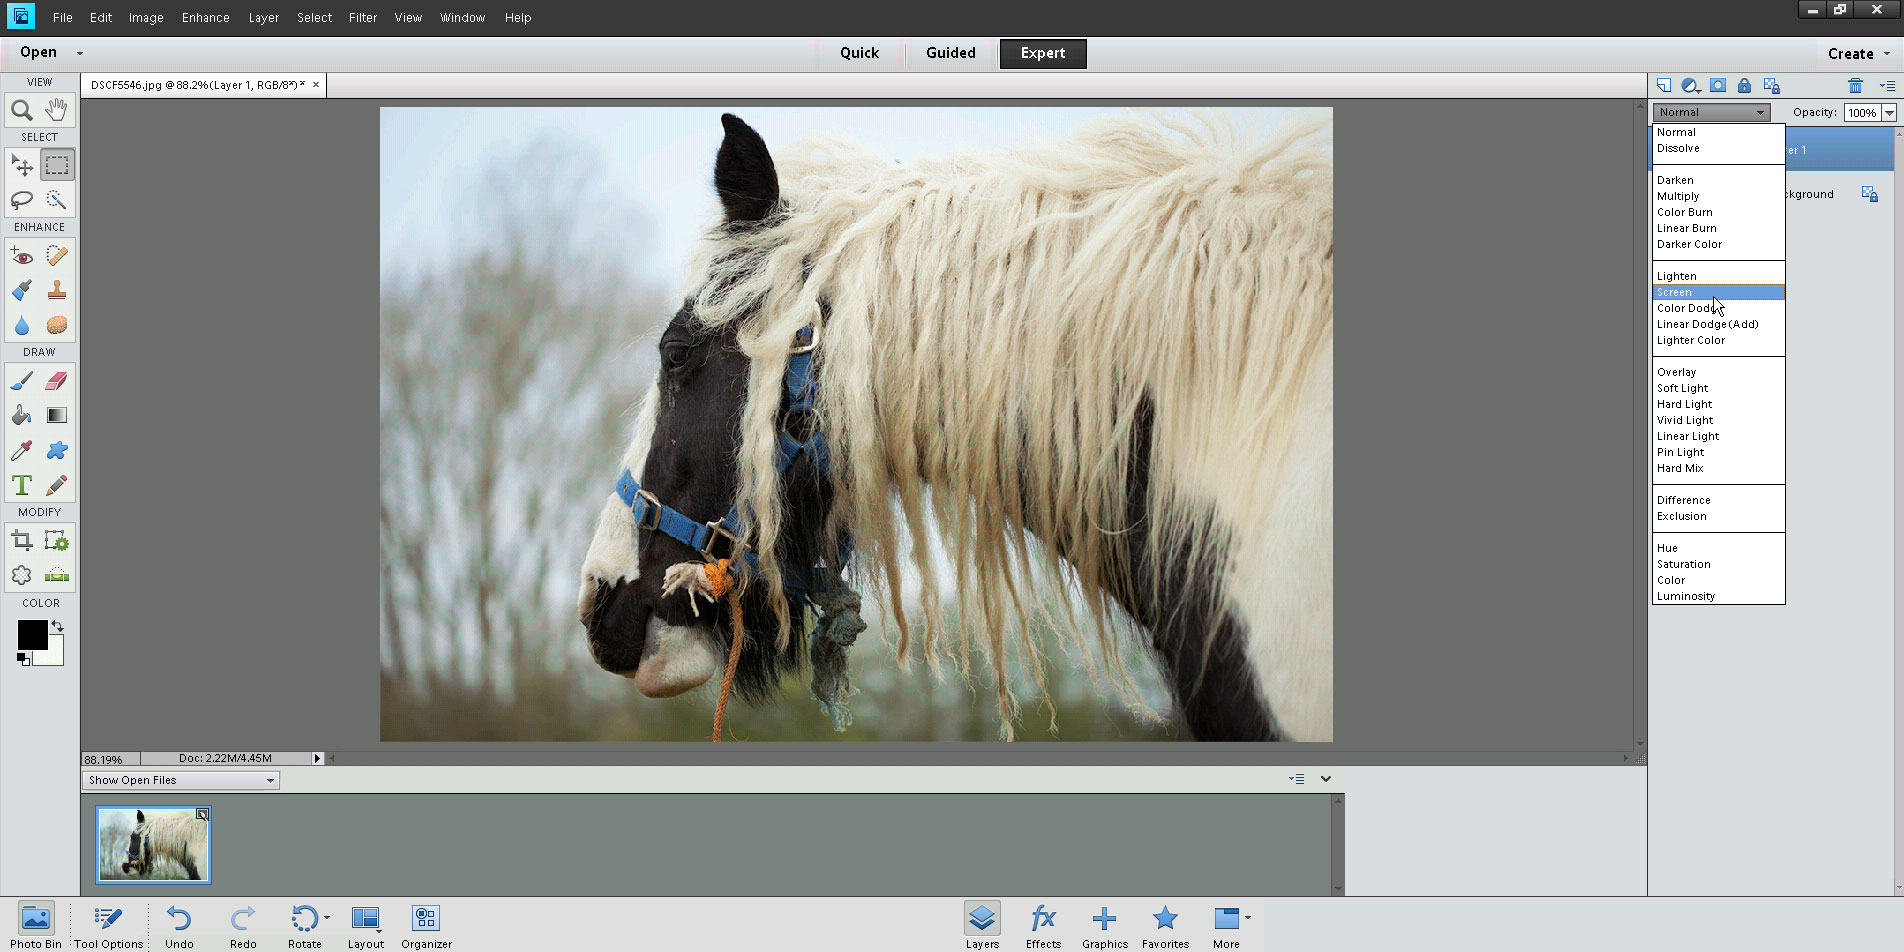
And you're done!
While 'screen' blend mode accurately blends the photos together in the same way that a real double exposure would, the other blend modes are also worth experimenting with. Since screen blend mode adds the exposures of the two images together, it is best used for bright, high key style images.
Overlay blend mode will make areas where both images are bright brighter, while areas where both are dark will become darker.

Multiply blend mode is kind of the opposite of the screen blend mode. Any areas of either image that are dark will appear dark, while only areas of both both images that are bright will appear bright. It can be useful if you have reasonably bright images but don't want to go for a high key look. For a low-key look, multiply blend mode can also be a good choice.
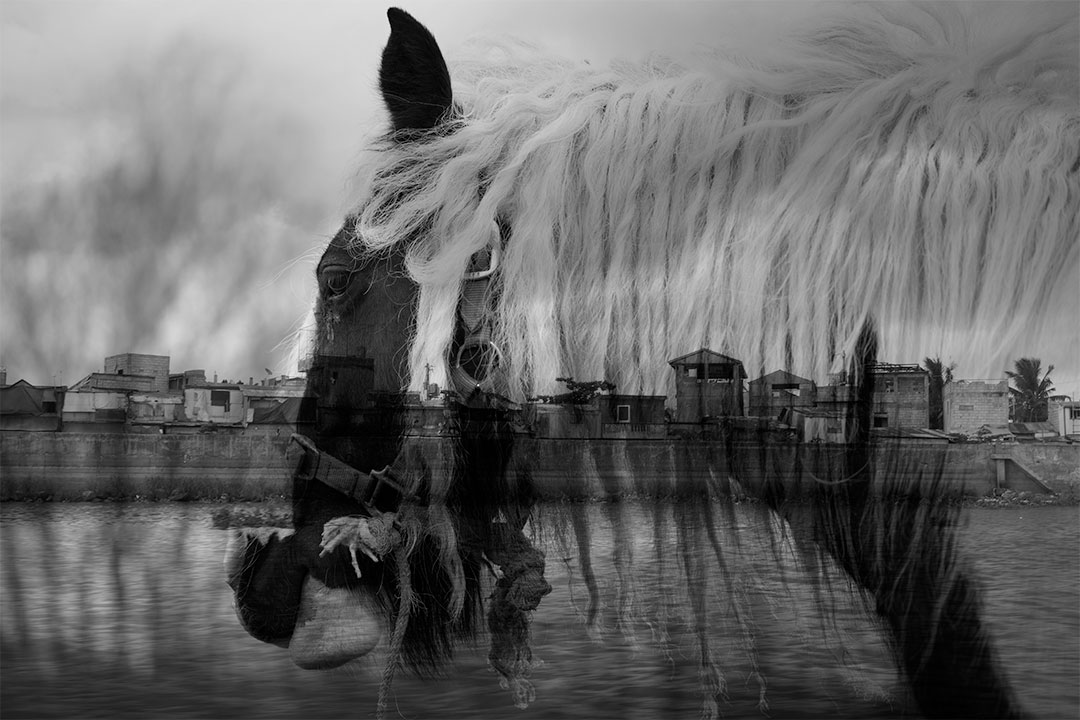
Often double exposure images will look best in black and white. The combinations of different colors overlaid on top each other can look a bit strange (depending on the chosen blend mode). The fact that double exposures tend to emphasize shape as the main compositional element I think also reduces the need for color.
Another benefit of using image editing software to create a double exposure is that you can re-position the images and use layer masks to adjust where the double exposure occurs.
For example, for this image I wanted to place the traffic cone within the silhouette of the horse's head. But by moving the image of the traffic cone, the double exposure doesn't cover the whole image, and the image doesn't look very good.
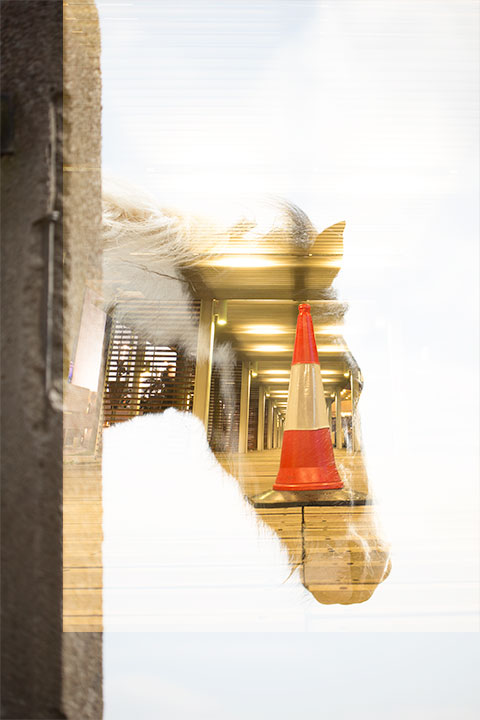
But by using a layer mask, it is relatively easy to apply the double exposure only to the horse's head. Because the area around the head is bright, a clean mask is not needed - the double exposure won't show up in areas that are already bright.

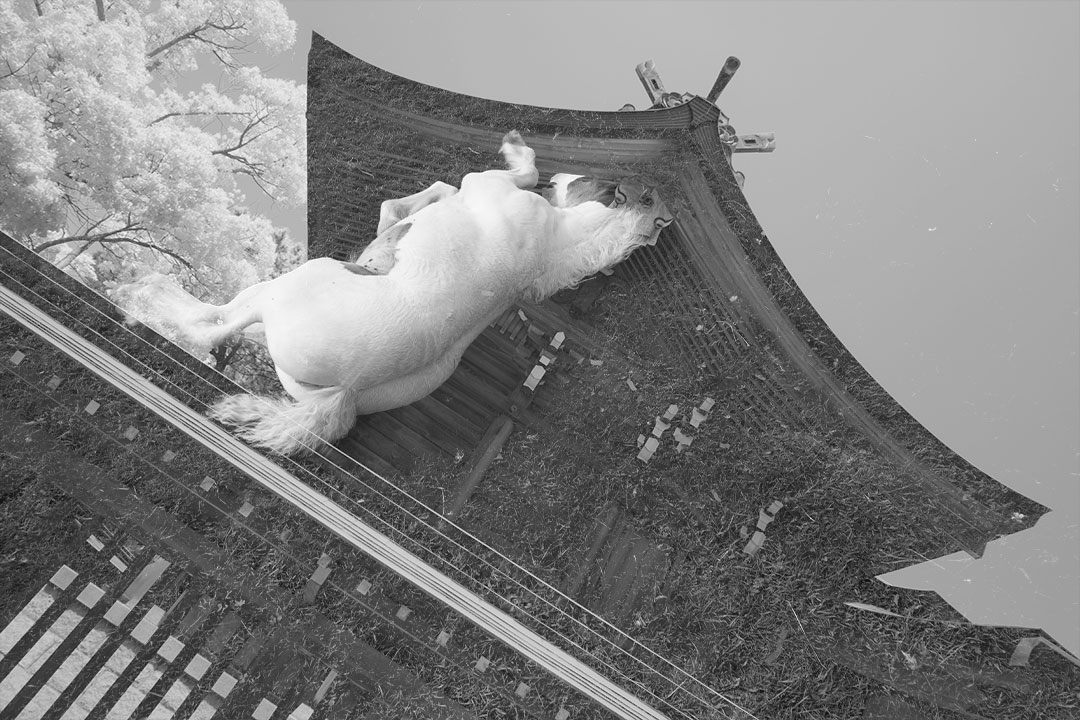
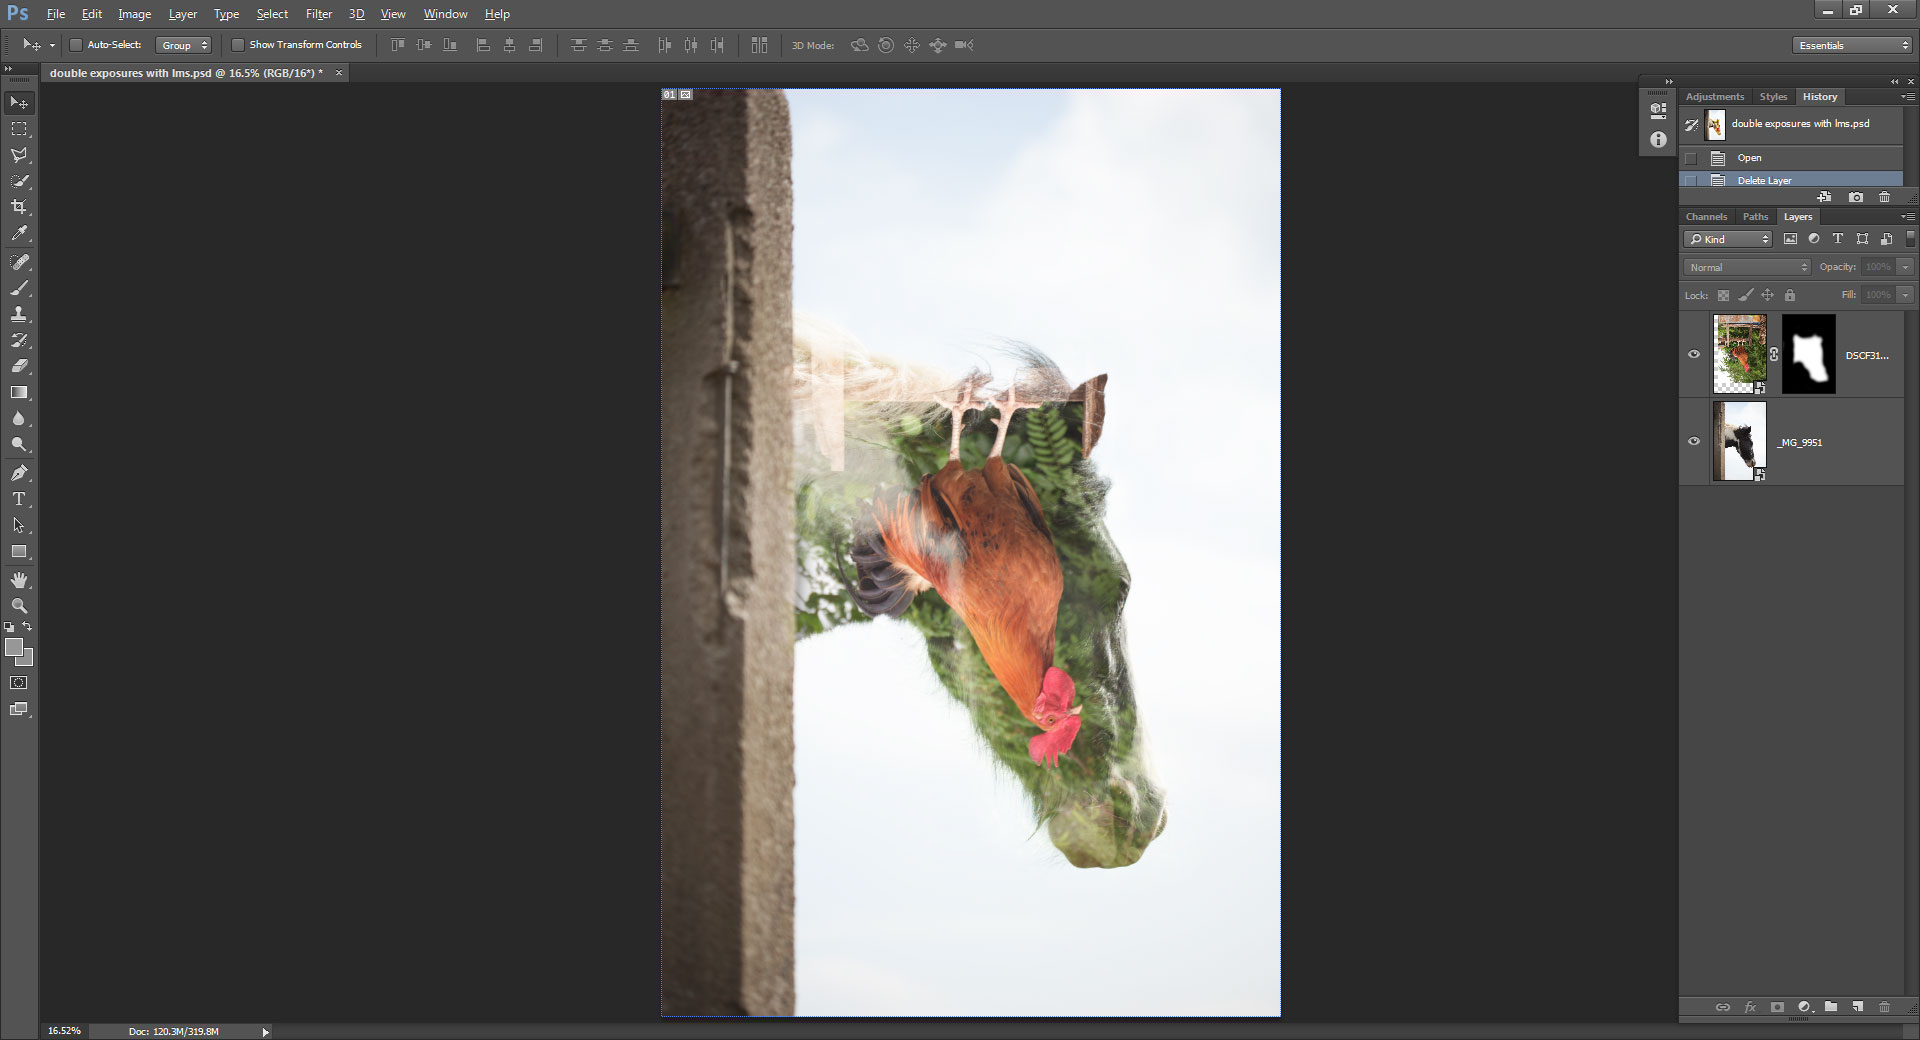
You don't need to stick to having images the same way round, or even the correct way round. For example, to put this chicken inside the horse's head I've flipped the chicken photo vertically and moved it. Then used a soft layer mask again to apply the double exposure just to the horse's head.
Double exposures (or triple, quadruple, etc. exposures) can produce great images. You just need to put in a little thought when capturing the images to try and select shots with both dark and bright areas that will work well together. It's certainly worth giving this technique a try, whether you do it in-camera, using software, or both.


Thanks for this. Great little tutorial