Add a 35mm transparency slide frame border to a photo using Photoshop CC, CS, or Elements
In this tutorial we'll look at how you can create a replica 35mm transparency slide frame to add as a border around a photo. The process is pretty much the same in Photoshop CC, CS, or Photoshop Elements. I'll also cover how to add text to the frame, which allows you to add branding or information to the image without covering up any of the actual photo.
For the tutorial I'll be using Photoshop CC, but I've noted in the text where commands are slightly different for Photoshop Elements. I've also included screenshots from PSE where the process differs more significantly from PSCC / CS.
For a video version of the tutorial I've recorded separate versions for Photoshop Elements and Photoshop CC / CS.
Open an image you want to add the frame to in Photoshop. Resize the photo down to the final output size you want (PSCC: Image > Image Size; PSE: Image > Resize > Image Size...). Ensure Resample is ticked, otherwise the image is not actually made any smaller. You want to start by resizing the image down as working with an original full size image just creates a bigger file and slows you down if the final output is only for web.
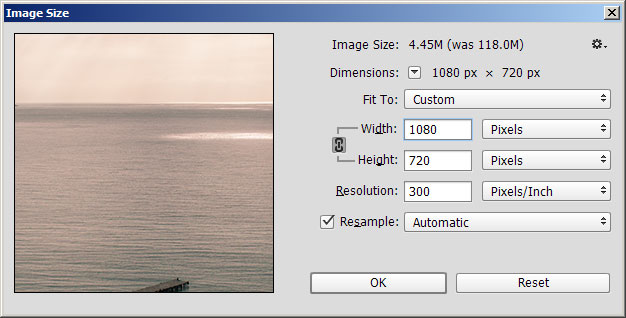
Bear in mind the image size you choose here is the size the photo will appear in the final image - with the slide frame added, the final image size will be quite a bit larger. Of course, you can always resize the image down again when you've finished if it ends up too large.
Now we'll make the image the same 'size' as a 35mm film of frame. Go to Image Size again. Untick the Resample option. Set the width to 36 Millimeters (for an image in landscape orientation, set the height if working with an image in portrait orientation). Then press OK.

Next, make sure that your photo layer is a standard layer and not a background layer. In the layer palette, if the photo layer's name is Background, then double-click it. Name the new layer (e.g. Photo), then click OK. If you're using PSCC and have opened your photo as a Smart Object (as I have), then you don't need to worry about this.
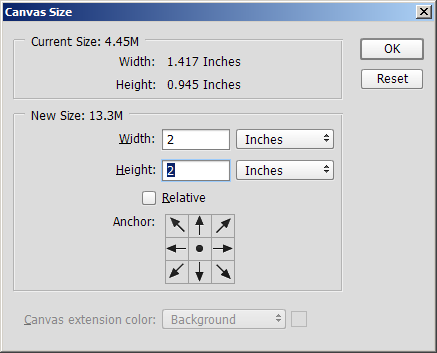
Now we want to expand the Canvas size (PSCC: Image > Canvas Size; PSE: Image > Resize > Canvas Size). Set the Width and Height to 2 Inches each - this is the size of a standard 35mm slide. Anchor should be left at the center, so the canvas is expanded equally on all sides of the image.
Hit Ctrl / Cmd + 0 to zoom the image so it fits on screen. You should have your image at the center, surrounded by transparent checkerboard pattern.

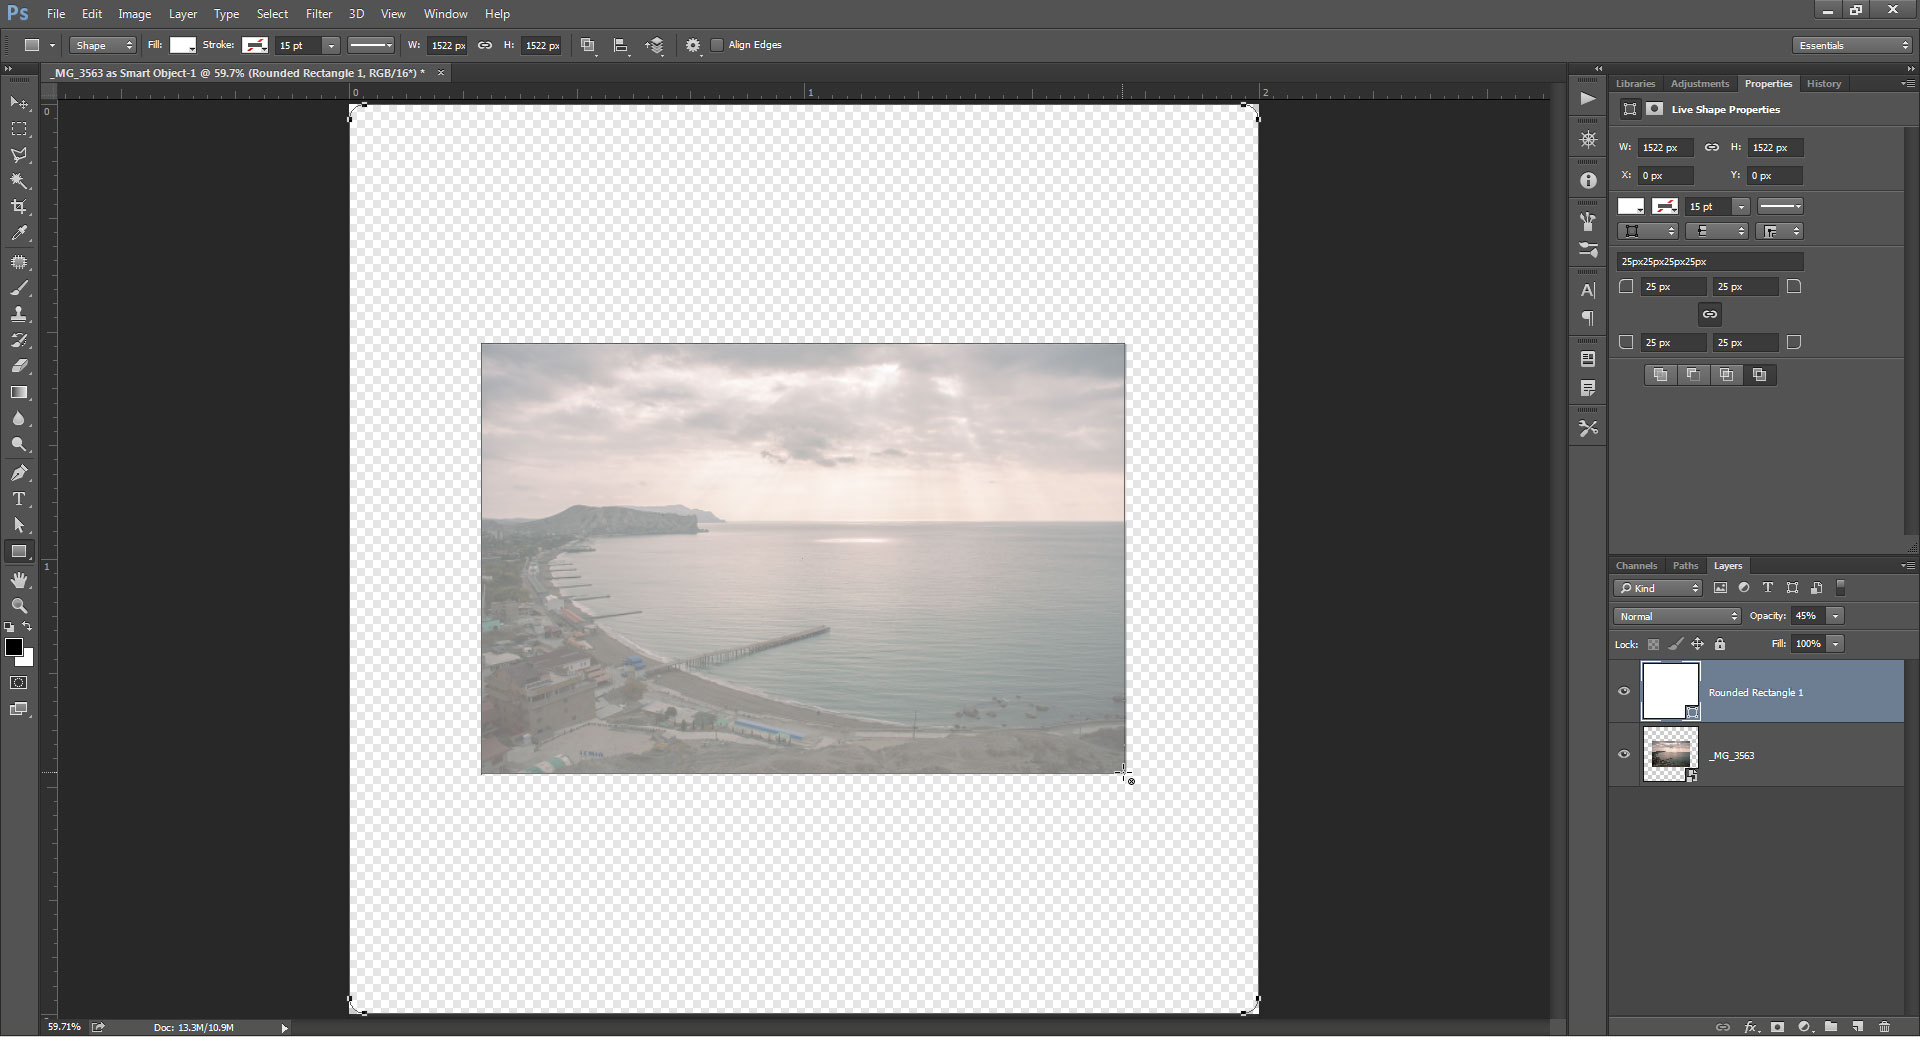
Choose the rounded rectangle shape tool, and set the fill to white and stroke to none. The radius setting adjusts how rounded the corners are, the value needed will depend on how large your image is. I started off with a 1080px image (before expanding the canvas), so I've chosen a radius of 25px. Then draw a square, dragging from the top left corner of the document to the bottom right corner.
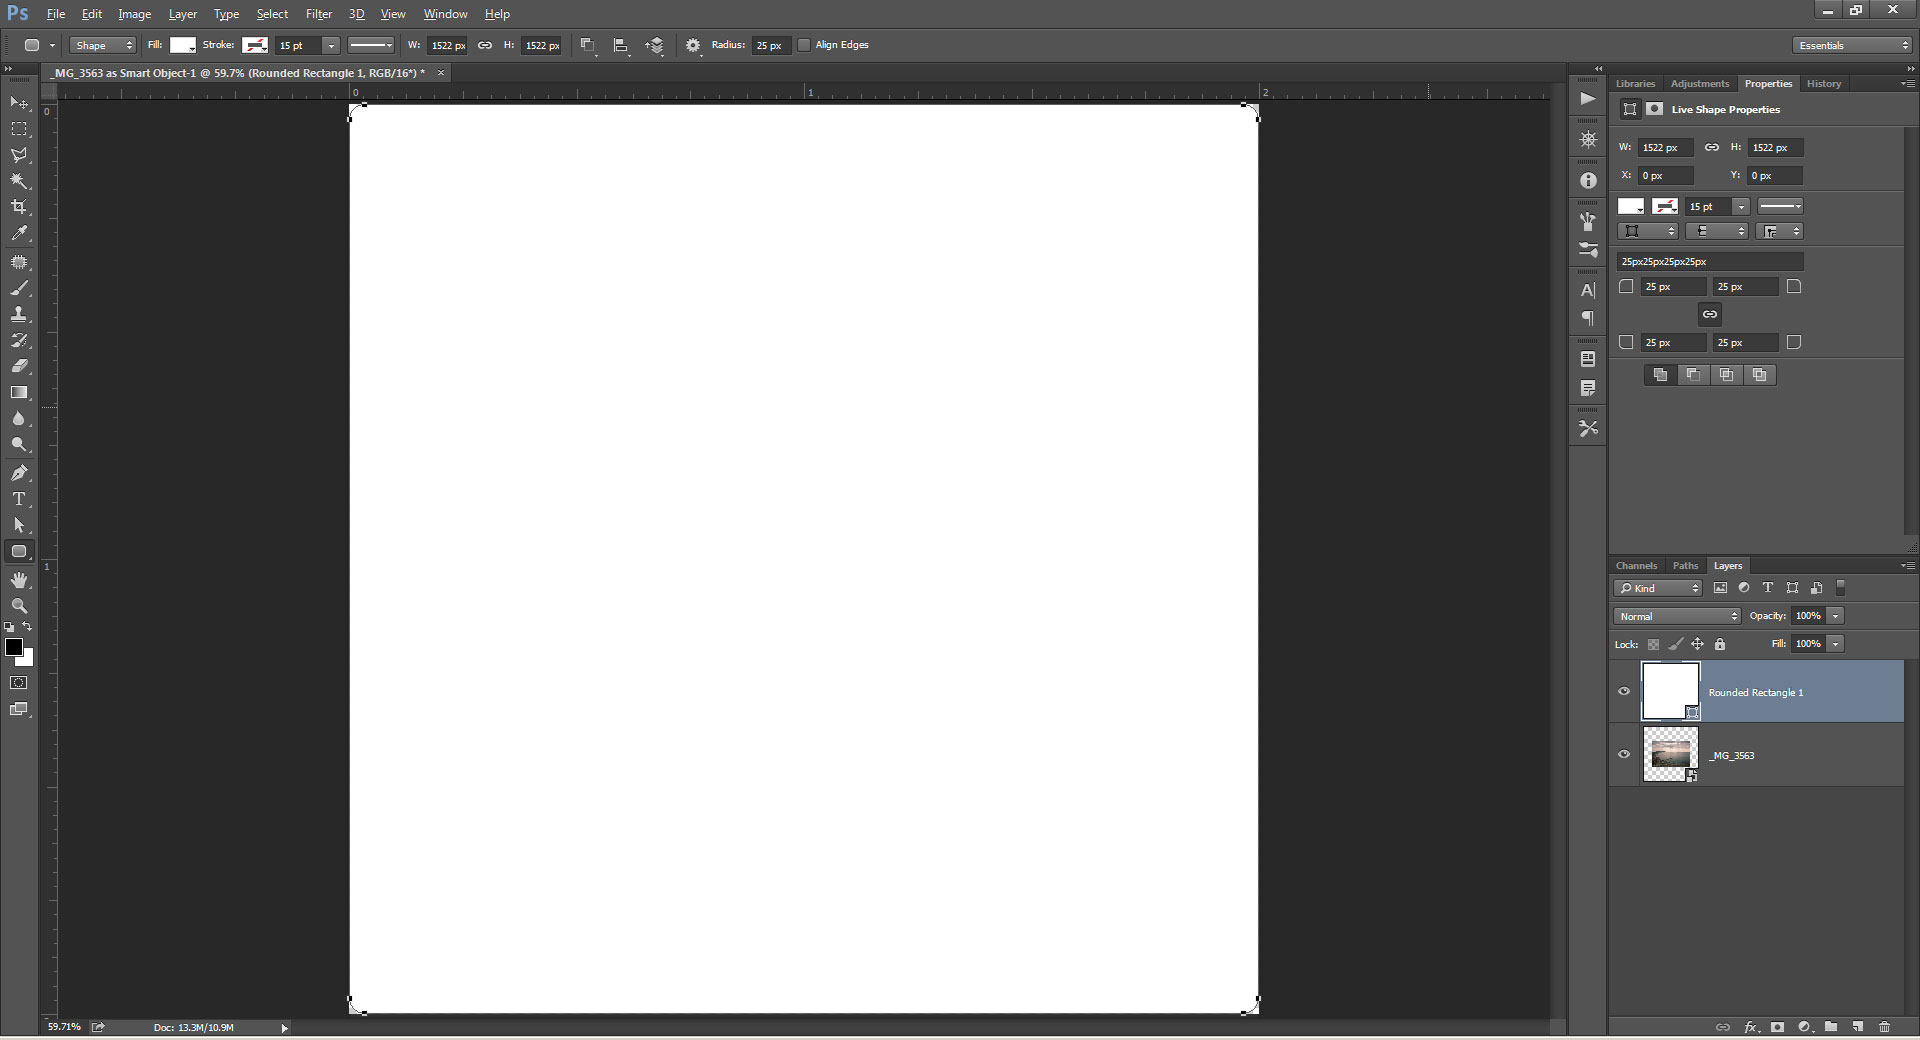
We now have our slide frame, but we can't see the actual photo. Reduce the opacity of the shape layer in the layer palette, so you can see through partly to the image layer below.
Now select the shape tool again, but choose a rectangle shape. In the Path operations setting, ensure it is set to Exclude Overlapping Shapes.

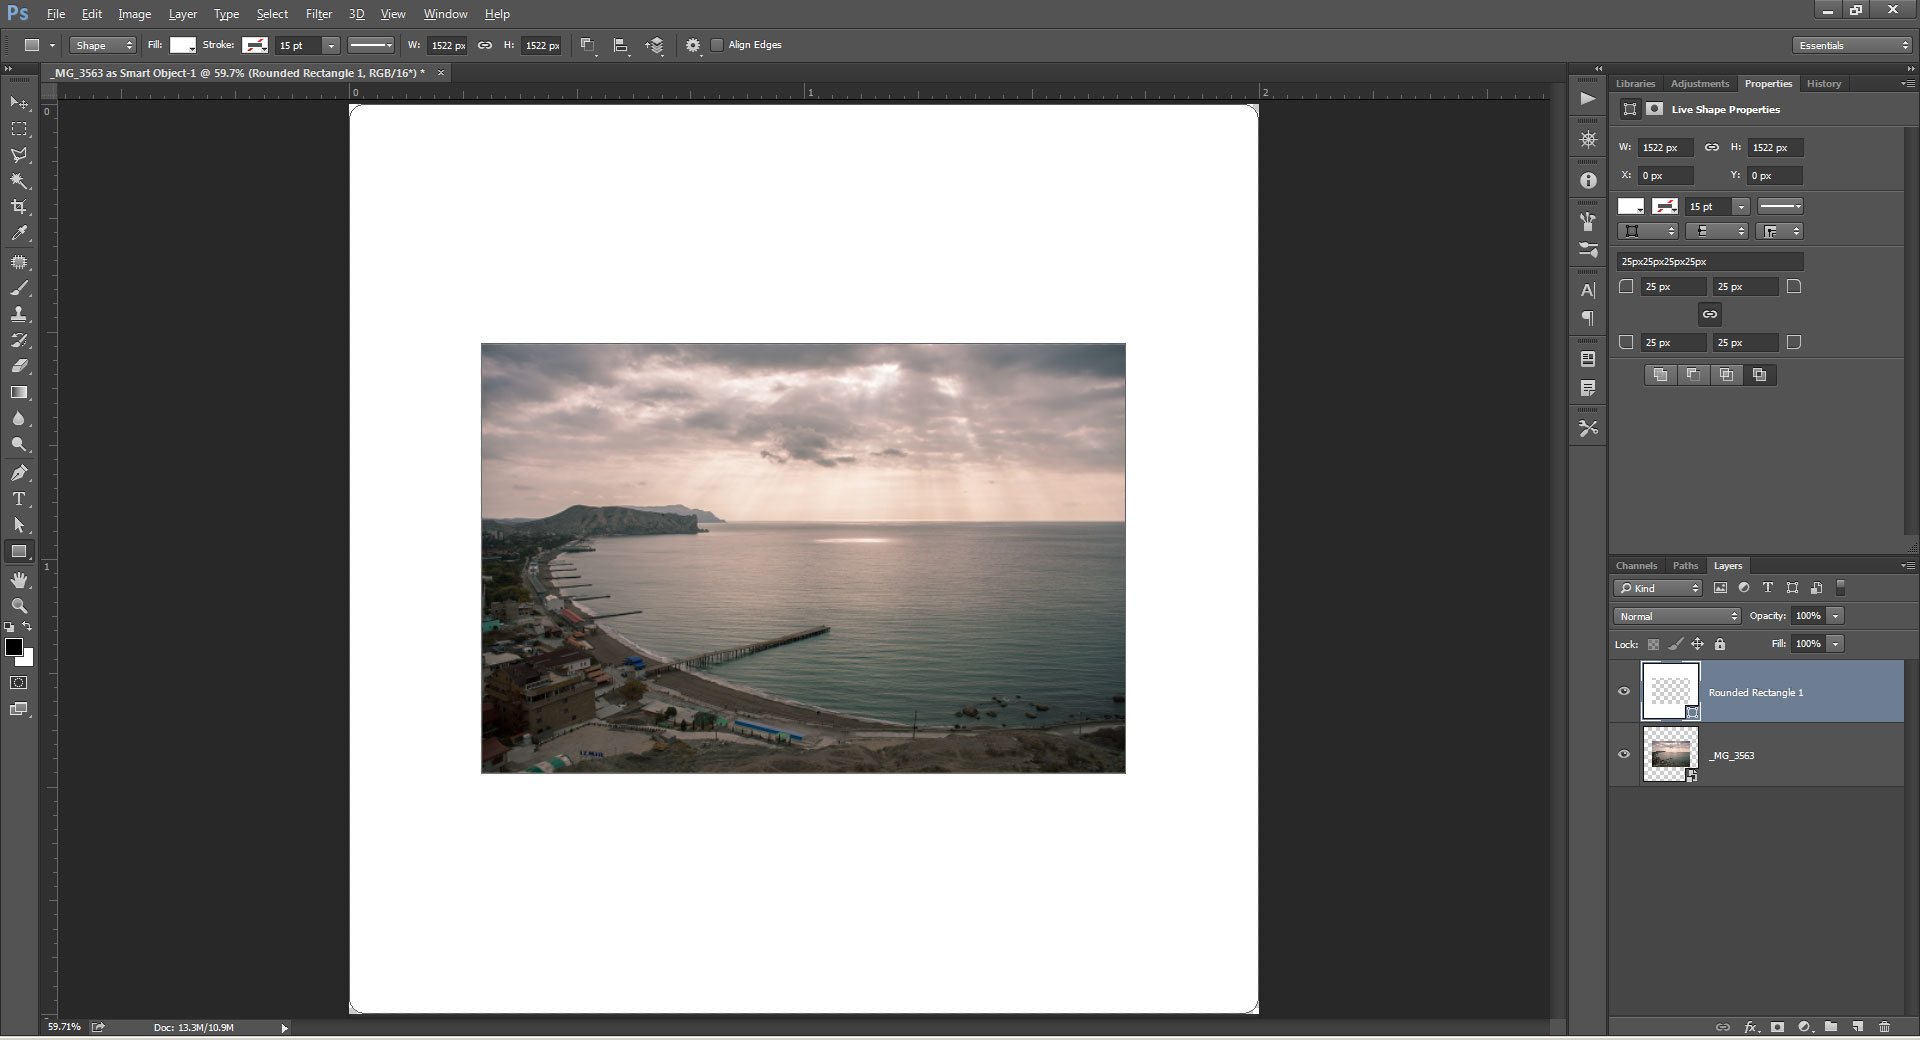
With the shape layer still selected in the layer palette, draw a rectangle from the top left corner of the photo to the bottom right corner of the photo.
This cuts a hole in the middle of our slide shape for the photo to show through. You can now set the opacity of the shape layer back to 100%.
The next step is to add some speckles to our white plastic, to give it a more realistic look. We can't do this with a shape layer however. If you're using Photoshop CC, you can right-click on the shape layer and choose Convert to Smart Object from the context menu that pops up.

Alternatively, you can Rasterize the layer. Again, right-click on the shape layer, then choose Rasterize Layer from the context menu that pops up.
In PSE you can only rasterize the layer, however, the option doesn't come up when right-clicking on the shape layer. Instead you'll automatically be prompted to rasterize the layer when it comes to adding the noise filter in the next step.
The benefit of converting the shape layer into a smart object means that if we later want to up-rez the file, we don't loose any quality. Whereas a rasterized layer will become blocky around the edges. However, we want to apply a noise filter to the layer, and filters don't resize automatically.
So I don't think there is much point in using a smart object in this instance. I'll duplicate the shape layer (Ctrl / Cmd + J while it is selected in the layer palette), then hide it. The duplicate shape layer I'll then rasterize. This way I still have my original shape layer if I ever want to go back to it and enlarge the image.
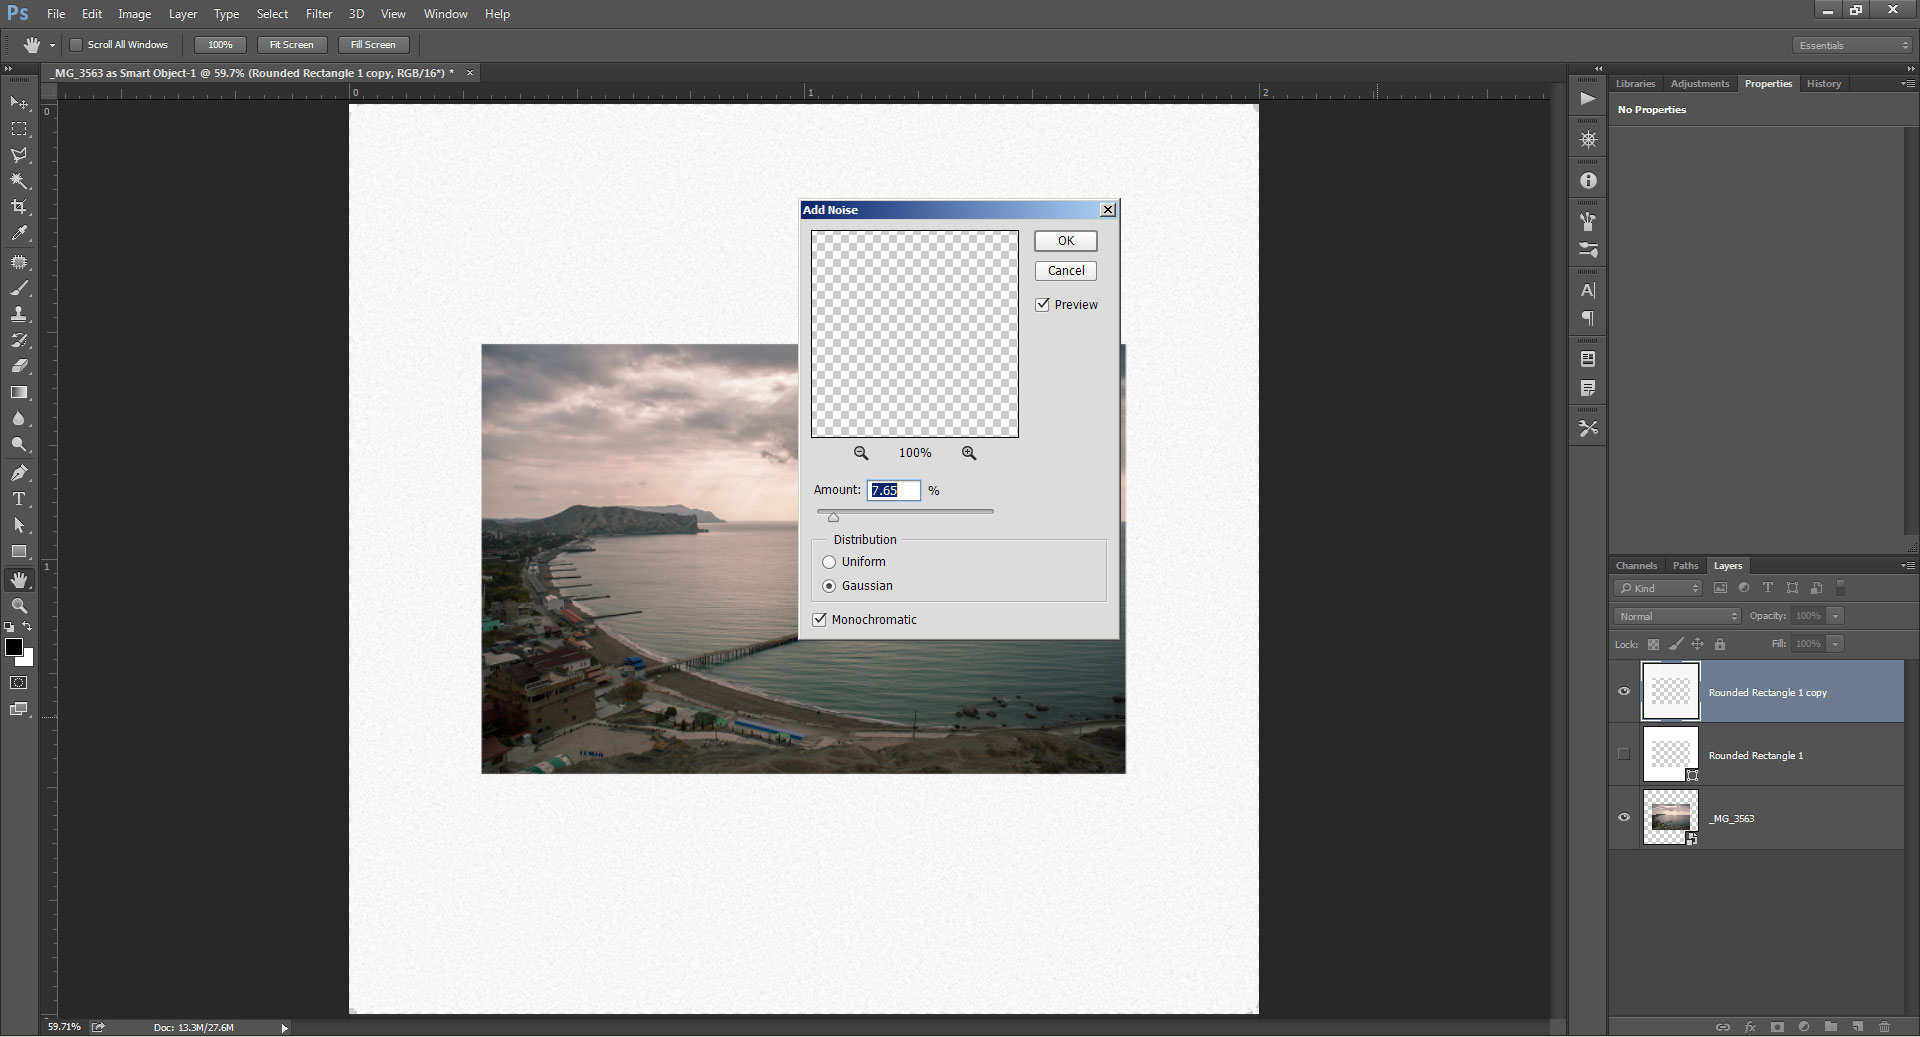
With your converted shape layer selected in the layer palette, go to Filter > Noise > Add Noise. The Distribution should be Gaussian and Monochromatic should be ticked. The Amount setting depends on how large your image is. You only want a light speckling. I think 7.65% works well for my image size.
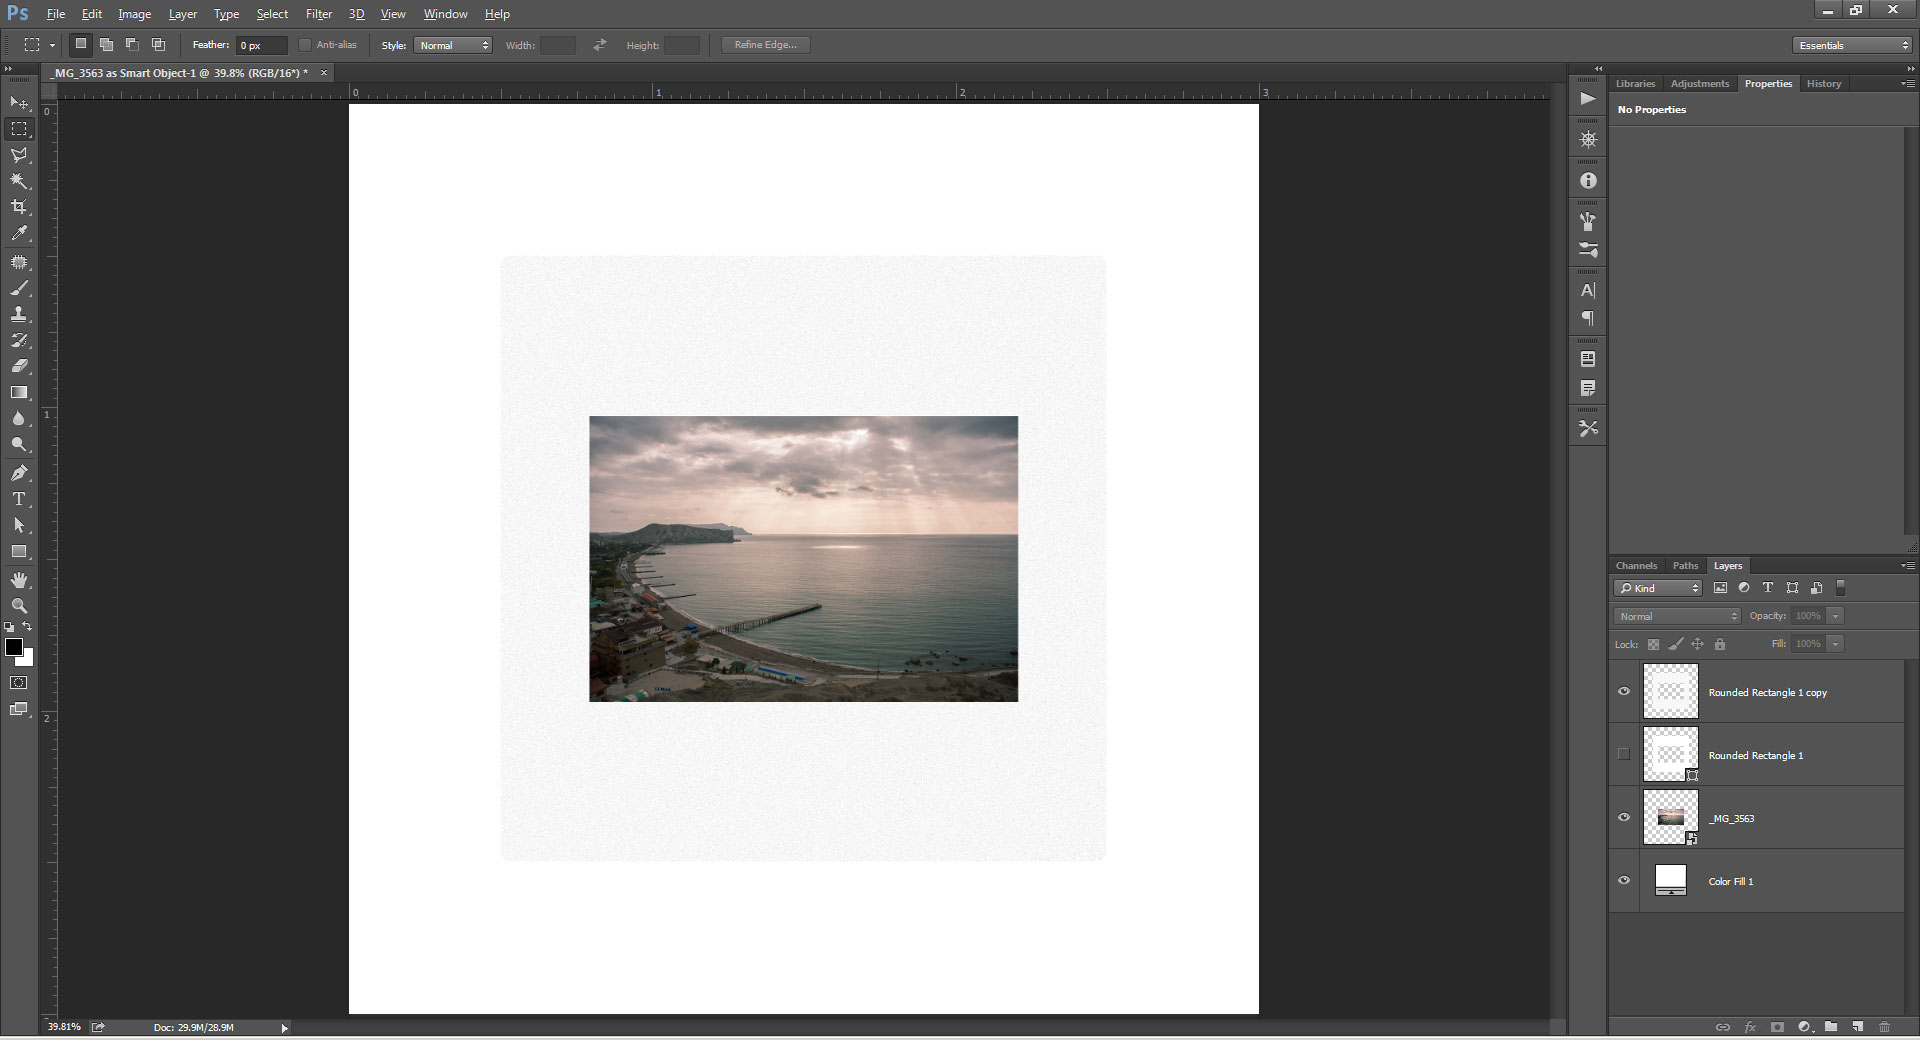
To see the slide better, it works well to expand our canvas a little (PSCC: Image > Canvas Size; PSE: Image > Resize > Canvas Size). I'm expanding my canvas size to 3 inches square, and then adding a white fill layer (Layer > New Fill Layer > Solid Color...) to the bottom of the layer stack to act as a background.
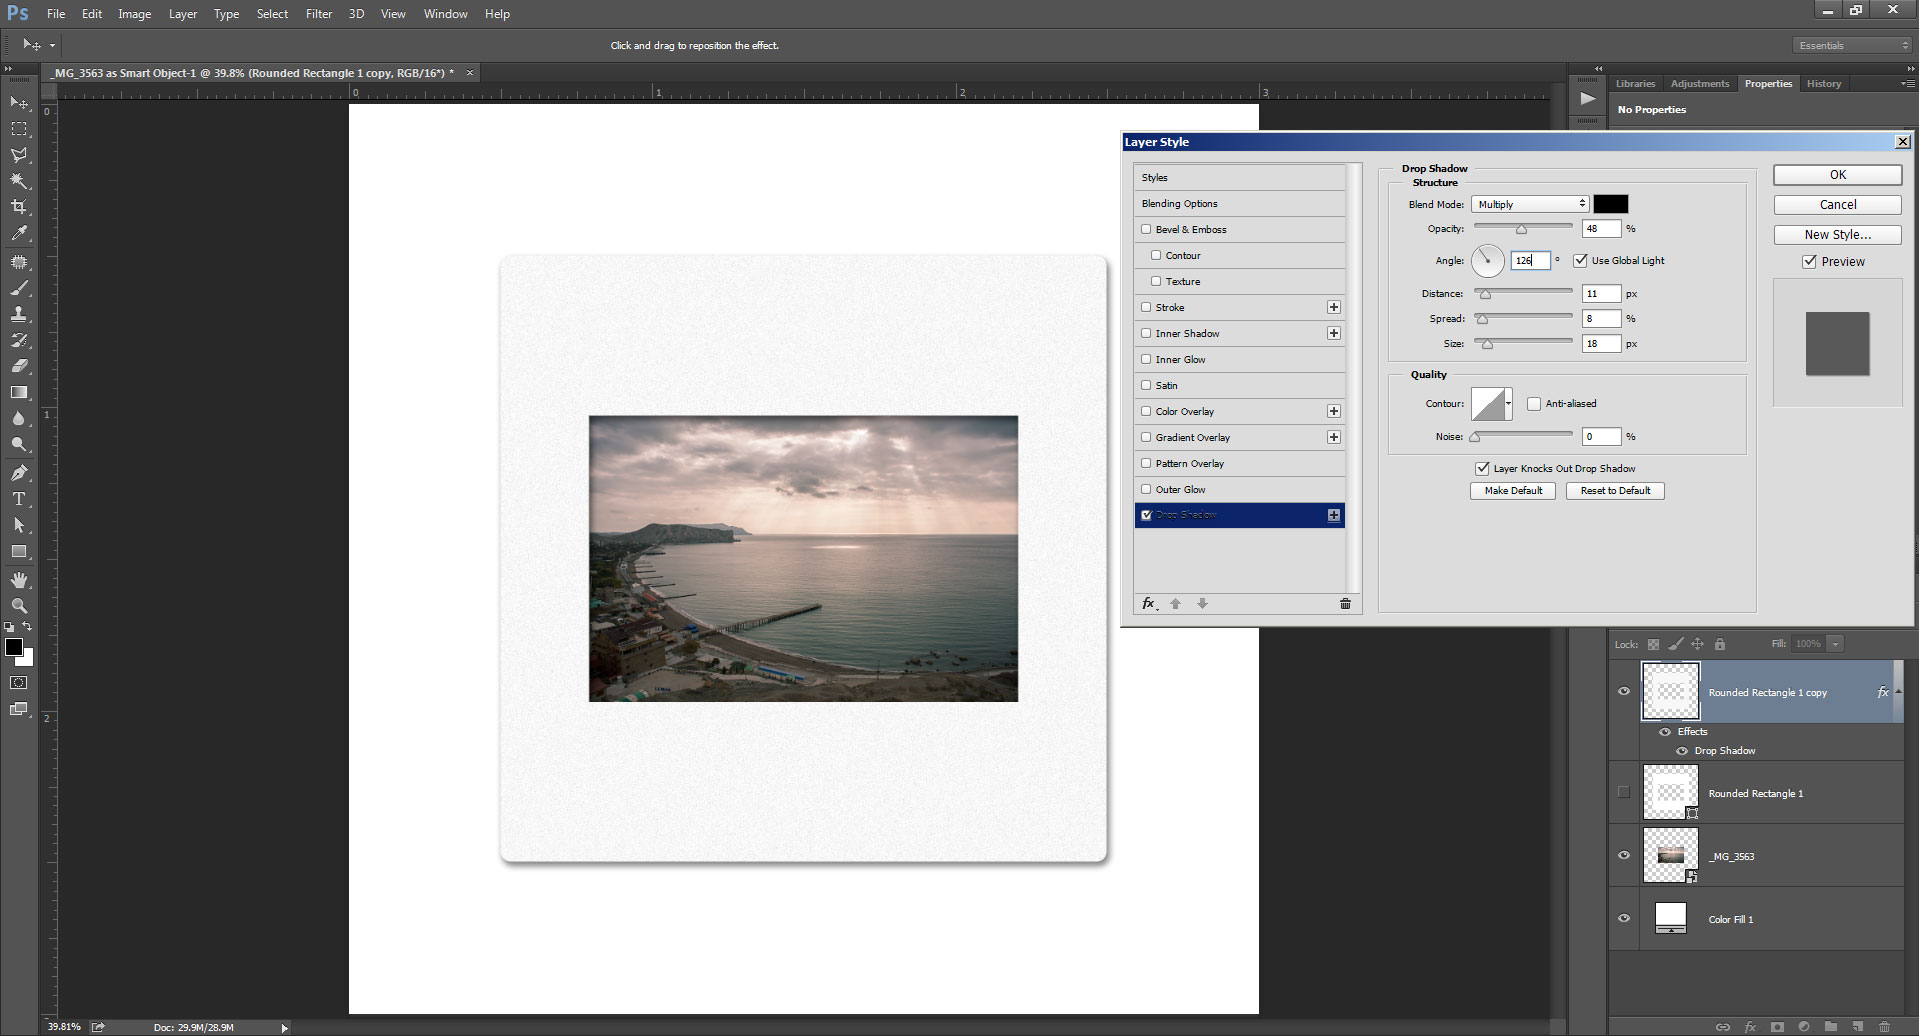
Our slide doesn't look that great at the moment, but all it needs to come alive is a shadow. With the slide layer selected, go to the Effects list and choose Drop Shadow....

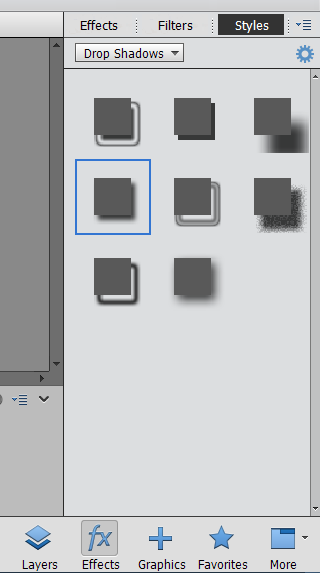
(In PSE go to the Effects palette, choose the Styles tab, then Drop Shadows from the drop down list. I chose the fourth drop shadow option - double click to apply. Go back to the Layer palette and you can double-click the fx icon on the slide layer to adjust the drop shadow settings.)
You'll want to play around with the shadow settings depending on how large your image is. For mine I've chosen an Opacity of 48%, Angle of 126°, Distance of 11px, Spread of 8%, and Size of 18px. The other settings I've left at default.
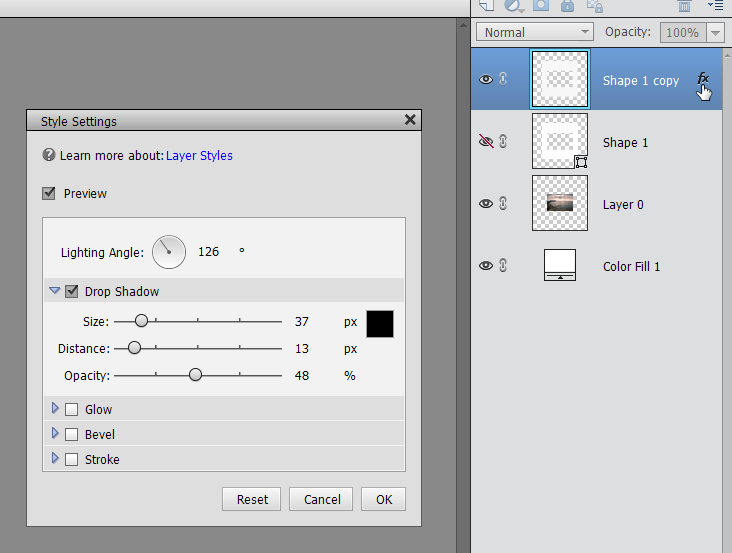
Drop shadow settings in PSE
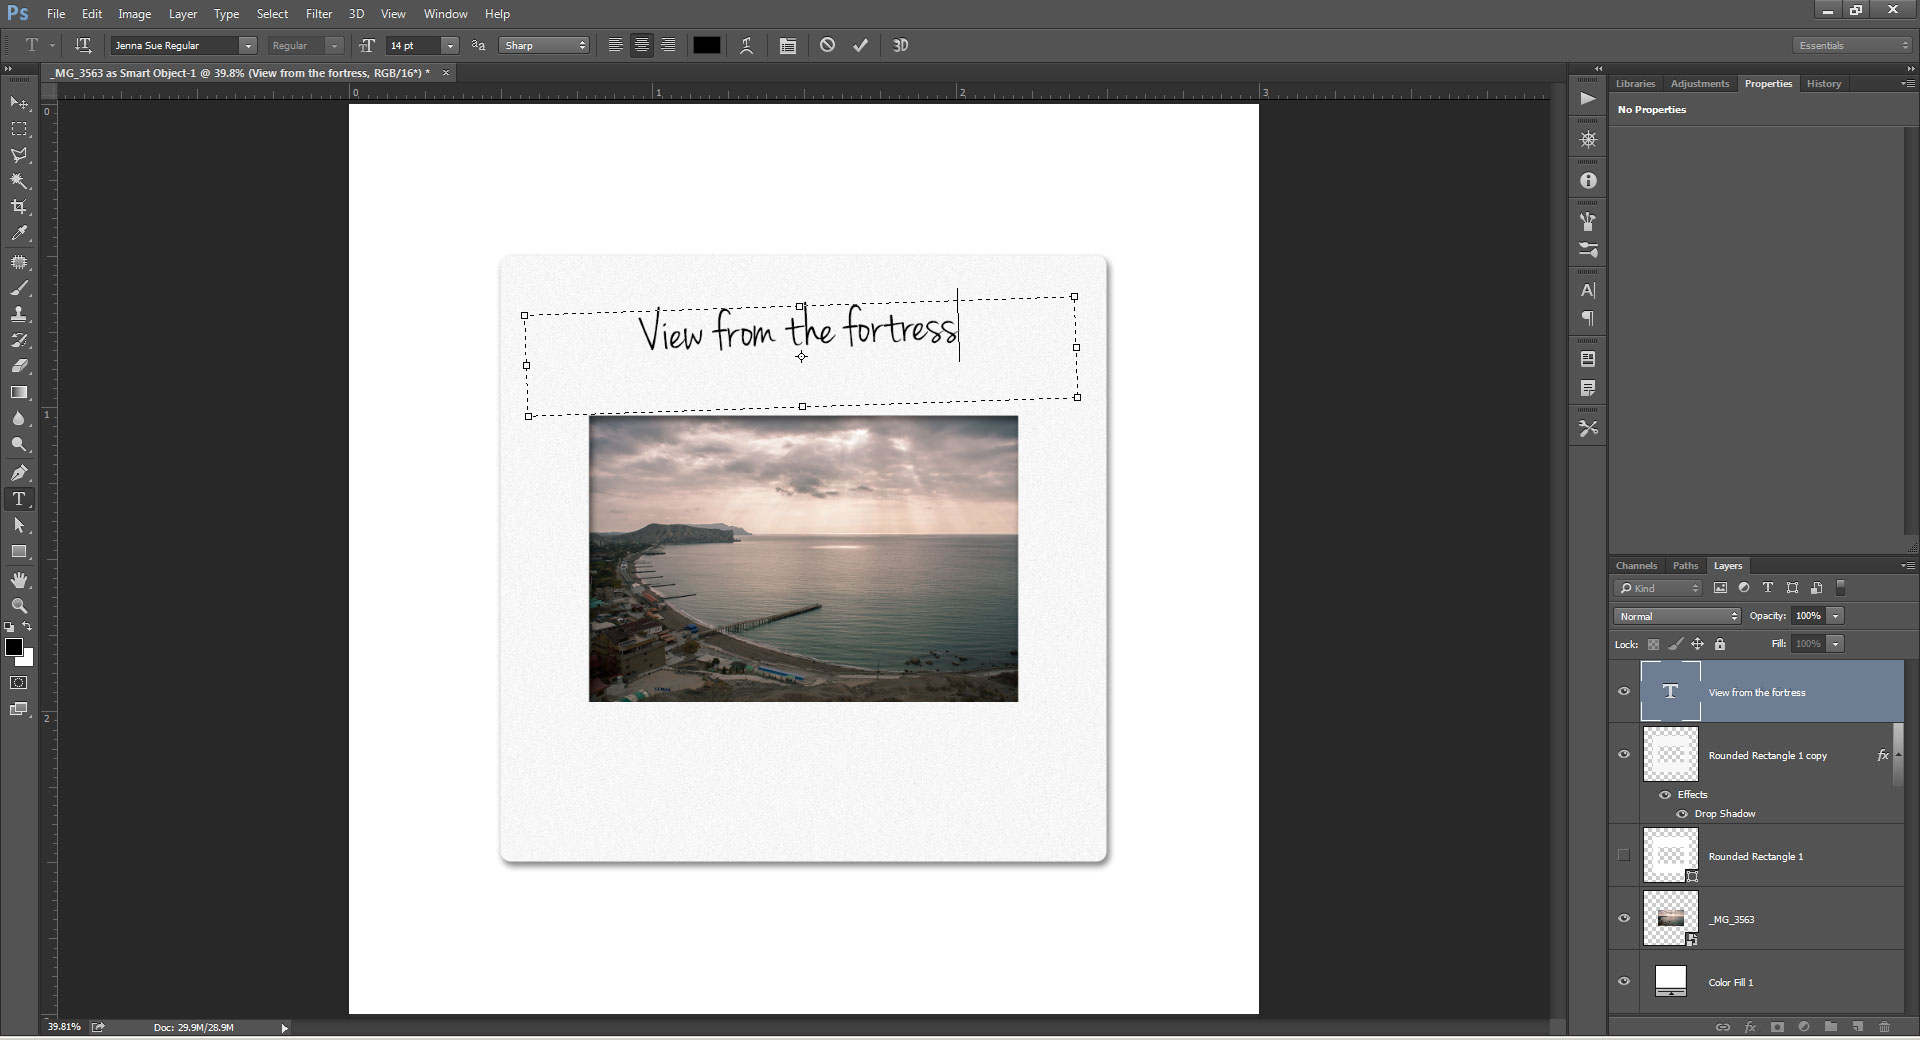
You might want to add some text to your slide frame, either to act as branding, or just to label what the photo was of, as you may have done with a real 35mm film slide. I recommend using a handwriting font, just put handwriting fonts
into a search engine and you'll get lots of results, most of which are free for personal use, and some that allow free commercial use as well.
Then use the text tool to write your description / copyright notice over the slide. (I rotated my text slightly).
With that done, you may want to crop the image so that it doesn't have so much spare white space around it. You might also want to get rid of the white background layer, but if you want a transparent background you'll need to save in a format that supports transparency (such as PNG24).
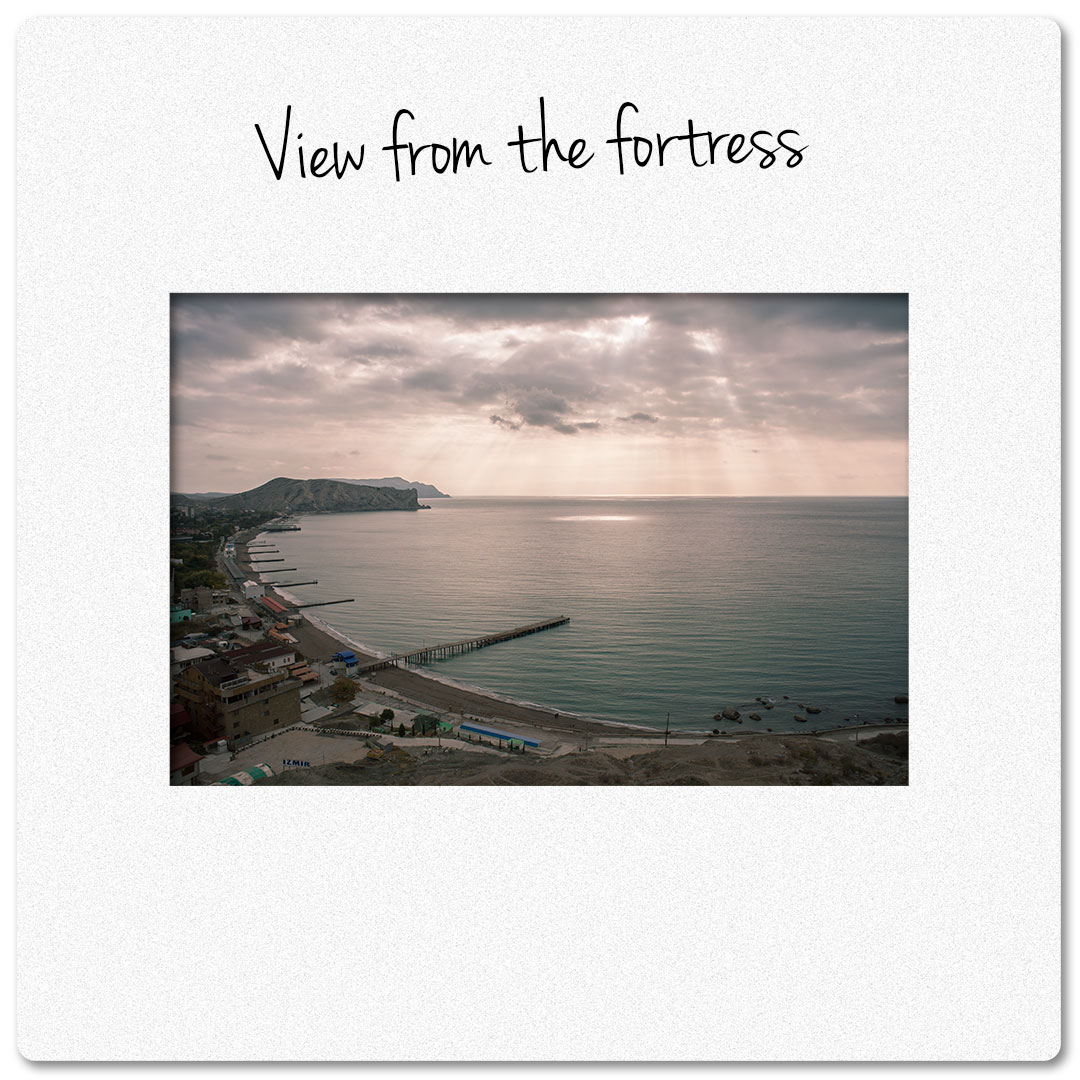
The finished product:


