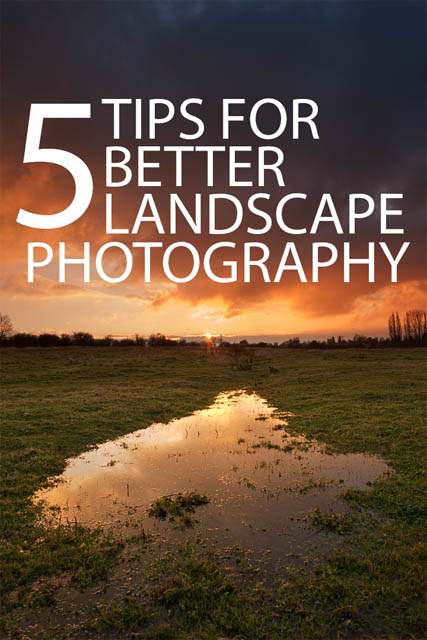
5 Tips For Better Landscape Photography
Along with Portrait Photography, Landscape Photography is one of the most popular forms of photography. Capturing images that do the great outdoors justice can be difficult, but so long as you're willing to put a little work in, it's certainly not too difficult.
In this article I'll share five tips that will hopefully help you understand more about what it is that really makes a great landscape photo.
Travel close to home
People often seem to think that you need to travel to exotic locales or National Parks for great landscape photos. But in truth, you're much better looking for landscape opportunities in your local area.
One of the keys to a great landscape is the lighting. If you travel somewhere new, what are the odds that you'll find a subject / scene that would make for a great landscape shot, plus lighting that really complements the scene?
Whereas with locations near your home patch, if the lighting isn't right, you can just make a note of the location and type / direction of light you think it would look best under and come back another day. Find a scene during the middle of the day and think it would look better at sunrise? Just come back a different day at sunrise and get the shot you wanted.
A scene can also look quite different, just by shifting your camera a few feet. Combine this with the differences brought about by time of day, weather, and seasons, and you can get a large variety of great landscape photos from just a small area.

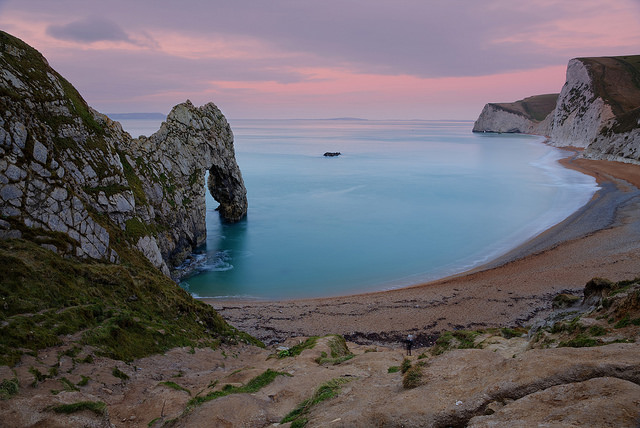
Durdle Door by Lies Thru a Lens on Flickr (licensed CC-BY)
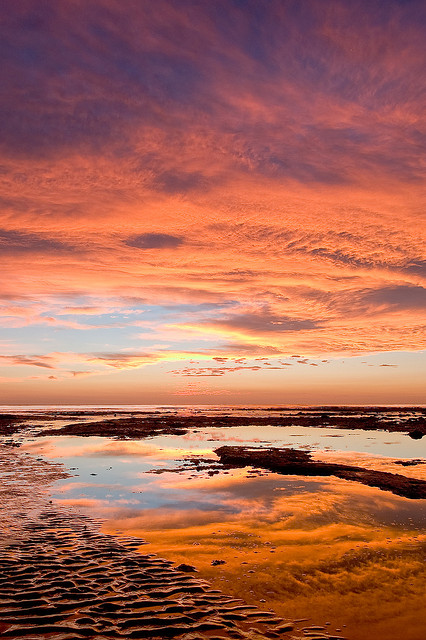
Salmon Skies by Lies Thru a Lens on Flickr (licensed CC-BY)
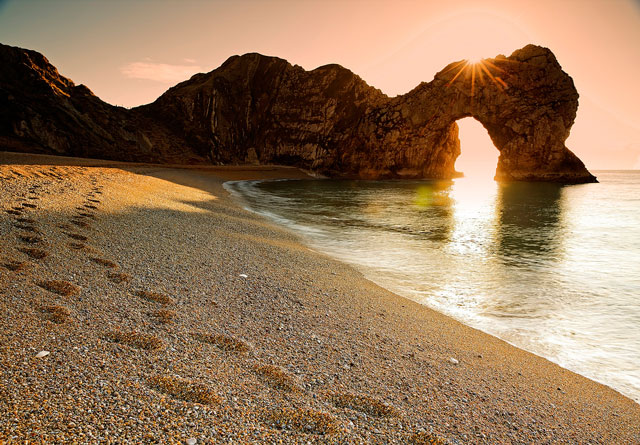
Footsteps in the Sand by Lies Thru a Lens on Flickr (licensed CC-BY)
Another good thing about shooting close to home is that you can feel much freer to experiment and make mistakes. This makes it much better for learning and improving your photography. If you've never shot HDR before (for example), it wouldn't make sense to try it when traveling somewhere new, and possibly ending up with a messed up photo of a location you can't go back to.
Whereas when taking photos locally, you can feel free to try it out. If it doesn't work out, you can just try it again. You can gradually hone your technique, learning how to use it effectively in a variety of lighting conditions. There's no pressure to get it perfect straight away.
You don't need an expensive camera
You can get great images with any camera, and this is particularly true with landscape photography. With a landscape photo you typically want as much of the scene in focus as possible. And you'll often be shooting in light levels that allow you to hand-hold the camera. For scenes in lower light levels a tripod and slow shutter speed can be used, as the scene won't move so you don't need to worry about getting a blurry image.
So you don't need an expensive DSLR with a fast lens that can give you a shallow depth of field and allow you to shoot at fast shutter speeds in low light. If you have expensive gear, feel free to use it for landscape photography. But the results won't be massively better than a compact camera, or even a phone camera with an app that offers manual exposure control.
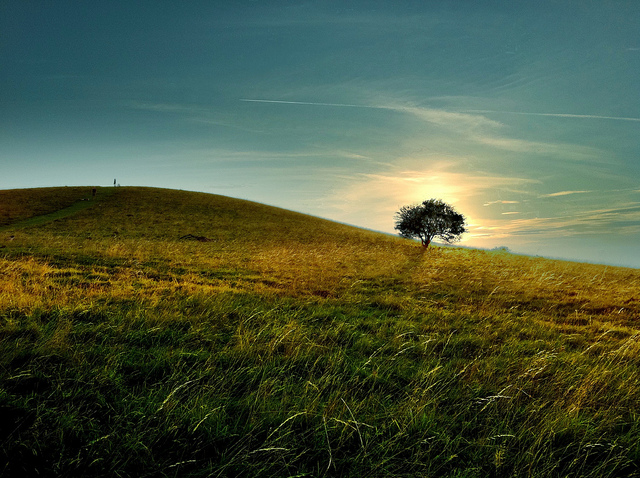
Top of the hill by Mike Rolls on Flickr (licensed CC-BY-SA) - taken and processed on an iPhone 4
An expensive camera can make things a bit easier. Or allow you to produce large prints of your work. But really the camera is pretty unimportant. Light, exposure, and composition are much more important to a good landscape photograph than the camera you use.
Understand exposure
Understanding exposure is very important, not just for landscape photography, but for all types of photography. Learn about the exposure triangle, and the way the ISO, aperture, and shutter speed settings play off one another.
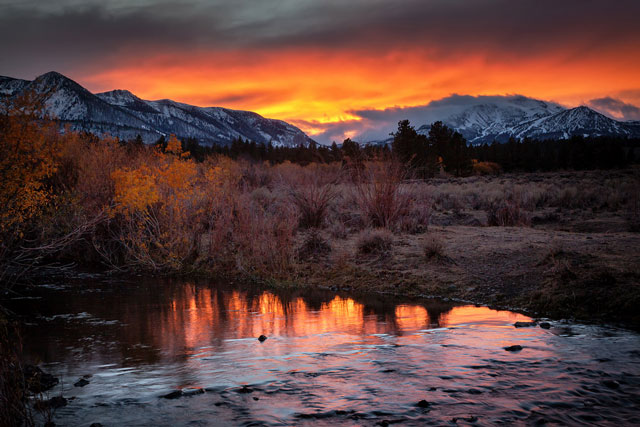
Plan C and the Window of Ultimate Snaps, Mammoth Ca by ™ Pacheco on Flickr (licensed CC-BY-ND)
Understand what effect the exposure settings have on the image, as they don't only affect the exposure. Understand why you would want to use a large aperture or a small aperture. Understand when you would want to use a long shutter speed or a short shutter speed. Understand why you want to keep the ISO setting low, or when you might want to use a higher setting.
Learning how the exposure settings affect the image is not just learning how to control how bright or dark the image is. But rather it is learning about how the settings work together, and which settings to change to get the image brighter or darker without negatively affecting a different aspect of the image.
Avoid exposure issues with Split ND filters, shadow pushing / pulling, or HDR
Carrying on with the subject of exposure, one of the big issues with landscape photography is dynamic range. The dynamic range of an image refers to the range of brightness levels that the image contains.
A common theme of many landscape photographs is shooting towards the sun when the sun is low, near the horizon. This results in a scene with a very high dynamic range - the sun is very bright, but the landscape in front you, particularly areas that are in shadow, will be comparatively very dark.
Your camera does not have the dynamic range to squeeze the range of tones from the bright sun to the dark shadows into a single image. And so you end up with an image where the landscape is exposed okay, but the sky is blown out white. Or where the sky is exposed okay, but the landscape is almost black, with very little detail visible.
The answer to this problem is to expose for the sky and then bring up the exposure for the landscape, or expose for the landscape and then bring down the exposure for the sky. There are a number of techniques we can choose to do this.
Using Split Neutral Density Filters
A common method used by landscape photographers is to use a split neutral density filter. This is a filter that you place in front of your lens. One half is transparent, the other is slightly darkened. The dark half you align so that it covers the sky, bringing down the exposure for the sky. You can then expose for the landscape, and get an image with both the landscape and sky exposed nicely.
Encinitas Sunset by Phil Price on Flickr (licensed CC-BY-SA)
I don't want to go too much into these filters here, but they are available in a range of strengths and fittings. I recommend a 2 stop (ND0.6 / ND 4x) or 3 stop (ND0.9 / ND 8x) hard edge (or even better, reverse grad if you can afford it) slot type filter.
Using Exposure Bracketing / HDR
Another quite common method to deal with this issue is set your camera to auto-bracket exposure. Set your camera to a medium exposure where the sky is a bit overexposed and the landscape a bit underexposed. Then bracket the exposure, ±2 stops usually works well.
This gives one image underexposed where the sky appears exposed correctly, one 'normal' image where the sky is slightly overexposed and the landscape slightly underexposed, and one overexposed image where the landscape is exposed correctly.
The three (or more) images can then be blended into a single image, taking parts of each image to give a single image where all of the image is exposed nicely.
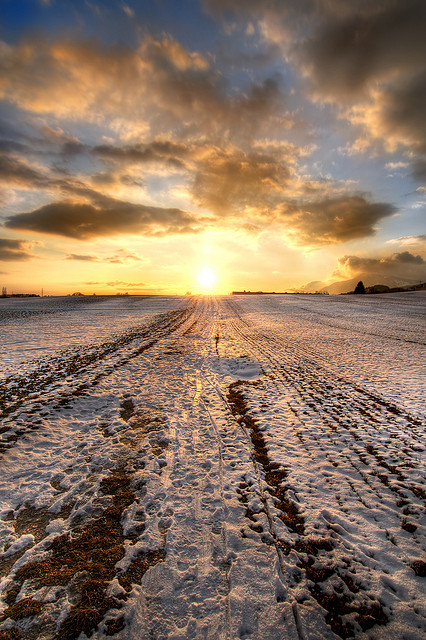
Sunset over the field by Tambako The Jaguar on Flickr (licensed CC-BY-ND) - Tonemapped HDR
There are various methods you can use for blending the exposures together into a single image:
- Creating an HDR image and applying tone mapping.
- Exposure fusing the images together.
- Manually blending the images together using layer masks in software such as GIMP or Photoshop.
- Using your camera's own HDR option, which performs the whole process of bracketing the exposures and then blending them into a image as a single operation.
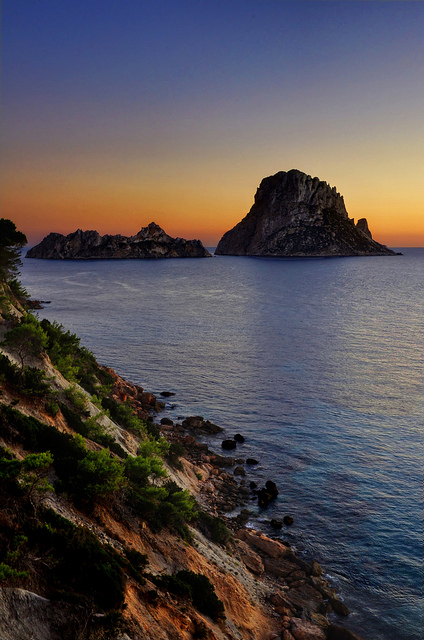
Es Vedrà between Night and Day by Federico Capoano on Flickr (licensed CC-BY) - exposure fused
Pushing Exposure
A technique that has started to gain ground recently is that of shooting in RAW format, under-exposing then pulling up the shadows when processing. You expose the image keeping detail in the sky, which will result in the landscape appearing very dark.
Then when processing the image you apply a large boost to the shadows, to brighten the landscape. In some cases this might require multiple passes of +100 shadows, or a shadows adjustment plus a boost to shadow / midtone brightness using a tone curve.
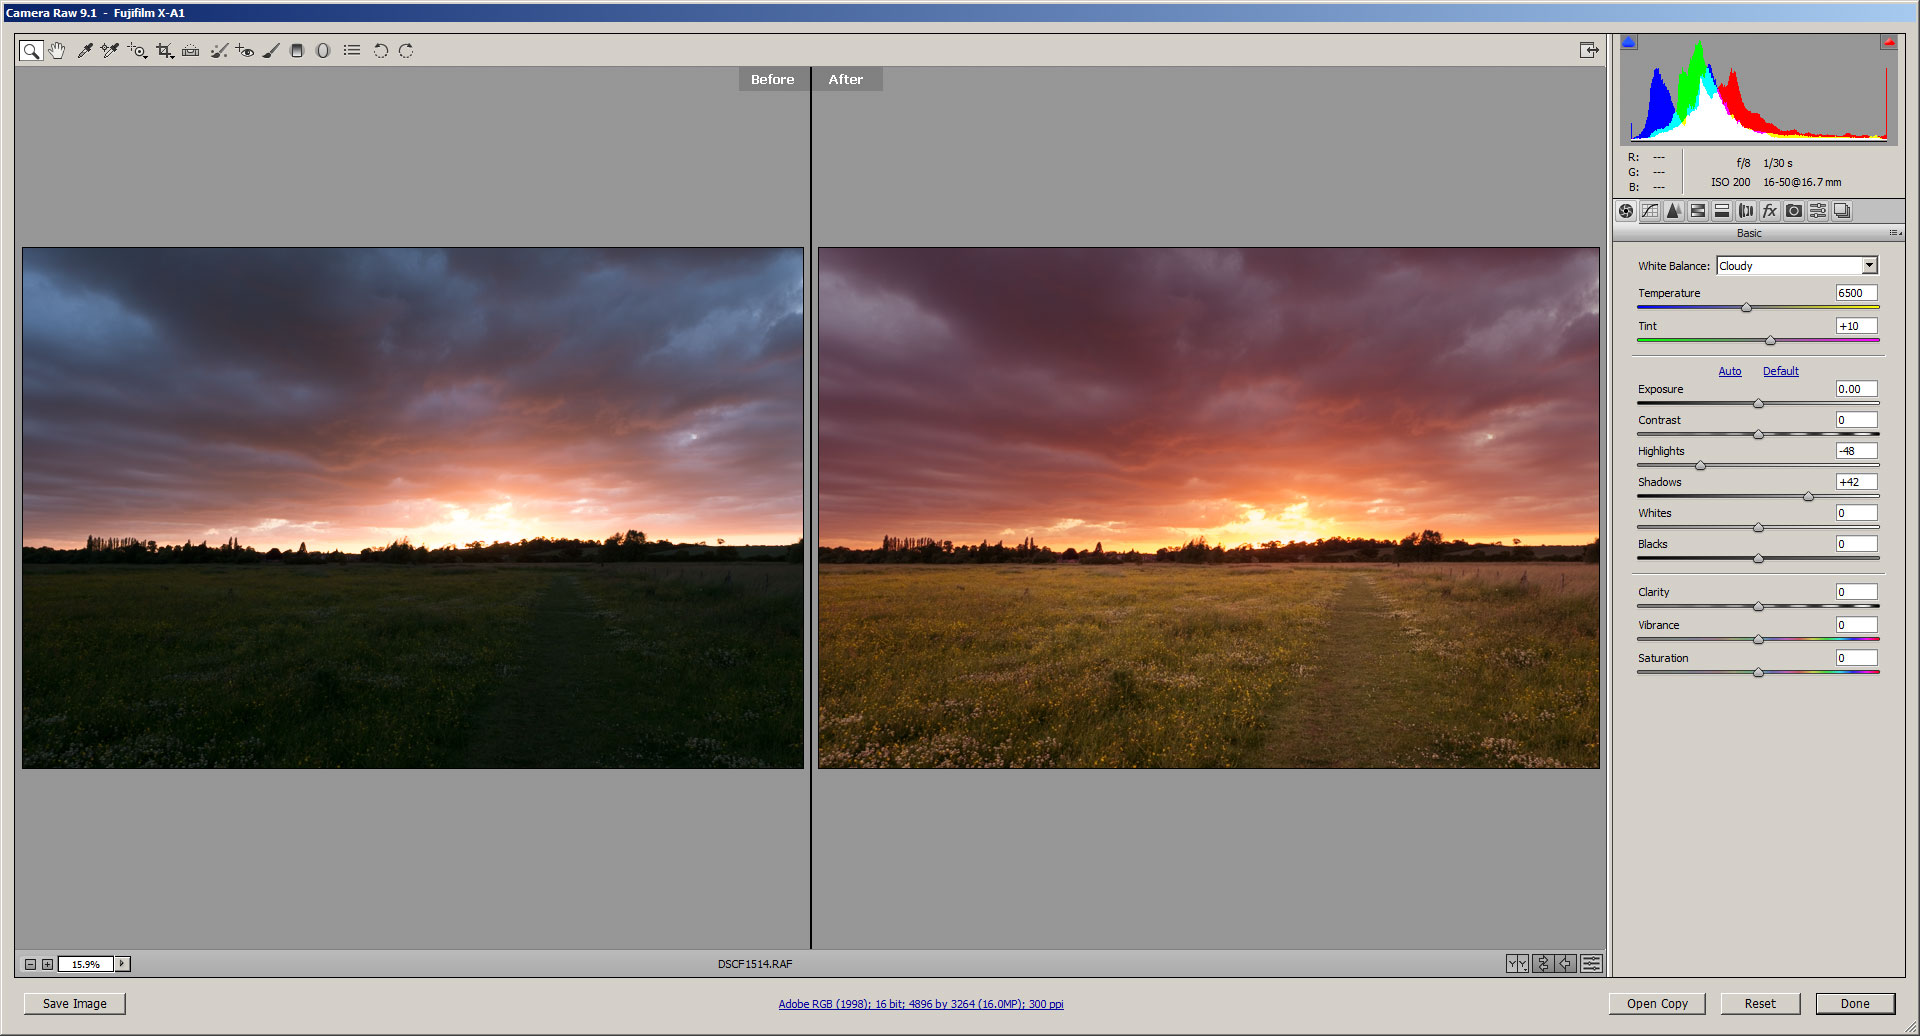
This process is only really suitable for modern DSLRs and Mirrorless CSCs. The latest large image sensors in these cameras retain a lot of detail in the shadow areas of the image, and this detail can be pulled out by brightening the shadow tones. This does increase noise levels in the image but these sensors have very low levels of noise, and so noise is not usually a problem.
If you try this technique with an older DSLR or a camera that has a small image sensor, such as most compacts, or a phone camera, you'll find it doesn't work so well. As well as bringing out any details recorded in the shadows, you'll bring out a large amount of noise, so much so that any details are likely to be swamped by the noise. But for modern ILCs this can be a very useful technique.
Composition is king
The composition can really make or break a photo. A beautiful scene composed badly can look boring. A boring scene composed well can look interesting. And a photo of a beautiful scene composed well can look absolutely stunning.
Composition is all about how you place the various elements that make up an image within the frame. It's about the shapes and lines that are created by items in the scene, and how well they work together. Read up on composition, learn the guidelines, try them out, and even try breaking them.
A couple of basic tips that work well for the majority of landscape photos are to look for leading lines, and / or to try and include something of interest in the foreground of the image. Leading lines refer to lines that lead back into the image, such as a road, path, or fence leading off into the distance. They help draw the viewer's eye into the image.
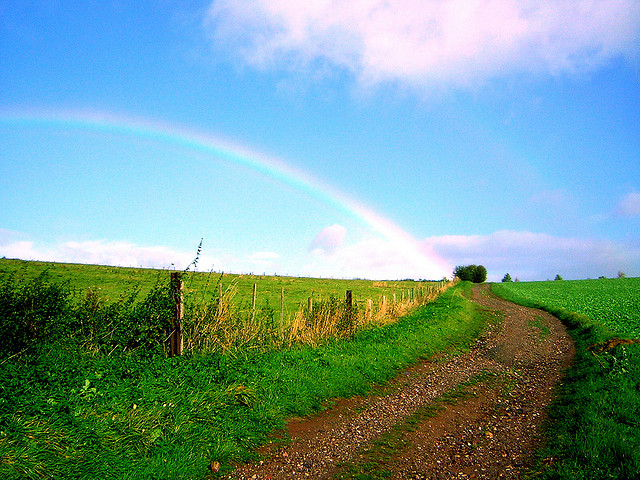
landscape with rainbow by glasseyes view on Flickr (licensed CC-BY-SA)
Including an item in the foreground helps anchor the image. Without anything in the foreground the foreground can appear as just an empty space. It becomes an image of just the horizon and the sky, and the foreground area is wasted. This particularly applies when using a wide-angle lens, where it is quite easy to include a large area of foreground within the image.
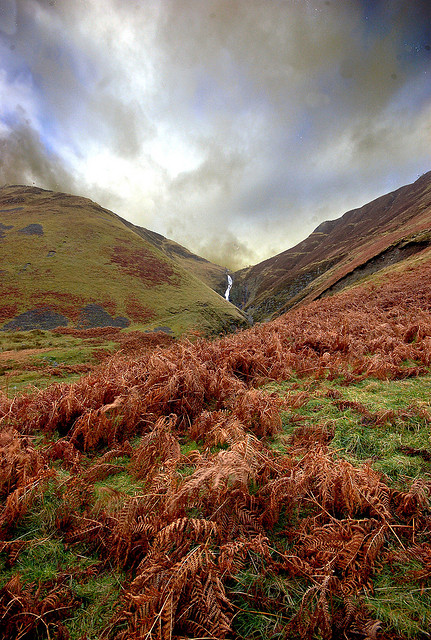
HDR Landscape by Paul Stevenson on Flickr (licensed CC-BY)
Landscape photography is a mixture of being in the right place at the right time, and using your knowledge to capture a well composed photo that really captures the feeling of the place. Being at the right place at the right time is a matter of persistence - keep going out, keep practising, and you're much more likely to find yourself in a great location with great light.
Learning the knowledge for great landscape photos is a matter of reading, and again, practice. Keep at it, learn from your mistakes, and you'll find your photography continually improving.


A really interesting and instructive article. Thank you so much.
what a pleasure to read – most instructive. thank you.
Thank you for sharing your knowledge. I look forward to trying these methods.
I really enjoyed reading this instructive article . It helps me appreciate a lot of finer details of photography.
Just out of curiosity, are any of these photos yours?
They all seem to be Flickr images