Photography Basics – Exposure
Exposure in photography refers to how bright or dark an image is. An under-exposed photo is one that is dark, while an over-exposed photo is one that is bright.
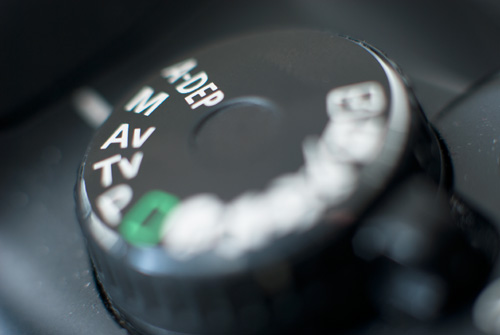
Most people tend to use an auto exposure mode on the camera, where the camera works out the exposure for us. For example, the Aperture Priority, Shutter Priority, Program, Intelligent, and Scene modes. But even if you rely on an auto exposure mode, it is still helpful to have a good grounding in how exposure works, and how the different exposure settings work together.
There are four things that affect exposure:
How brightly the scene is lit - outdoors in daylight there is plenty of light, but indoors under standard lighting it is much dimmer.
Shutter speed - the length of time the shutter stays open, measured in seconds. As long as the shutter is open, light will be captured by the camera. Learn more about the shutter here: Photography Basics – Shutter.
Aperture - the size of the iris in the lens or camera. It works much like the iris in our eyes, a larger iris lets in more light. The aperture size is measured in f-stops. Learn more about the aperture here: Photography Basics – Aperture.
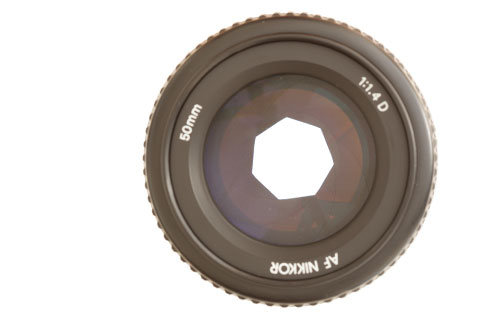
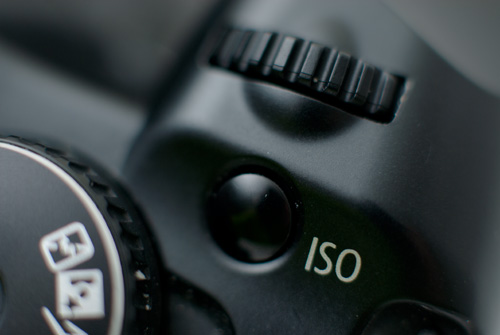
Lens with a partially closed down apertureISO setting - the sensitivity of the camera imaging sensor. A higher ISO setting means that the sensor is more sensitive to light. Learn more about the ISO setting here: Photography Basics – ISO.
Exposure and lighting
Most of the time we do not control how brightly the scene is lit. Situations when we can control the amount of light in the scene tend to be when shooting with flash, for example portraits and indoors.
By changing the power of the flash, and whether the flash is pointed directly at the subject, or bounced from a wall, you control how much light is in the scene. Reflectors can also be used, mainly in portrait photography, to reflect more light onto a subject.
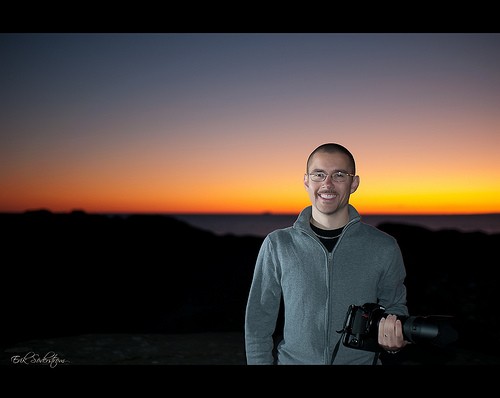
Martin Portrait #photog by mescon on flickr (licensed CC-BY)
For landscape photography, shots of buildings, street photography, etc. we do not have much control of the lighting. If shooting a landscape during the early morning light was too dark, you could come back and mid-day and take the photo when the light is much brighter. But this would result in a totally different image as there is more to light than just brightness. Thankfully cameras have a number of settings that can be used to control exposure, so we don't need to rely on the brightness of a scene to be just right.
Using Shutter speed, Aperture, and ISO to affect exposure
Shutter speed, Aperture, and ISO can all be used to affect exposure. But they also have other effects. Shutter speed affects how movement is frozen or blurred. Aperture affects how much of the image is in focus (depth of field). ISO affects image quality, the higher the ISO, the more image noise will appear.
Exposure is measured in stops. A one stop increase in exposure means a doubling in brightness. One stop of underexposure is a halving in brightness. Shutter speed, aperture, and the ISO sensitivity of the camera can all be used to affect exposure equally.
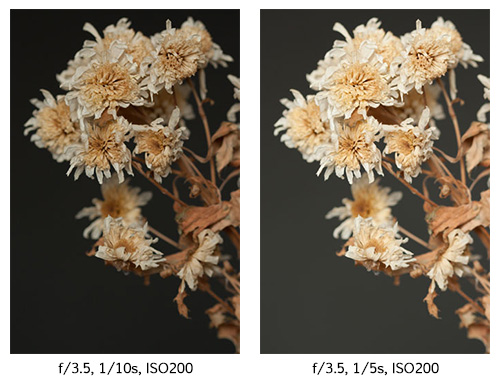
Doubling the exposure length results in a one stop increase in exposure
- Doubling the length of the shutter speed (e.g. 1/250s > 1/125s) would let light into the camera for twice as long, and so result in a one stop increase in exposure.
- Doubling the size of the aperture (e.g. f/4 > f/2.8) lets in twice as much light, a one stop increase in exposure.
- Doubling the ISO sensitivity (e.g. ISO 100 > ISO 200) makes the camera twice as sensitive to light, a one stop increase in exposure.
The beauty of this system means that these three camera settings can be used together. We can change one setting, and then change one or both of the other settings to compensate so there is no change in exposure.
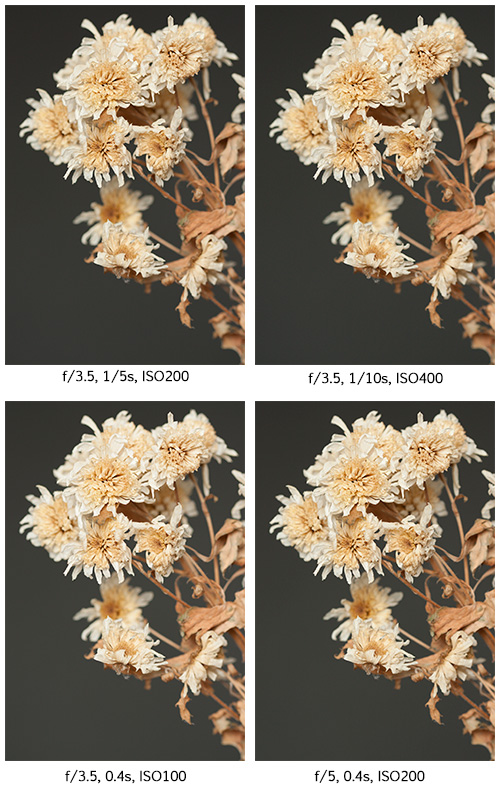
For example, maybe we want to use a smaller aperture for an increased depth of field, but without affecting the set exposure. We can select a small aperture, and then use a slower shutter speed or a higher ISO speed to keep the exposure constant.
This table below gives an example of how the settings can be used together to change the aperture, shutter speed, or ISO, while keeping the exposure constant. All the settings below would result in an image with the same exposure, but with varying depth of field, motion blur, and image noise depending on the settings used:
| Aperture | Shutter Speed | ISO |
|---|---|---|
| f/8 | 1/40 | 100 |
| f/5.6 | 1/80 | 100 |
| f/16 | 1/40 | 200 |
| f/8 | 1/80 | 200 |
| f/5.6 | 1/120 | 200 |
Now, unless you use the manual exposure mode of your camera, you don't need to worry about calculating these settings manually - your camera will do it for you.
Automatic Exposure modes
In Aperture Priority exposure mode, you set the aperture you want to use, and the camera will automatically work out the corresponding shutter speed needed for a good exposure. If you open up the aperture by one stop, the camera will increase the shutter speed to compensate.
In Shutter Priority exposure mode, you set the shutter speed you want to use, and the camera will automatically work out the corresponding aperture value (f-stop) needed for a good exposure. If you halve (increase) the shutter speed, the camera will open up the aperture by one stop to compensate.
How the ISO setting affects or is affected in the automatic exposure modes depends on how your camera is set. With ISO set normally, changing the ISO will cause the camera to adjust the shutter speed to compensate in Aperture Priority exposure mode. In shutter priority exposure mode, changing the ISO causes the aperture to be adjusted to compensate, so the exposure stays constant.
In a sense, aperture priority could be called aperture and ISO priority, while shutter priority could be called shutter and ISO priority.
If however, ISO has been set to Auto, then the automatic exposure modes work a little differently. In Aperture priority mode, when you change the aperture, the camera will automatically adjust the shutter speed and / or the ISO speed to compensate.
Similarly, in Shutter Priority mode with Auto ISO enabled, when you change the shutter speed, then the camera will change the aperture and / or the ISO speed to compensate.
The third automatic exposure mode, Program (P) chooses both the aperture and shutter speed for the exposure automatically.
All the automatic exposure modes automatically keep the exposure constant whenever you change aperture, shutter speed, or ISO. So, to change the exposure, and make an image brighter or darker than the camera's metering system thinks it should be, you can use exposure compensation.
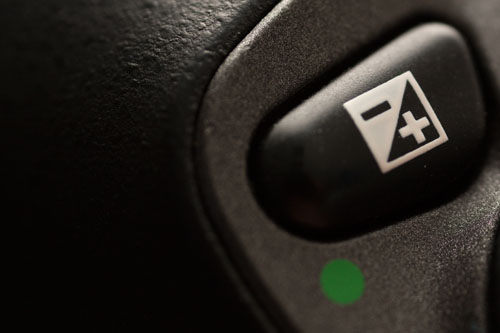
Applying positive exposure compensation makes the image brighter, while negative exposure compensation will result in a darker image.
Putting knowledge of exposure to use
Example 1
You are taking a photo of a landscape. You want most of the image to be in focus, so you are using aperture-priority mode with an aperture of f/8. You are shooting handheld, and have ISO set at 100 for maximum image quality. The camera automatically chooses a shutter speed of 1/20s.
You take the photo and check the resulting photo on the camera's LCD, but it is too dark. So you apply plus one stop of positive exposure compensation. The camera will then adjust the shutter speed to 1/10s. But this will probably be too slow a shutter speed for shooting handheld.
So, using your knowledge of exposure, you increase the ISO by one stop, to ISO 200. The camera will now adjust the shutter speed to 1/20s to compensate for the increased ISO speed. So now you can safely shoot at the same shutter speed as your original shot, but with +1 stop of exposure compensation for a brighter image.
Example 2
You are shooting Sports in shutter priority mode, with a shutter speed of 1/500s. You have the ISO set to Auto. You see that the camera is automatically selecting a small aperture (f/8) and a high ISO (ISO 6400).
You decide that you would rather have a slightly shallower depth of field and use a lower ISO to reduce image noise. You have two choices here:
- Set the ISO to 1600. This would force the camera to open up the aperture to f/4 for the same exposure as at f/8 and ISO 6400.
- Switch the camera to manual mode and manually set the aperture to f/4. With the ISO left on auto, the camera will automatically reduce the ISO by two stops to ISO 1600 to compensate for the larger aperture.
Understanding how the lighting level and the camera settings of aperture, ISO, and shutter speed all work together is an important aspect of photography. With this knowledge you can understand how the camera will adjust the settings when using an automatic exposure mode. And you can then take steps to avoid the camera making adjustments that you don't want (e.g. selecting too slow a shutter speed), while still getting the exposure that you want.


Thanks for this information on photography. Can I use same with the smartphone photography with manual mode?
Hi Deepika
Exposure works the same way on phone cameras, though most smartphone’s don’t give you manual control over the exposure settings. Most phones also have a fixed aperture, and so even those that do have manual exposure control won’t let you change the aperture setting.
Dave
Thank you very well and logically explained.