Photography Basics – ISO
Along with aperture and shutter speed, ISO is one of the settings on your camera that you can use to affect the brightness (exposure) of your photos. Unlike aperture it won't affect depth of field, and unlike shutter speed, it doesn't affect how quickly (or slowly) an image is captured. However, it can affect image quality by introducing what is known as 'noise'.
Using ISO to affect exposure
ISO100 is the standard ISO value used by most digital cameras as their default ISO value, though ISO200 is also becoming a popular base ISO. ISO100 should give you a good exposure on a bright sunny day at f/16 and 1/100s shutter speed. This is known as the 'sunny 16 rule' - on a sunny day at f/16, for a good exposure your shutter speed should be 1/ISO value you are using.
ISO can be boosted (or dropped), and doubles in value for each stop of extra exposure. So if you want to increase your shutter speed by one stop, but keep your aperture the same, you can increase your ISO by one stop. The following table shows how you can keep the exposure the same but increase your shutter speed by increasing the ISO speed:
| Aperture | Shutter Speed | ISO |
|---|---|---|
| f/8 | 1/40 | 100 |
| f/8 | 1/80 | 200 |
| f/8 | 1/160 | 400 |
| f/8 | 1/320 | 800 |
| f/8 | 1/640 | 1600 |
Likewise, you can use a smaller aperture without having to change your shutter speed by using a higher ISO value (or vice versa):
| Aperture | Shutter Speed | ISO |
|---|---|---|
| f/2 | 1/640 | 100 |
| f/2.8 | 1/640 | 200 |
| f/4 | 1/640 | 400 |
| f/5.6 | 1/640 | 800 |
| f/8 | 1/640 | 1600 |
The exact ISO speed available to you depends on your camera model. Some models feature ISOs as high as ISO 102,400 (useful for low light photography), and some go as low as ISO 5 (useful for long exposure photography).
What is ISO speed?
Digital cameras collect analog data (light) and convert it into digital data (pixels). Increasing the ISO works by increasing / boosting the signal gain of the camera's sensor. However, signal noise is created when the analog signal is converted to digital. By increasing the signal gain, as well as the useful information being increased, this noise is also increased.
High ISO noise
There are two types of high ISO noise - luminance noise and color noise (also known as chroma noise).
Luminance noise
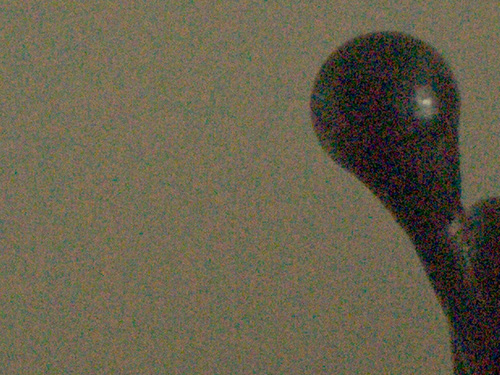
Luminance noise results in bright and dark blotches or speckles. This noise does not detract from the image that much unless it is particularly bad. It is most noticeable in areas that should be a smooth tone e.g. a blue sky.
Crop of image showing luminance noise
Color or Chroma Noise
Color noise results in bright colored speckles or patches across the image, and tends to be quite distracting. Thankfully chroma noise can be reduced by most noise reduction software with very little impact on image detail.
Crop of image showing chroma (color) noise
How exposure affects high ISO noise
By increasing the signal to noise ratio you reduce the relative amount of noise in an image. Remember the 'signal' is the light photons picked up by your camera's sensor. So by increasing the exposure (either by using a faster aperture or slower shutter speed) you increase the signal to noise ratio.
This method of exposure is popularly known as 'expose to the right' (ETTR) - you expose your image so that the histogram for the image is against the right edge (though try not to expose too much to the right or you will blow out highlight detail). You would then reduce the exposure back to the 'correct' level in RAW conversion software.
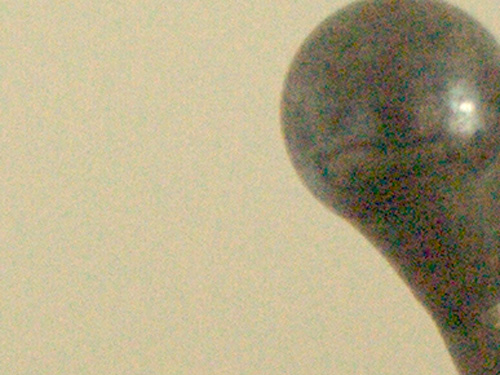
Image exposed normally - ISO 3200, f/4.5, 1/125s
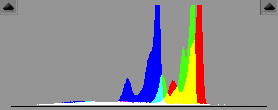
Histogram of image exposed normally
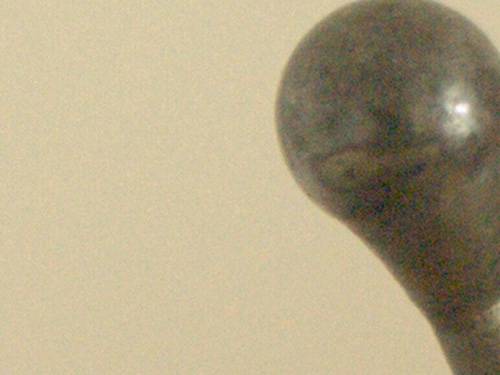
Image exposed to the right by one stop, then exposure pulled back one stop in RAW convertor - ISO 3200, f/4.5, 1/60s

Histogram of image exposed to the right before applying exposure compensation in RAW converter
While this method does work in reducing noise, it doesn't provide much practical use in real life when trying to reduce high ISO noise. If you can open your aperture or lower your shutter speed to increase your exposure, instead of exposing to the right, you could just use a lower ISO value and expose normally. This will provide an equal benefit in reducing noise, and you don't have to pull the exposure back in the RAW conversion software.
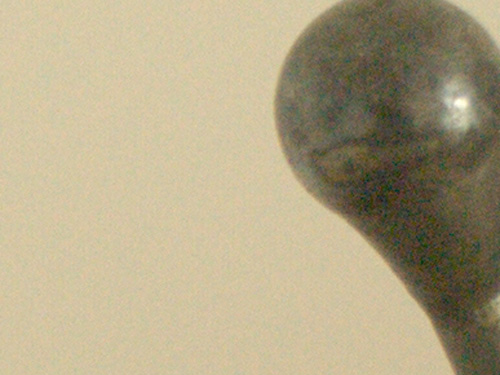
Image exposed using the same aperture and shutter speed as the ETTR image, but a lower ISO and no RAW adjustments - ISO 1600, f/4.5, 1/60s
Making sure your images are properly exposed, and not underexposed, definitely does help reduce high ISO noise though.
How sensor size affects high ISO noise
The larger the sensor size your digital camera uses, the less noise you will likely see in your images. This is because for a given image size, a larger sensor gathers light over a larger area, resulting in a lower signal to noise ratio.
Generally compact cameras have the smallest sensors, and the worst high ISO noise. Four thirds cameras have relatively large sensors compared to compact cameras, and quite a lot better noise performance. APS-C cameras (most DSLRs) have larger sensors than four thirds, and Full frame cameras (high end DSLRs) have the largest sensors and best noise performance. Medium format cameras have larger sensors still, but they typically don't have great performance at high ISOs due to their sensors and electronics being optimized for low ISO use.
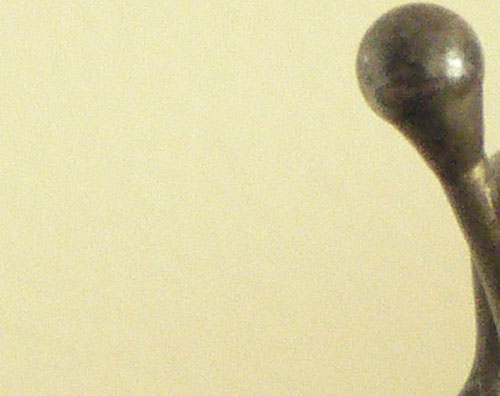
Image taken with small sensored camera at ISO400
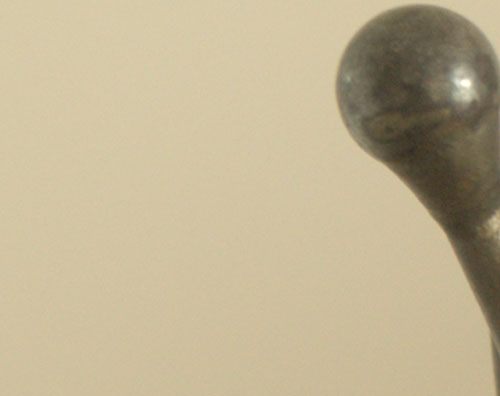
Image taken with larger APS-C sensored camera at ISO400
As electronics improve, so do camera sensors, and the noise they produce. Modern cameras produce much less noise at high ISOs than older cameras, and this trend is likely to continue.
High ISO noise reduction
Digital cameras usually feature a 'noise reduction' option that aims to reduce high ISO noise. Generally it is best to have this option turned off, and reduce noise using specialist software on your computer. If you think about how powerful your computer's processor is compared to your camera's, it makes sense that noise reduction done on your computer can do a better job than your camera can.
The problem with noise reduction is that it can result in detail smearing, where noise is removed, but actual image detail is lost as well. By running noise reduction software you can tailor exactly how much noise reduction you want, rather than the camera choosing what it thinks is best. You can also choose to just reduce the more distracting chroma noise, while leaving luminance noise alone.
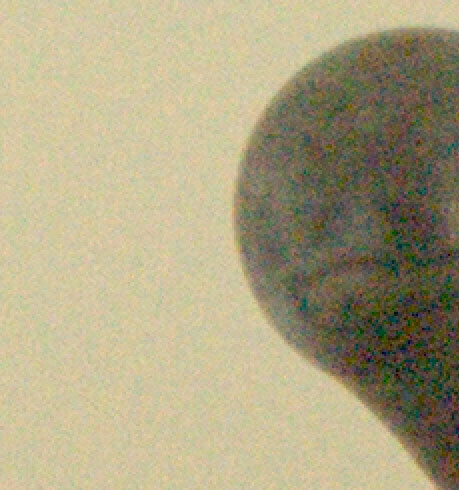
Image with no noise reduction

Image with medium noise reduction - noise is reduced slightly with no detail lost
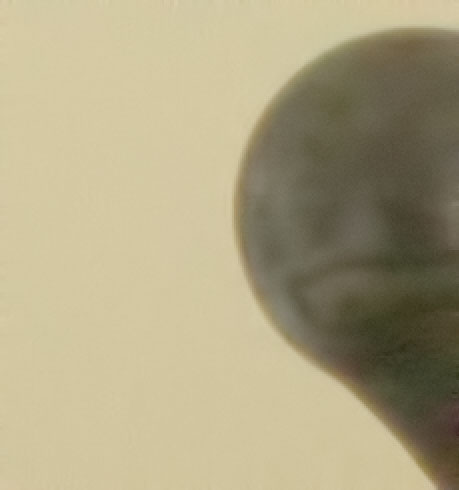
Image with high noise reduction - noise is greatly reduced but some detail is lost
Most RAW convertors such as Lightroom, Adobe Camera RAW, Capture One, etc. feature noise reduction tools. You can also purchase noise reduction plugins for Photoshop, such as Neat Image, Noise Ninja, and Topaz Denoise. Generally the noise reduction plugins do a better job at noise reduction, but they are an additional cost, and an additional step in your workflow when processing images.
False low ISOs
Some cameras feature a base ISO level, for example ISO 200, and then a false ISO level below this e.g. ISO 100, though it may be indicated as something like LO1. In this case the camera exposes an image at the base ISO level (ISO 200 in our example), and over-exposes the image by one stop. It then brings the exposure back down by one stop when processing the image (similar to the ETTR method described above).
Although this does result in lower noise than an image taken at the base ISO, you will be hard pressed to find image noise in images taken at ISO 200 with modern cameras anyway. This method also reduces the dynamic range of the image, so unless you are shooting a low contrast subject, you may find it results in blown highlights.
The ISO setting is a very powerful setting on your camera, allowing you to control both the aperture and shutter speed without having to worry (too much) about how the aperture and shutter speed will affect the image brightness. Thanks to digital cameras you don't have to change films when you want to change your ISO setting, and with modern cameras you can now shoot at high ISO levels never dreamed of in the pre-digital era.
Many cameras feature an auto-ISO option. With this turned on you can put your camera in manual exposure mode, and let the camera's autoexposure work while you set the aperture and shutter speed to exactly what you want to use.


