Image Noise – How to prevent it and correct it
Image noise appears as blotches and speckles on your photos. It can appear distracting and reduce the clarity of a photo. In this article we'll look at what causes image noise, how to prevent it, and how to remove it from existing images.
There are two types of image noise – color noise and monochromatic (also called luminance) noise. Color noise appears as colored speckles, whereas monochromatic noise appears as darker / brighter speckles.

Example of color noise

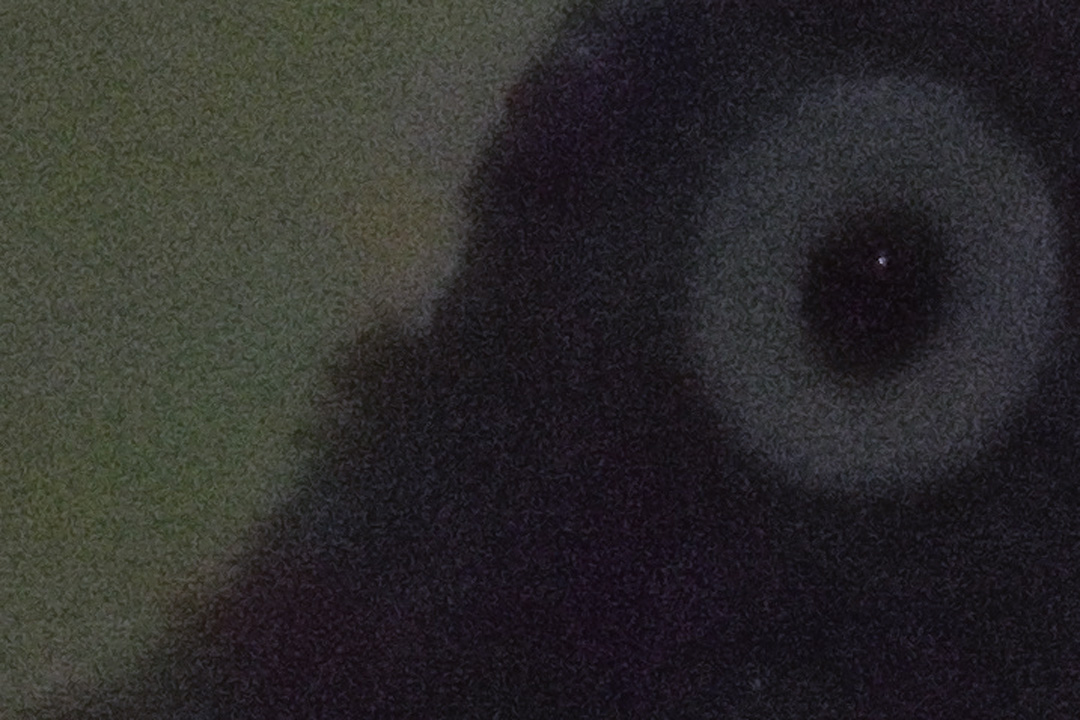
Example of luminance / monochromatic noise
What causes image noise?
There are a few things that contribute to causing image noise:
- Image sensor size in relation to number of megapixels – The more megapixels a camera has, and the smaller the image sensor size, the smaller and closer packed those 'pixels' have to be on the image sensor. The smaller the 'pixels' on the image sensor, the more noise will be recorded.
- Camera technology – the newer the camera, the less noise will be recorded (generally). Camera manufacturers are always working on improving their image sensor technology to record less noise.
- ISO setting – the higher the ISO setting used to capture a photo, the more noise will show up.
- Exposure – the brighter an image, the less noise will be visible. The darker an image, the more noise will be visible (particularly if you then brighten the image in software later).
Preventing image noise
The first two points above you can't do anything about (unless you don't mind buying a new camera), but the last two points are in your control.
Keeping ISO low
ISO is part of the exposure triangle. So using a slower shutter speed or larger aperture will let more light into your camera, and allow you to use a lower ISO.

Crop from photo taken at ISO1600

Crop from photo taken at ISO100
Note that there is much less noise in the photo taken at ISO 100. Detail is also better, though the loss of detail in the high ISO image is mainly down to taking these photos with a compact camera that automatically applies detail destroying heavy noise reduction. The effect of the camera's built in noise reduction can even be seen in the ISO 100 image.
If you are shooting in good light, just set your ISO to your camera's base level (check your camera's manual to see what this is – usually it is ISO 100 or ISO 200).
If you are shooting handheld in low light, set your shutter speed as low as you can while still getting a sharp image without camera shake or subject blur. Set the aperture on your lens as large as possible, e.g. f/4 instead of f/8. And then set the ISO to whatever you need to get a good exposure.
Getting the exposure right
If a photo is underexposed, it is more likely to show noise, especially in the darker shadow areas of the image. If this is a problem, try applying some positive exposure compensation to result in a brighter photo.
Crop from photo taken at ISO1600 with subject not well lit
Crop from photo taken at ISO1600 with subject well lit
In the second photo a light source was added to light the subject, resulting in less noise visible in the bright areas of the image. You can still see a lot of noise in the background as the background is dark and not well exposed.
Sometimes it can help to change the metering mode. Using spot metering, and then metering off an area of the scene that you want to appear as midtoned in the photo should ensure that the camera chooses a good exposure.
Cleaning noise from a photo
A noisy photo can be cleaned up by running the photo through noise reduction software. There are a large number of different noise reduction programs available, and most RAW converters and image editors also include noise reduction capabilities.
As we saw in the earlier examples, although cameras can apply noise reduction in-camera, it often destroys image detail. If your camera offers an option to turn noise reduction off, I would suggest you use it. You can usually get a better result by applying noise reduction on the computer than the in-camera result can give.
Generally it is a good idea to apply noise reduction before you do much other image editing. There are two reasons for this:
- Some noise reduction software works best when the noise appears as it does straight from the camera. Extra image processing can change the characteristics of the noise and make it more difficult for the software to detect as noise and remove.
- Applying other processing to a photo can increase the noise levels. So it is good to start with as clean an image as possible before doing other processing.
When removing image noise, most software will allow you to adjust the amount of color noise and monochromatic noise reduction separately. This means that if you have an image with bad color noise, but you don't mind the monochromatic noise, you can just remove the color noise. Or the other way round if you don't mind the color noise but hate the monochromatic noise.
The key with noise reduction is getting rid of as much noise as possible, while still keeping detail in the image. This is a challenge, and the right amount of noise reduction is something that can only be decided by you.
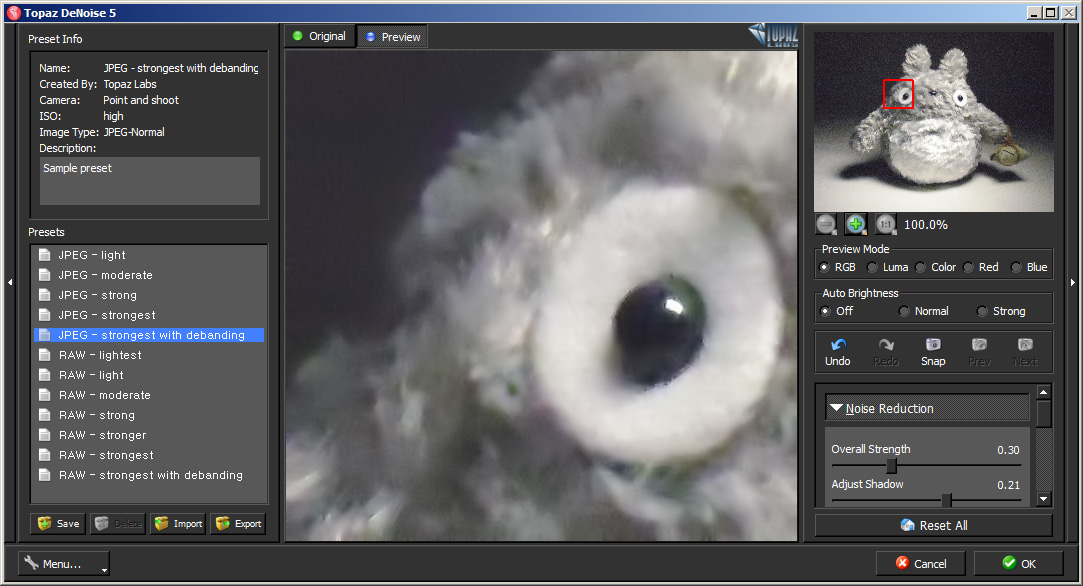
Applying noise reduction in Topaz DeNoise
For tricky images, you can use multiple layers to selectively apply noise reduction. For example, let's say you take a photo of a detailed subject with a smooth out of focus background. The noise will be very visible in the smooth background, but not so much over the detailed subject.
A large amount of noise reduction will get rid of noise in the background, but will also smooth out the detail on the subject. A small amount will keep detail in the subject, but leave a lot of visible noise in the background.
So you make 2 duplicate layers of the image. To one you apply a large amount of noise reduction, and to the other a small amount. Then use a layer mask to mask out / in the noise reduction as needed.

Using a layer mask to apply noise reduction selectively
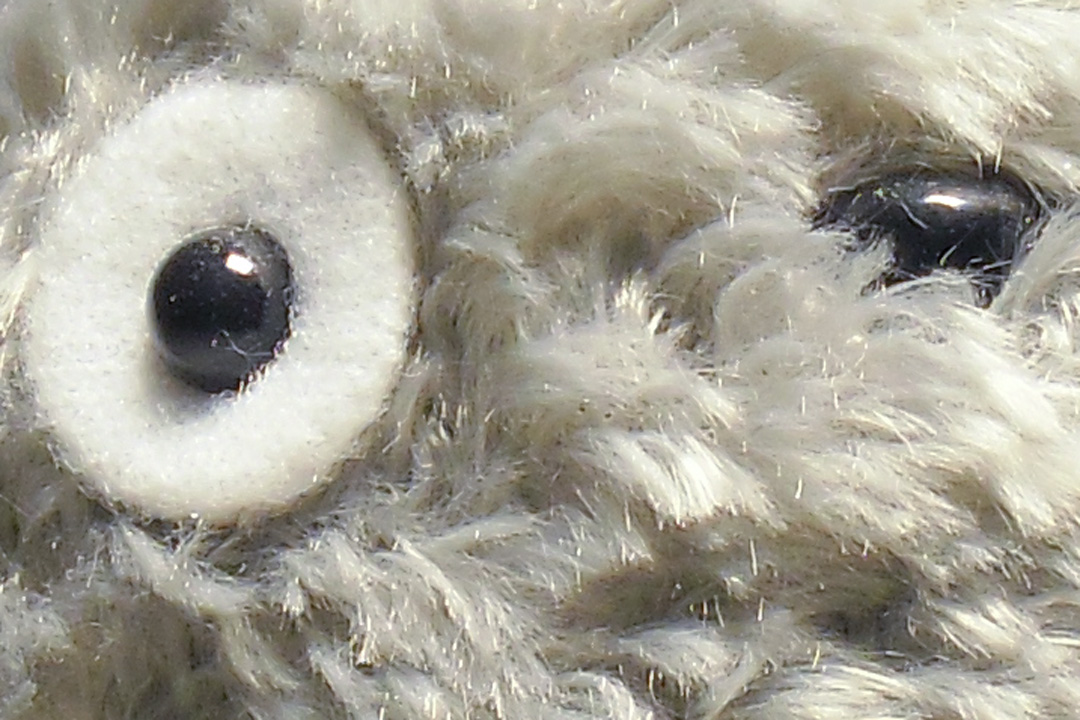
P.S. Compare the level of noise and detail in this DSLR image with noise reduction in-camera turned off at ISO3200 compared with the earlier compact camera photos. Even compared to the compact camera at ISO100 the DSLR image has less noise and more detail (click to view larger):

Crop from photo taken at ISO3200 with a DSLR camera
Crop from photo taken at ISO100 with a compact camera
Is noise actually a problem?
Usually image noise only becomes visible when the photo is viewed at or near 100% on screen. We normally display our images much smaller than this, whether for web or print, and so even if image noise does exist, it likely won't be visible.
In some situations having noise in an image can actually work to the image's benefit. There are quite a few solutions available for adding 'film grain' to digital images, which is very similar to just adding noise to an image. Black and White images particularly seem to often work well even with heavy image noise.
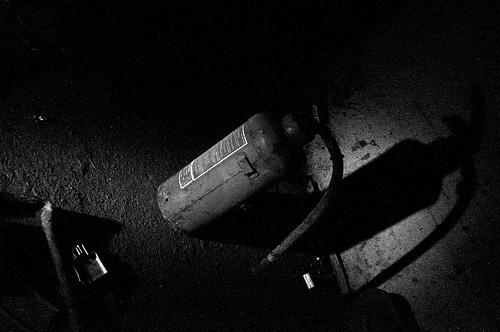
Extinguisher. by Luke Hayfield Photography on flickr (licensed CC-BY)
Just because an image is noisy doesn't necessarily mean it is a problem.


