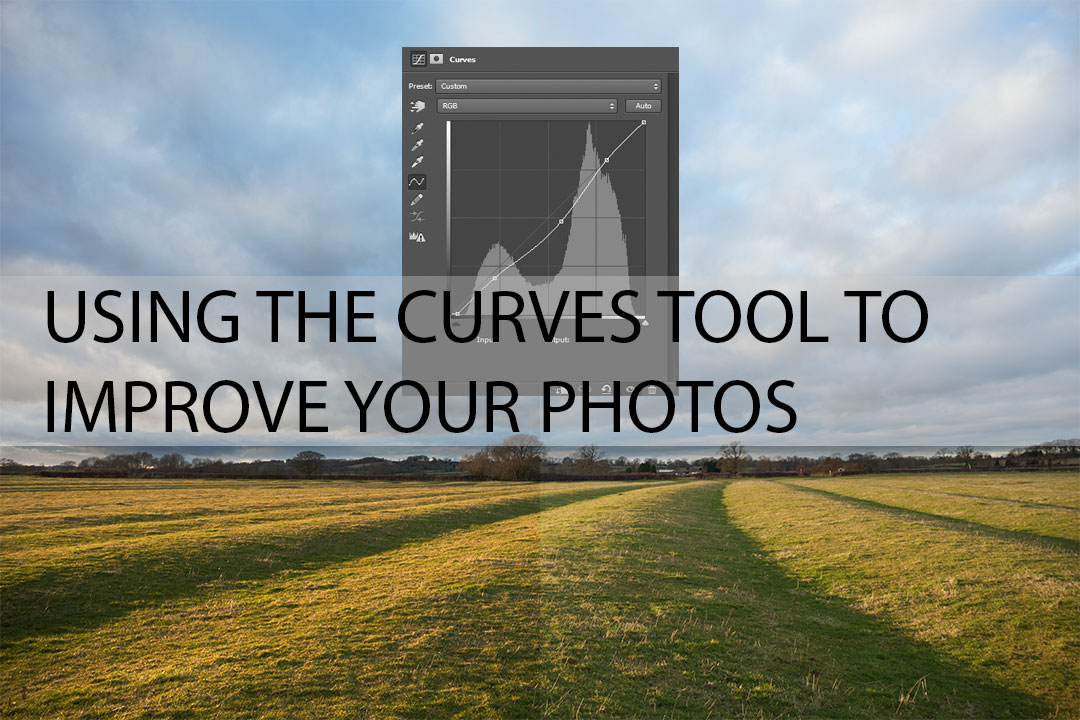
Using the curves tool in Photoshop etc. to improve your photos
The curves tool is a simple but powerful tool that allows you to brighten, darken, add contrast, and correct or modify the color balance of your photos. As well as being easy to use, it allows you to make fine grained adjustments that will only effect certain parts of the photo.
Most photo editing programs, such as Paintshop Pro, 
Explanation of curves
Below you can see an example of the curves dialog in 
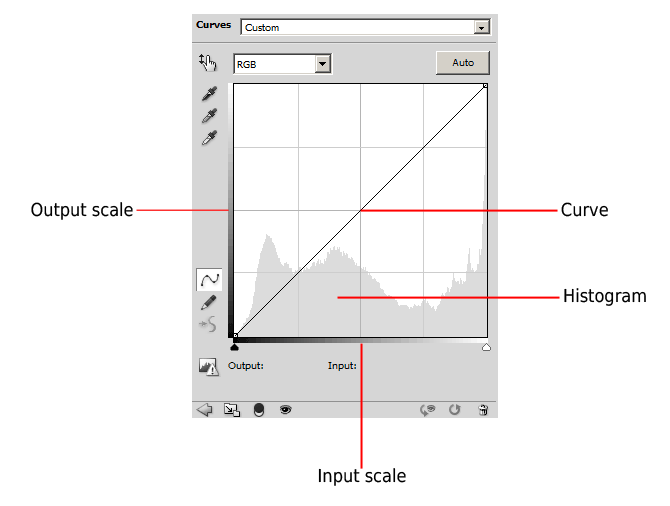
You have a box with a histogram of the image. The histogram displays all the tones that are present in the image in a graphical format. The more of a certain tone, the higher the peak in the histogram.
At the bottom of the curve you have a scale showing the input tones. In the example above, the scale goes from black on the left to white on right, but you can reverse this if you wish.
On the left of the curve you have the output scale showing the output tones. In this example the scale goes from black at the bottom to white at the top, though obviously it will be the other way round if you reverse your scales.
Going across the box, from bottom left to top right, we have the curve. This is used to change the tones of the image. Since we haven't changed anything, it is currently a straight diagonal line, going from black in the bottom left corner, to white in the top right corner.
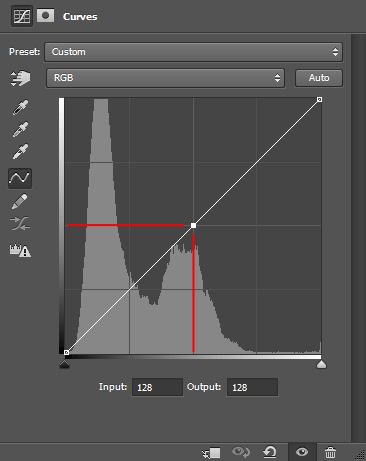
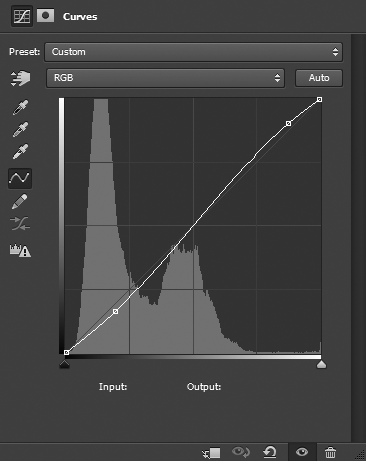
To change the curve, click on the curve. This will add a point that you can use to adjust the curve. If you click in the center of the curve and don't drag the point at all, you should have a curve dialog that looks similar to below.
I have added red lines to the curve to show that the current value on the input scale (bottom) is the same as the current value on the output scale (right), since we have not modified the curve yet.
Now if we click the point at the center of the curve and drag it upwards, we are adjusting the input tone to make it brighter:
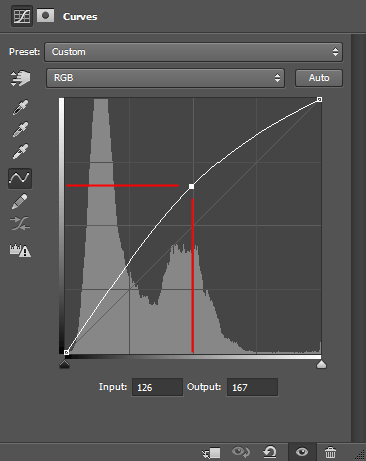
Rather than just increasing the brightness of that one single tone that we dragged up, you can see that the tones surrounding this point are also brightened. A curve is created, gradually tailing off towards the other points on the curve (currently just the black and white points - we'll look at adding more points soon).
If only the single tone we dragged up was brightened, our image would look quite strange. A smooth curve gives a gradual and natural transition to the change.
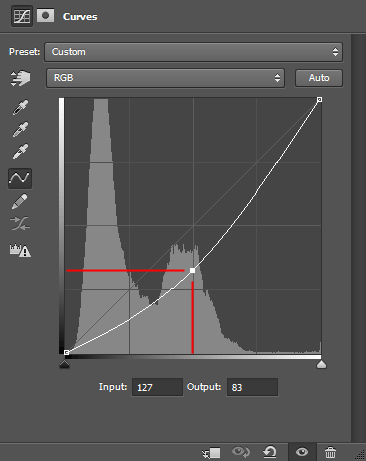
If we drag the point downwards, we are mapping the input tone to a darker output tone:

However, the real power of curves lies in that we can add multiple points to the curve, and adjust them how we like. One example is the popular s-curve, which increases the contrast of a photo. To create an s-curve, we pull up the bright tones, and pull down the dark tones:
We can also use curves to brighten the midtones of a photo without losing too much contrast or losing detail in the bright areas. Move the midtones up, while adding points to keep the bright and dark tones roughly the same:

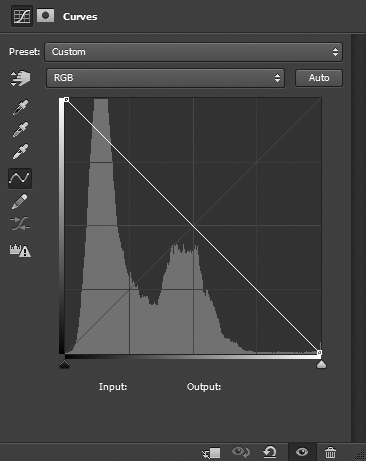
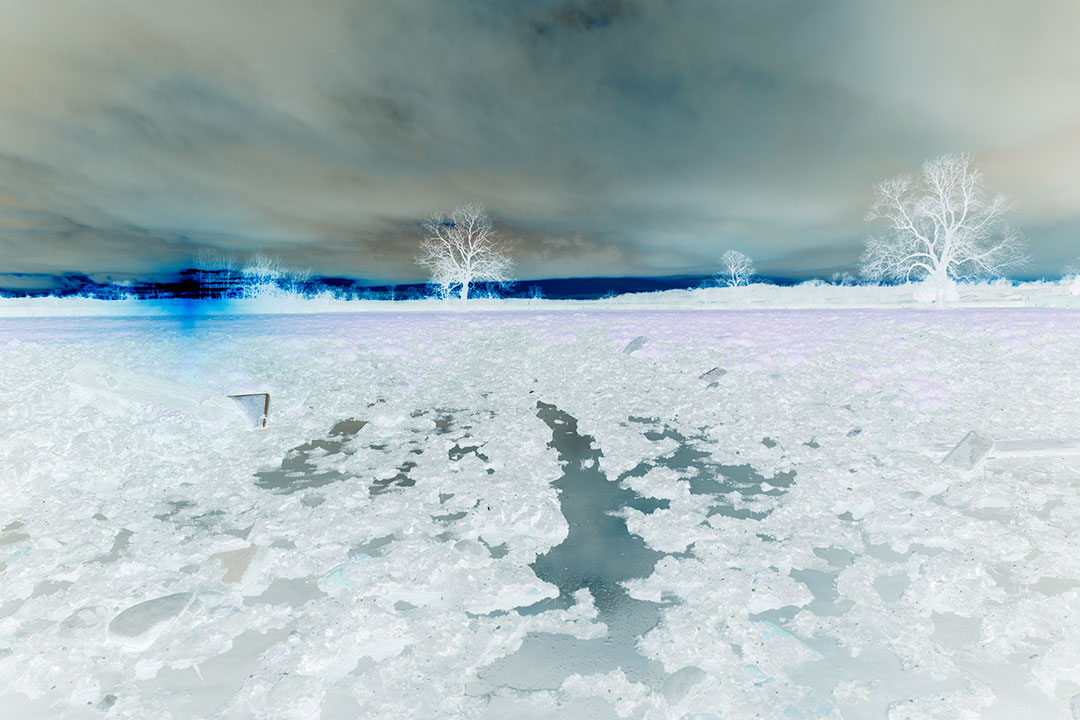
If we change the curve so that the brightest tone is black and the darkest tone is white, we can create a negative of our image:
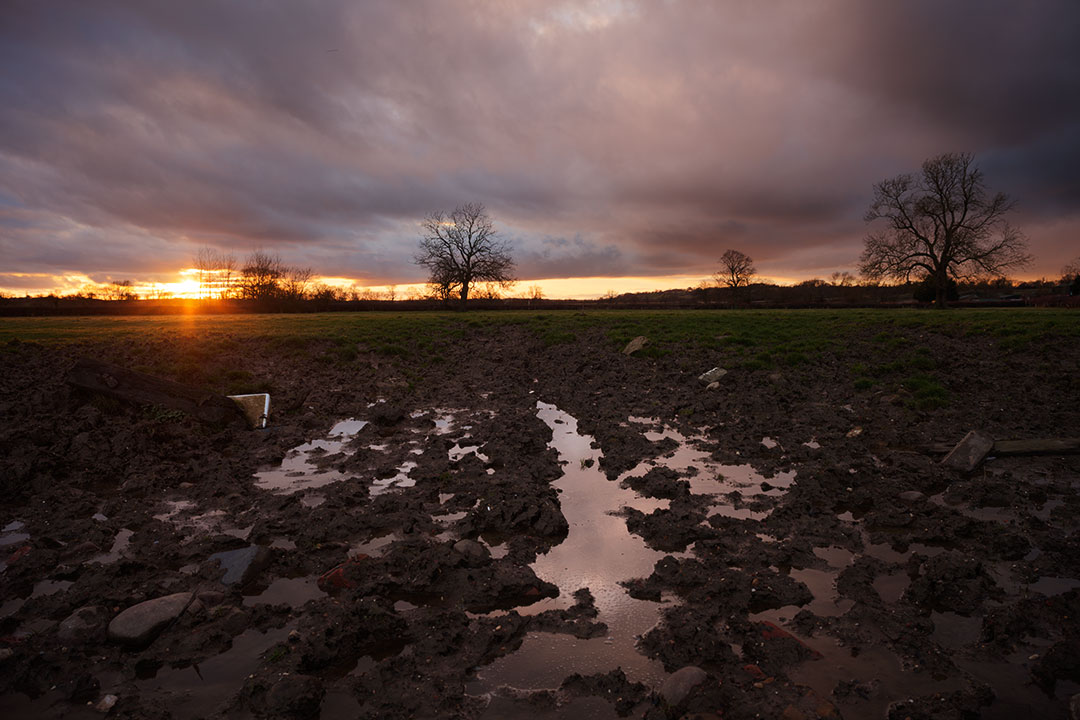
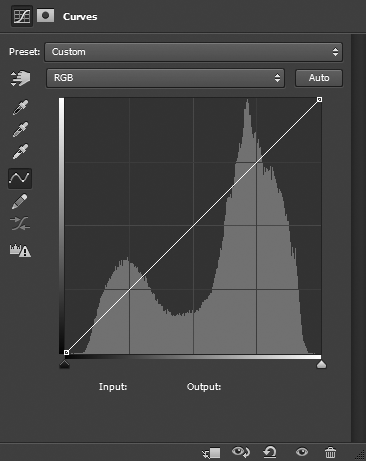
For photos where the histogram starts after the left edge of the tone curve box, this indicates that the photo contains no pure black tone:

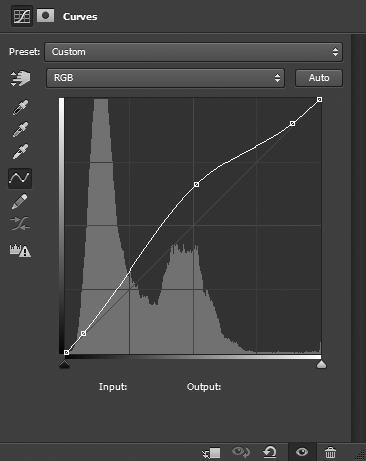
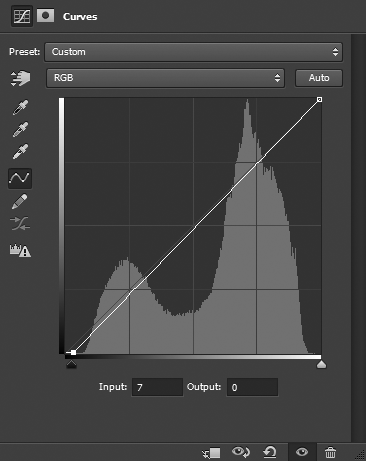
We can darken the dark tones (and increase the contrast) by pulling the left-most point of the curve along the bottom, to move the black point to where the histogram starts:
If you had a photo where the histogram tailed off before the right edge (indicating no image data at pure white), then you might do the opposite of above, moving the top right point of the curve to the left where the histogram ends.
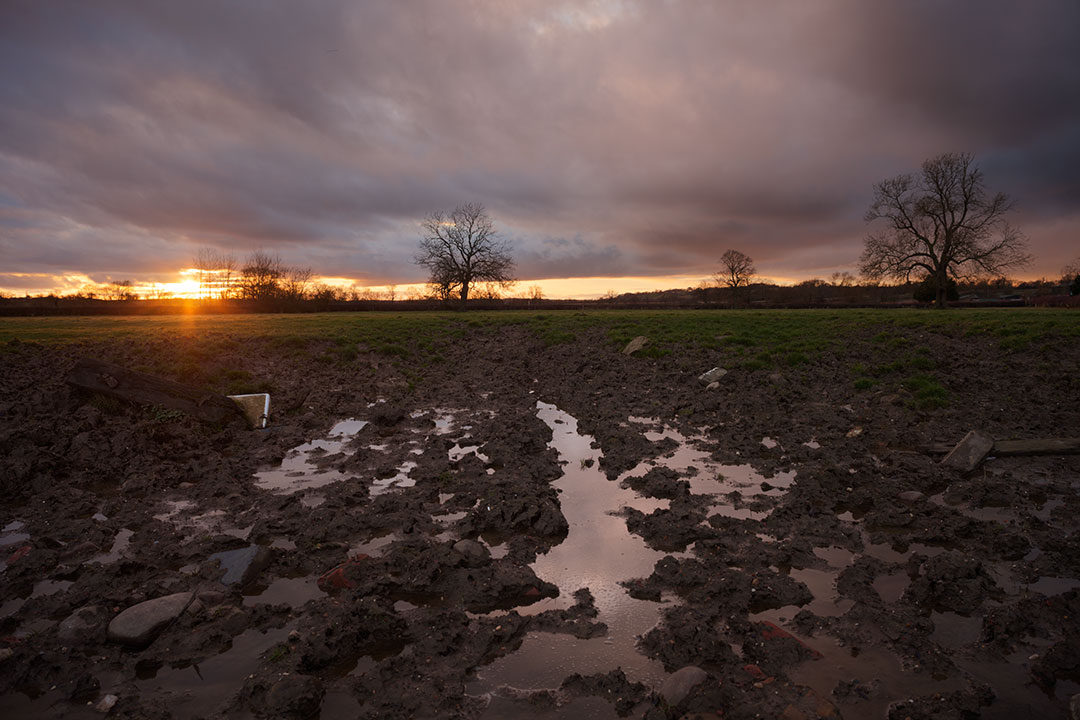
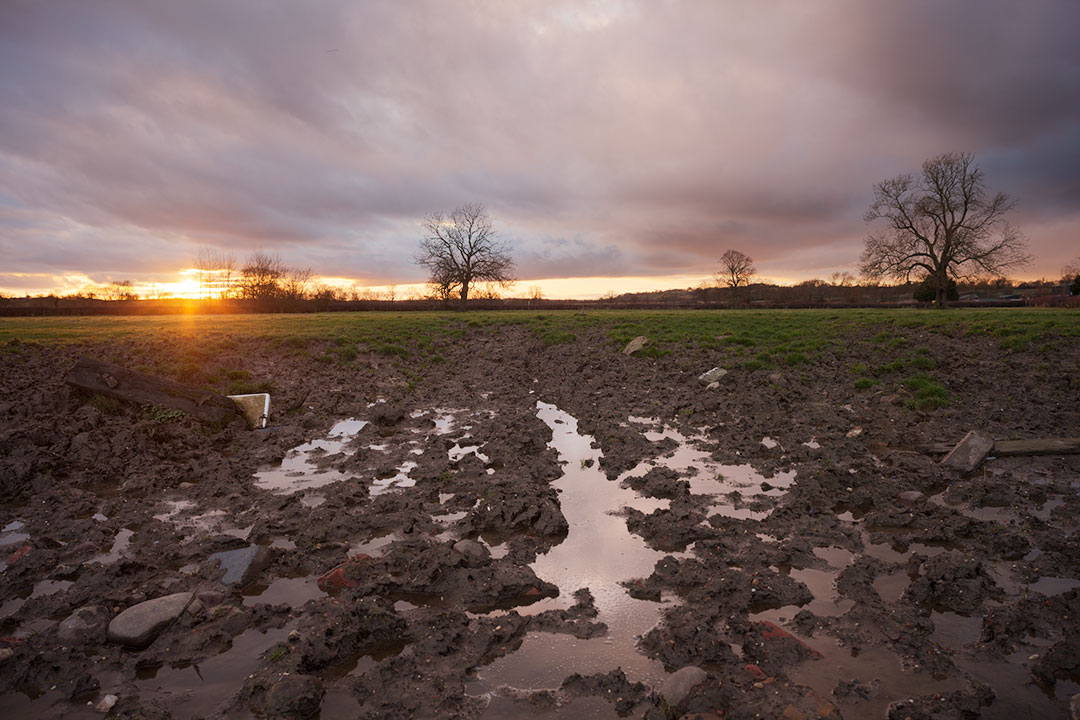
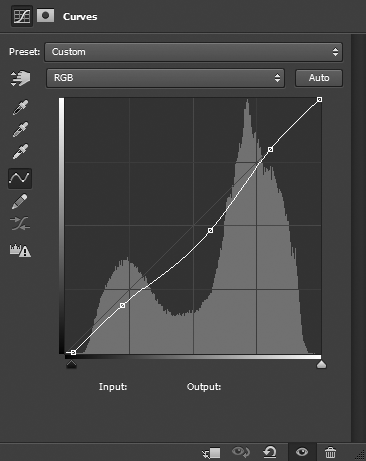
For this particular image, I would keep the brightest tones as they are, while darkening the midtones, and moving the blackpoint up. This results in a curve looking as below:

Hopefully you now have a good idea on how to use the Curves tool to adjust the tone and contrast of your photos. In the next article we'll look at how to use the curves tool to adjust colors.


