Photography Tips (Page 24)

How much image editing is acceptable?

without comments

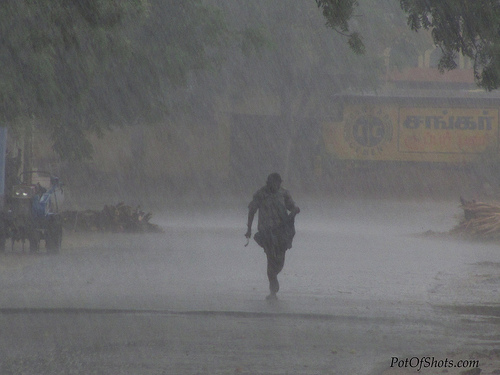
With digital photography it is quite easy for us to manipulate our photos using image editing software. Some of us make some adjustments to nearly all our photos. This is often known as post processing - processing applied to the photo after it was captured.

But just how much post processing is it 'acceptable' to apply? The answer to this question lies partly in what you yourself are comfortable with, but also what the image is to be used for.

A Little of This a Little of That Processing
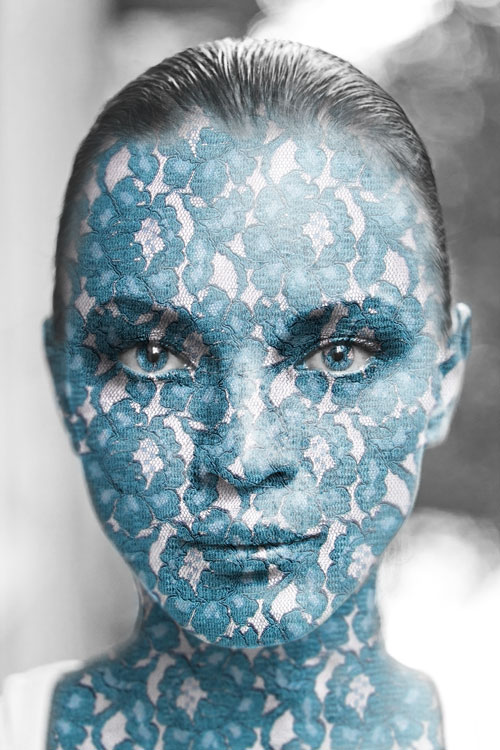
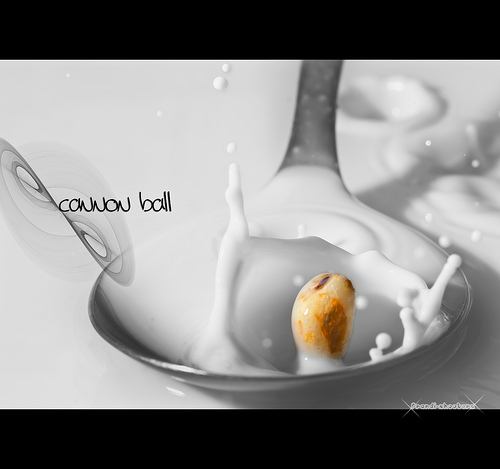
A Little of This a Little of That Processing by fauxto_digit on flickr (licensed CC-BY-ND)

Read the rest of this entry »

Written by Discover Digital Photography

November 20th, 2012 at 9:35 am

How to get a straight horizon in your landscape photographs

without comments

In landscape photography, the vast majority of photos will look better if the horizon is straight. This is particularly true if there is a long flat horizon that we know should be straight, for example the sea or a lake.

In this article we'll look at how you can make sure the horizon is straight when taking a photo, and also how to fix an existing photo with a crooked horizon.

Read the rest of this entry »

Written by Discover Digital Photography

November 17th, 2012 at 1:56 pm

Tips for shooting on rainy days

with one comment

In the last article we looked at ideas of all the great things you can photograph on rainy days. In this article we'll look at some tips on how to combat certain problems that the rain brings (such as keeping your camera dry).

Running for cover in heavy rain
Running for cover by Joseph Jayanth on flickr (licensed CC-BY)

The main problem when shooting in the rain is that you don't want your camera to get wet. The vast majority of cameras can survive a little rain okay. More expensive weather sealed cameras, such as the Pentax K-30, can survive harsher weather, but even so, it is still best to keep your camera as dry as possible.

Read the rest of this entry »

Rainy Day Photography Tips

without comments

If it's raining, it can be very tempting to stay inside rather than go out and take some photos. Who wants to take photos in the rain anyway?

Well, actually, photographing in the rain can produce some great photos. One of the reasons rainy photos can seem so striking is just because we are not used to seeing photos taken in the rain.

Street photography - wet city streets at night on a rainy evening
Shinjuku by pietrozuco on flickr (licensed CC-BY)

In this article I'll cover some of the reasons why rainy weather can be a great time for photography. Then in a follow-up article, I'll cover some tips on keeping safe and dry in rainy weather.

Read the rest of this entry »

Written by Discover Digital Photography

November 11th, 2012 at 7:35 pm

Photoshop tutorial: How to apply a texture to a face by using a displacement map

with 5 comments

In this post we'll look at how to apply a realistic looking texture to a person's face using a displacement map in Adobe Photoshop.

Photo of a woman's face with texture applied in Photoshop using a displacement map
The end result we will be working towards in this tutorial

The process is exactly the same in the full version of Photoshop and Photoshop Elements, they both feature the displace filter and work in the same way. GIMP also features the displace filter, as does Paint Shop Pro. This tutorial focuses on Photoshop, but the process is similar in GIMP and PSP.

Read the rest of this entry »

How to use Manual Focus

without comments

In the previous article we looked at examples of when you might want to use manual focus instead of autofocus. In this article we'll cover how you can focus manually, with some tips to help you make sure that your focus is accurate.

Focus switch on a Canon lens

Read the rest of this entry »

When to use manual focus

without comments

The autofocus systems in modern cameras can usually focus a lot faster than we can focus the camera / lens manually. But there are some situations where using manual focus may be preferable. In this article we'll look at some examples of where using manual focus can give better results than autofocus. (Tips on the actual process of focusing manually will be covered in a separate upcoming article).

Piece of cereal splashing into a bowl of milk - manual focus used
cannon ball by fRandi-Shooters on flickr (licensed CC-BY)

The most obvious situation when you'd want to use manual focus is when autofocus isn't working. When the camera can't autofocus correctly, or is finding it difficult to autofocus, you'll often find that the autofocus will 'hunt'. This is where the focus is racked back and forth between infinity and the closest focus of the camera, in an effort by the camera to try and find the point where the subject is in focus.

Most cameras will flash the active focus area in the viewfinder or on the LCD and beep when focus has been successfully achieved. If your camera is having trouble autofocusing, then switching to manual focusing would be advisable.

Read the rest of this entry »

Written by Discover Digital Photography

October 25th, 2012 at 12:13 pm

Photography Basics – Exposure

with 3 comments

Exposure in photography refers to how bright or dark an image is. An under-exposed photo is one that is dark, while an over-exposed photo is one that is bright.

Most people tend to use an auto exposure mode on the camera, where the camera works out the exposure for us. For example, the Aperture Priority, Shutter Priority, Program, Intelligent, and Scene modes. But even if you rely on an auto exposure mode, it is still helpful to have a good grounding in how exposure works, and how the different exposure settings work together.

Read the rest of this entry »

Written by Discover Digital Photography

October 18th, 2012 at 9:02 am

How to take tack sharp photos

without comments

Capturing sharp images is something that virtually every photographer tries to do with every image. Even if only a very slim portion of the image is in focus, we want that part to be sharp, and record as much detail as possible.

Kitten photo taken at f/1.4 to give a shallow depth of field while in-focus portion is sharp
Emily by schani on flickr (licensed CC-BY-SA)

The only exception I can think of is some portrait photography, where a soft focus filter may be used to give a soft and dreamy look.

To get tack sharp photos, there are a number of things you can do:

Read the rest of this entry »

Written by Discover Digital Photography

October 11th, 2012 at 7:56 pm

Get It Right In-Camera

without comments

With today's modern cameras and image editing software, there is a lot we can do to rescue a poor photo. Images can be brightened considerably without ruining the image if the exposure was wrong. If we didn't pay attention to a messy background, we can fix it in software using the clone tool or content-aware fill.

But we mustn't let ourselves become "lazy photographers. Fixing a photo in software can take a lot longer than just spending a little more time to make sure we get it right in-camera. In this article I'll share a few points that you should consider when taking the photo, rather than trying to fix them later.

Read the rest of this entry »

Written by Discover Digital Photography

October 4th, 2012 at 3:41 pm