How to simulate a shallow depth of field and blur the background in Photoshop Elements and CS
In this article we'll look at how to use image editing software to blur the background of a photo while keeping the subject sharp. This is a good way to help draw viewer's attention to your subject, rather than the background.
Although it is best to achieve a blurred background in-camera (see previous article: How to take photos with a blurred background by using a shallow depth of field), this is not always possible. In this case we can use image editing software to simulate the effect of a shallow depth of field instead.
I'll be using Photoshop Elements 10 for the purposes of this article. Most other image editing software, such as Paintshop Pro and GIMP has similar processes. If you use image editing software other than Photoshop, hopefully you can still follow along with this tutorial. Some of the options will likely just be named differently or placed under a different menu.
We'll start by looking at a couple of basic ways to blur the background, then a slightly more advanced way. In a follow up article I'll look at a couple of specialist plugins for creating a more realistic effect.
Selective depth of field using a gradient mask
Using a gradient mask for a blurred background works best for scenes where they gradually tail off into the distance. By creating a blur that gets stronger further into the background it can give an image more of a sense of depth.
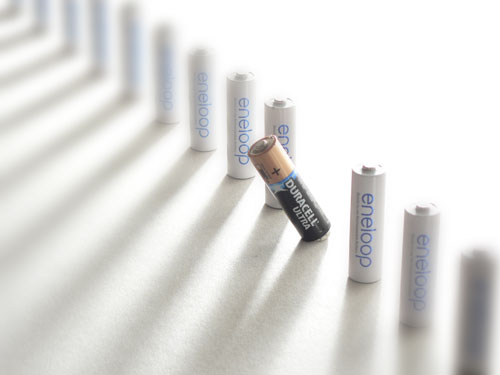
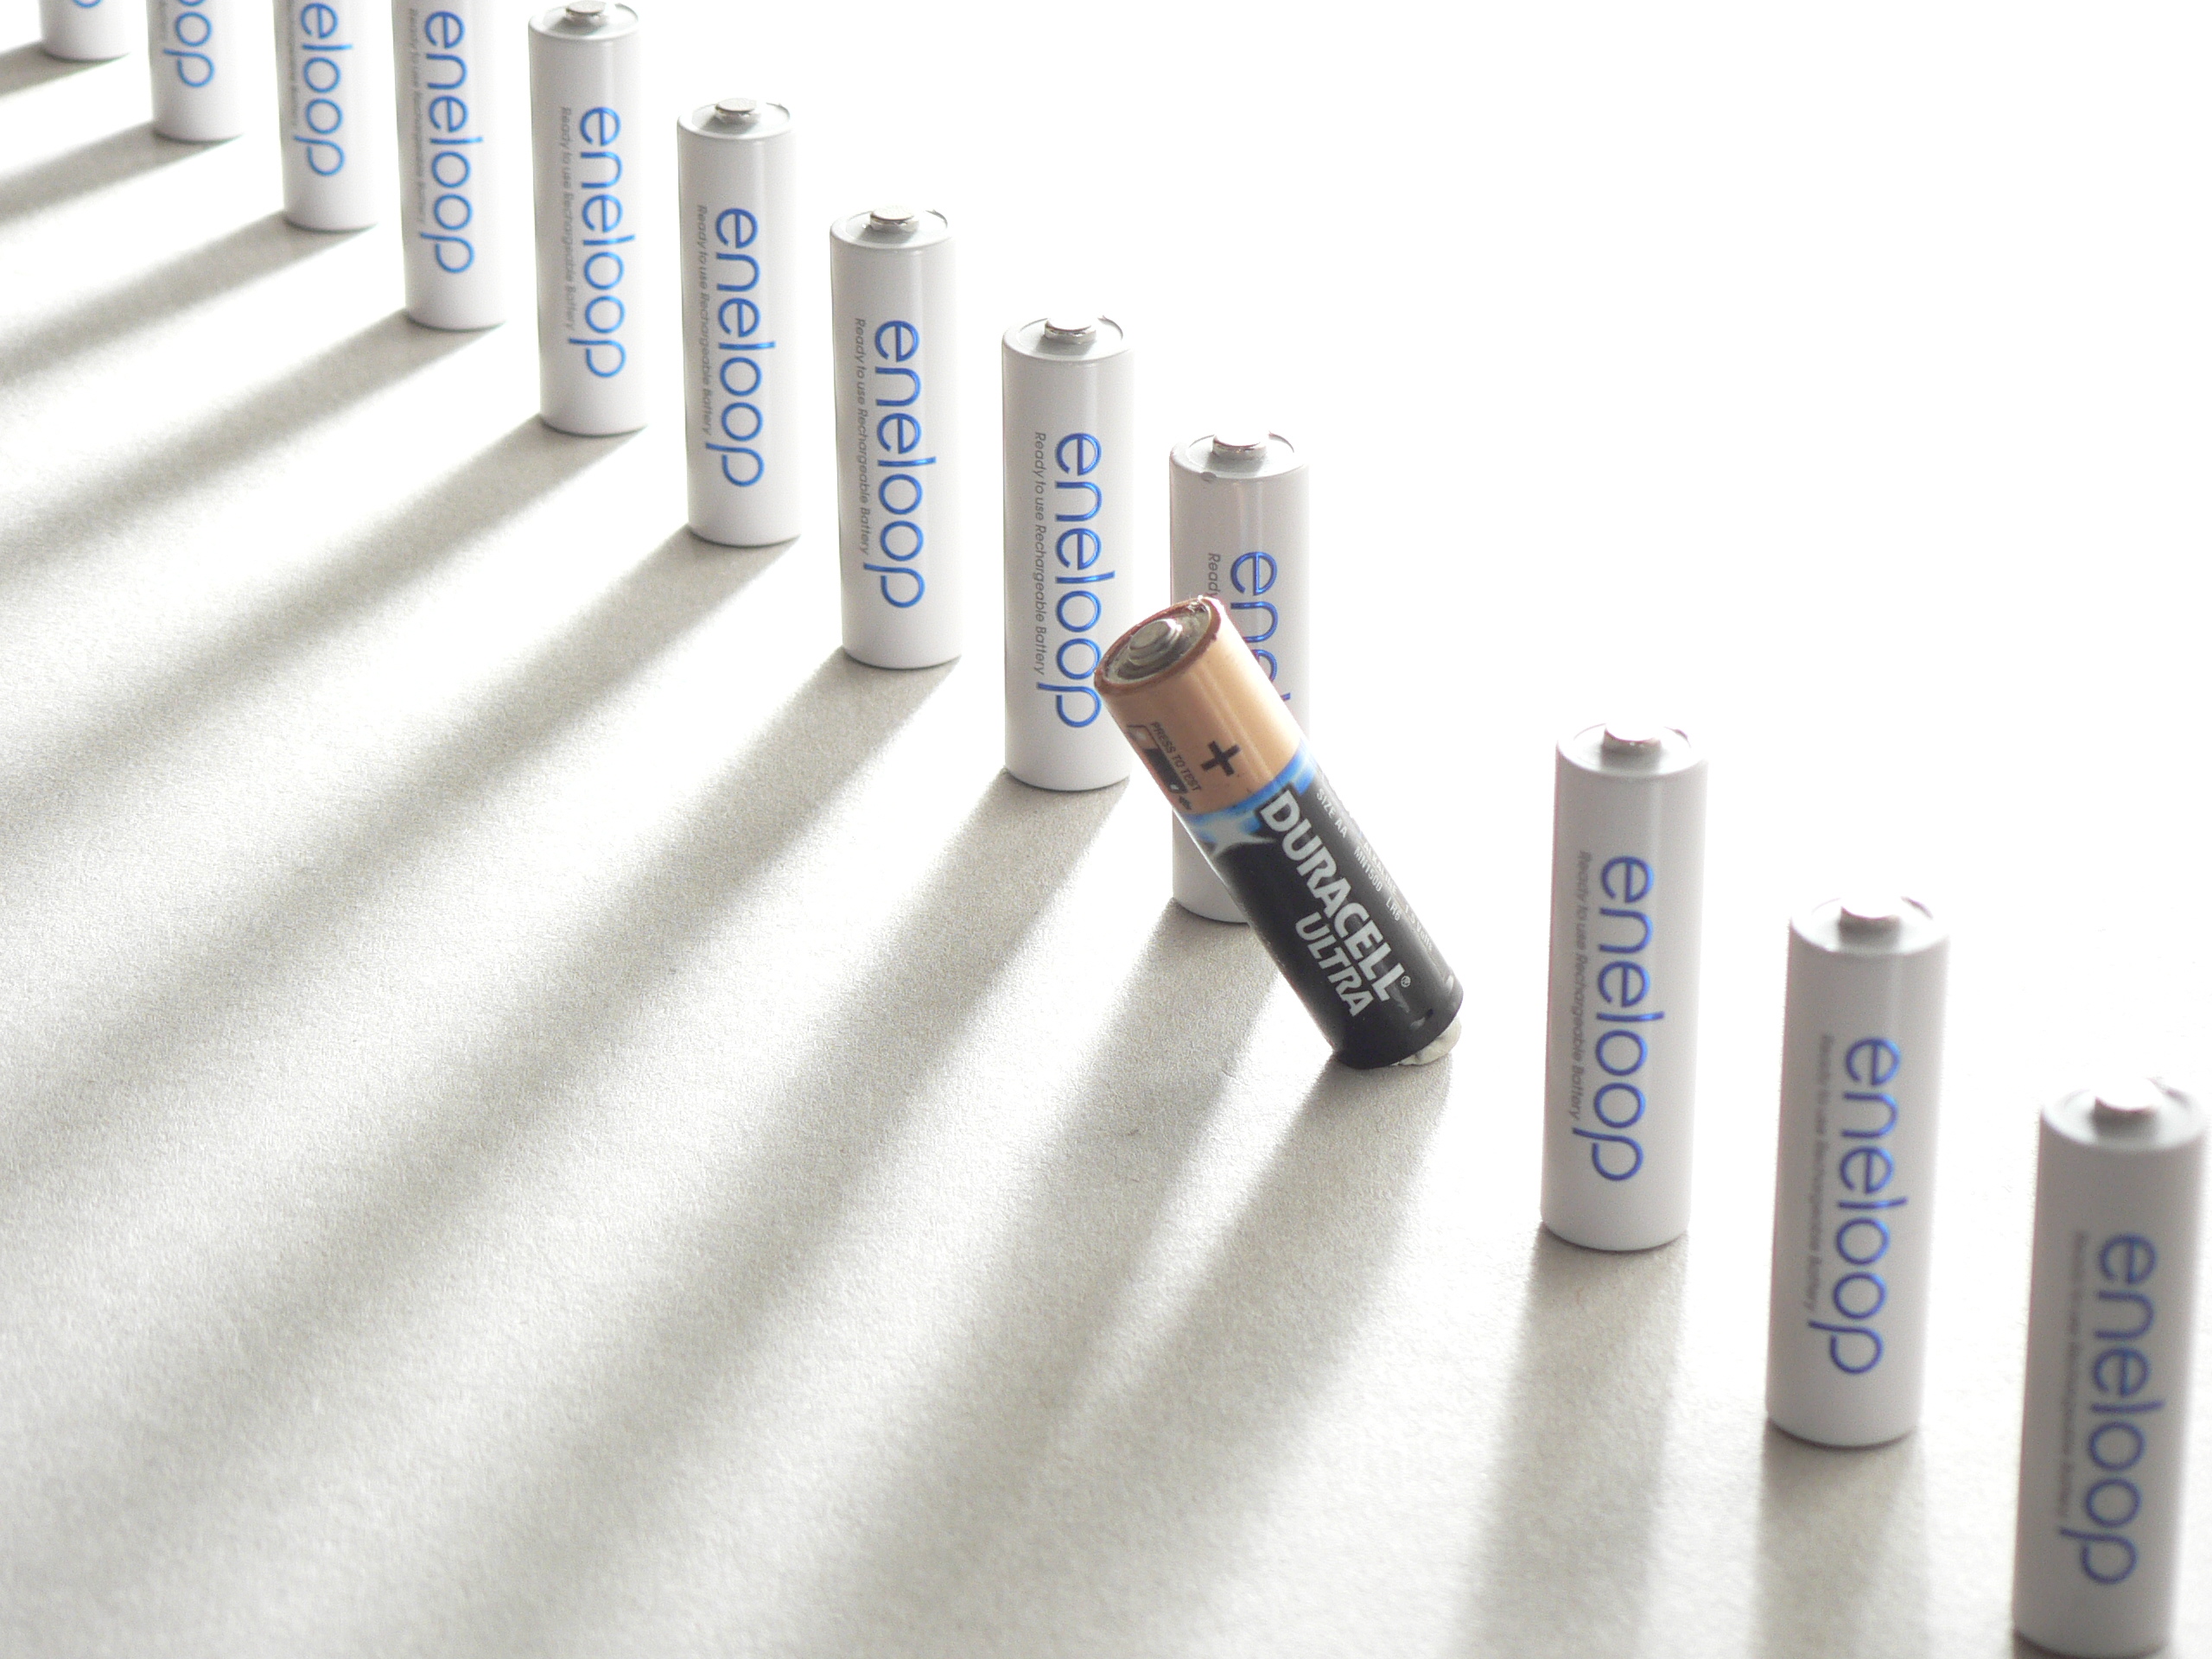
As an example, we'll use the battery photo from the previous article. If you'd like to work along with the tutorial, you can download the original image here.
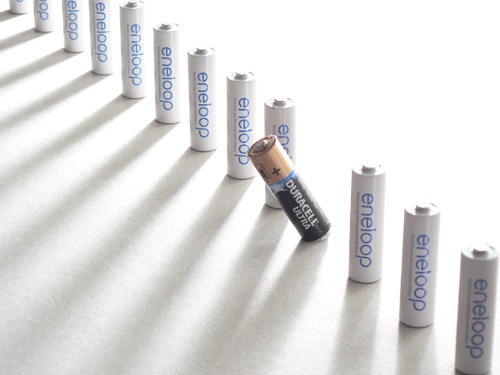
Photo we'll be blurring the background on
You can view a video of creating the effect below:
Open the image in your image editing software (e.g. Photoshop) and duplicate the layer. In Photoshop Elements you can do this a number of ways:
With the layer selected in the layer palette, press Ctrl + J (on a PC, Cmd + J on a Mac).
In the layer palette click and drag the background layer to the new layer icon.
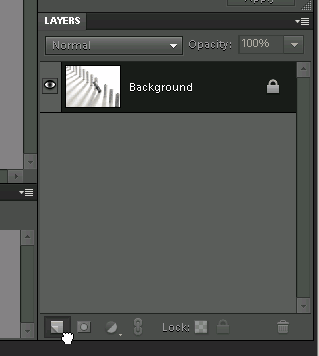
On the top menu go to Layer > Duplicate Layer...
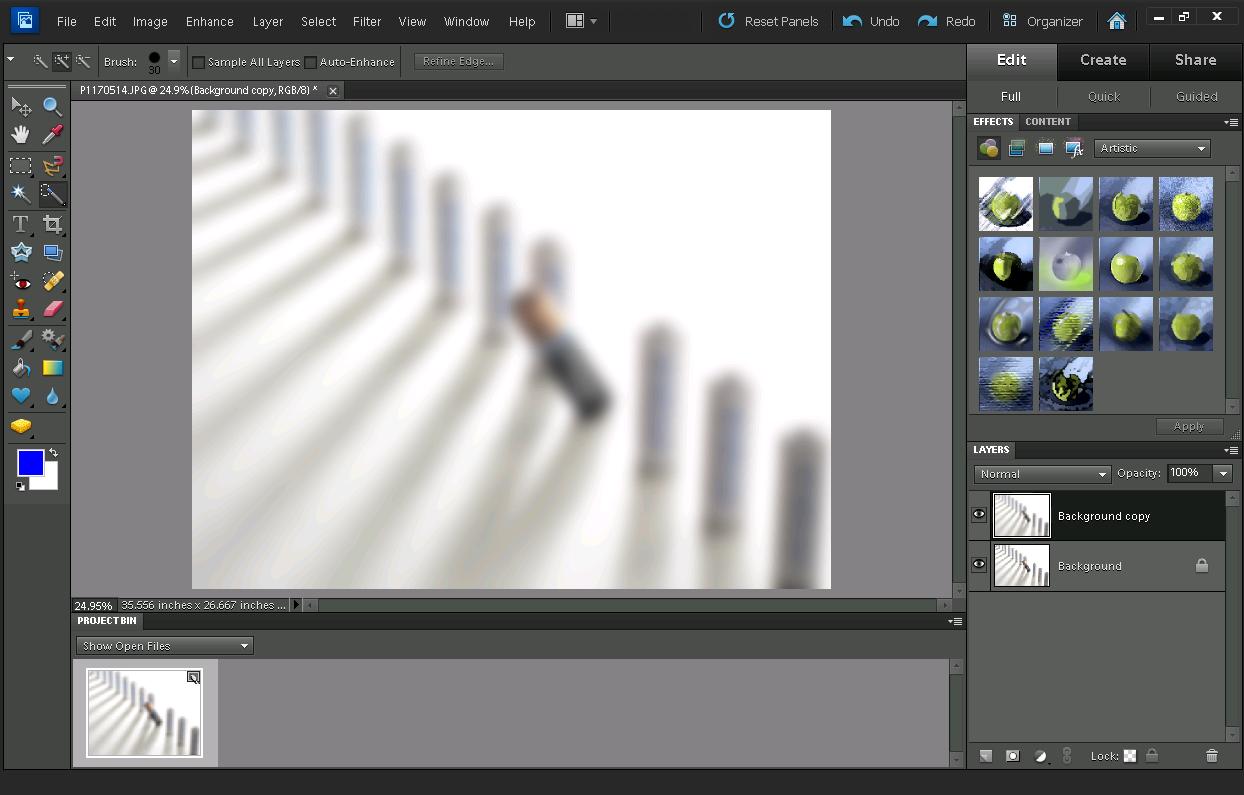
With your duplicate layer selected in the layer palette, go to Filter > Blur on the top menu bar. You'll see there are a number of different blur options. You want to choose a blur option with an ellipsis (...) after it, as this will give you an option to control how much the image is blurred.
In the full version of Photoshop, I would suggest you choose Lens blur. In Photoshop Elements I would use Gaussian blur. Gaussian blur is not bad, but I find Lens blur gives a slightly more realistic (out of focus) looking blur. You can, of course, try the other blur options as well to see how they look.
Adjust the amount of blur so that the image looks nicely out of focus. I applied a Gaussian blur with a radius of 29 pixels:
Next create a black layer mask for our blurred layer. With the layer selected, alt-click (option-click on a mac) on the layer mask icon at the bottom of the layer palette ![]() . Alternatively go to Layer > Layer Mask > Hide All on the top menu.
. Alternatively go to Layer > Layer Mask > Hide All on the top menu.
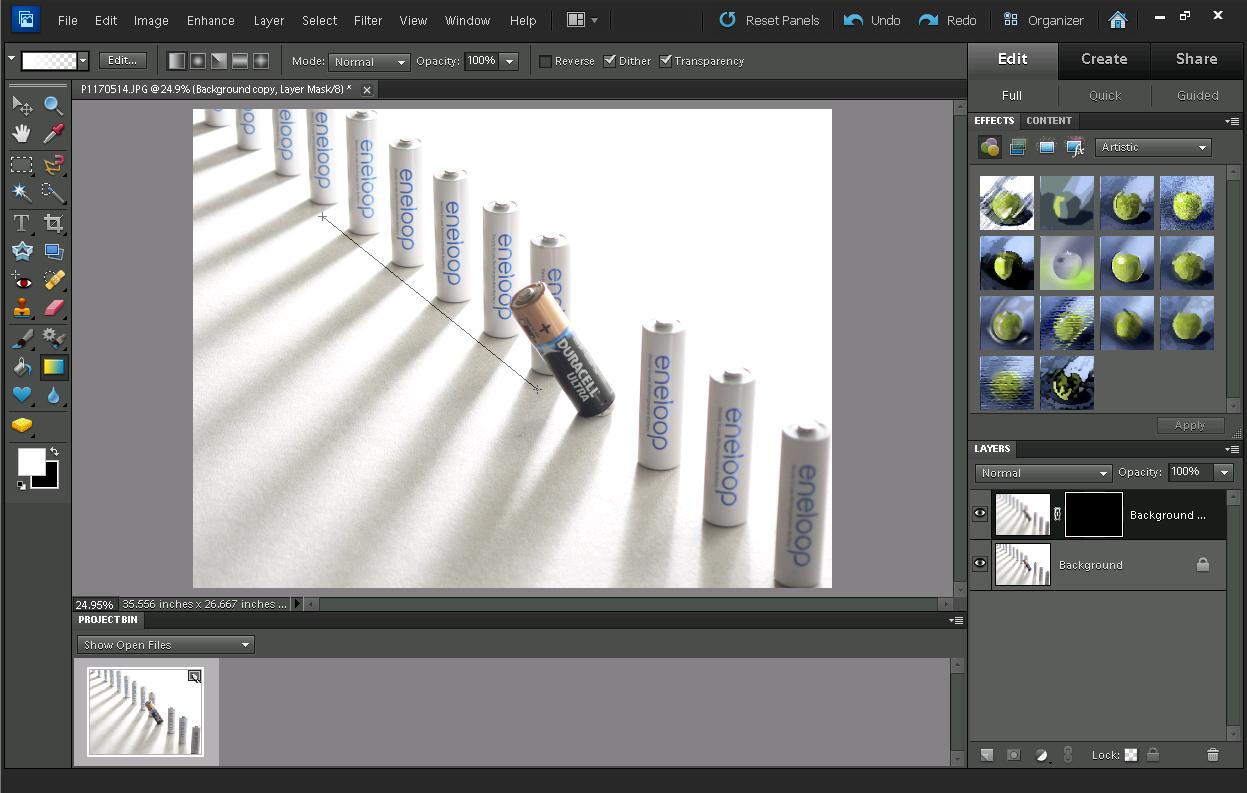
Now select the gradient tool. In the gradient picker (near the top left of the window), choose Foreground to Transparent. This should be the second gradient in the gradient picker.

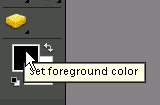
With the layer mask selected in the layer palette, make sure that your foreground color is white. You can use the keyboard shortcut 'D' to switch to default colors (black and white). Or alternatively click the foreground color to change it.
Now click where should be out of focus, and drag the gradient up to the point that should be in focus. For this example image I clicked at the base of the batteries near the rear of the image, then dragged to the duracell battery at the center of the image.
The white gradient now shows part of this layer. For more information on how layer masks work, please see the article How to use Photoshop Layer Masks.

We want the foreground to be slightly out of focus as well. Click near the foreground, then drag the gradient back towards the area that should be in focus.
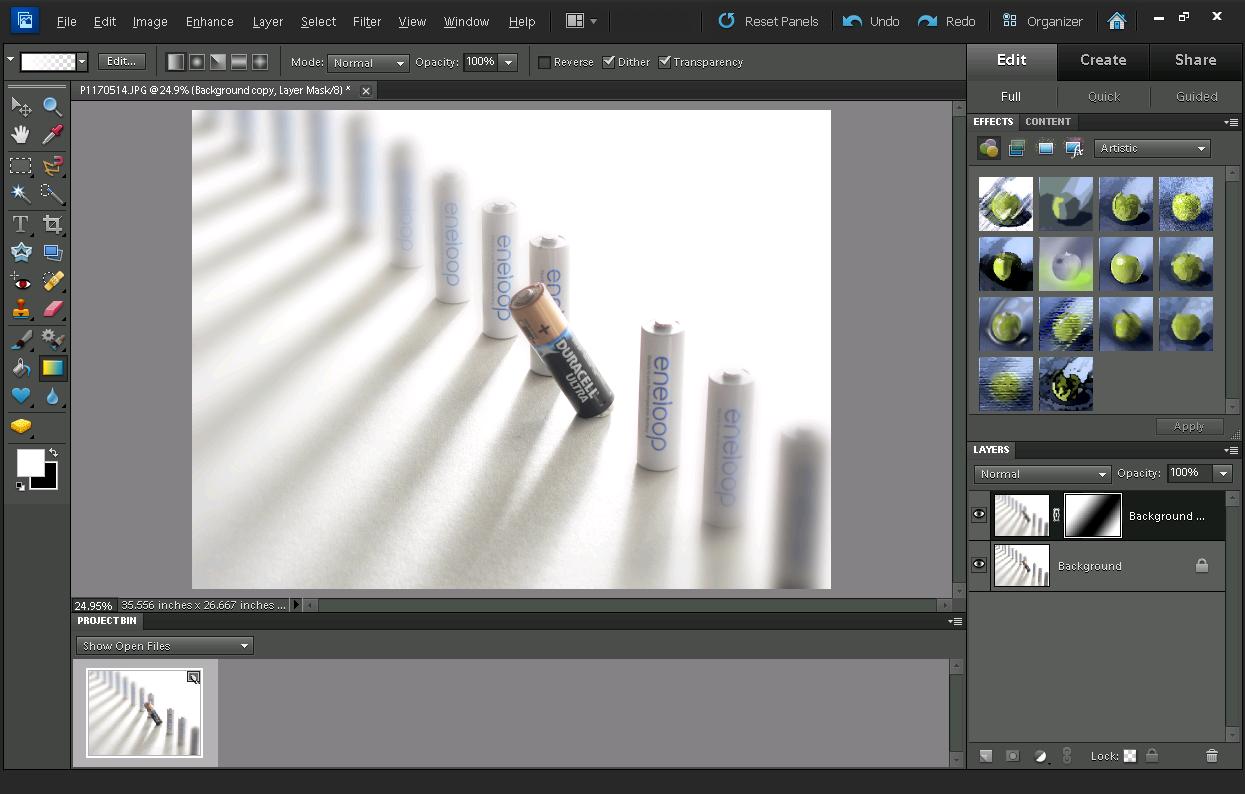
The final image is below:
Basic background blur
This technique is more suitable for subjects where there is a clear differentiation between the subject and the background. Instead of making a slow drop off of focus between the subject and the background, we create an image where the subject is sharp and the background blurred, with no in-between state.
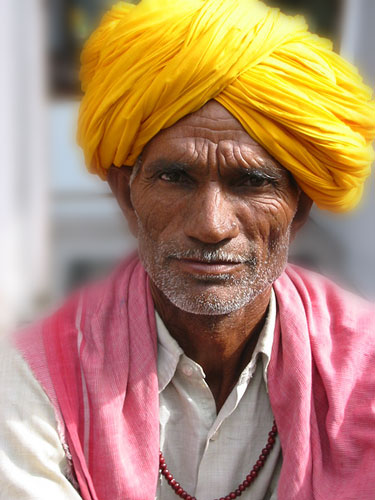
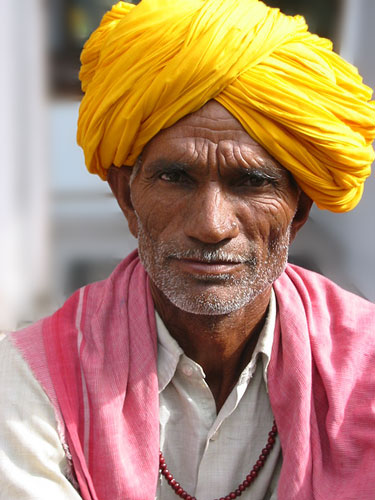
This is the image I'll be working on, you can download the larger size image from flickr here. My thanks to etrenard for licensing this image with a license that allows the image to be modified.
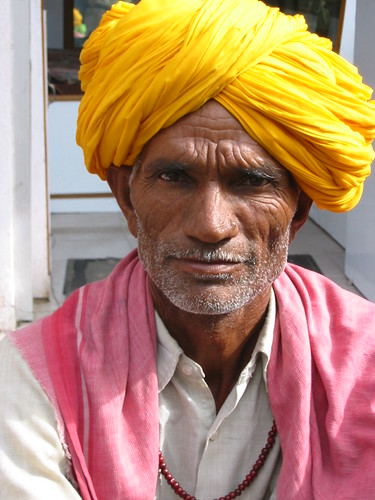
Portrait Inde Rishikesh India by etrenard on flickr (licensed CC-BY-SA)
A video demonstration of the technique can be viewed below:
Load the image into Photoshop, and as before, duplicate the background layer.
Apply a blur to the duplicate layer. I am using a Gaussian blur with a radius of 8.2 pixels.

Next create a layer mask for your blurred layer. This time we will use a layer mask filled with white (Reveal all). Just click the layer mask icon in the layers palette to create the mask.
Select the brush tool. In the brush options, ensure you have a soft edged brush. This is controlled using the Hardness setting, so set the hardness to 0%. If you don't see the hardness setting, ensure that the airbrush icon (next to the brush settings icon) is activated.

With the layer mask selected, change your foreground color to black. An easy way to do this is to use the keyboard shortcuts 'D' for default colors, then 'X' to swap the foreground and background colors.
Now paint on the layer mask over your subject, to hide the blurred layer where your subject is.
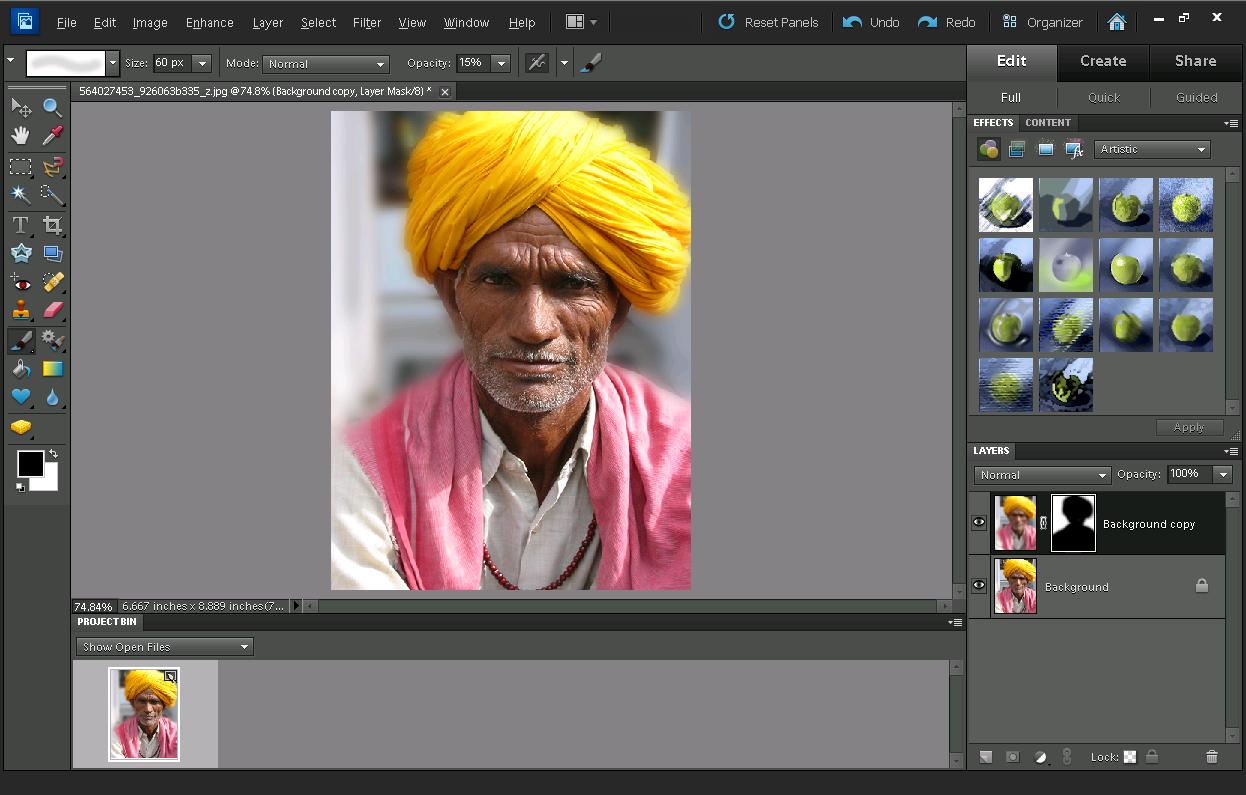
The final image looks like this:
You'll notice that our subject has a sort of glow around him. This can give a nice effect in some images, but often it is unwanted.
More advanced background blur
This technique is similar to the last, but with a modification so that we don't get a blurred 'glow' around our subject. I'll be working with the same image used for the basic technique.
I've recorded a video demonstration of the process here:
As before, load the photo into photoshop and duplicate the background layer.
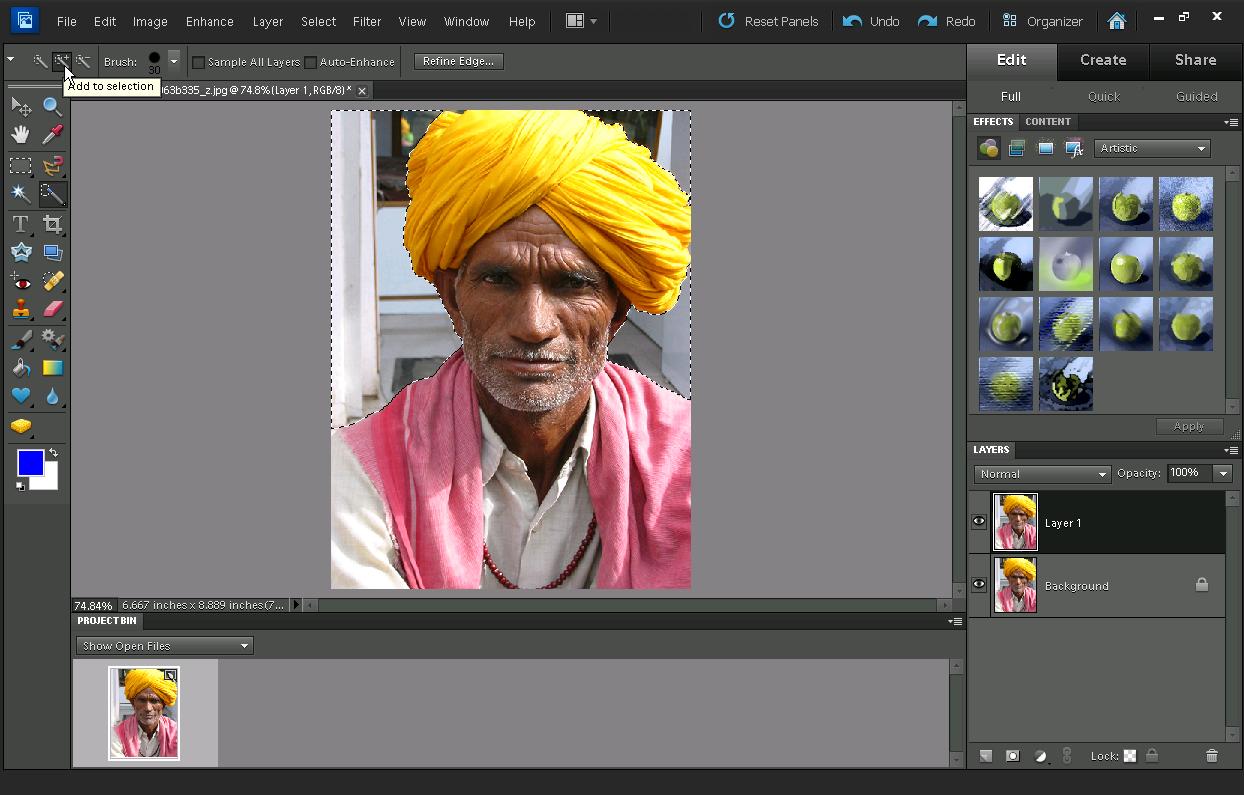
Now we need to select the background of the image using a selection tool. I covered a variety of selection techniques in a previous article about creating a selective color photo, so you can refer back to that article for more information on the different tools and techniques.
For this image, I am going to use the quick selection tool. It is just a case of brushing over the background with the tool to select it. Make sure the 'Add to selection' option is selected in the tool options, or hold down the shift key when clicking to select multiple areas.
With the background selected, we now need to invert the selection so that only the subject is selected instead. This can be done by pressing Ctrl + Shift + I (Cmd + Shift + I on a Mac), or going to the Select menu and choosing 'Inverse'. (Or you could just select the subject in first place instead of the background - it depends what you find easiest to select).
With the subject selected, we are now going to delete them from our layer. Press the Del key on your keyboard to delete them.

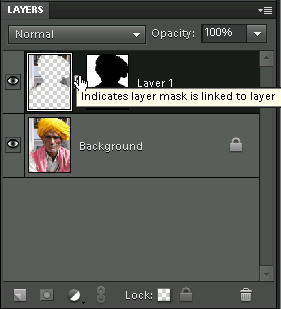
With the selection still active, create a layer mask for the layer by Alt-clicking on the create layer mask icon at the bottom of the layers palette. This will create a mask that shows through the subject from the layer below.
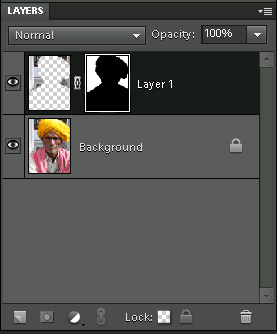
After doing this, unlink the layer mask by clicking the little chain link icon between the layer thumbnail and the layer mask thumbnail. The chain link icon will disappear to indicate the layer and mask are no longer linked. We need to do this so that when we blur the layer, the mask will not be blurred as well.
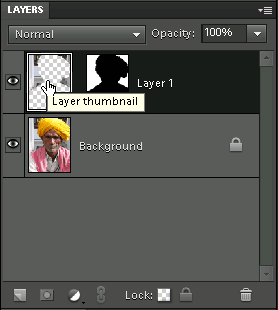
Next make sure you are selected on the layer (and not the layer mask) by clicking the layer thumbnail. A thin white border around the thumbnail indicates that it is selected.
Now blur the layer. I will use the same settings as with the basic method, Gaussian blur with a radius of 8.2 pixels.

This gives a more realistic looking image where there is no blurry halo around the subject:
With these tips I've demonstrated how you can blur the background on an existing image while keeping your subject sharp. In the next article I'll look at Topaz Lens Effects and onOne FocalPoint 2. These are both pieces of software (available as Photoshop plugins) that can recreate a shallow depth of field effect, but with more options and a more realistic result than the above techniques.


