How to use a compact camera for great photos
Although most professional photographers use interchangeable lens cameras, many also carry a compact camera with them. Why would they do this if they already have a much more expensive, and presumably better camera?
When you understand how to use your camera, you can get professional results whether with a compact camera or a DSLR. Sure, there are some shots that would be very difficult to get with a compact, and easy with a DSLR, but there are also some shots that are easier to get with a compact.
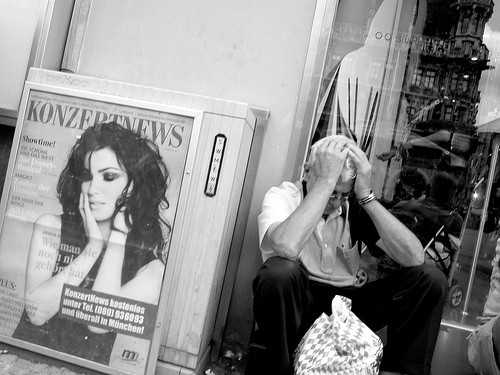
IMG_0340 by Ole1981 on flickr (licensed CC-BY-SA) - compact cameras are small and quiet making them great for street photography
The camera can be a limiting factor, but with a bit of work you can turn out excellent shots from a compact camera (or even a phone camera).
Always have a camera with you
As I said, many professionals carry a compact camera or phone camera, and there are some things a compact camera can do that a DSLR cannot. The main thing is that they can fit in a pocket. This means you can carry your camera everywhere with you, and just pull it out of your pocket when you want to grab a shot.
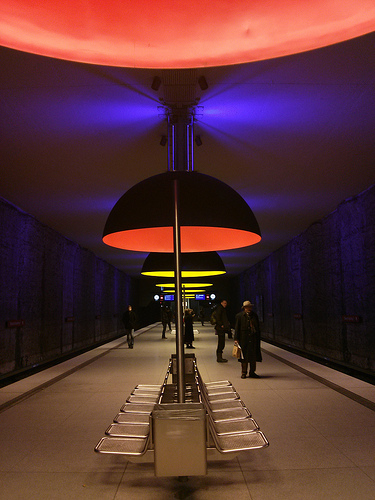
Munich Subway by Ole1981 on flickr (licensed CC-BY-SA)
Sometimes a larger camera kit might be too heavy, or you might just be going to the shops. Having a camera always with you means you are ready for the unexpected, and can capture great photos that you would miss if you didn't have a camera with you.
Use the right mode
One of the issues with compact cameras is that you don't normally have a lot of control over the exposure settings. This can make achieving certain effects quite difficult. If you want a fast shutter speed for capturing sports, you can't actually choose a shutter speed. If you want a wide aperture for a portrait, you can't actually choose an aperture setting.
To get round this limitation, you can use your camera's scene modes instead. For the above examples, most compacts have a Sports scene mode and a Portrait scene mode. While these don't let you set the shutter speed and aperture to be used directly, they bias the camera towards using a faster shutter speed or a wider aperture.
Learn how the different scene modes of your camera work, and how they affect the camera's behavior. Then you'll know which scene mode to choose when you want to achieve a certain effect.
Image quality settings
Even if you're just planning to post your shots on facebook, it is still a good idea to set your camera to record images at the maximum quality setting possible. In the future you might decide to get a large print made of your photo, and the better the quality of the original file, the better that print will look.
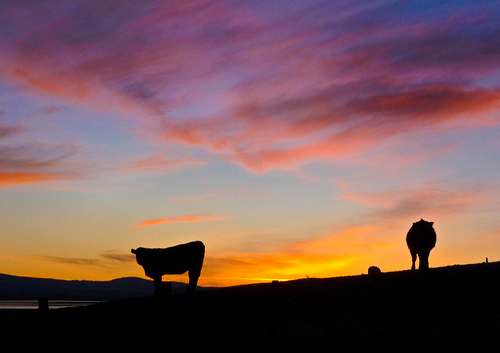
Western Sunset With Cows by ex_magician on flickr (licensed CC-BY)
Post processing friendly settings
Following on from the previous point, having a large, good quality original file is important if you plan to do any editing of your shot. There are also quite a few other settings that make an image more suitable for editing.
At the end of the world by photophilde on flickr (licensed CC-BY-SA)
Turn down the sharpness setting, and set saturation and contrast settings to 0 or -1. It is far easier to add sharpness, saturation, and contrast to an image than it is to remove them. By starting off with a neutral image, you can then carefully adjust these factors to taste (or apply them to only one area of a photo) when editing the image.
Compose carefully
Compositional guidelines remain the same no matter what camera you use. A well composed photo will look good whether shot on a phone camera or a large format film camera. You can read more about composition here: Landscape photography composition tips, Improve your photos by including less.
Positive Steps by PhotosByDavid on flickr (licensed CC-BY-ND)
Many cameras allow you to overlay grid lines on the display. This can help you in composing your photo, both with things such as the rule of thirds, and also in keeping the horizon and other lines straight.
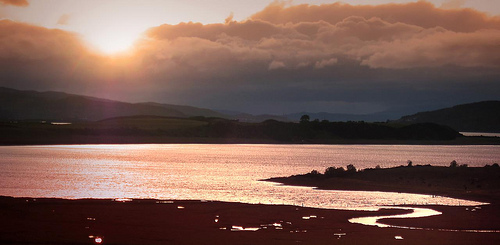
Dynamic range
Dynamic range is the range of brightness of light that a camera can capture. Compact cameras (and phone cameras even more so) typically have quite a small dynamic range. So dark shadows may appear solid black, while bright highlights (such as clouds in the sky) may record as solid white.
If you're shooting a nice sunset, you've probably come across the problem. Either the sky is white and the foreground is exposed okay, or the sky is exposed nicely and the foreground is black.
The solution to this is to bracket your exposures. The images can then be combined into a single well exposed image in photo editing software. If your camera features an HDR mode, then use that and it will perform the whole process in camera.
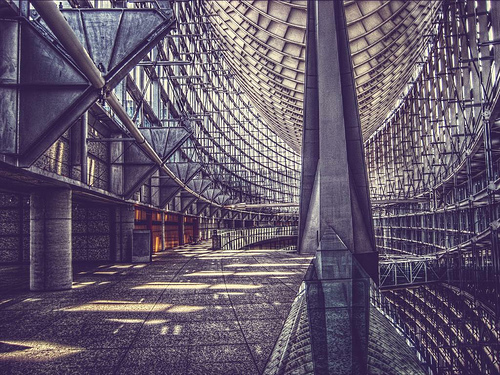
[HDR][CHDK]Tokyo International Forum by galactic.supermarket on flickr (licensed CC-BY)
If your camera doesn't feature bracketing or HDR abilities, you can manually adjust the exposure for each shot. If the camera allows for exposure compensation, then just adjust that for each shot you need.
Otherwise, point the camera at the bright sky, half press the shutter button, then recompose your image and depress the button fully. This should give you an image exposed for the sky. Now point your camera down at the foreground and half press the shutter button. Recompose and depress the button fully to take the shot. This image should be exposed for the foreground.
Finally take an exposure somewhere between the two, this can make blending the images together easier. Point the camera at something that is not as bright as the bright area of the sky, and not as dark as the foreground. The sky away from the sun might work well. As before, half press the shutter, then recompose and fully press the shutter to take the photo.
The process of blending the images together can be done in numerous ways. You can see a couple of examples here: Auto Bracketing Explained: Using exposure bracketing for capturing scenes with a high dynamic range.
Hold it steady
Most compact cameras don't have a viewfinder. This means that to compose a photo you have to hold the camera out in front of you, which is not as steady as having the camera pushed up against your face. A steady camera is important as it reduces the chances of image blur from camera shake.
When holding the camera, hold it quite close to your face, and tuck your elbows in against your body. This creates a much more stable platform for the camera than holding it out at arms length.
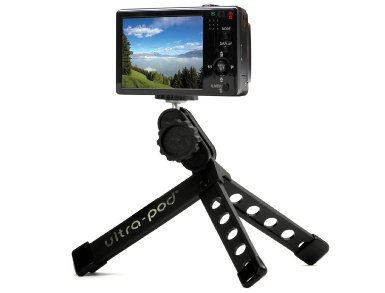
You can also purchase a lightweight tabletop tripod. These are pretty small and can be used to hold your camera steady. They tend to be quite cheap as well. This is one of the benefits a compact has over larger cameras, as these small tripods can hold a compact fine, but can't handle the weight of a larger camera.
Keep the ISO low
If your camera allows you to choose the ISO setting, then it is best to keep this setting as low as possible. Compact cameras tend to produce quite noisy images at higher ISO levels, and many also apply noise reduction, which smudges image detail.
Obviously, if you need a higher ISO, such as when shooting in low light, then use it. But don't let your camera automatically choose a higher ISO than is necessary.
Get the white balance correct
The white balance setting determines how colors will come out in the image, typically how 'warm' (orange) or 'cool' (blue) the image will be. If the white balance setting is wrong, then your images will come out with a color cast.
In some cases you want a color cast. For example, when shooting a sunset you want to capture the warm tones of the sunset. So if your photos are coming out with color casts (or without wanted color casts), take a look at the white balance setting. If your camera doesn't have this available, note that the scene modes may bias the white balance in one direction or another.
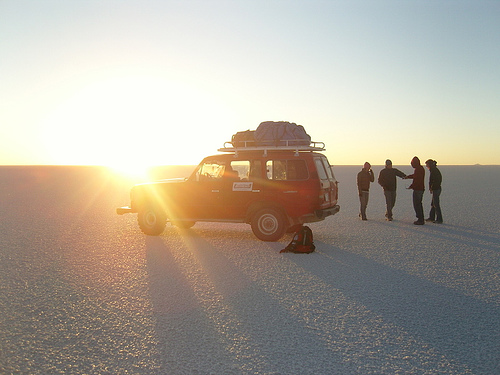
Sunrise, Salar De Uyuni, Bolivia by ronancrowley on flickr (licensed CC-BY-ND)
Get to know your camera
Finally, you'll get the best photos out of your camera when you know how it works. This can only be achieved through experience, so take lots of photos and experiment with the different settings available.
![The fabled Kempinski Hotel Ajman, UAE : WORLD : SENSE : Located direct on the Arabian Gulf. Wonderful resort, excellent weather, views, service and endless blue. Enjoy! [ Only the reception staff could be a bit warmer! ] :)](https://static1.discoverdigitalphotography.com/wp-content/uploads/2013/how-to-use-a-compact-camera-for-great-photos/light-fitting-Kempinski-Hotel-Ajman-UAE.jpg)
The fabled Kempinski Hotel Ajman, UAE : WORLD : SENSE : Located direct on the Arabian Gulf. Wonderful resort, excellent weather, views, service and endless blue. Enjoy! [ Only the reception staff could be a bit warmer! ] 🙂 by || UggBoy♥UggGirl || PHOTO || WORLD || TRAVEL || on flickr (licensed CC-BY)
When you have experience with your camera, you'll be able to choose the best settings as each situation arises. You'll know how much shutter lag (if any) the camera has, and when to press the shutter for a peak action shot. You'll know how colors render under certain lighting and the best scene mode to choose when you want a specific effect.


