What is White Balance?
Different light sources produce light with different colors. For example, fluorescent lighting often has a green tinge, while tungsten lighting is a warm amber. Our eyes don't tend to notice the color of light too much, as they automatically correct for any color casts to a certain degree.
But a camera records what it sees, and this is where setting the correct white balance becomes important. If your camera is set to daylight color white balance, then you shoot under tungsten lighting, you'll find the resulting images have a strong orange color cast.
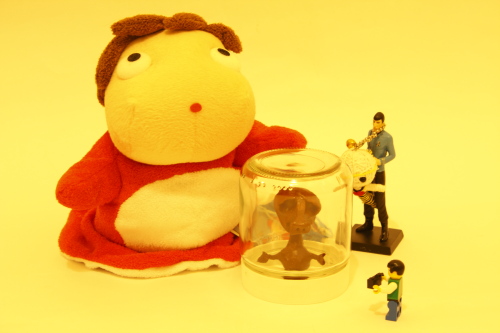
Photo lit with a standard indoor energy saving CFL bulb and white balance set to daylight
When you set the correct white balance setting on the camera, it modifies the camera's color response. It works in much the same way as using the curves tool in Photoshop to adjust color. The white balance setting determines the overall balance of colors in an image, to result in an image with a neutral color cast.
But how do you set the correct white balance?
Well, most cameras allow two different ways of setting the white balance:
- A range of preset white balance values
- A custom white balance setting
Using a preset white balance setting
Virtually all cameras offer a range of preset white balance settings, usually you will find something like:
- Auto
- Sunny / daylight
- Shade
- Cloudy
- Incandescent / Tungsten
- Fluorescent
- Flash
- Custom
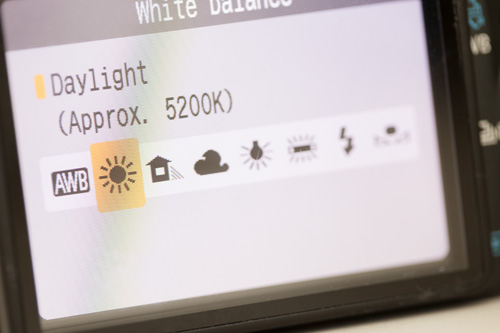
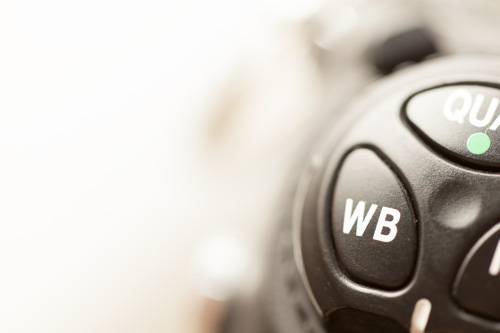
Camera white balance setting menu
These settings are good enough for the vast majority of situations. Auto works well under daylight and shade, but normally it does not work so well under artificial lighting. Often it works too well when shooting at sunset or sunrise - it neutralizes the warm color cast of the light, which you normally want to keep.
Setting a custom white balance
Now, while the above settings are good enough for most purposes, it should be noted that the exact color cast given by lights varies quite a bit. Some fluorescent lights may have virtually no color cast, while others may have a strong green cast. So, even with the correct white balance set, you might find that you are not getting a neutral image.
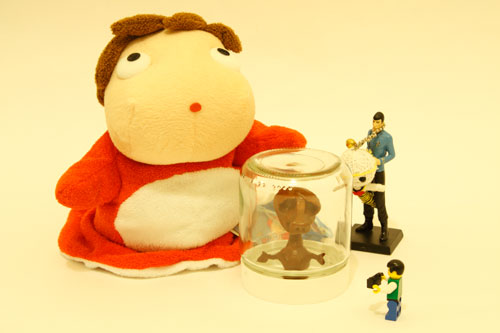
Photo lit with a standard indoor energy saving CFL bulb and white balance set to tungsten - much better than the daylight white balance setting, but still not quite correct
In this case, using the white balance preset option found in most cameras can be the answer. To use this, you need to take a photo under the current lighting of an item that should be a neutral color. A white sheet of paper should work okay, or you can purchase purpose-made grey cards.
An alternative to using a grey card is something like the ExpoDisc. This snaps onto the end of the camera's lens, then you take a photo with the camera pointed towards the light source.
Go into the camera menu and find the option for setting custom white balance. Now choose the photo you just took of the neutral color item under the current lighting. On some cameras you may need to do this the other way round. (Go into the menu and choose custom white balance, and then take the neutral colored item photo).
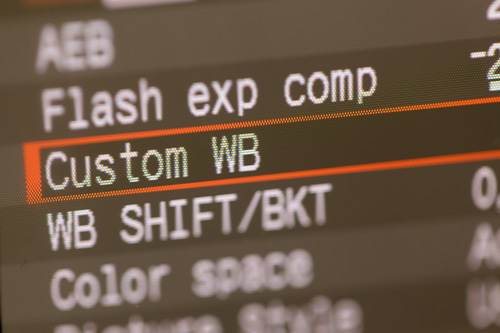
Create custom white balance setting option in camera menu
The camera then uses this photo to calculate the correct color response curves that would result in the photo appearing neutral with no color cast. It stores this in the custom white balance preset.
You can now choose the custom white balance preset from the white balance options, and it will be the correct white balance for the light you are shooting under.
Setting white balance for RAW files
With RAW format image files (as opposed to JPEGs to TIFFs), setting the correct white balance at the time of shooting is not quite so important. The white balance of the image can be adjusted when processing the image.
Most RAW processing software allows you to do this two ways:
- Using a white balance dropper tool, click on part of the image that should be neutral with no color cast.
- Use a color temperature slider to adjust how warm (amber) or cool (blue) the color should be, and a tint slider to adjust for any green or magenta tint.

Photo lit with a standard indoor energy saving CFL bulb and white balance set using white balance dropper in RAW conversion
If you are shooting a subject where there is not any neutral colored object in the scene, you can take two photos. Take one photo with a grey card or piece of white paper in the scene. This is your white balance reference image. Then take the proper image.
When converting the RAW files, open up your white balance reference image, and set the white balance from the piece of paper or grey card. Now just apply the same white balance settings to the proper image as well.
You may be wondering, if you shoot RAW, is there any point in setting the correct white balance at the time of shooting?
Well, yes there is. The benefit is that it allows you to preview what your images will look like accurately on the camera's rear LCD. The image displayed on the camera's rear LCD is actually a JPEG preview of the RAW file. The JPEG preview is created using the white balance setting that was set when the photo was taken.
So if you take a photo under tungsten light with daylight white balance, the JPEG preview image will appear with a strong amber color cast. This makes it difficult to visualize what the image will look like once the correct white balance has been set.
The vast majority of cameras also calculate the image histogram based upon this JPEG preview. So, if you are relying on the histogram to ensure that you exposing the photo correctly, then it is a good idea to set the white balance correctly.
Finally, I should point out that having an accurate white balance is not always best. I often shoot images under daylight with a cloudy white balance setting, as this gives the images a slightly warmer tone.
There are times where you may want to be creative and create a color cast on purpose. So long as you understand how to use white balance, then this should be no problem. To achieve the effect in-camera you can just use a custom white balance with a non-neutral subject.
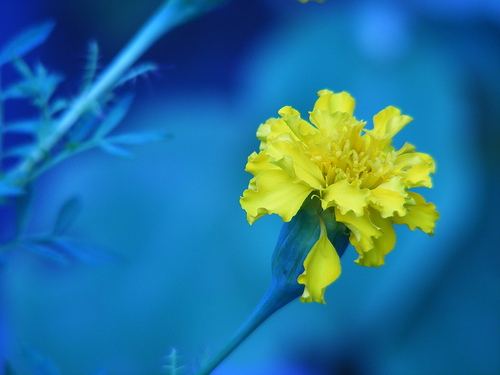
Marigold by ronybc.com on flickr (licensed CC-BY)
Remember that white balance corrects the color cast, so use the opposite color subject for setting white balance to what you want to achieve. Set white balance on blue paper for a warm image, set it on amber paper for a cool image. Use a green subject for setting white balance to create a magenta cast, or a magenta subject for a green cast.


