Do and Don’ts of Adobe Lightroom
When working with Digital Post Production, we can find several solutions to use as our prime software; however, it is a widely accepted fact that Adobe Lightroom is the industry’s standard for photography postproduction software.
Born as a spin-off project by Adobe, from its close relative Adobe Photoshop, Lightroom has all of what’s needed and more for accomplishing a quality edit. From the very first moment we plug our memory card into the PC with the exported image, Lightroom will provide us a neat, comfortable environment to enhance our images; however, we need to know which elements can seriously affect not only our end result but also the time spent on our postproduction workflow.
Let’s go through some of the do and don’ts of Adobe Lightroom, to take your postproduction workflow to the next level!
-
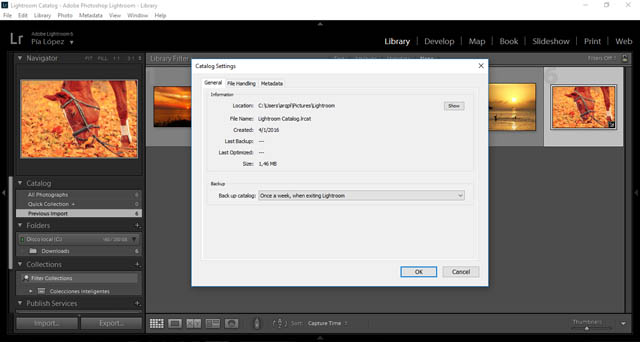
Do backup your assets
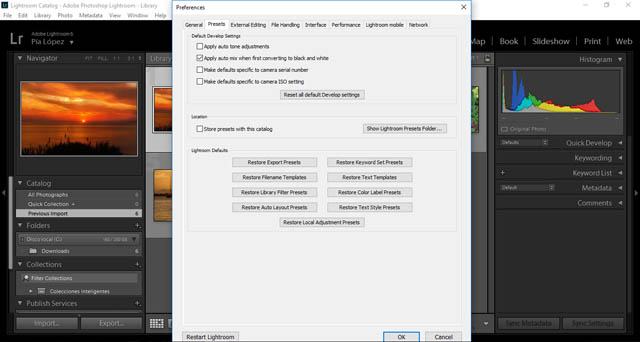
By assets, I mean your presets/brushes and even a catalog. A common issue when working with computers is the fact that they can get infected with viruses (mostly if you happen to use Windows), or the system tends to get loaded with lots of leftover files that will mess up the complete working environment.
From time to time it is recommended to do a system cleanup, and for that very reason you need to have a complete backup of your Lightroom’s resources, otherwise you’re liable to lose everything in the process.
-
Don’t neglect keywords
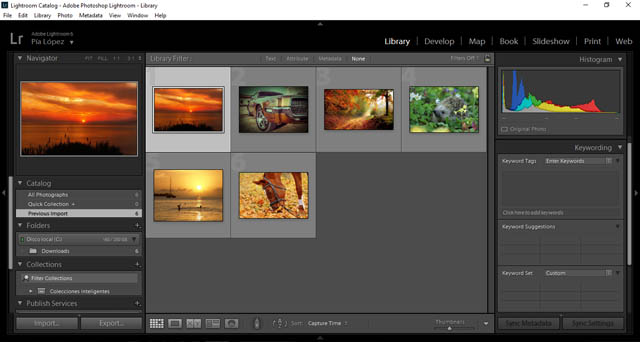
As silly as it may sound, for some users giving keywords to their photos in the catalog is like doing something forbidden – actually it’s quite the contrary. Keywords can be immensely useful for finding photos of a previous shoot session, as well as for keeping your catalog neat and organized.
Take that extra bit of time when importing your pictures for giving keywords to them; in time you will thank yourself for making such a move when your catalog reaches over 5k pictures.
-
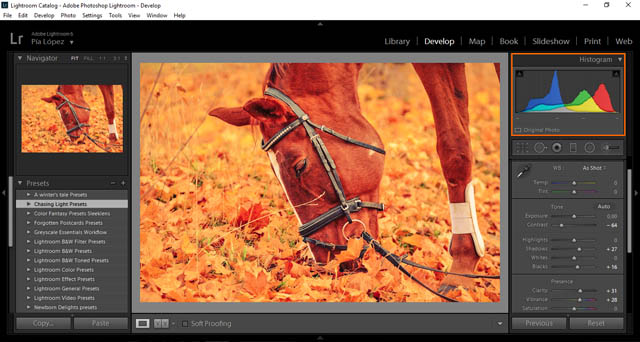
Don’t abuse Lightroom’s Clarity slider
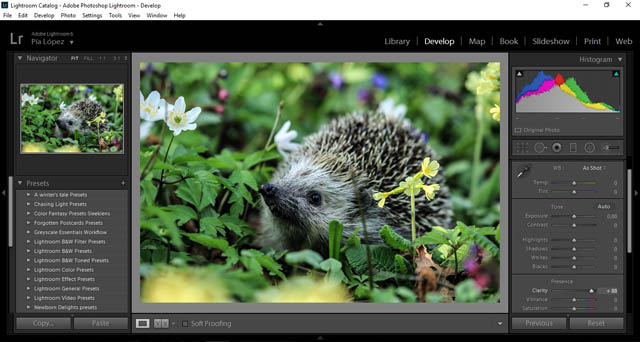
Another common issue that happens a lot when we’re new users – the magical Clarity slider. Even if it seems amazing to bring detail and brightness in the same process to your image, the end result may not be as realistic as it should.
Values over +60 should be kept for HDR images, whereas values inferior to -50 tend to produce too blurry images (such adjustment should be left to use only when applying the Adjustment Brush tool on selected areas).
-
Do take a look at the Histogram
The histogram can be your best friend if you know how to use it. That fancy tool that is located on top of all your tools, is the sort of a “thermometer” for measuring how good your adjustments are. Ever heard of values getting “clipped”? Well, that happens when you abuse the values and the histogram is the best way to spot where we went wrong.
-
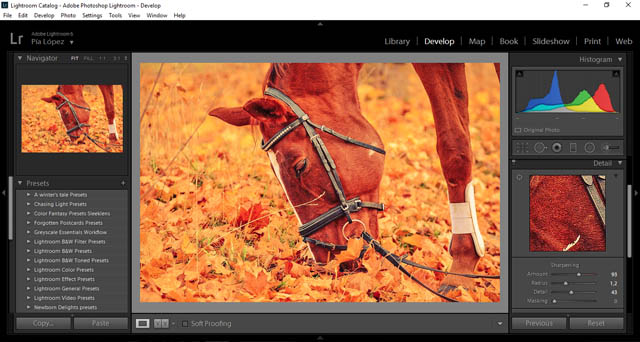
Don’t replace Sharpen with Clarity
When you need to add extra detail to your image, don’t rely on the Clarity slider only – there is a good panel for adding detail in the Detail tab, with Sharpening options. As we mentioned before, Clarity will create unrealistic results in most cases, therefore when you need to keep tonal contrast under control, but enhance details, go with Sharpening tools.
-
Don’t move your photos – except within Lightroom catalog
A common mistake tends to show up when we’re organizing files on our HDD. If you, by chance, move your files to another location, Lightroom won’t be able to find them. Therefore the next time you open Lightroom and look for that very image you’ll get a huge error warning saying that the image cannot be found.
Yes, Lightroom can be quite picky about having everything at its service, so avoid mistakes like this one and you’ll be saving a lot of time in the process.
-
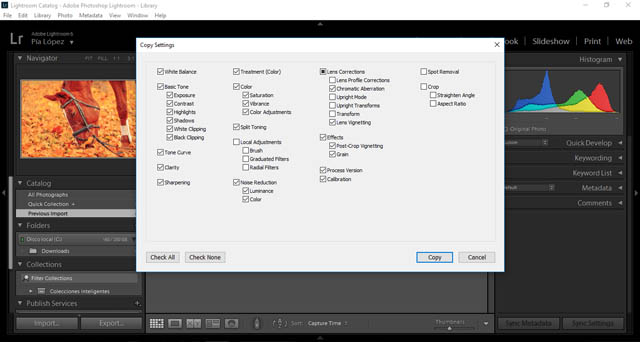
Do use Batch Editing
Do you need to accomplish a lot of post production work in a short amount of time? No problem, Lightroom can accomplish such task by using the Batch Editing mode.
Simply select an image you want to use as an example and right click on it – Copy Settings. Next, select the range of images you want to edit, right click on them – Paste Settings… and that’s all!
-
Don’t correct Exposure the simple way
If your image is experiencing some Exposure problems, please don’t go the easy way. And by easy way, I mean increasing or decreasing the Exposure slider – the only outcome you’re going to get is either a too burned or too flat of an image.
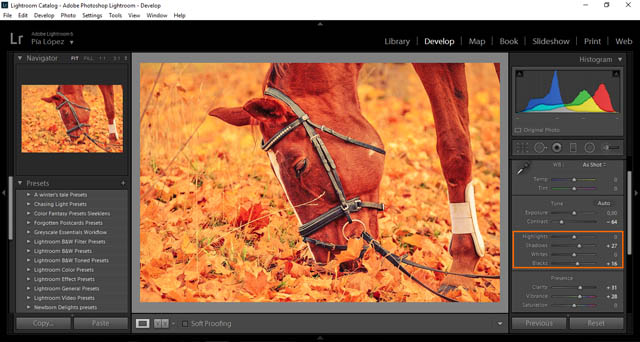
You have a wide range of sliders (Highlights, Shadows, Whites and Blacks) for adjusting the overall exposure of the image, and by learning how to use them you’ll end up with much more professional looking results, than if you just moved the Exposure slider.
-
Do use Virtual Copies
Need to test a certain combination of presets, but you don’t want to spoil your current work? Lightroom has a fancy way of doing stuff, and Virtual Copies are one of them.
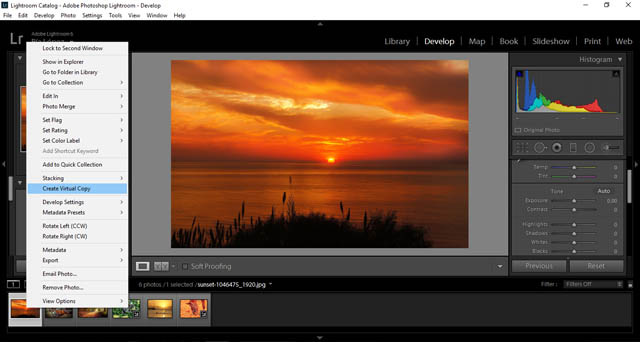
Prior to adding anything to the imported image, right click on it and select Virtual Copy. Lightroom will then create a virtual copy of your image that you can freely edit without altering the original image.
-
Don’t give up that easily
Lightroom can be confusing at first – too many commands, too many tools; but don’t get discouraged, Lightroom can be amazingly intuitive to use, so you’ll find that the more you practice with it, the better you’re going to become.
Start with small projects and learn how adjustments or tools can affect your images; in a short amount of time you’ll be doing as many professional adjustments as most photographers do.
Remember that you can’t be perfect 100% of time – you can, and need, to make mistakes from time to time as it is the only way to learn and challenge yourself.
Good luck and keep editing!
