Photography Tips (Page 32)

Cheap macro with diopter filter close-up lenses

without comments

Diopter close-up lenses are small, thin lenses that you can screw on to the front of a standard lens like a filter. They allow the lens to focus much closer than normal, so you can get macro / close-up photos without a real macro lens.

Dragonfly photo taken using a close-up diopter lens
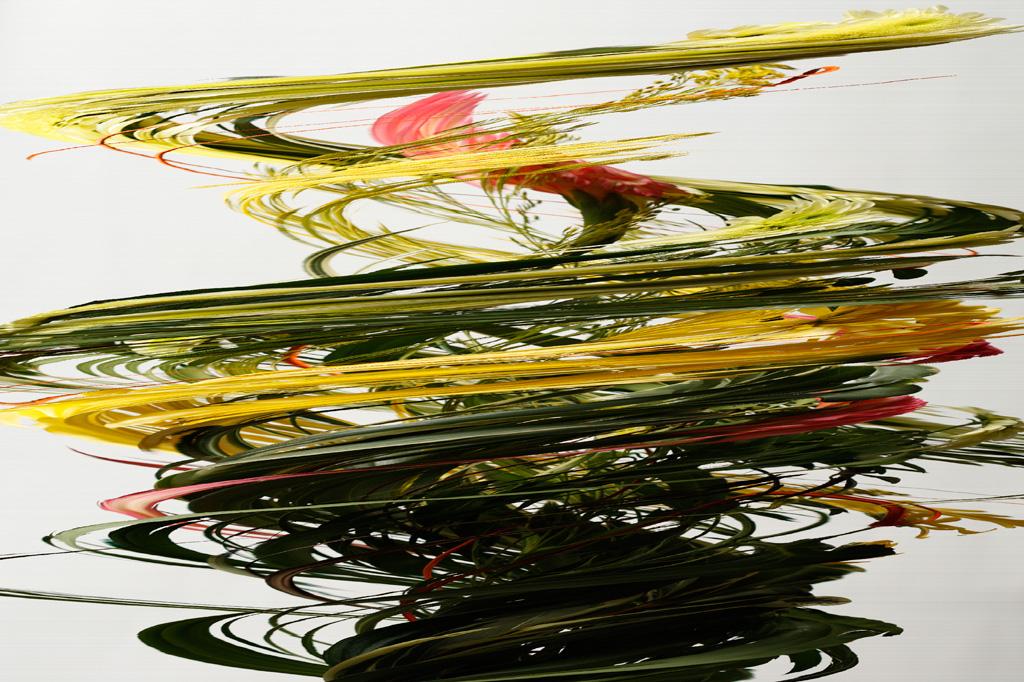
I Love Rain (Explored #15, Front-Page) by Yogendra174 on flickr (licensed CC-BY)

They have a couple of main advantages:

  • Can be used on cameras without interchangeable lenses, such as bridge cameras
  • Much cheaper than a macro lens
  • Small enough to carry in a pocket
  • No light loss (unlike extension tubes)
Read the rest of this entry »

Written by Discover Digital Photography

February 27th, 2012 at 3:01 pm

Six Photography Tips To Become a Better Photographer

without comments

Here are six tips to help you improve your photos:

Read the rest of this entry »

Written by Discover Digital Photography

February 24th, 2012 at 2:03 pm

How to use Photoshop Layer Masks

without comments

Learning how to use layer masks is very important for performing more advanced, localized edits on photos. Thankfully they are very simple to use once you understand how they work. Masks are available in most image editing software, including Photoshop Elements, Photoshop, PaintShop Pro, and GIMP.

Layer masks can be used for creative composites of photos, blending photos together for exposure, blending images for panoramas, and applying effects selectively. For the purpose of this tutorial we'll look at using masks to blend exposure bracketed photos in a landscape photography context.

Read the rest of this entry »

Tips for Starting Commercial Photography

without comments

Commercial photography requires taking pictures that people want and finding ways to sell them. You can do this on a freelance basis where you shoot a lot of images and then sell them or you can shoot by assignment where you shoot specific subjects. No matter where you want to get started, you're going to need a strong commercial photography portfolio.

Read the rest of this entry »

Written by Guest

February 18th, 2012 at 2:17 pm

How to organize and manage your photos

without comments

With digital photography we tend to take a lot of photos. If we want to look back at our photos, or find a specific photo / set of photos, it is important that we organize them correctly.

The more photos you take, the more difficult and longer it will take to organize your image collection. So rather than put off the job of organizing your photos, it is a good idea to start as soon as possible.

Read the rest of this entry »

Written by Discover Digital Photography

February 15th, 2012 at 10:29 am

Urban Landscape Photography Tips

without comments

Urban Landscape Photography involves capturing the buildings and structures in our towns and cities. Because most of us live in towns or cities, it is a much closer subject to deal with than traveling out to the countryside for some traditional landscape photography.

Although photographing gray concrete buildings might not sound appealing compared to being out in the country, urban landscape photography can produce some fantastic photos.

Read the rest of this entry »

Written by Discover Digital Photography

February 12th, 2012 at 12:09 pm

Slit scan object photography how to

with 13 comments

Slit scan photography is where a photo is taken through a small slit, with either the slit moving across in front of the sensor / film, or the film moving across behind the sensor. It can produce some very interesting images, there is a long list of examples here: An Informal Catalogue of Slit-Scan Video Artworks and Research.

Some of these techniques can be very difficult to achieve, however a slit scan of an object rotating on a turntable is something you can do at home with a standard digital camera.

Slit scan photo of flowers rotated on a turntable

Read the rest of this entry »

Written by Discover Digital Photography

February 9th, 2012 at 11:23 am

Graduated Neutral Density Filters

without comments

Particularly for landscape photography, you can often come across a scene where the range of light is too great for your camera to capture. You end up having to choose between a properly exposed landscape and a blown-out white sky, or a properly exposed sky with a black silhouette of a landscape.

Photo with landscape exposed correctly but sky blown out
Photo with no filter - the landscape is exposed correctly, but the sky is too bright

One solution to this problem is graduated neutral density filters.

Photo taken with a graduated neutral density filter to darken the sky

These filters can be attached to the end of your camera's lens, with one half fully transparent, while the other half is darker. You position the filter so the darker half is over the area of the photo you want to reduce the exposure of (e.g. the sky).

Read the rest of this entry »

Written by Discover Digital Photography

February 6th, 2012 at 2:45 pm

Product Photography Tips 3

without comments

Carrying on from the previous Product Photography Tips article, in this article we'll look at how to photograph a product placed at an angle. Placing your product at an angle works well for flat narrow objects, e.g. mobile phones.

For the example I've used an old penknife, but as I said in the previous article, you should really use a clean, preferably new, product if you really want to showcase it.

Product photo of penknife titled at an angle with highlight in background

Read the rest of this entry »

Product Photography Tips 2

without comments

Following on from the previous article on Product Photography, in this article I'll share a few more tips.

The products I've used for the example photos in this article are rather old and worn, but you are best off photographing a product when it is new, or at least still in good condition. Generally you'll want the product to look it's best, so make sure it is clean, wipe any dust off, and check for any scratches or blemishes.

For more dynamic product photos, try lighting your product from one side. This brings out detail and texture of the product, as opposed to the rather flat lighting you can get if you light your product straight on.

Photo of camera with no background highlight

Adding a light on the background can work well to emphasize your product:

Photo of camera with background highlight added

For a light coming up from the 'horizon', like a sunrise behind your product (as in the photo above), you can do the following:

Read the rest of this entry »

Written by Discover Digital Photography

January 31st, 2012 at 11:16 am