Product Photography Tips 3
Carrying on from the previous Product Photography Tips article, in this article we'll look at how to photograph a product placed at an angle. Placing your product at an angle works well for flat narrow objects, e.g. mobile phones.
For the example I've used an old penknife, but as I said in the previous article, you should really use a clean, preferably new, product if you really want to showcase it.
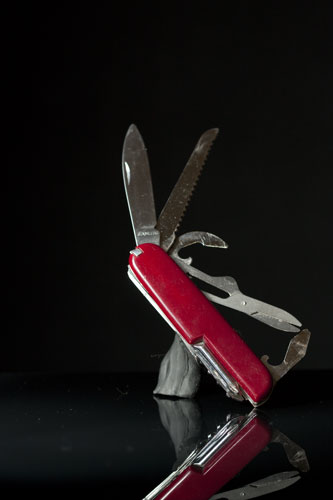
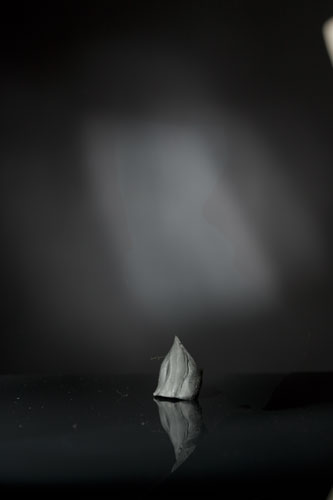
To hold your product up at an angle, it is just a simple case of using something to hold your subject up. Here I have used some black plasticine to support the penknife, which is tilted backwards and to the left.
The plasticine was molded into a sausage shape, one end was pressed against the perspex sheet, the other end against the back of the penknife to support it. In some cases you may also need to use a small blob of plasticine just behind where the bottom of the product touches the surface, to stop of the bottom of the product slipping on the surface.
Depending on how large the product is, and what angle you want to photograph the product at, you may be able to position the plasticine support so that it is out of sight behind the product.
Most of the time though, you will have to photograph the product with the plasticine support showing, and then remove it in image editing software, which is what I'll cover next.
For these examples I'll be using Photoshop, but the process in other image editing programs will be very similar. You can download the Photoshop .psd files if you would like to see the exact adjustments made. All the adjustments were made in new layers, so it is easy to go back to the original images and try making the same adjustments yourself if you like.
- Penknife-black-background.psd (7.62MB)
- Penknife-highlighted-background.psd (13MB)
Using image editing software to remove the product support from an image with a plain colored surface and background
If you are using a plain background and surface with no highlight on the background or surface, removing the plasticine is quite easy.
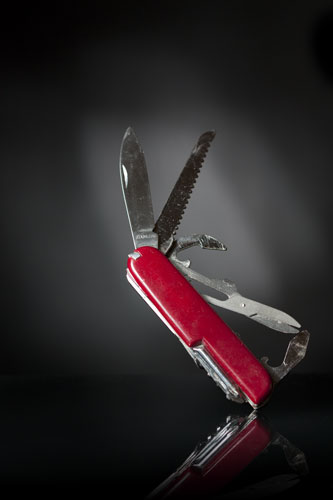
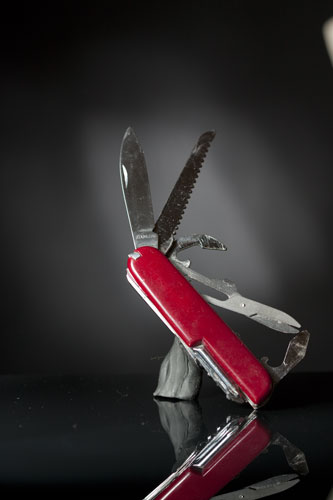
Here we have our original photo:
Open the image in your image editing program, and create a new layer above the image. In the new layer, paint out the area with the plasticine. Use the same color as the background (black in this case) and a brush with quite a hard edge (50-75% hardness).

Although we've painted out all the plasticine, the surface the penknife is sitting on is reflecting some of the light, and so is not completely black. This means there is quite a visible transition between the area we've painted and the original image.
To fix this, we can apply a curves adjustment to darken the surface. Either move the black point of the curve manually, or you can use the black eyedropper and click on the area of the surface we want to be 100% black.
We don't want our curves adjustment to affect the whole image, just this small part, to hide the transition between where we've painted and the original image. So use a layer mask on the curves layer to paint in the adjustment only in this area.
In Photoshop the curves layer already starts with a layer mask. It is a matter of clicking the mask thumbnail to select it, inverting it to hide the adjustment, and then painting back in where we do want the adjustment. In masks, black hides the layer, while white shows it.
After doing this, the transition between the painted area and the original image has disappeared:
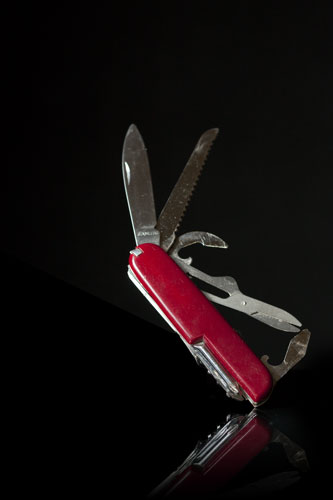
Finally, I applied a gradient to the bottom of the image, so that the product reflection gradually fades in. A fade in effect can work well if you are planning to use the image on a website or ad where the website / ad background color is the same as your image background color.
To do this, I used the gradient tool with a gradient of black to transparent. I then applied the gradient from the bottom of the image to the top of the reflection. The final image looks like this:
Using image editing software to remove the product support from an image with a more complex background or surface
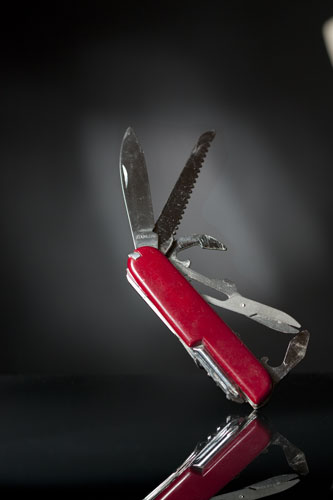
Next lets look at doing the same thing, but with a background that has a highlight on it (the image at the top of this article). This is a bit more complicated, as the background is reflected in the surface, so we can't just paint it out using solid black. The solution is to take two images, one with the product, and one without, and then combine them together in image-editing software.
But before we get onto that, let's look at how the original photo was taken:
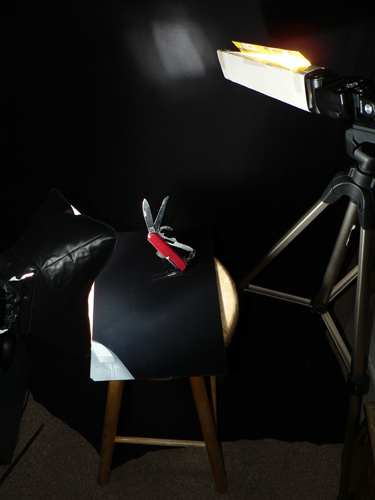
The penknife is placed on a black perspex sheet, which gives the reflection. To the left is a flash with a small inflatable softbox, which is lighting the penknife. A black cloth was used for the background. For a highlight on the background, a flash with a snoot was used.
A snoot is like a tunnel on the end of the flash. This makes it so the light from the flash is more condensed and less spread out. The snoot I used was created using an old cereal box, though as you can see in the image above, the tape holding the top down has come undone.
For combining the images together, I did the following:
Add both of the original images as layers into a single document. I put the penknife as the bottom layer, and the empty layer above it.

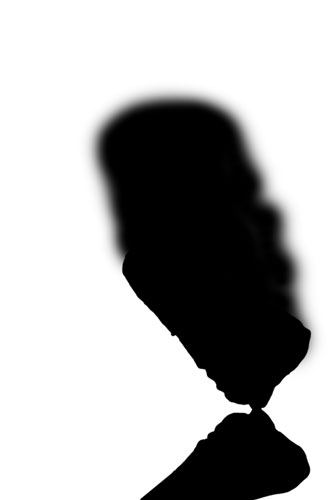
Add a mask to the empty image layer, and make the mask black to hide it. (In Photoshop you can press Ctrl + I when selected on the mask to change it from white to black).
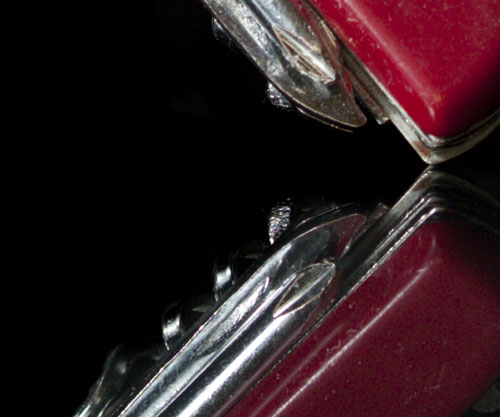
Paint the mask using white to show the empty image and hide the penknife. Pay particular attention to where the plasticine meets the penknife. Use a relatively hard brush (around 50-75% edge hardness).
Invert the mask (Ctrl+I while selected on the mask layer) so that the empty image is now hidden where the penknife (and reflection) are, but is visible for the rest of the image.
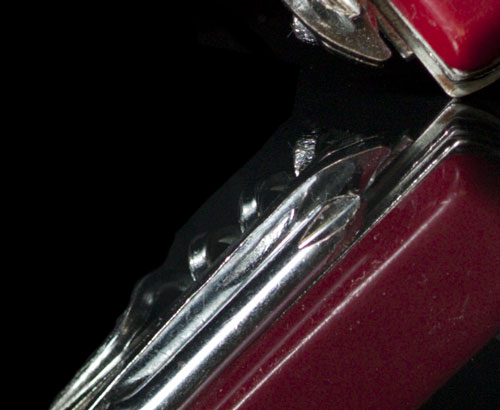
You can see in the image above, the transition between the empty image and the image with the penknife in isn't perfect. To fix this use a soft-edged brush on the layer mask to hide the visible transition between the layers. After doing this, the actual mask looks like this:
And the image now looks like this:
In this image you can see part of the flash snoot in the top right corner, so I painted that out black.
The bottom left of the image is too bright and distracts the eye away from the subject. To fix this I painted multiple strokes with a low opacity black brush over the bottom left of the image.
I also applied a black to transparent gradient over the bottom of the image to fade-in the reflection.
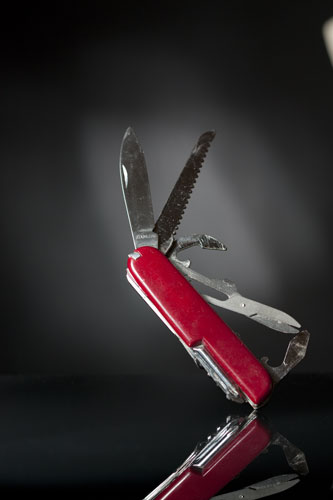
The final image looks like this:
I hope this article has been helpful and given you some ideas on how to take better product shots. As always, comments and suggestions are welcome, you can leave a comment below.


