5 Points Many Photographers Overlook
Photography can be quite technical, with so many different camera settings and compositional guidelines to remember. Of course, with practice and experience you get much better at learning these things and putting them into practice without even having to think about it.
In this post I want to look at five important things that many photographers overlook. Some are actually quite important, others are more about optimizing the image making process as much as possible. But all five tips are things that can help you make (or display) better images.
The most important camera setting? Shutter Speed
Although all three parts of the exposure triangle (shutter speed, aperture, and ISO) are pretty important camera settings, I would say that shutter speed is the most important. Simply put, if your shutter speed is too low then you can end up with a blurred photo.
Wrong Setting by Tony Alter on Flickr (licensed CC-BY)
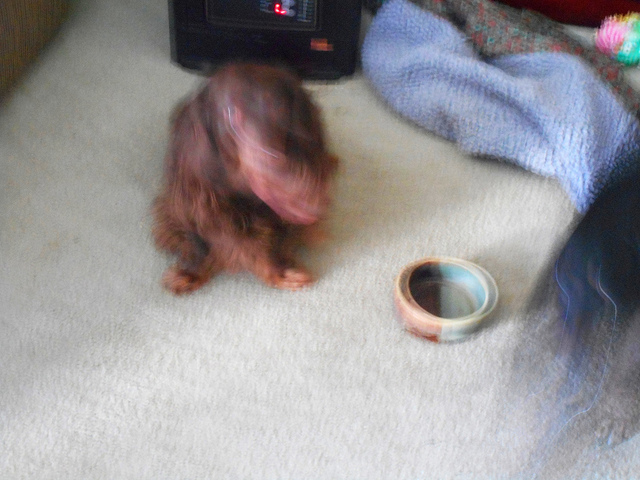
Getting the ISO wrong can make an image too noisy, or getting the aperture setting wrong can result in not enough or too much in focus. But neither can ruin a potentially good photo as much (or as often) as camera shake from using too slow a shutter speed.
It's not only blur from hand-holding the camera that a slow shutter speed can cause. If your subject is moving, then that can become blurred too. Of course, blur from a slow shutter speed is not necessarily bad - there are plenty of ways it can be used creatively.
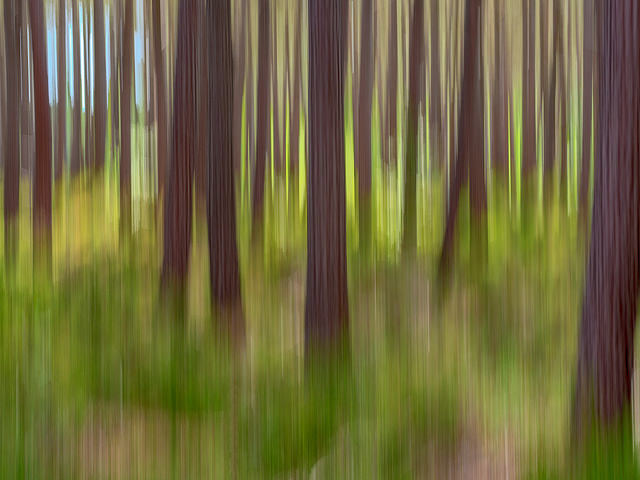
Woodland impressions by Nicolas Winspeare on Flickr (licensed CC-BY)
But you do need to keep an eye on the shutter speed, especially when using an automatic or semi-automatic mode where the camera chooses the shutter speed for you. Just make sure the shutter speed being chosen by the camera (or by yourself) is suitable for the shot you want.
One solution to this problem available in most modern cameras is auto ISO. This automatically adjusts the camera's ISO sensitivity to ensure that the shutter speed is kept high enough to allow handheld shooting without risking blur from camera shake. This means you don't have to worry about the shutter speed and can instead focus on the other settings and your subject.
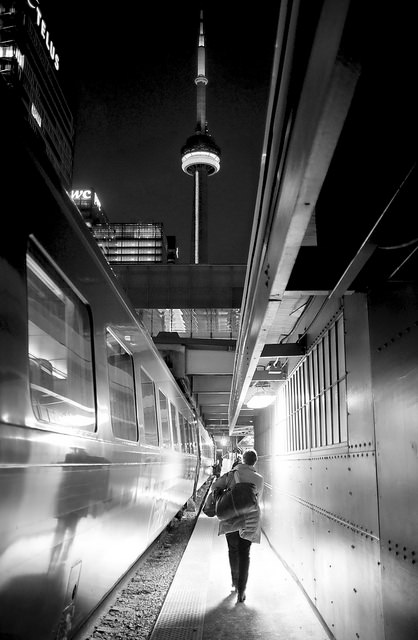
Last train to Toronto by Jamie McCaffrey on Flickr (licensed CC-BY) - shutter speed and aperture settings set manually, auto ISO used to adjust for correct exposure
Sharing images online? Use the correct color profile
Something that many people don't realize is that photos use a color profile to determine how the colors in the image should be displayed. If an image is created using one profile, but then displayed using a different profile, the colors can be off and look very muted. Even if you were aware of this fact, it's something that's easy to forget.
The main problem is if you have your camera (or RAW conversion software) set to create images in the Adobe RGB color space, then try to share these images on the web. Most web browsers use the sRGB color space by default. So if you upload an image with a different color profile (such as Adobe RGB or ProPhoto RGB) to the web, it can end up being displayed incorrectly.
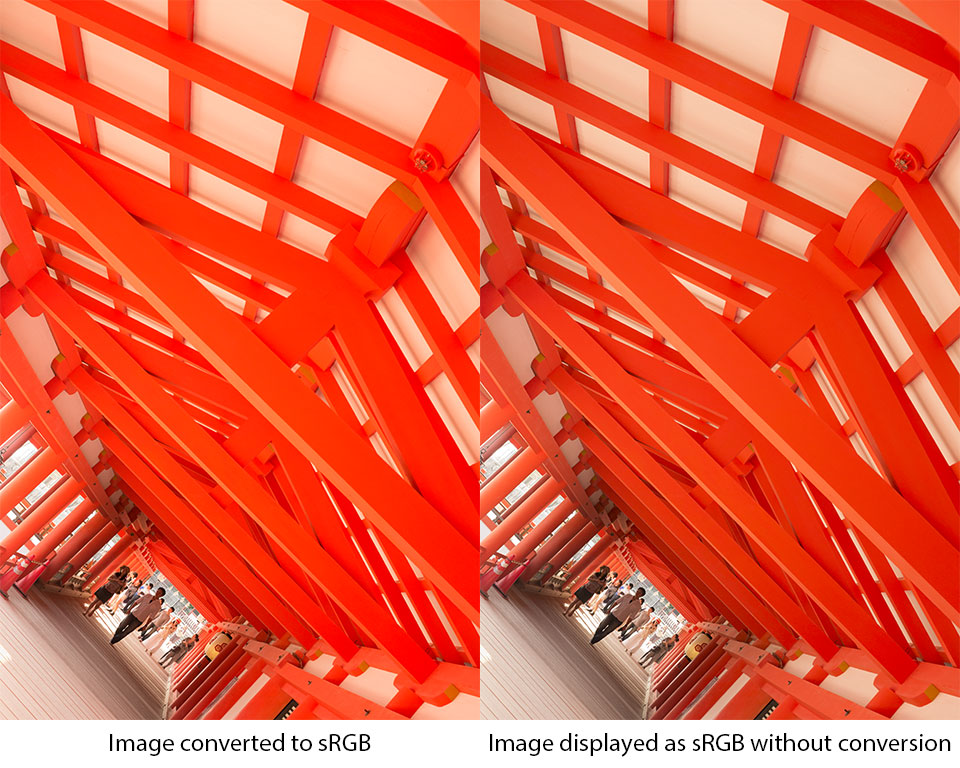
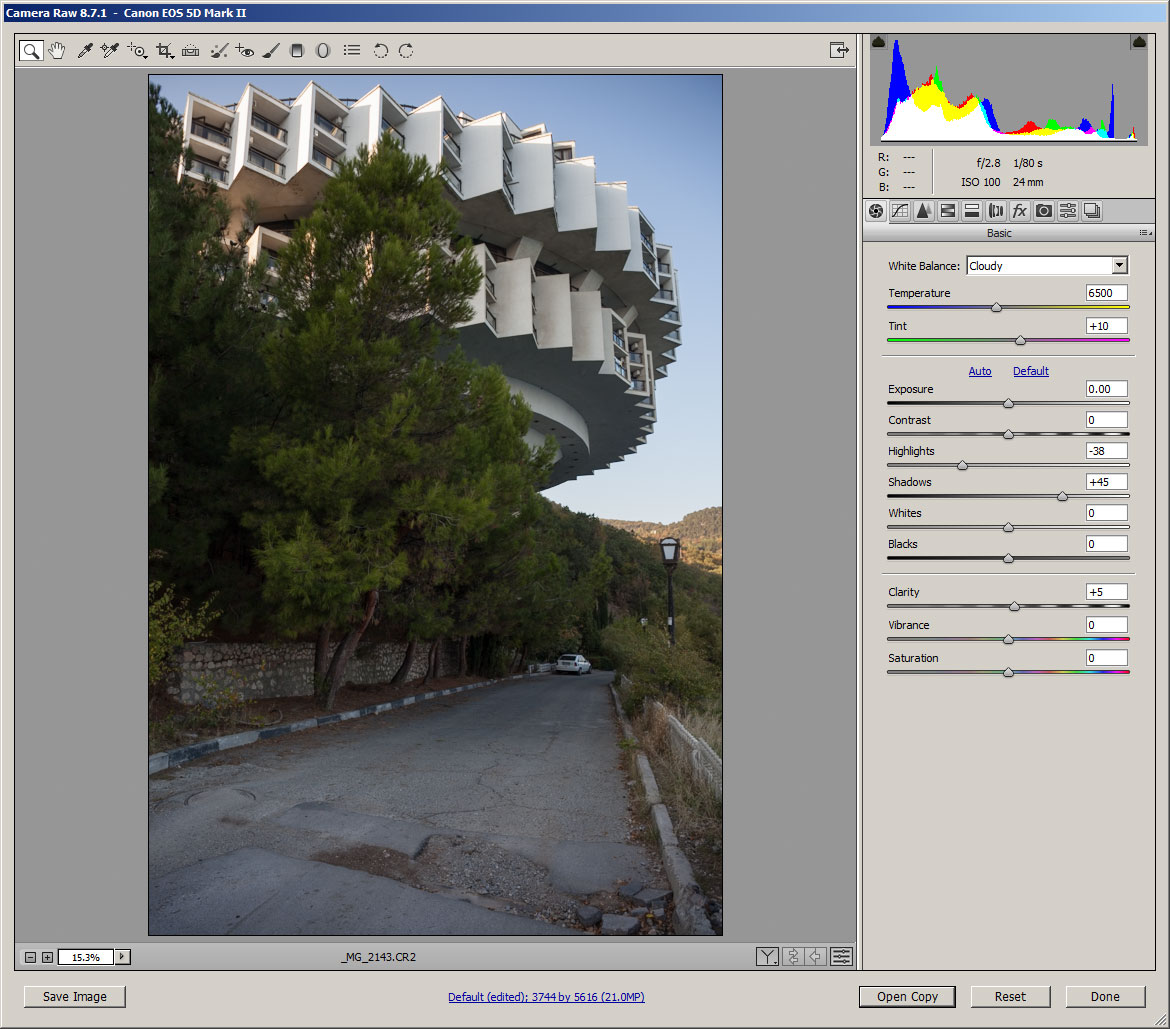
The difference between an Adobe RGB image converted to sRGB (left) and not converted (right) when displaying as sRGB (e.g. in a web browser).
This might not always happen, it depends on how the website you're uploading to works, whether your image has the color profile embedded in it, and whether whoever is viewing your image has a color managed internet browser or not. But rather than worry about any of those things it makes much more sense just to make sure you convert your images to the sRGB color space before uploading them. Most image editing software features this ability.
Correct Exposure? It might not be what you think.
Getting the correct exposure for an image doesn't necessarily mean getting an image that looks great on the camera's rear LCD. The brightness of the LCD and the light you are viewing the image in both affect how bright (or dark) the image appears. Instead you want to rely on the histogram.
The histogram shows a graph of the tones in the image, from black on the left to white on the right. A peak in the graph shows there are a lot of pixels with that tonal value in the image. So, if the histogram shows a peak on the left side, with little after that, it means most of the tones in the image are quite dark and the image is likely underexposed.
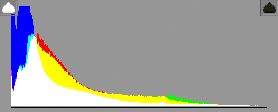
Example of an RGB histogram for an image featuring predominantly dark tones
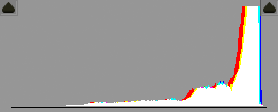
Example of an RGB histogram for an image featuring predominantly light tones
Logically you might think that it is best to try and expose the image so most tones are in the middle of the histogram. That would mean the image is not overly dark, nor overly bright. But if possible (especially if you're photographing in RAW), it actually makes more sense to expose the image as bright as is possible without loosing important highlight detail.
The more light your camera's sensor collects, the less noise will show up in the image. You can then pull back the exposure in image editing / RAW processing software to the correct brightness.
This technique of making the image as bright as possible without overexposing then later pulling the exposure back down is known as ETTR, Expose To The Right. You're trying to expose the image so that the tones in the image appear towards the right side of the histogram.
To adjust the exposure to expose to the right, you can either use manual exposure mode or a semi-automatic exposure mode combined with exposure compensation. I would suggest +2/3 stop exposure compensation to start off with, then take a shot.
Look at the histogram to see if the image is exposed to the right or not. If not (or if it's too much to the right, resulting in loss of highlight detail you want retained), then adjust the exposure to compensate and take another shot. Check that, and then repeat this process until you get an image exposed how you want.
That might sound like a lot of work, but normally you can get it right within two shots. If you want to work quickly, a workaround is to just use exposure bracketing. This allows you to take three photos in a single burst - one exposed as the camera thinks correct, one underexposed, and one overexposed. Then when going through your photos later you can just select whichever one is the brightest while retaining important detail in the highlights. It does mean you take 3x as many photos though, so you'll need a big memory card if you want to always use auto bracketing for your shots.
Image exposed to the right - looking at the histogram you can see the brightest tones (the sky) go nearly to the right edge of the histogram. (If they were against the actual edge it would indicate the highlight data was being lost).
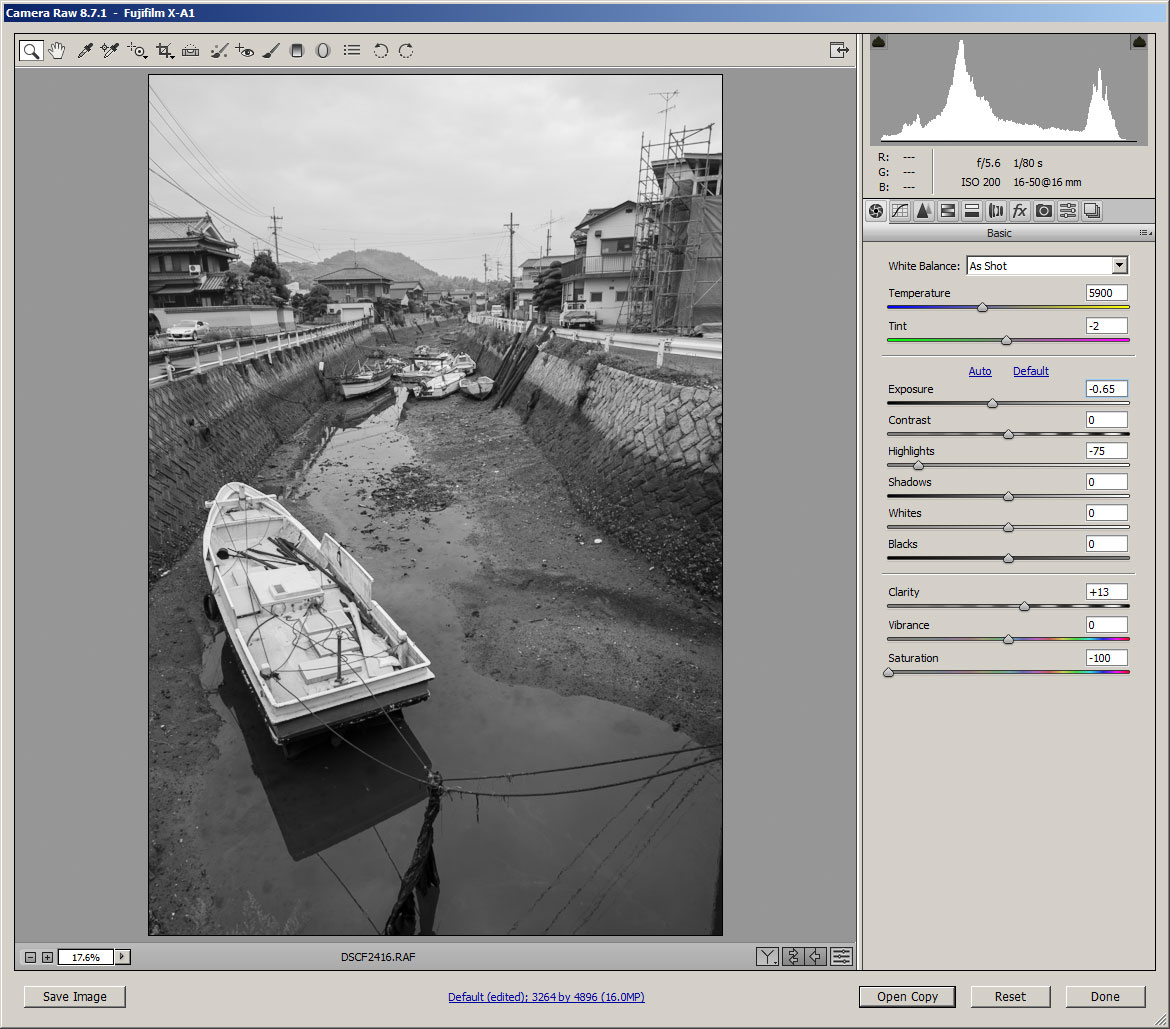
Image after applying adjustments to bring the exposure back down
This technique is mainly suited to landscape photography, though it can be used in other forms of photography too. If you're shooting thousands of pictures for an event, you're probably not going to want to use this technique and manually go through all your images pulling back the exposure as necessary for each image.
Another exposure technique is to expose for the highlights. This is where you make sure that any highlight areas of the image in which you want to preserve detail are not over exposed. In strong contrasty light (such as bright daylight), this could result in an image where the highlights are not overexposed but a lot of the rest of the image is underexposed.

Image exposed to make the highlights as bright as possible without loosing details. Because of the large difference in lighting between the highlights and the shadow areas, this has resulted in much of the image being underexposed
By adjusting the exposure when processing the image, we can increase the exposure in the underexposed areas without loosing detail in the highlights
When editing the photo, you then pull up the brightness of the shadows to give a properly exposed image with details in both bright highlights and the shadows. This might sound like the opposite of the ETTR technique. But ETTR is just about making sure you expose the image as brightly as possible without loosing important detail. If exposing the image to keep important detail in bright highlights means the rest of the image is underexposed, then so be it.
Landscape Photographer? Use Liveview
If you use a DSLR camera, then you're probably aware that you have two methods available of composing an image. You can look through the camera's optical viewfinder. Or you can use the camera's Liveview function and compose using the screen on the back of the camera.
For photography of static subjects where you have the camera on a tripod, such as landscape or architectural photography, then it makes sense to use Liveview. Liveview solves a few problems that using the optical viewfinder has.
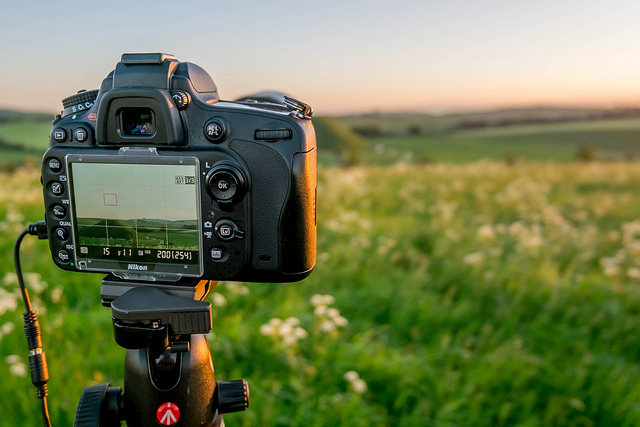
BTS - Silbury Hill, Wiltshire by Ben Cremin on Flickr (licensed CC-BY)
The first is that the viewfinders on most DSLRs don't give a 100% view of what will actually be captured. High-end models might have 100% coverage, but lower end models can be more like 95%. This means that if you compose using the viewfinder you can end up with a branch or something just poking in at the edge of the frame, which you couldn't see through the viewfinder. But Liveview always gives you an accurate preview of what will be captured in the frame.
Secondly, the image on the LCD is much larger, and easier to see. It's not so good to view in bright light. However, in that case you could use an accessory loupe to shade the screen from reflections. You can also magnify the image to accurately check your focus.
Depending on your camera settings, Liveview can be set to give an accurate preview of how the image will be recorded. This includes both depth of field and exposure (though it can't preview the effect of a slow shutter speed). This allows you to more easily get your exposure settings correct without having to take any test shots.
Finally, Liveview works with the camera's mirror flipped up. When you take a photo without liveview the camera has to flip up the mirror, and then take the photo. The action of flipping up the mirror can create a small amount of vibration that can cause a slight blurring of the image in some instances. But with Liveview the mirror is already flipped up, so you don't have to worry about this at all.
Ready to shoot? Keep your gear clean
If you decide to grab your camera and go out to take some photos, you don't want to then find that your lens has a dirty fingerprint on it. Even worse is when you take a load of photos and then realize they all have dark spots caused by dust on the camera's sensor.
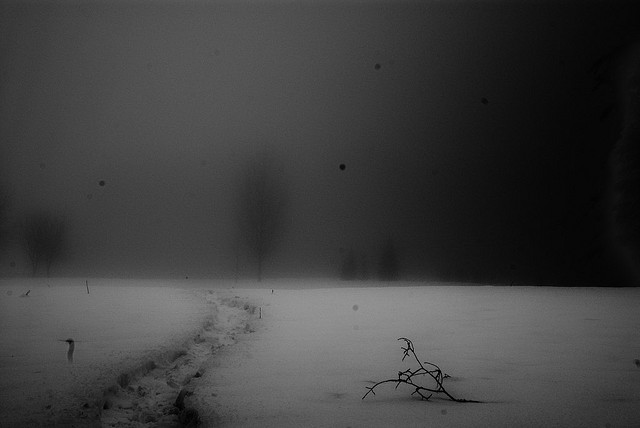
negative snow by Michael Hoy on Flickr (licensed CC-BY)
It's a good idea to keep your camera equipment clean and ready to use. That way you can be sure that when you pick up your camera you won't have any nasty surprises. As well as keeping it clean, you should ensure batteries are charged, memory cards formatted, etc.
Don't forget to clean your camera bag either! There's no point cleaning all your gear, then taking it out in a bag full of dust and lint. Give it a good vacuum and brush off every now and then.
Ideally you should clean your camera, lenses, and filters each time after you use them. That way you know they'll be ready next time you want to use them. If time constraints mean this isn't always possible, then maybe try and schedule some time once a week or however often is convenient. It doesn't need to take a long time, you just need to give everything a quick check and clean where necessary.

day 18 by mjtmail (tiggy) on Flickr (licensed CC-BY)
I hope these tips have given you something to think about that normally you might not consider. As I said at the start of the article, remembering all these things can be quite tricky. But just try to put one or two items into action for a month or two. You'll find you gradually learn the behavior, so you no longer have to consciously try to think about it, but just do it automatically.


How do you control the ETTR process?
Hi Mike
Good question, I’ve now updated the article to include a few paragraphs about that.
Briefly though, you need to use your camera in manual exposure mode or a semi-automatic exposure mode with exposure compensation. Then take a photo, and check the histogram. If not exposed to the right, adjust the exposure and take another. Check the histogram again and repeat as necessary.
Dave
Thank you.
Great blog. Easy to read and full of practical info. Congrats on your great work!