Give your photography gear a Spring clean
With Spring underway, you might be thinking about doing some Spring cleaning around the house. As well as the house, how about giving your photography gear a spring clean? You could also think of it like an annual service.
Cleaning Tools
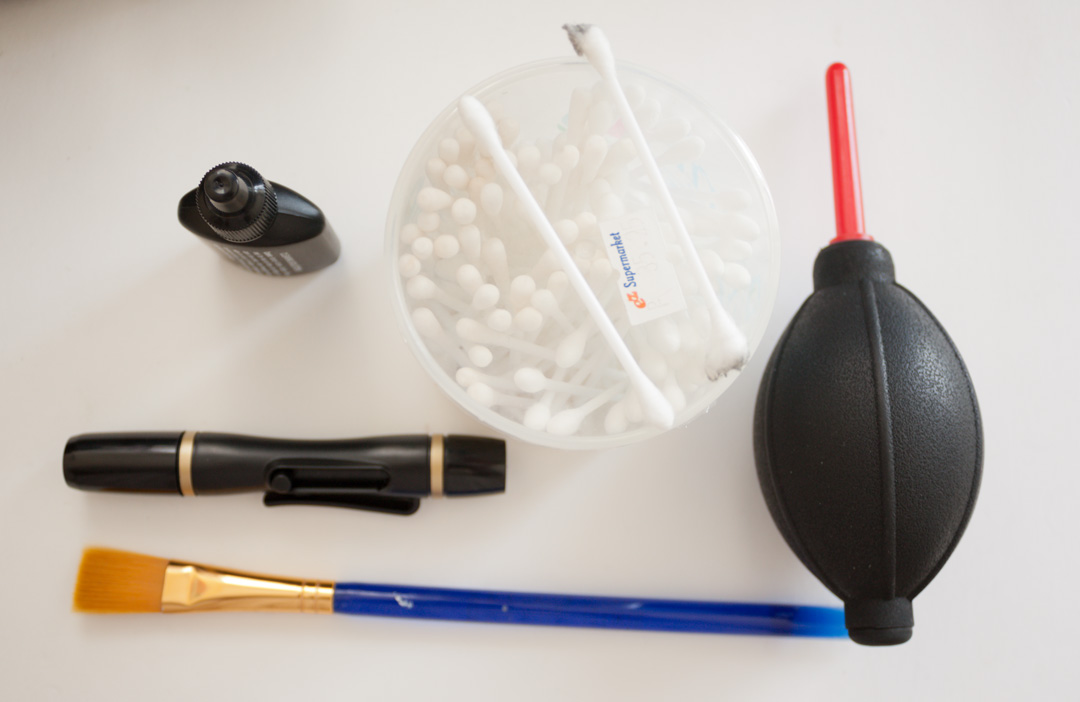
Tools used for cleaning photography equipment
For my own spring cleaning, I used the following:
Cotton buds and isopropyl alcohol. These are useful for getting into small spaces such as camera viewfinders and the flash hotshoe.
Isopropyl evaporates quickly so it doesn't leave things wet. It also doesn't contain any contaminants, unlike tap water, and is less likely to leave streaky marks. If you have a lens suffering from fungus, it also works well at removing fungus.
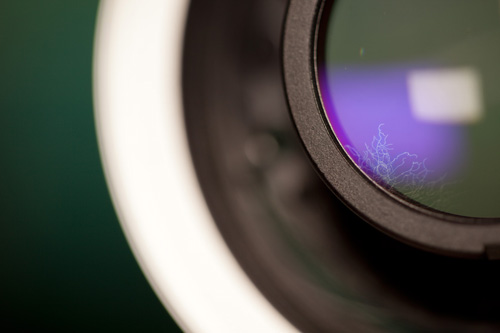
Small white strands of fungus in a lensA soft brush for brushing dust off everything. It also works well for getting loose dust out of small spaces, since you can fit a few bristles in gaps to flick the dust out.
A dust blower for blowing dust from surfaces without touching them. Generally using the brush to loosen dust and then the blower to blow the dust away works quite well.
Lens cleaning equipment. For this I use a lens pen - this has a soft brush on one side that can be used to loosen dust on the glass surface, and a soft pad on the other side that can clean up smears and fingerprints. I don't use the same brush for cleaning the lens glass as I do for cleaning the rest of the lens.
Sensor cleaning equipment. If you camera has a built-in lens, then you won't need this. But for cameras with interchangeable lenses, it can be a good idea to give the image sensor a clean.
I used a combination of an arctic butterfly sensor cleaning brush and a blower to clean the sensors of my cameras. One camera had some stubborn dust spots that I had to resort to a wet clean to shift. You can read more about cleaning your camera's sensor here: How to clean your DSLR or MILC’s image sensor to remove dust spots.

Lenses
When cleaning your lenses, clean the whole body of the lens, and around the lens mount. Clean the front and rear elements of the lens only if they are dirty. If the lens has a lens hood, clean both sides of this. Clean the front and rear lens caps.
https://www.youtube.com/watch?v=G7S6VARidHkExtend the zoom, so you can clean the areas of the barrel that are only accessible when the lens is fully zoomed. Similarly, if your lens extends on focusing closer, then set the focus distance to its closest focusing distance so you can clean this part of the barrel.
Camera
When cleaning the camera give the LCD screen a good wipe. Make sure the viewfinder (if applicable) is clear. Clean the flash hot shoe (if applicable), and wipe the outside of the lens mount.
Check the camera's image sensor for dust (see the previous article How to clean your DSLR or MILC’s image sensor to remove dust spots for instructions). If there are visible dust spots, then give the image sensor a clean.
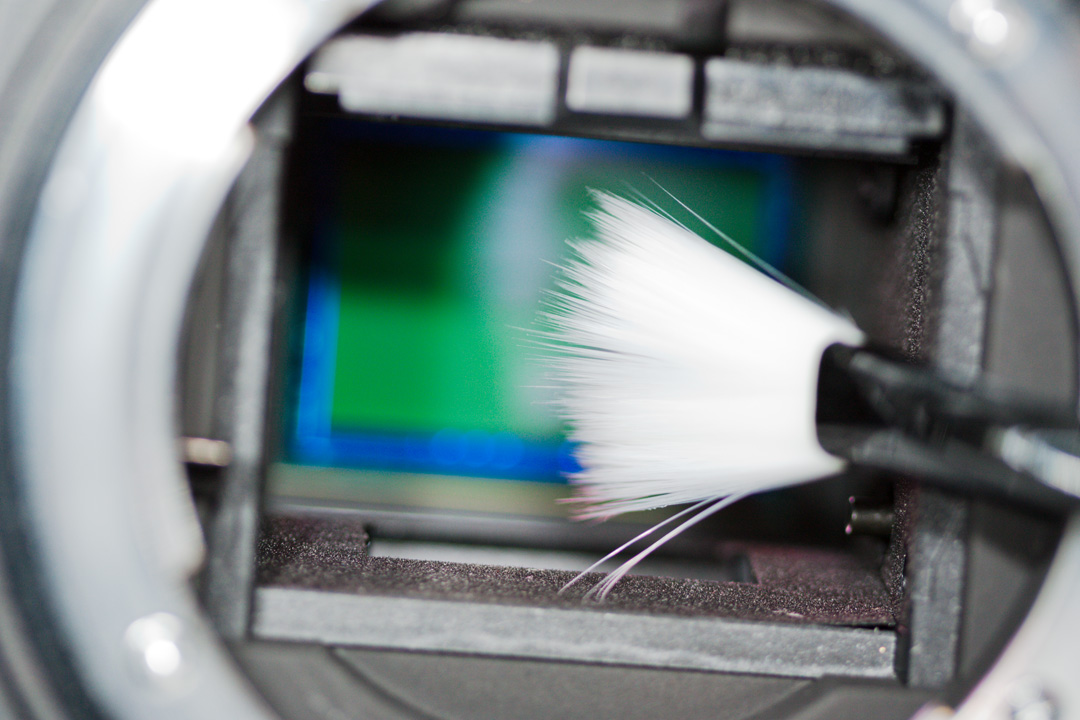
Cleaning the camera sensor
Go into your camera settings, and ensure that the camera clock is set correctly. This is particularly important if you use an external GPS to record a tracklog that you later sync your photos to for geotagging.
Accessories
Clean your other accessories that you use as well, such as speedlight flashes and filters. Clean any dust off flash units and make sure the battery contacts all look okay with no oxidation (a green patina). If corroded, try cleaning first with a weak acid (e.g. white vinegar or lemon juice) on a cotton bud, or secondly by rubbing with fine sandpaper.
Clean filters like you would a lens to remove dust and smudges.
Batteries
Re-charge any batteries that haven't been used for a while. Batteries often loose their charge over time, though the Lithium Ion batteries used in most cameras aren't too bad in this respect.
Memory cards
Make sure you've copied all the photos off any spare memory cards, and then format them in camera.
Tripod
Have a look at your tripod, and make sure all the nuts are tightened properly. If a leg swings open too easily, likely a nut needs tightening. Better tighten it now than let the nut loosen itself so much it falls off while you're out somewhere.

The leg angle lock nuts occasionally come loose on my tripod, the actual nuts are located underneath the leg and can be quite tricky to get to
If any joints are getting too stiff, look at adding a little grease or lubricant. You should be able to tell by looking at the joint whether it has a thick grease on it or needs a thin lubricant like WD-40.
The amount of time you spend cleaning will mostly be dependent on how much gear you have, but also on how dirty it is. Cleaning dried on dirt is trickier and takes more time than just wiping or blowing dust away.
After you clean each item, it is a good idea to put it away in an area away from where you are cleaning. That way when you blow dust off an item you're cleaning, it won't just land back on the items you've already cleaned.


