Post-processing Tips for Landscapes
The vast majority of photos look better with some post-processing, and this is particularly true for landscape photos. Often landscapes can come out with colors that look quite dull compared to what we remember, or flat and lacking in contrast. Thankfully, this can be remedied through a bit of careful processing.
You might even want to make more extreme changes, in order to more strongly evoke a feeling with the image, rather than just give an accurate portrayal of what you saw.
In this article we'll cover several post production techniques that can be very useful for landscape photographers. You can use them minimally to enhance what was captured, or make stronger adjustments to completely change the mood of an image. How you use the techniques is up to you.
Local Contrast Enhancement
Local Contrast Enhancement, often abbreviated to LCE, increases microcontrast in an image, bringing out details, and generally making the image 'pop'. It doesn't affect the overall contrast of the image, just the contrast between edges.
There are a few different ways LCE can be applied but probably the most common technique is using a High Pass filter.
Applying LCE in Photoshop
With your image open in your editor, duplicate it to a new layer. In Photoshop you can do this by selecting the background layer, then pressing Ctrl + J (PC) / Cmd + J (Mac).
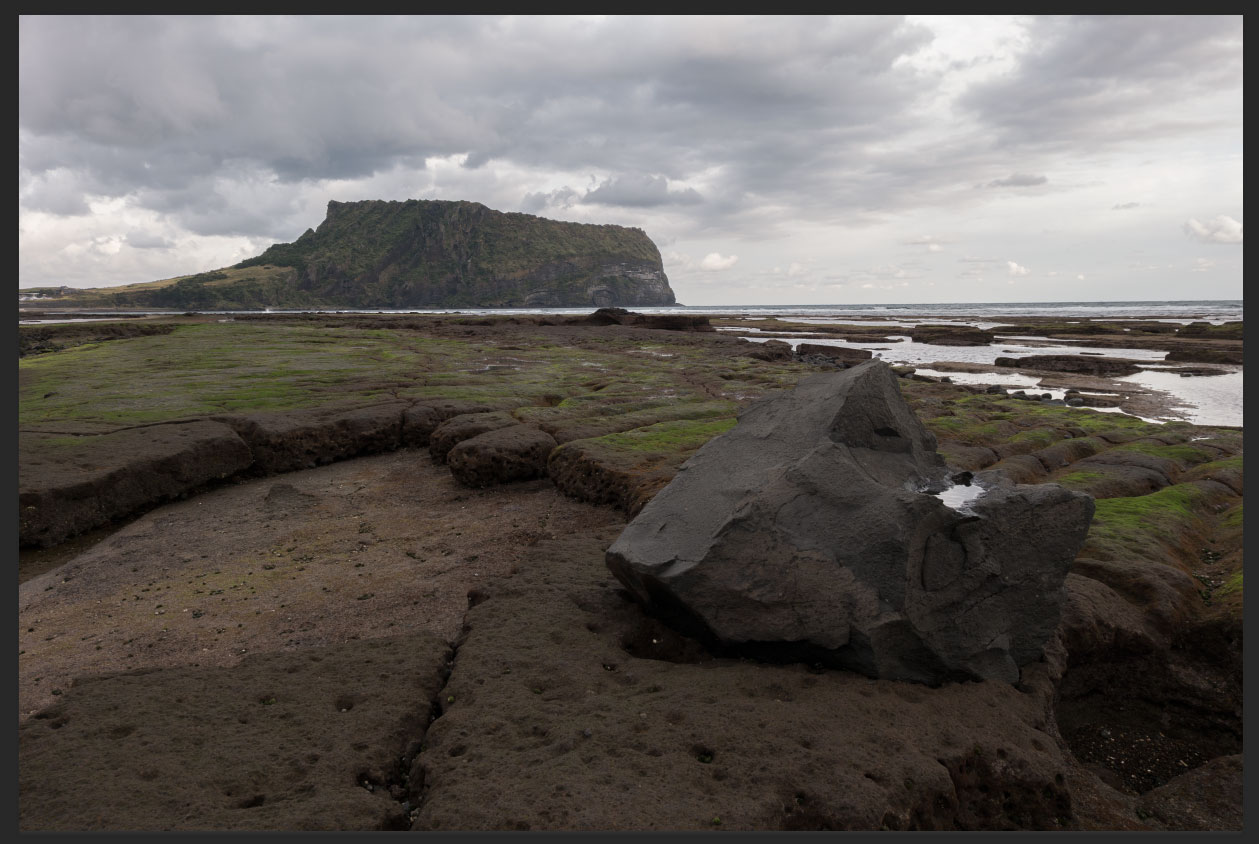
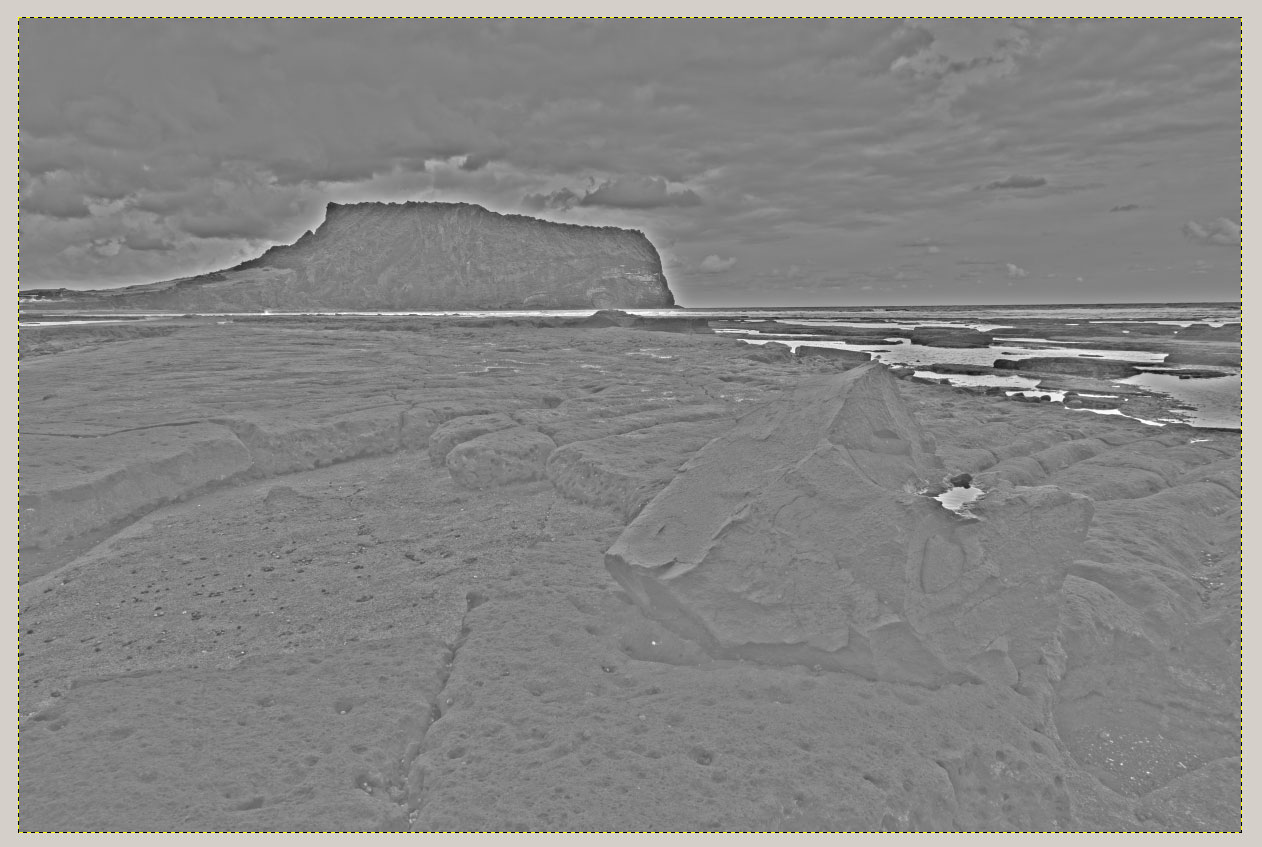
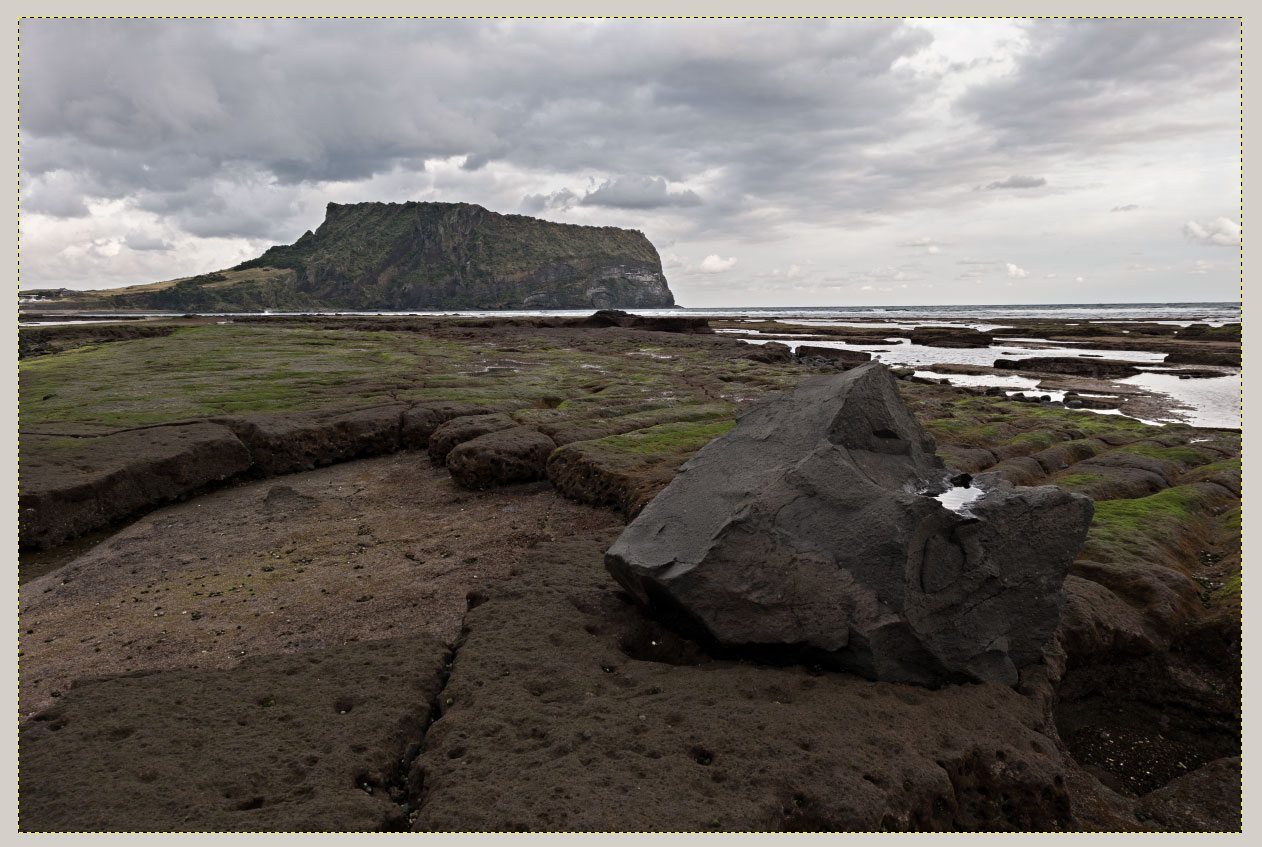
Image before applying adjustments
With the duplicate layer selected, desaturate it. For Photoshop this is Ctrl + Shift + U (PC) / Cmd + Shift + U (Mac).
Now go to Filter > Other > High Pass. The filter radius depends on the size of your image. The larger your image, the larger the radius should be. I'm using a 16 MP image, with a filter radius of 120.

High Pass filter dialog in Photoshop CC
OK the filter settings, then change the layer's blend mode to Overlay or Soft Light. Overlay gives a stronger effect than Soft Light.
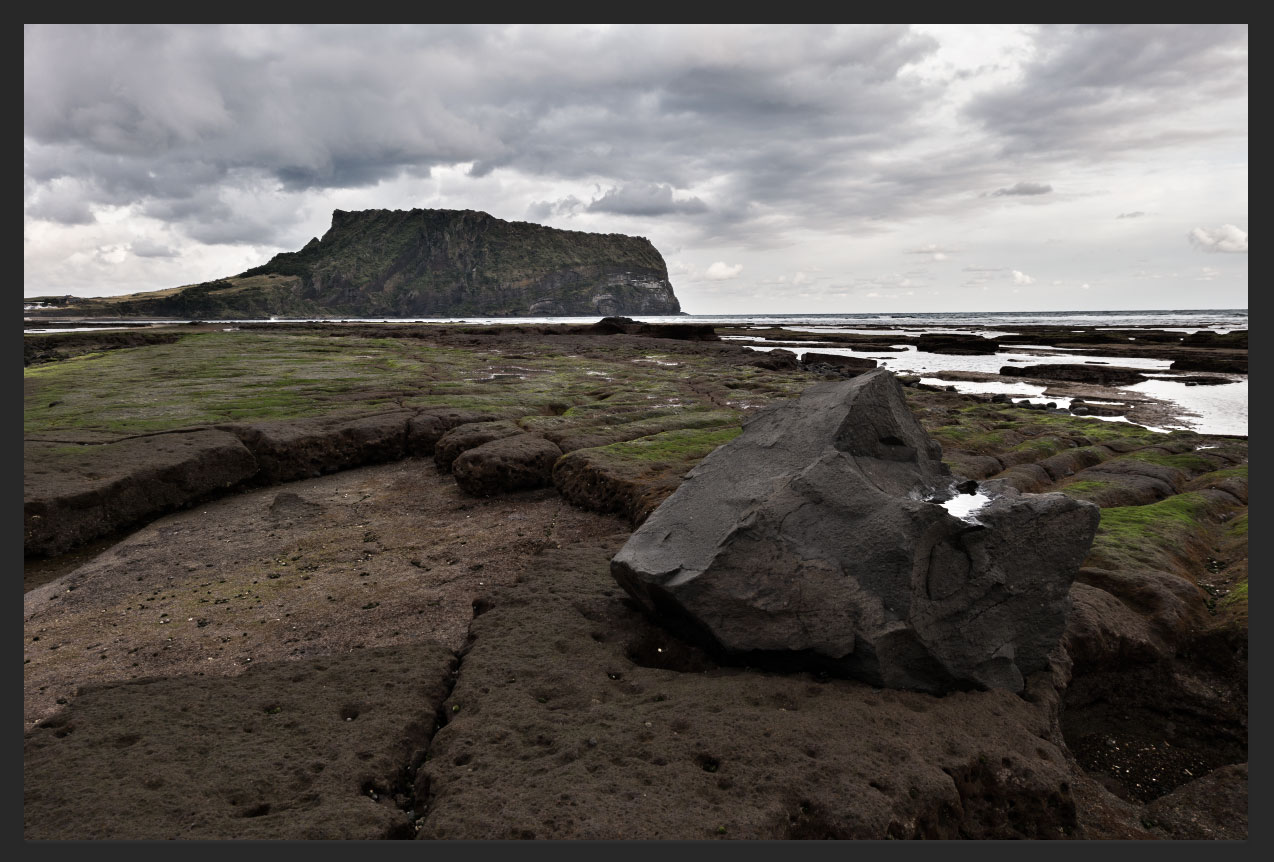
High pass filtered layer set to Overlay blend mode
You'll probably also want to reduce the opacity of the layer a bit as the effect is quite strong at 100% opacity. If some areas have become overly bright or dark, you can also selectively reduce the effect over those areas using a layer mask.

Opacity reduced and masked to remove effect on right
Applying LCE in GIMP
GIMP doesn't come with a high pass filter as standard. The same effect can be achieved using built-in filters, but it is easier and quicker to download and install the High Pass Filter script from the GIMP Plugin Registry. Download the script and place it in Your user's home directory/.gimp-version/scripts/. Then start / restart GIMP.
Open your image, then go to Filters > Generic > High Pass Filter. In the filter options choose Greyscale mode and Keep Original Layer? should be checked.
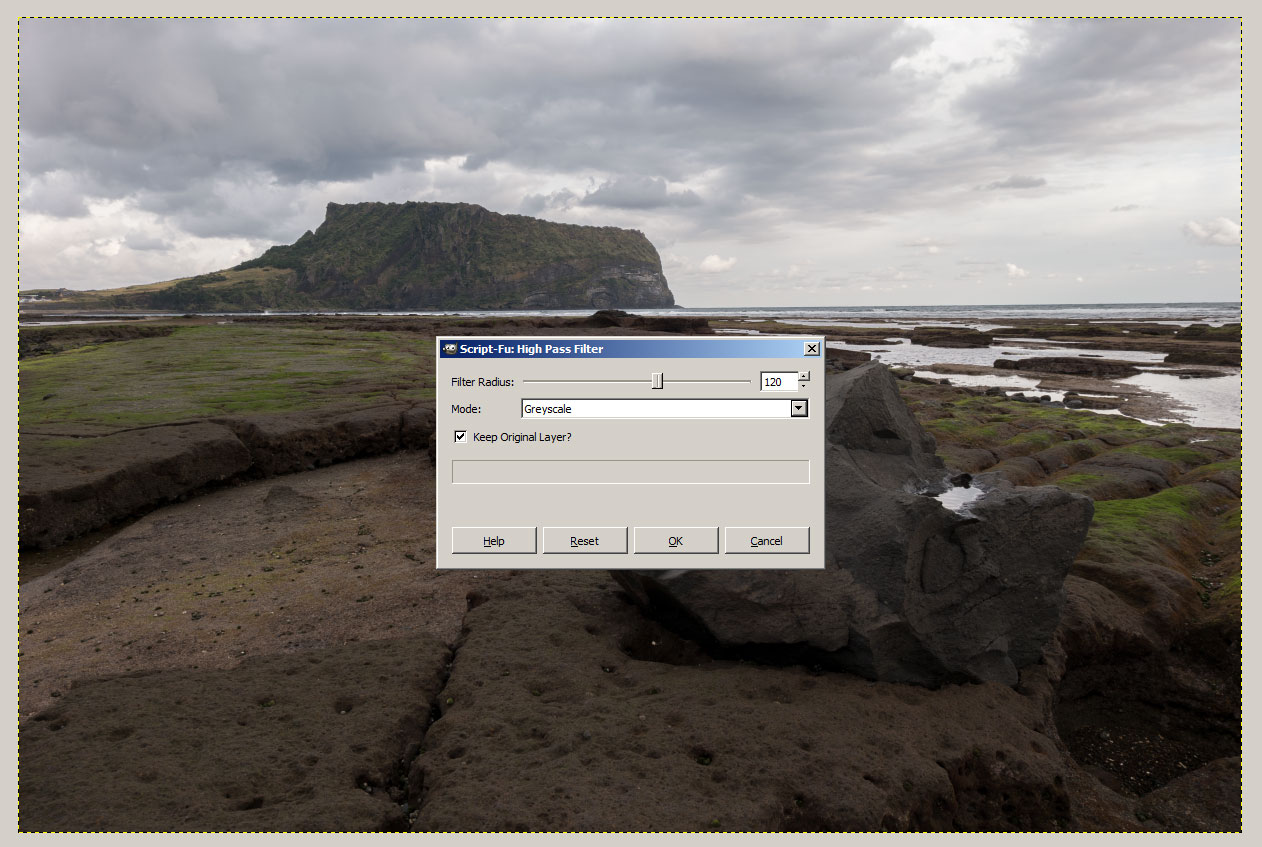
High Pass Filter options in GIMP
The filter radius depends on the size of your image. The larger your image, the larger the radius should be. I'm using a 16 MP image, with a filter radius of 120.
High pass filter applied
OK the filter settings, then change the layer's blend mode to Overlay or Soft Light. (Both give the same effect). You'll probably also want to reduce the opacity of the layer a bit as the effect is quite strong at 100% opacity.
High pass layer set to overlay blend mode at 100% opacity
Patch Tool
The patch tool is used for copying one part of an image on top of another part. It works best for areas lacking in detail but where there is a subtle gradient, such as blue skies.
Photoshop
Select the patch tool, if you don't see it in your tool palette, it's on the same space as the healing brush. (Click and hold on a tool to see the other tools available in that same space).

Patch tool location in tool palette in Photoshop CC
Draw a rough selection around the area you want to remove.
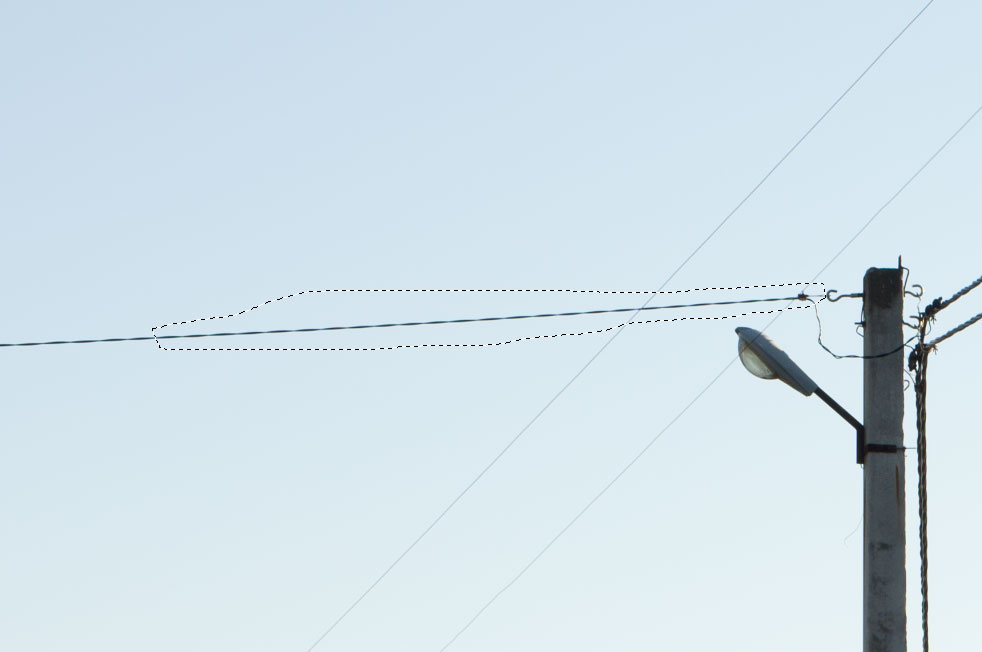
Area to be patched selected using patch tool
Now click and drag your selection to the area you want to copy from. Photoshop will show you a preview of what will be copied over the area to help you align the area correctly.
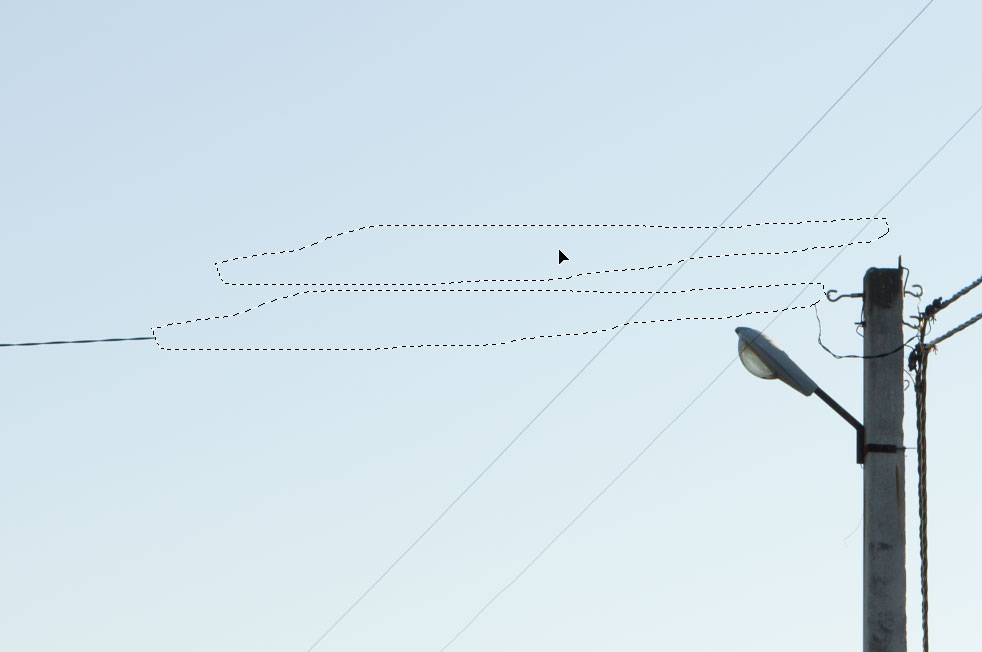
Moving the selection to the area to take the patch from
Let go of the mouse button and the area will be patched.
Area patched
GIMP
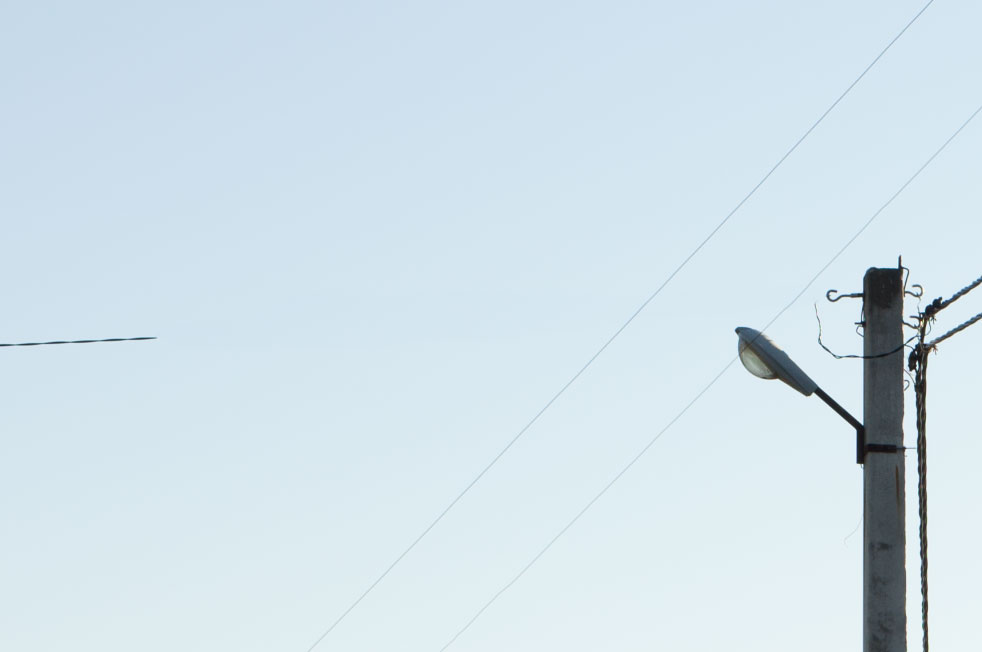
GIMP doesn't include a patch tool, but a similar effect can be achieved with the Healing tool. First use the free select tool to select the area you want to remove. Then press Ctrl + C (PC) / Cmd + C (Mac) to copy the selected area.
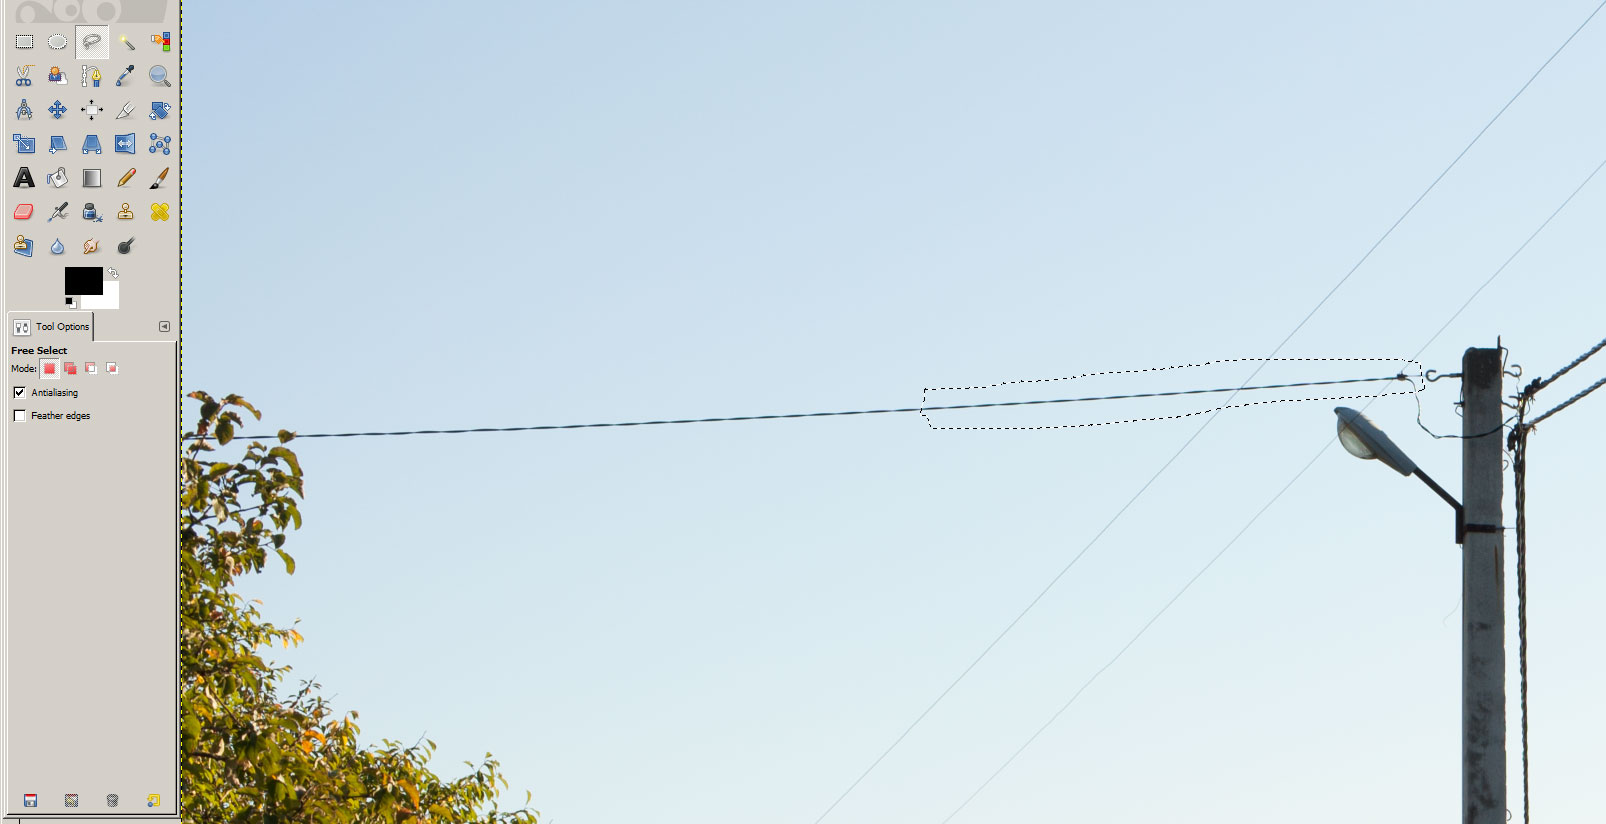
Area to be patched selected
Choose the healing tool, and in the tool options set the Brush to Clipboard (the first thumbnail).
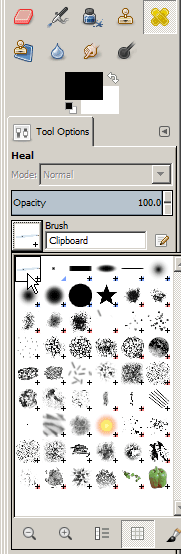
Selecting clipboard as brush source
Set the brush size so that the brush is around the same size as the selected area.
Ctrl + Click (PC) / Cmd + Click (Mac) the area you want to copy from.
Then brush over the area you want to remove.

Area to take patch from chosen, then originally selected area painted over to replace it with the patch
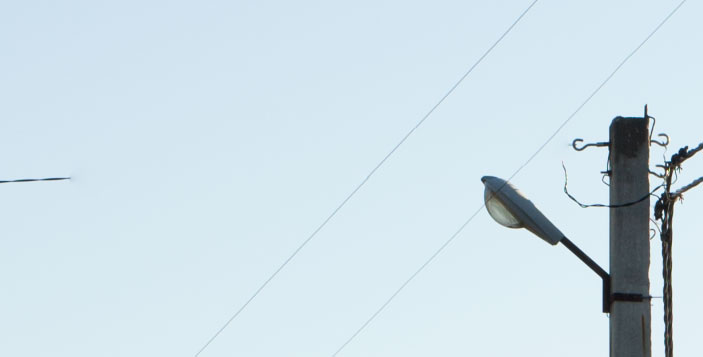
Deselected, area patched
Clone tool
The clone tool is very useful for removing unwanted items from an image, such as litter, signs, cars, or people. It lets you copy part of the image and paint it over the part you want to remove.
It works well for areas of detail and areas with texture. It tends to be more tricky to get a good result on areas with a gradient, such as clear sky, where the patch tool is usually a better choice.

Clone stamp in tool palette in Photoshop CC
Clone stamp in tool palette in GIMP

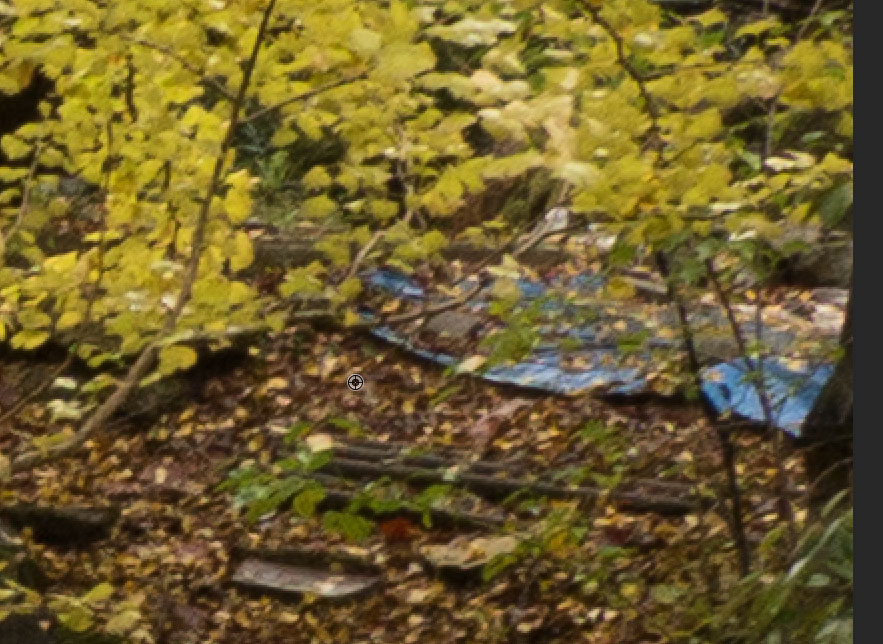
Image before cloning - the blue tarpaulin near the top right corner is a distraction that can be removed using the clone stamp
With the clone tool you first set where you want to clone from. Alt + Click (PC) / Opt + Click (Mac) for Photoshop, or Ctrl + Click (PC) / Cmd + Click (Mac) for GIMP.
Setting the clone source in Photoshop CC
Then you can paint over the area you want to remove, and it will copy from where you set as the clone source.
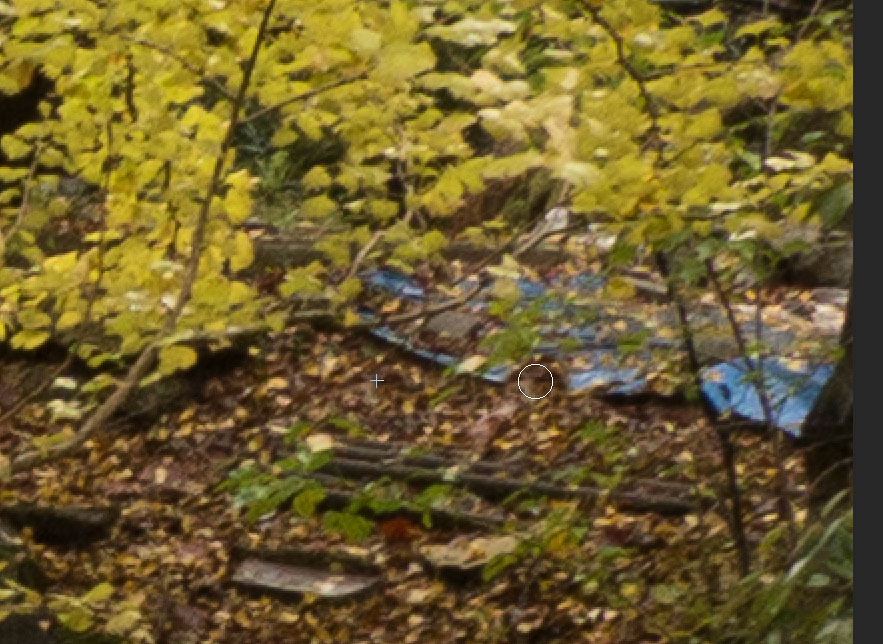
Painting with the clone stamp
The main trick with the clone tool is to try and avoid repeated patterns, which gives away that an area has been cloned. Usually this can be done by cloning normally, then doing a second pass where you clone out any repeated features.
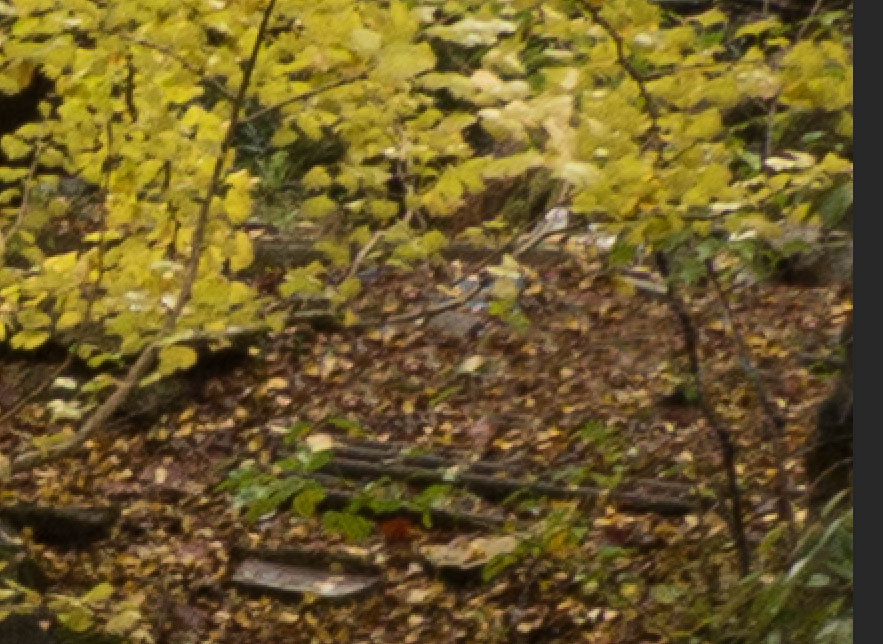
Unwanted item cloned out
You can read more about using the Clone Tool here: Clean up your photos with the Clone Stamp Tool.
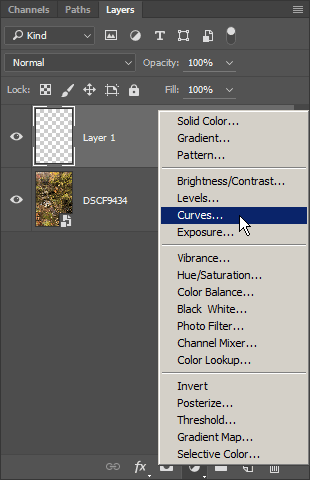
Curves
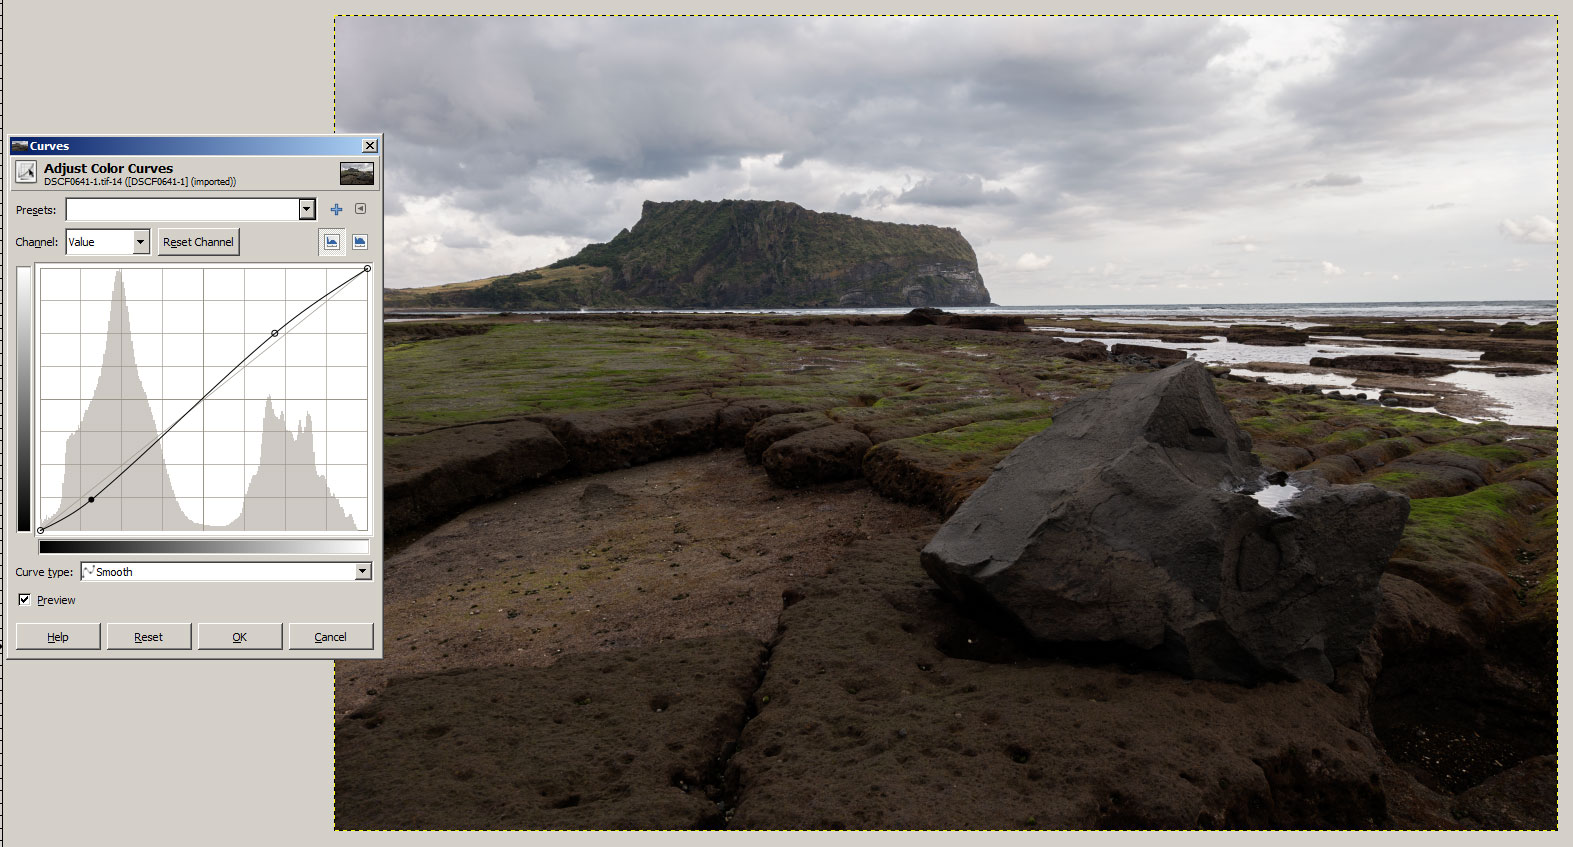
Curves can be used to change the overall contrast of an image. They can be used for increasing or reducing contrast, typically with most landscape photography you'll want to increase contrast, unless you're going for a dreamy look.
For Photoshop you can access Curves by creating a Curves adjustment layer. For GIMP go to Colors > Curves.
Curves adjustment layer location in Photoshop CC
By pulling in the black and white points of the curve to the edge of the histogram you increase contrast without blowing out highlights or blocking up shadows.
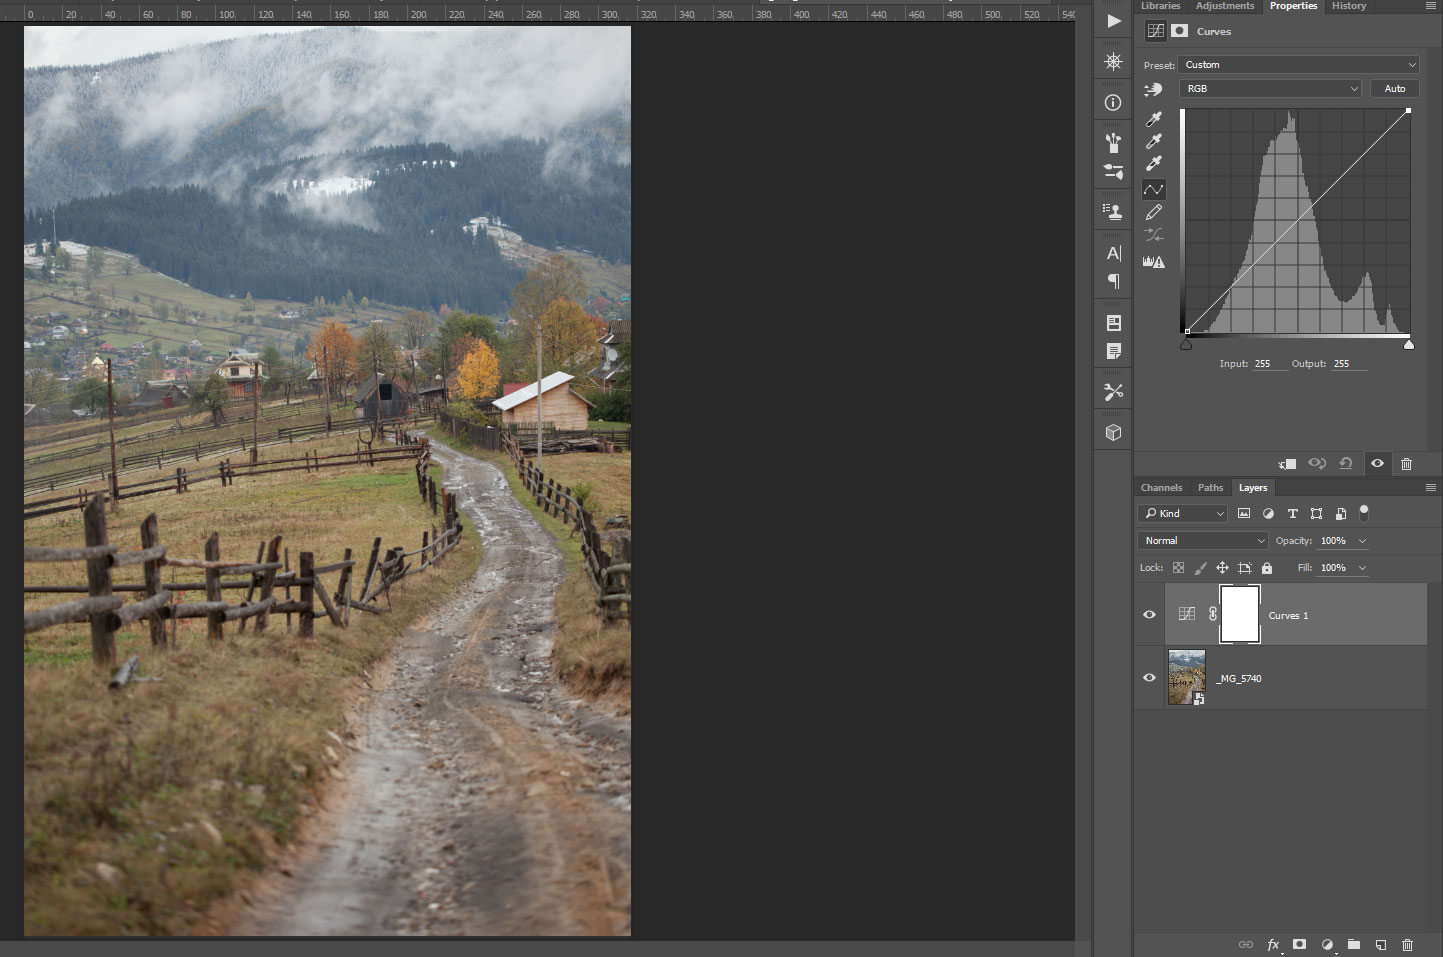
Image before making adjustments

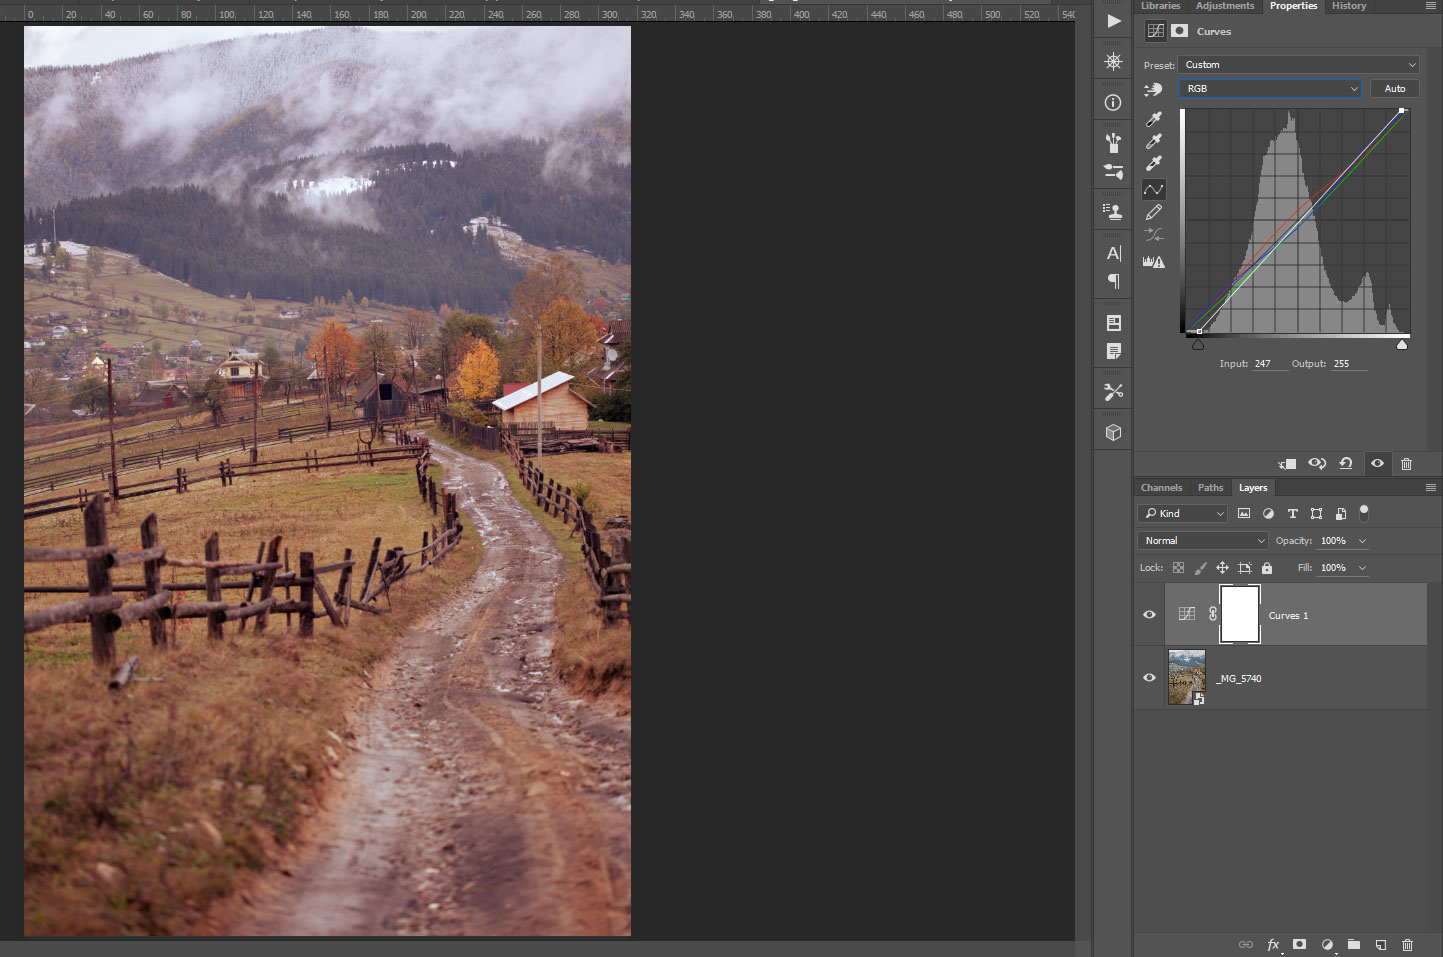
Black and white points pulled in on curve to increase contrast
Adding an S-shape to the curve, where shadows are darkened and highlights brightened, can be used for adjusting contrast without having to change the white and black points. The more S shaped the curve, the stronger the contrast adjustment will be.
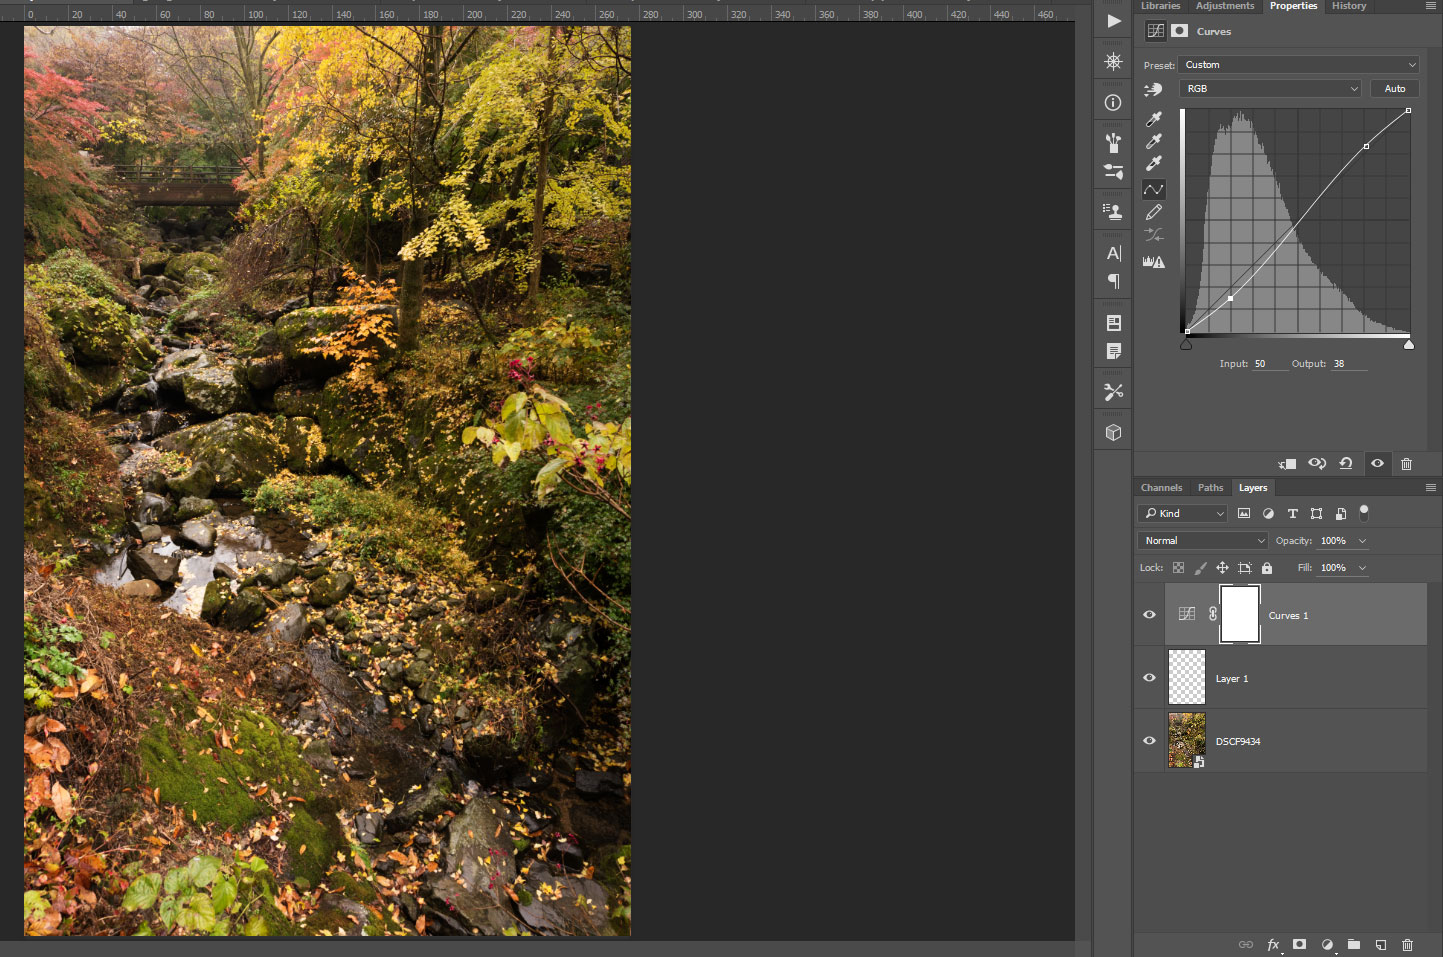
S-Curve adjustment to increase contrast
Curves adjustment in GIMP
You can also correct or apply a color cast using the individual channels of curves. A common use in landscape photography is to pull up the curve for the red channel and pull down the curve for the blue channel. This gives a warm color cast to the image.
Color adjusted using separate Red, Green, and Blue channel curves adjustments
For more about using Curves, please see Using the curves tool in Photoshop etc. to improve your photos and Image editing – adjusting color with the curves tool.
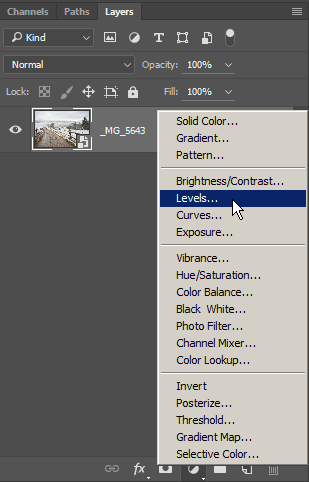
Levels
Similar to Curves, Levels can also be used for adjusting the overall contrast and color of an image. But the way this is achieved is slightly different. Personally, I prefer Curves, but it is worth knowing how to use both Curves and Levels.
To access Levels in Photoshop, you can create a Levels adjustment layer. In GIMP go to Colors > Levels.
Levels adjustment layer location in Photoshop CC
With Levels you can set the black point, mid point, and white point of tones within the image. Like Curves, pulling the black point and white point in to meet the edges of the histogram will increase contrast without loosing any tonal information.

Image before Levels adjustment
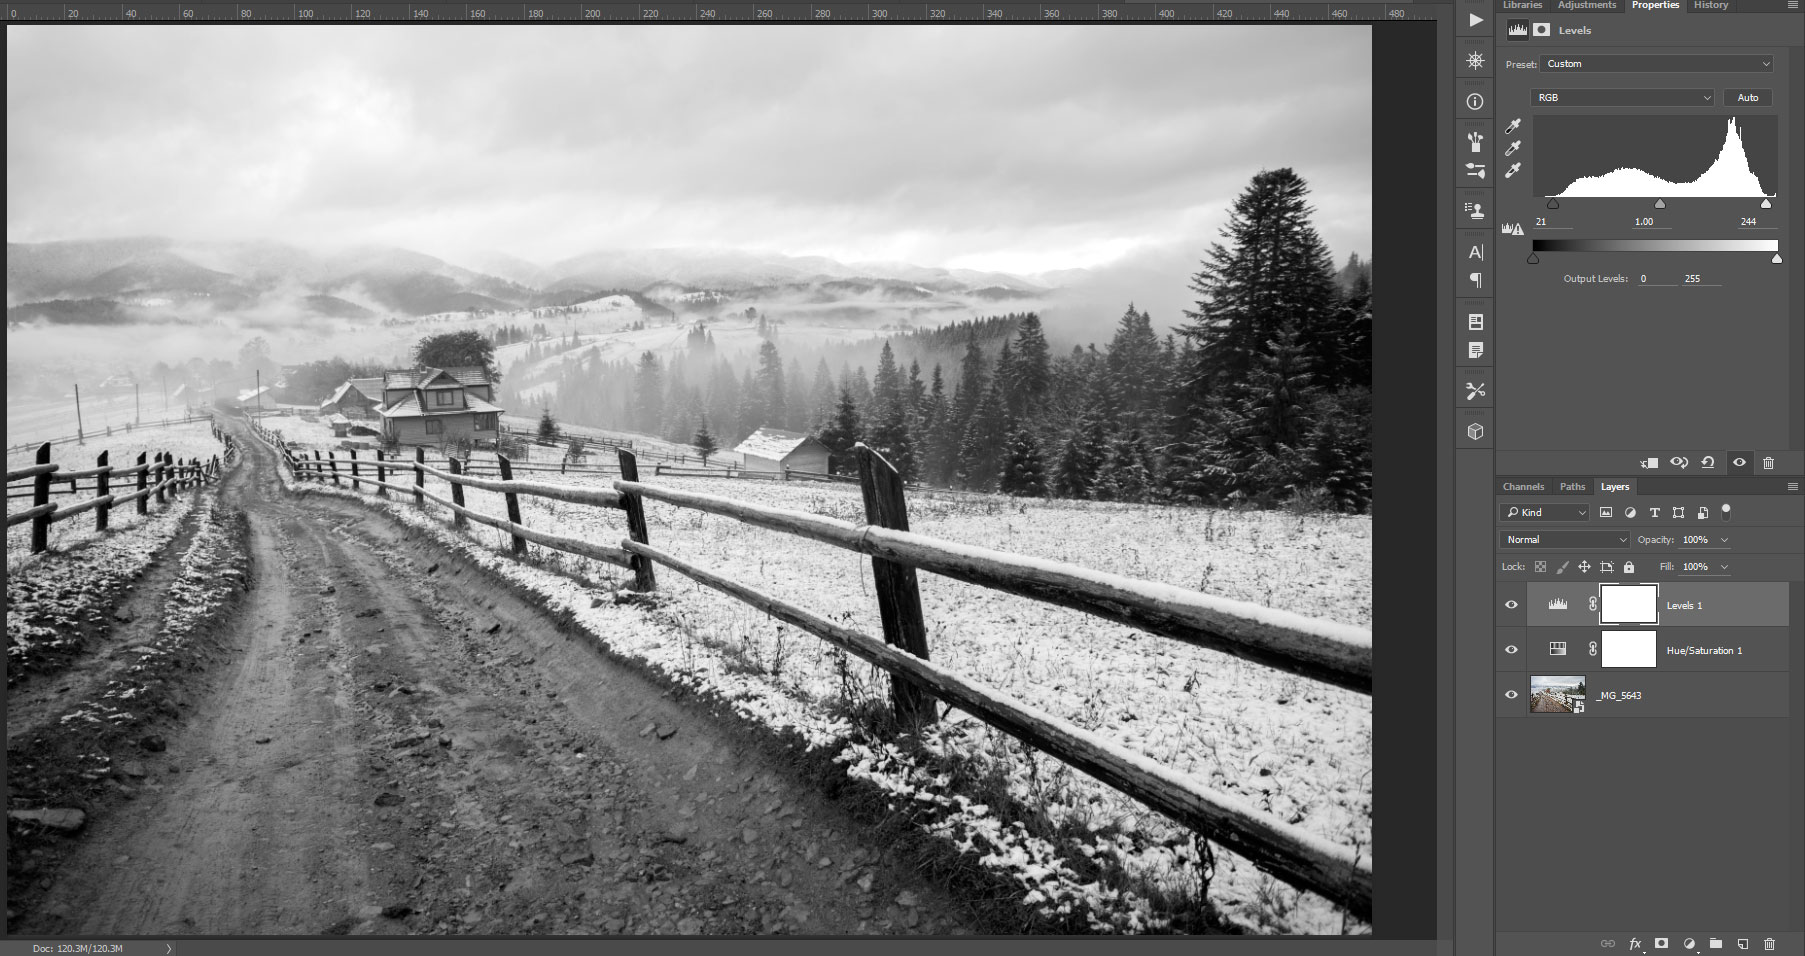
Black and white points pulled in for increased contrast
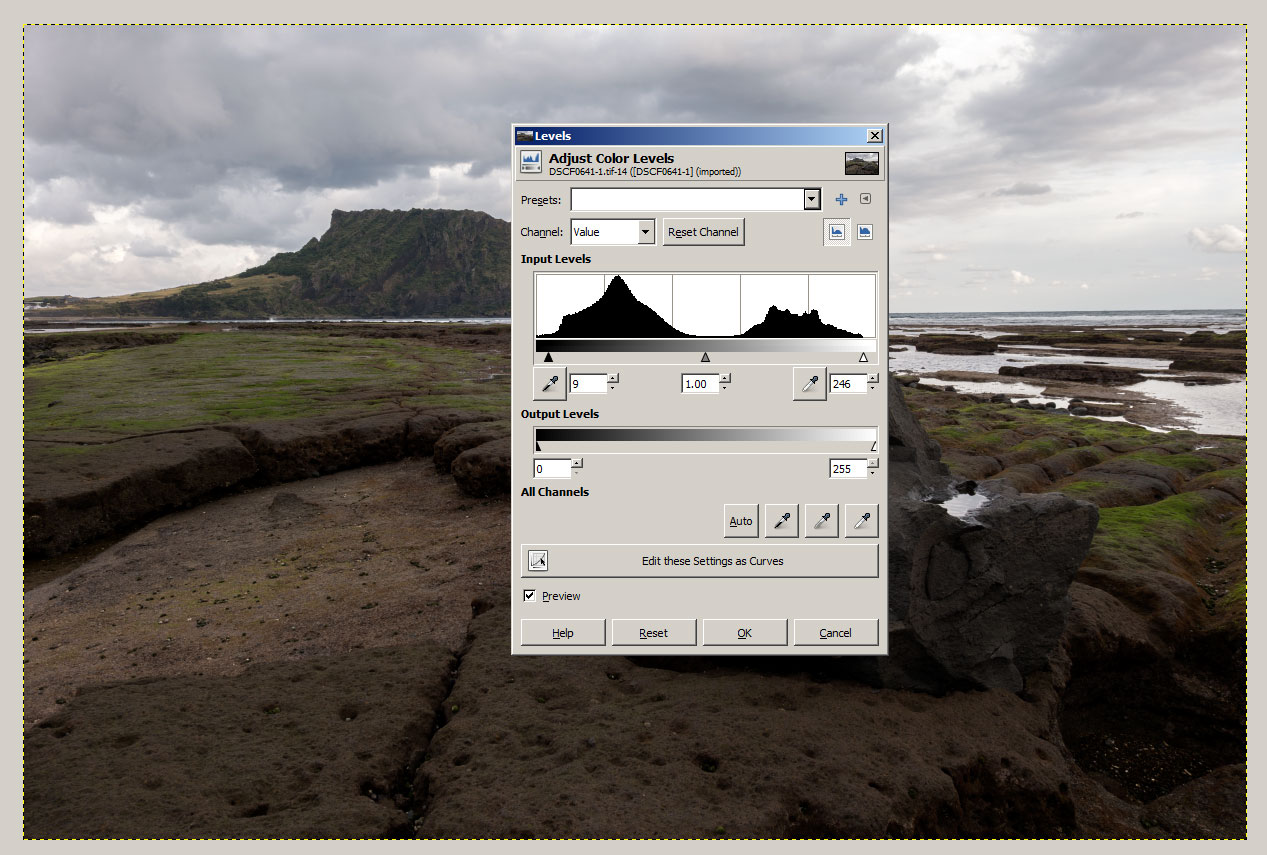
Levels adjustment in GIMP
Similarly, you can also set the Levels for each color channel individually. But you don't get quite as much control over the adjustment as you do with Curves.
For more information on using Levels, please see Using the Levels tool in Photoshop etc. to correct and enhance your photos.
Using plugins and presets
There are quite a few different plugins that offer quick adjustments that adjust the overall contrast, local contrast, and color all in one go. The most popular ones are Topaz Adjust, OnOne Photo / Effects, and Nik Color Efex Pro.
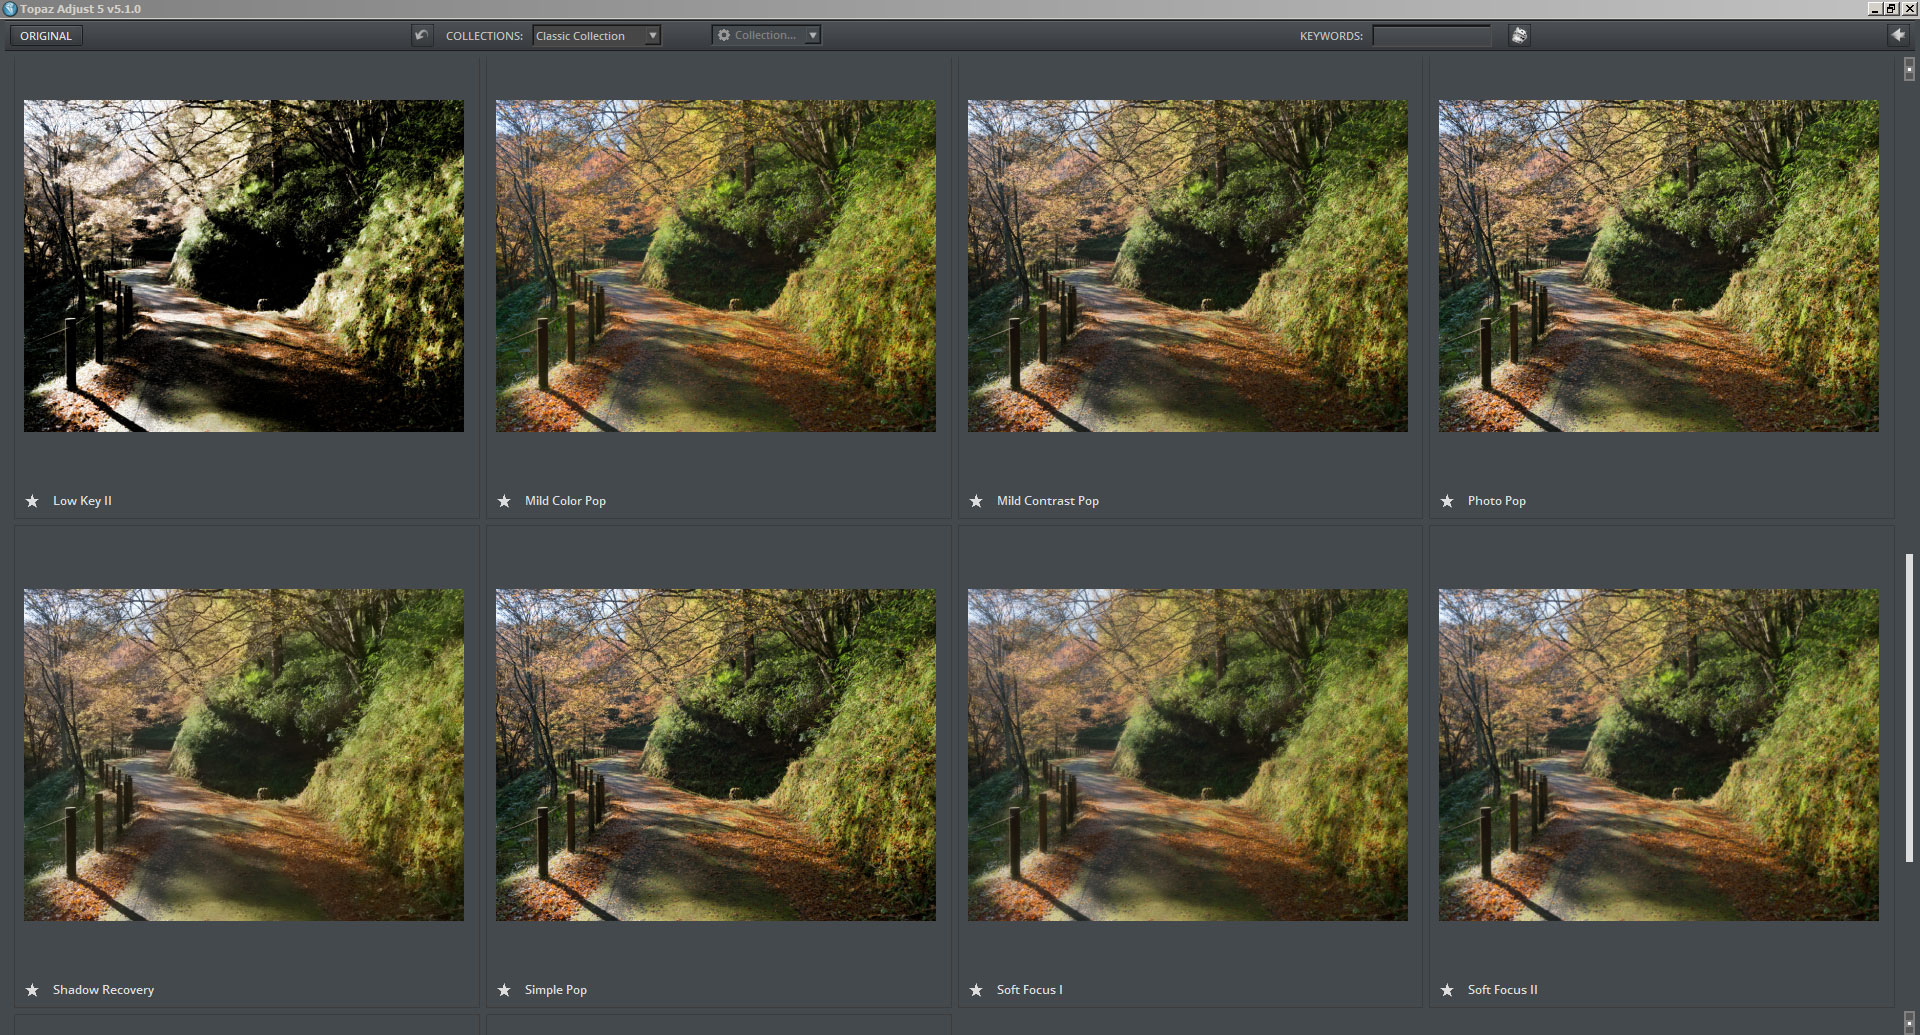
Large preview thumbnails of effects in Topaz Adjust
These programs offer a large range of presets, with previews of what your image will look like the effect applied. This allows you to quickly and easily find a look you like rather than fiddling with various filters and settings until you get what you want.
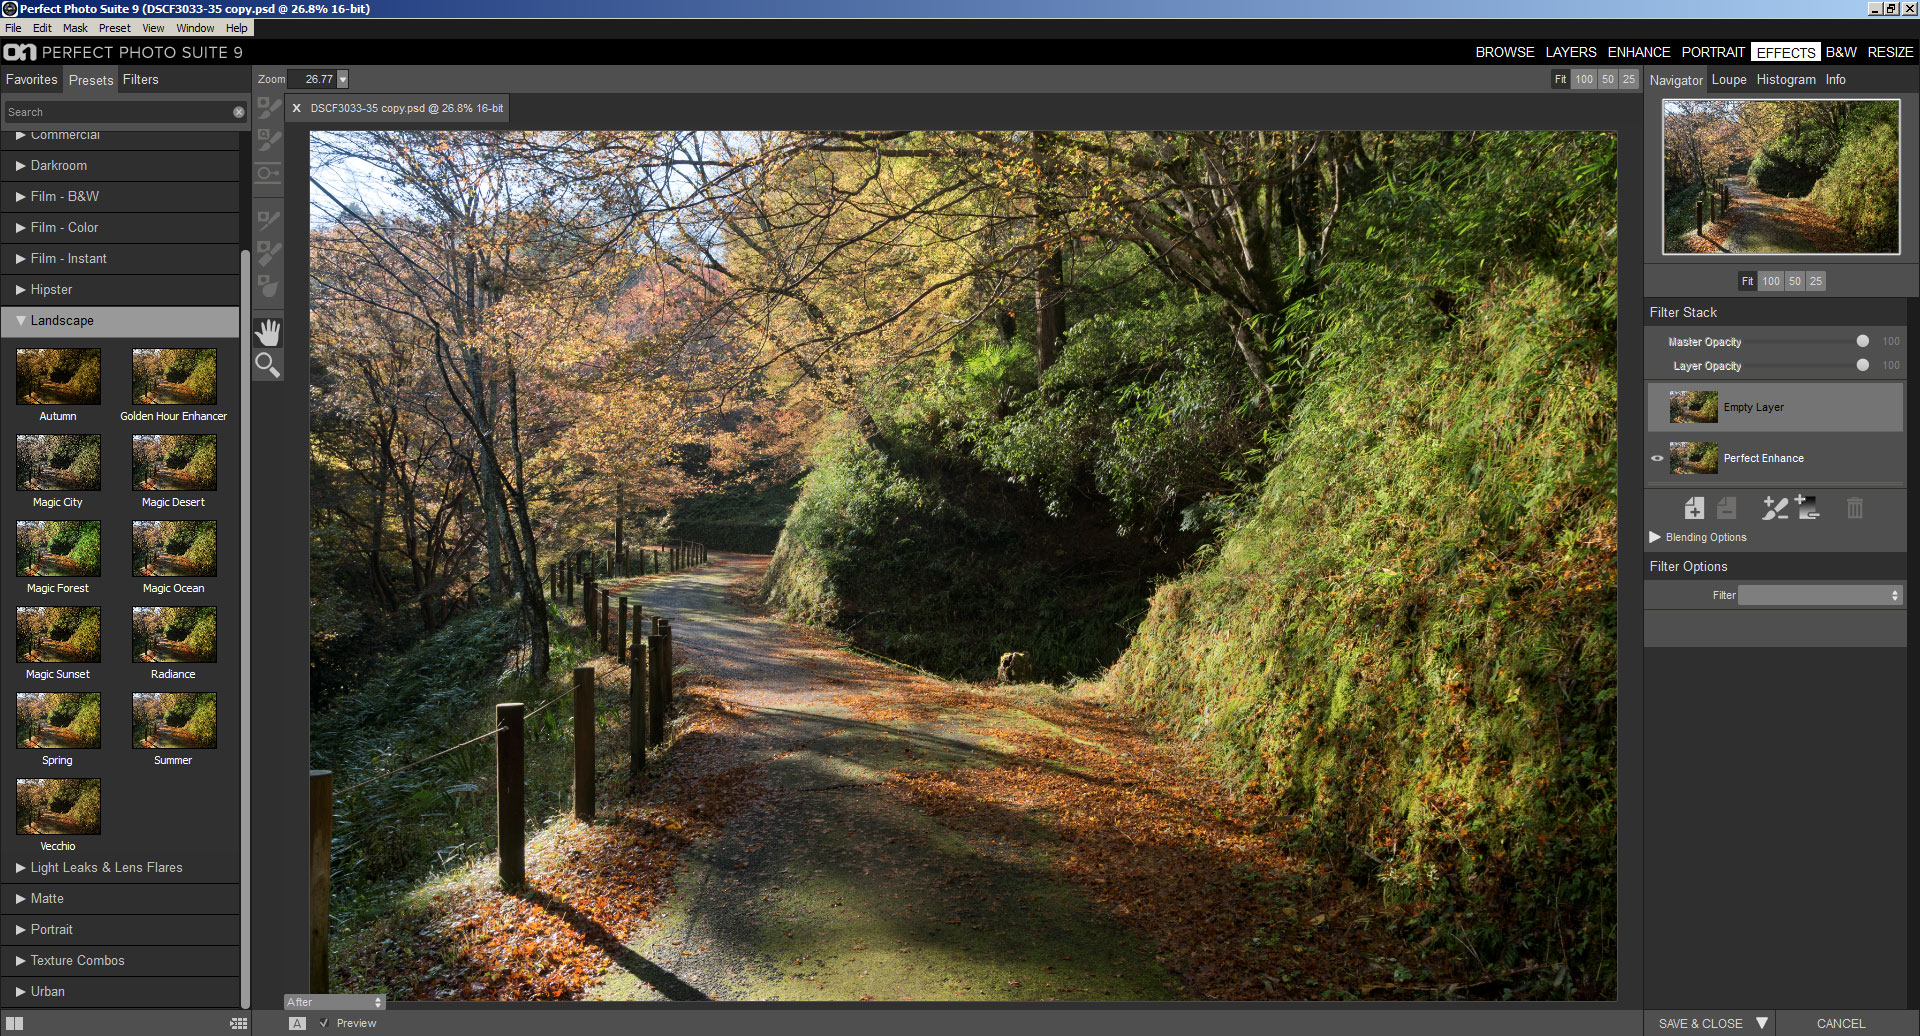
OnOne Perfect Photo / Effects has a wide range of built-in presets and filters
Most software packages also offer the various settings that make up each preset for you to adjust manually. So you can find a preset that is close to what you want, then tweak it if necessary. If an effect is too strong you can also apply it on a duplicate layer of your image, then reduce the opacity of this layer to reduce the effect.
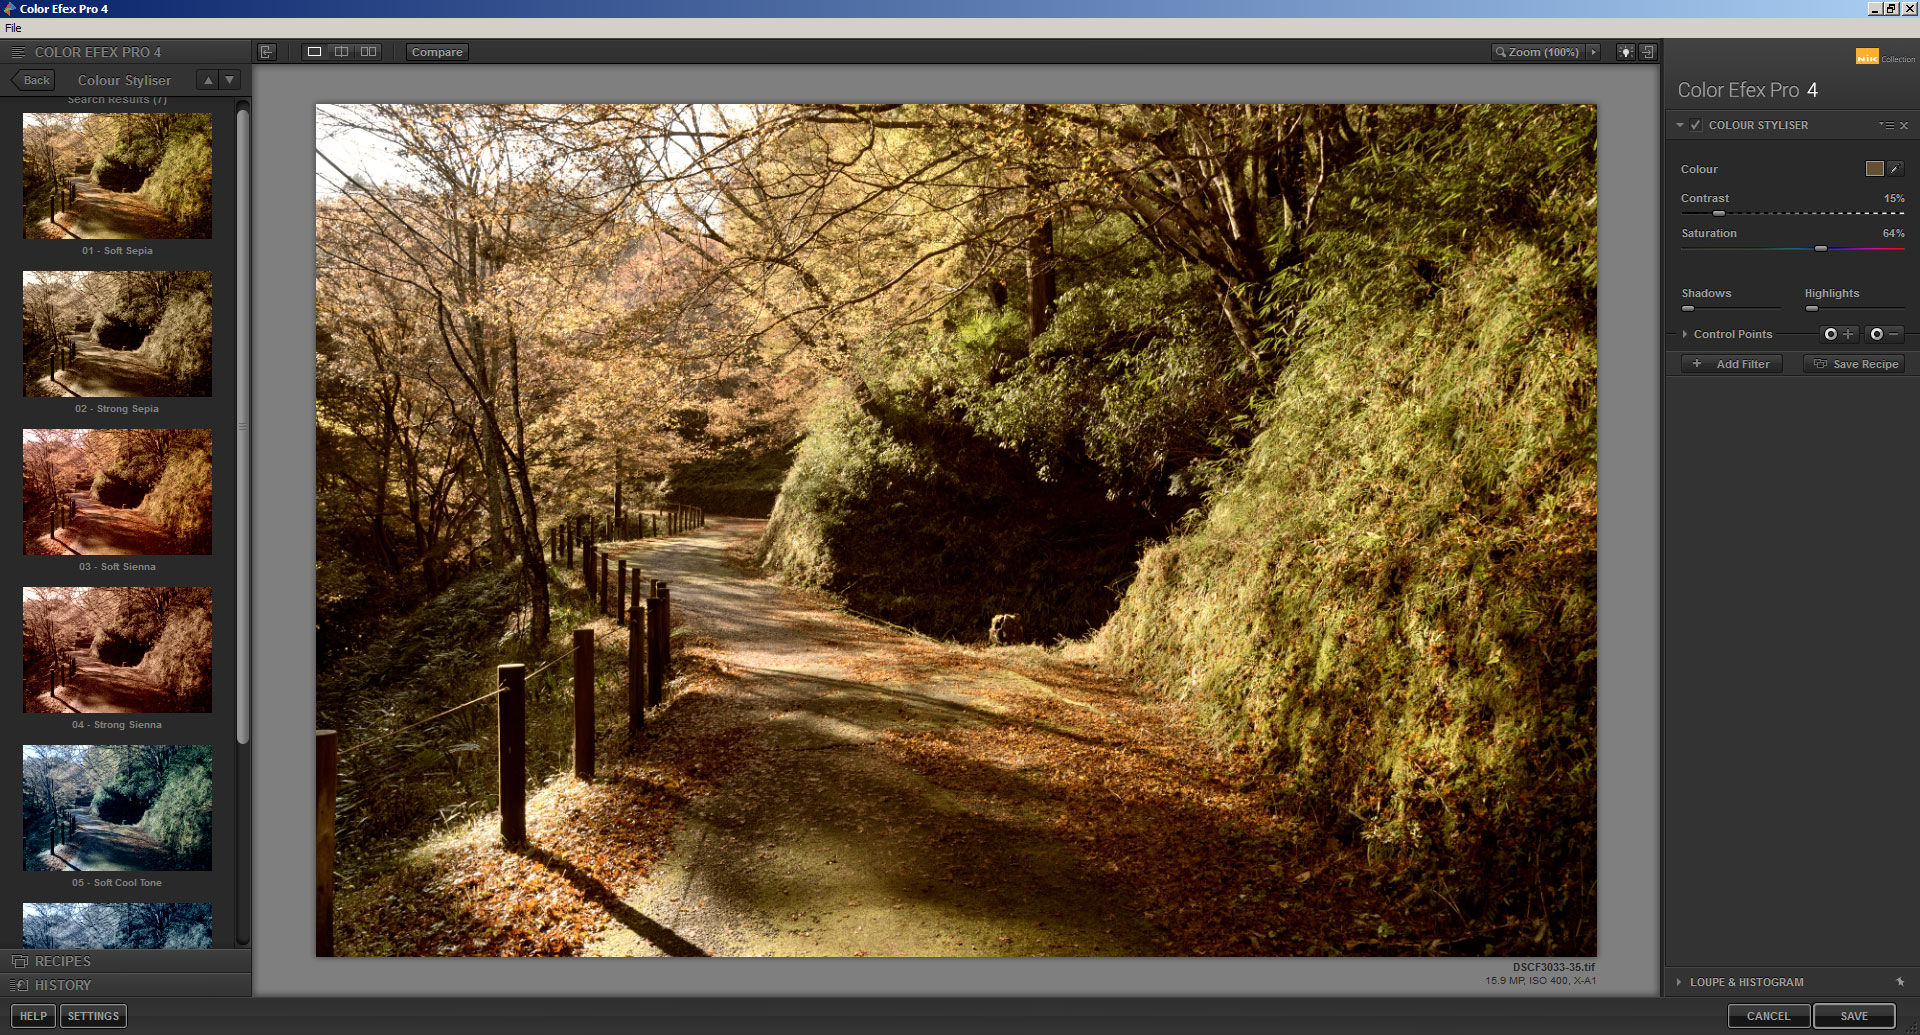
Nik Color Efex Pro
The large numbers of presets included with these programs may seem overwhelming at first look. But when you've used them for a while you'll pick out a few favorite presets that give certain looks, which makes finding and applying those looks simple, quick, and easy.

G'MIC for GIMP offers a large number of filters including many film simulations
You can also get preset packages for Lightroom, actions for Photoshop, and scripts for GIMP. All these work in a similar way - they can perform multiple adjustments to an image with a single click. So if you find one you like that works for most of your images, it can be a great time saver compared to applying the same adjustments manually to each image.
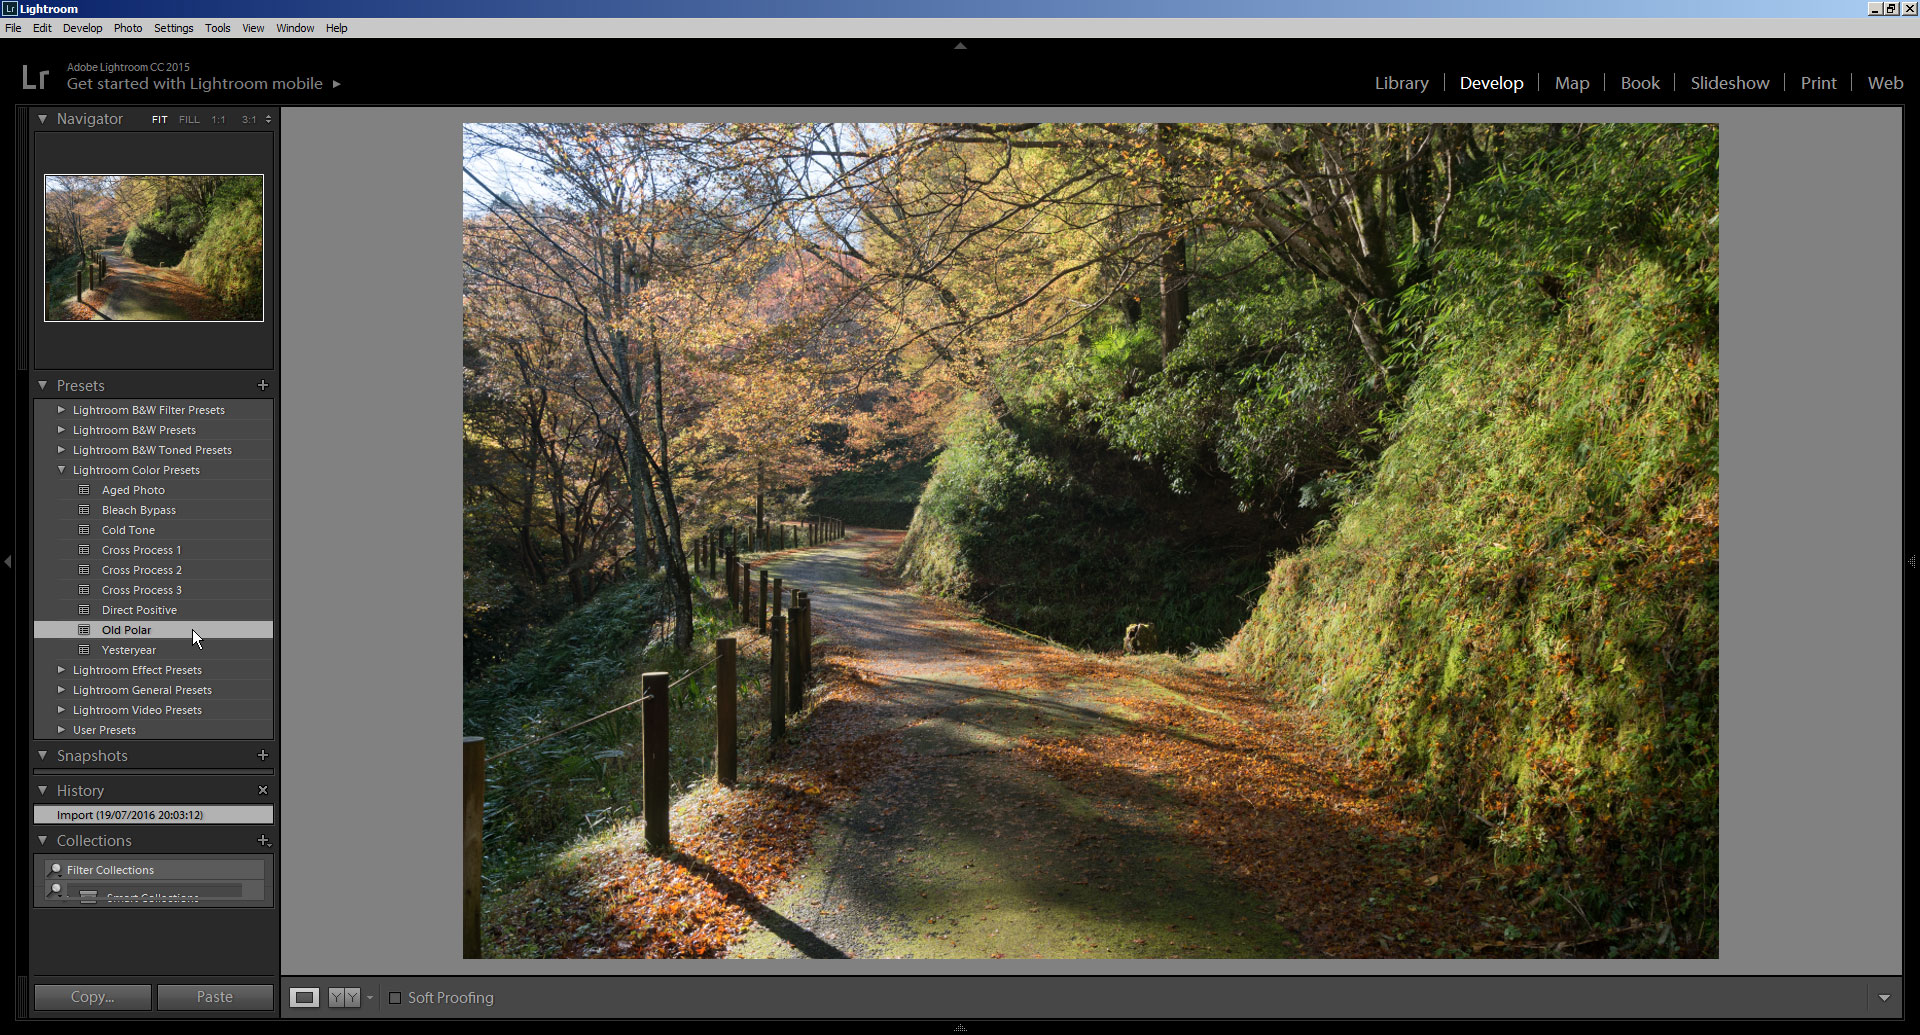
Previewing a preset in Lightroom
With most landscape photos a small increase in contrast, slight color adjustment, and a little LCE are all that are needed to bring a quite noticeable improvement to the image. In some cases you might want to go a bit further and spend more time on the post processing.
Post processing can be virtually endless - there are always tweaks to an image you can make that either improve it or just present an equally good but different vision of the same image. How much time you spend on it is really up to you.
Some people really enjoy the creative process of working in the digital darkroom. Others loathe it and would much rather spend their time behind the camera than in front of the computer. Neither is right or wrong, it just depends on you. I hope the tips I've shared in this article will be useful to you whether you want to make a quick adjustment or something more than a quick tweak.


Very good information…. Thanks
Very usefull information, thanks