Fog & Mist Photography Tips
Foggy and misty conditions can be great for photography. It lends the photo a certain atmosphere, sometimes melancholy, other times more dreamy. However getting a good photo in fog is not quite as easy as point and shoot. In this article I'll cover tips for finding and photographing in mist and fog.

Finding fog & mist
Fog and mist occur when hot air meets cold air. The times of year this is most likely to happen is around Fall and Spring. Typically the fog will form in the evening, and then hang around until the next morning, when the sun will gradually burn the fog away.
Fog and mist can still be found sometimes during the summer, but you will likely need to get up very early to capture it before the sun burns it away.
The coast is a good place for finding fog and mist on a regular basis. This is because it is the meeting place for cool sea air and the hotter air from the land, creating the conditions needed for fog and mist.
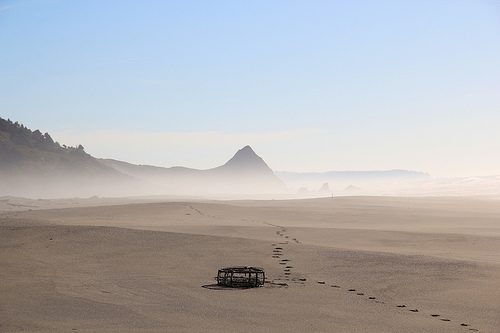
Fog in distance at beach by David Fulmer on flickr (licensed CC-BY)
Inland, valleys are more likely to fill with fog than plains. Lakes and other bodies of water can sometimes have a shallow mist form over their surface in the evening. And mountains often have clouds blowing over them, which can cause foggy conditions even in the middle of a sunny day.
Exposure in fog and mist
Fog is mostly white, and like snow, it can fool your camera's exposure meter. In automatic exposure mode, your camera will give an exposure that captures the fog as a dull middle gray. In the majority of cases this will not be what you want.
To correct for this, you can apply some positive exposure compensation. About one and a third stops of exposure compensation is a good starting point, though the exact amount needed will depend on your camera and the scene you're photographing.
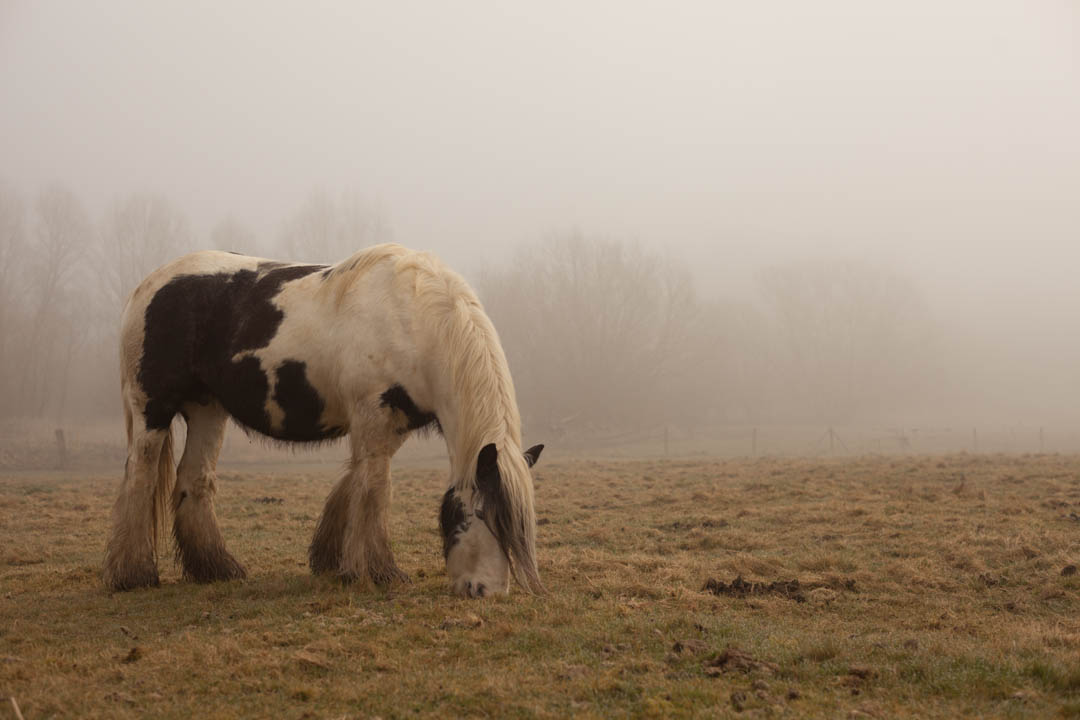
Photo taken in fog using auto exposure with no exposure compensation

Photo taken in fog using auto exposure with +1.3 EV exposure compensation
Fog cuts down on the amount of light from the sun that gets through, so you should bear this in mind. You will need to compensate (or your camera will automatically compensate) by using a larger aperture, higher ISO, or slower shutter speed than you would use if shooting in sunny conditions. If you (or your camera) choose to use a slower shutter speed, this could result in blurry images if you're hand holding the camera. So make sure your shutter speed doesn't drop too low.
You may want to consider using a tripod, though generally the light lost through the fog isn't a great amount. In light fog / mist, you'll loose around 1 stop of exposure compared to full sunlight. (Read Photography Basics – Exposure if this talk about exposure and stops is confusing you).
Be careful when using flash
Photographing in foggy conditions is only really suitable with natural light (with a few exceptions). The problem with using flash is that it will light up all the water droplets in the air between you and your subject. So rather than a well lit subject, you'll just end up with a bright low contrast image.
If you need more light, adjust your camera's aperture, ISO, or shutter speed settings instead. Or if possible, you can wait for the sun to start to burn off some of the fog, which will result in more natural sunlight getting down to your subject.
Fog and mist give low contrast soft lighting
Fog and mist give wonderful soft lighting that is suitable for many types of photography, especially portrait photography. The water droplets in the air act like a giant softbox, diffusing the light from the sun.
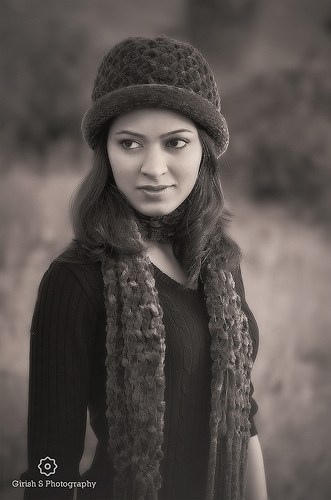
Be your own kind of Beautiful .... by Girish Suryawanshi on flickr (licensed CC-BY-ND)
The droplets in the air between the camera and your subject also reflect back light, this can give images shot in fog a very low contrast look. Colors are muted and blacks appear gray.
You can increase contrast when processing your images (e.g. using levels or curves) to correct for the lack of contrast. However, I would suggest instead to try and practice taking photos where the low contrast complements the photo.
Effect of subject distance and focal length when shooting in foggy conditions
Carrying on from the previous point, the larger the distance between you and your subject, the more fog there will be between you and the subject, and so the lower the contrast will be. If you get close to your subject, then the contrast of the subject will be quite high, while objects further away in the background will have lower contrast.
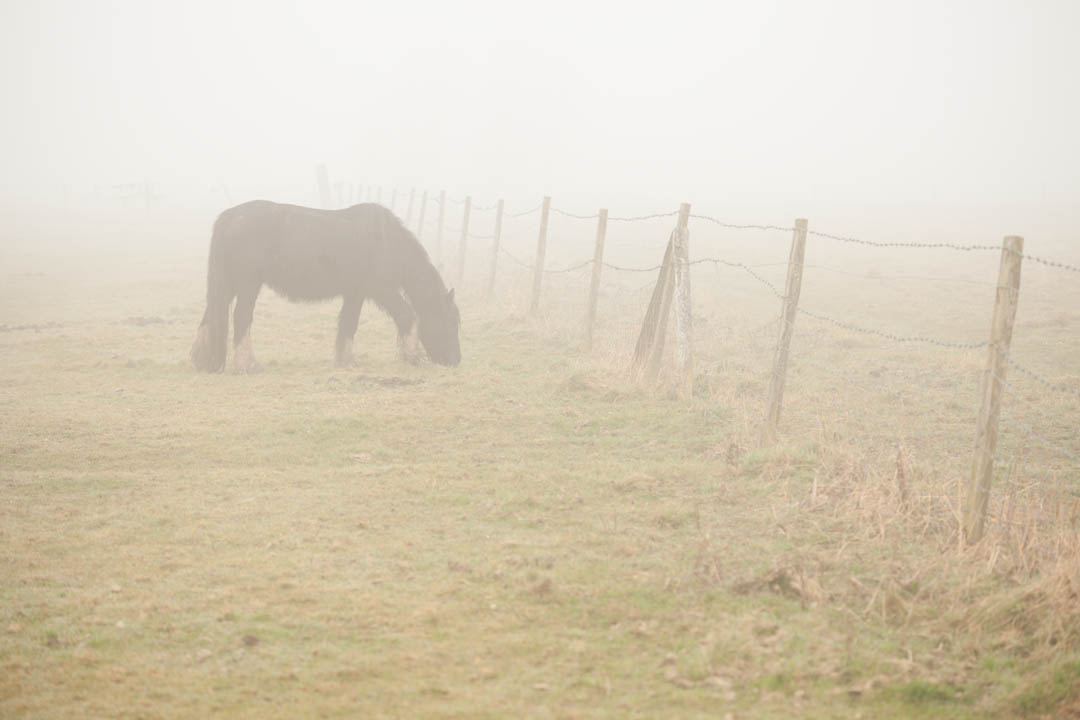
Photo taken some distance from subject using a long focal length - contrast is very low
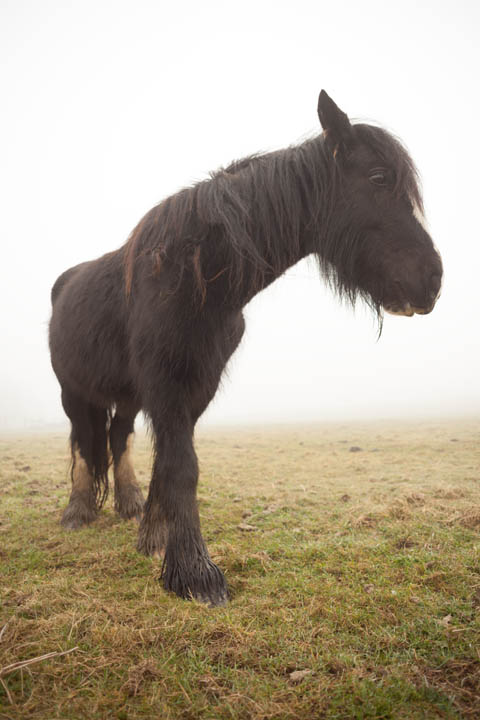
Photo taken close to subject using a short focal length - contrast is quite high
How near you can stand to your subject is typically dictated by the focal length you are using. A wider focal length (zoomed out) lets you move close to a subject, while with a telephoto focal length (zoomed in) you need to stand further away to fit the subject in the frame.
A longer focal length gives what is known as 'perspective compression' due to its smaller field of view (which forces you to stand further away from the subject). This can make images seem like the fog is very dense, whereas a wide angle photo can make the fog look like it is off in the distance.
Either choice can be suitable, depending on what you want your photo to convey.
Using fog, mist, or haze to show depth
Fog, mist, and even haze can work very well at emphasizing depth in an image. The further away something is in the distance, the lower the contrast will be. This can be particularly useful for landscape photography, where giving the image a feeling of depth is often important.
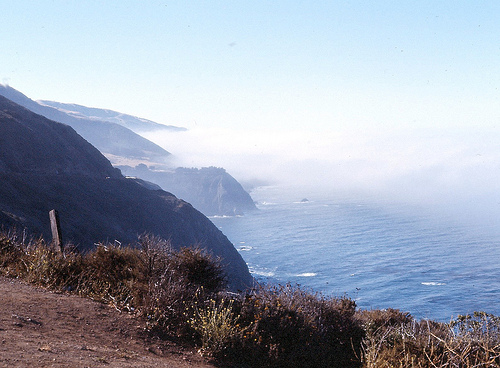
Fog Retreats from Big Sur, CA Hwy 1, 1976 by Don Graham on flickr (licensed CC-BY-SA)
Generally a light fog or mist is best for this effect. If the fog is heavy, then the background of the image quickly fades out into the fog. You want a more gradual fade for this effect, where items in the distance are still visible, but considerably lower contrast then items close by.
Getting above the fog
Photos looking out over a fog filled landscape from a high point can make for stunning and unusual images. It can be difficult to tell how high you will need to be to get above the fog. The only advice I could give on this really is to try and get up as high as possible.
In a city this might mean going up a tall office block and photographing from one of the top floors. Generally especially tall buildings do allow the public access to a floor near the top of the building, though you may need to pay a fee to access the floor, or buy a drink if the floor is occupied by a restaurant.
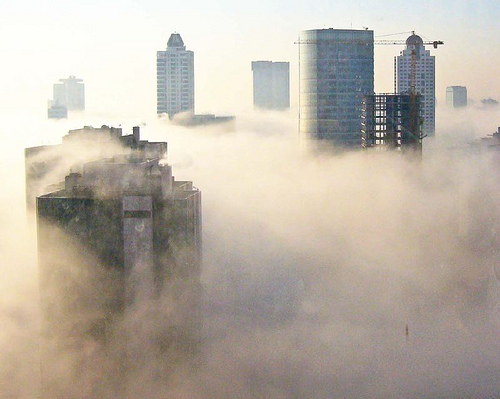
fog over Istanbul skyscrapers by John Walker on flickr (licensed CC-BY)
In the countryside you'd need to try and get up a hill or mountain to get up high over the surrounding land.
There are two types of photo you can take in these conditions. The first is looking down at the fog filled land below, with a bit of the nearby unfoggy area in the foreground. The other is to capture tall items sticking up through the fog, usually tall buildings like office blocks in the city or church spires in the countryside. Or go for a combination of both.
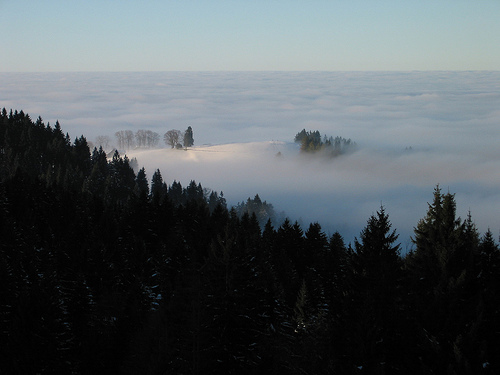
fog island by Erik Wilde on flickr (licensed CC-BY-SA)
If you take a photo that consists of just the fog below, with no foreground, and nothing sticking up through the fog, it might end up looking a bit boring. Having said that, the textures in the clouds that make up the fog can be quite interesting sometimes.
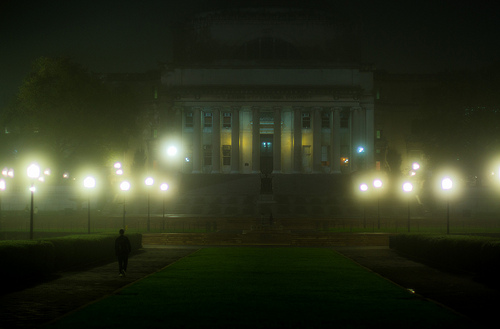
Fog at night
At night the waterdrops in the air will pick up the light from artificial light sources. If the actual light source is out of sight and shining through an opening, this can show up as a the beam of light coming from the light source.

fog at night by Iñaki Lauzirika on flickr (licensed CC-BY-SA)
In nature you might see this on a misty morning in the forest where the tree trunks split the sunlight into beams. In urban environments you will likely find numerous instances of this effect from lights on foggy nights.
If the light source is in sight, then it is more likely to show up with a very soft, rounded glow. Quite a different effect from how lights appear under normal conditions.
Fog-Rain-6 by jeffrey montes on flickr (licensed CC-BY)
Foggy day? Ideal for minimalist photography
The low contrast caused by fog can hide detail and texture in a subject, instead rendering them as a simple shape. This reduction of detail is why foggy weather is ideal for minimalist photography.
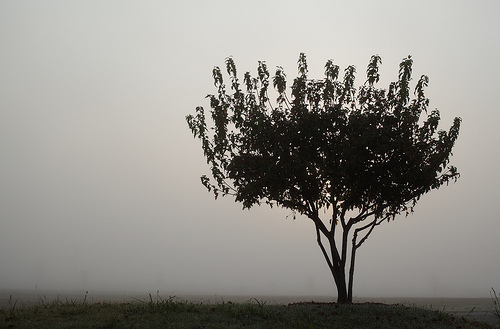
Tree in Fog by David Hepworth on flickr (licensed CC-BY)
The idea of minimalist photography is to break a scene down to only its essentials. So the reduction of unneeded detail and the hiding of the background in a cloak of plain white work very well to this end.
Water drops
Something that usually accompanies fog is the build-up of water droplets. You can look for droplets hanging from tree branches, droplets on grass, and droplet covered spider webs gleaming like jewels.
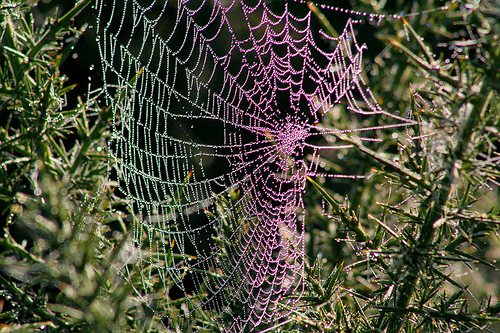
Web # 2 by John Haslam on flickr (licensed CC-BY)
The water content of fog is much greater than dew, so this often results in larger droplets than you get with dew. As well as this, it takes longer for the sun to burn the fog away and then evaporate the water droplets than it does for dew to evaporate. This gives you more of a chance of capturing some droplet shots if you are not an early riser.
Watch out for condensation
As well as water droplets clinging to plants, you may find that the water in the fog starts to cling onto your camera in the form of condensation. Generally this does not tend to be too much of an issue, unless the fog is really heavy. In any case, it's worth bringing a small lens cloth with you that you can use to dry off your equipment just in case condensation does become an issue.
Shooting in mist and fog can give some great photo opportunities that you can't get in any other weather. So next time it's foggy, grab your camera and try testing out some of these tips.


