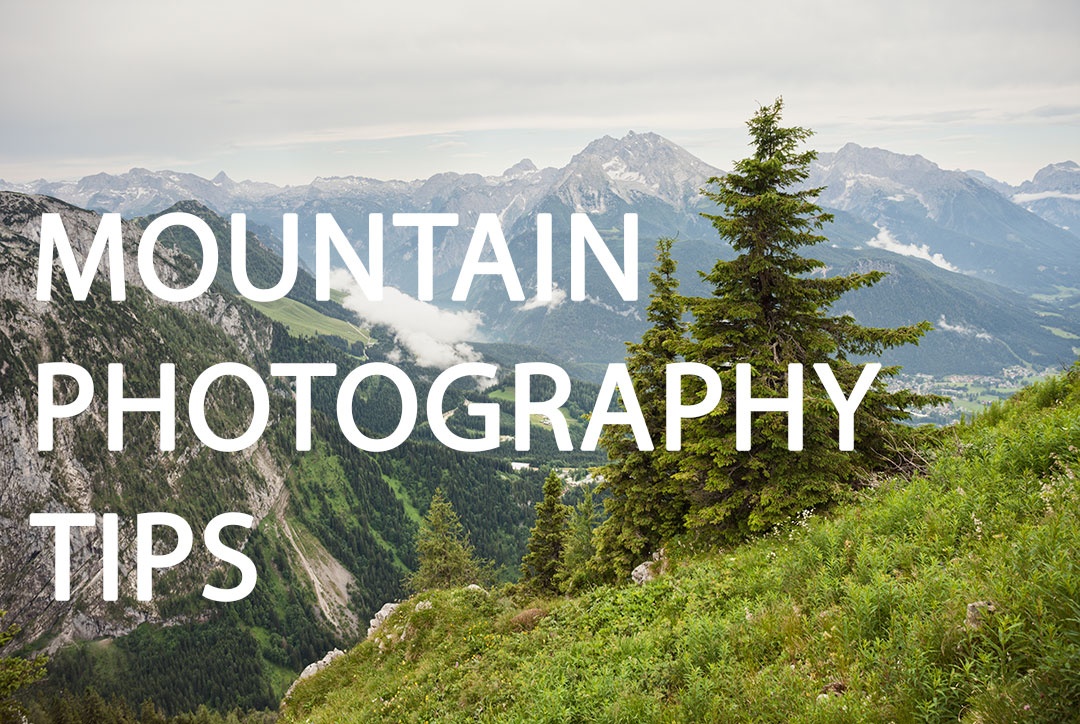
Mountain Photography Tips
Mountains can make for some great photos, whether they're snow-capped, bare rock, or covered in green foliage. For most of us, we don't regularly get the chance to see or walk up mountains. So when we do get to photograph in a mountain range, we want our shots to look as good as possible and really capture the splendor of the mountain. In this article I'll share some tips that will hopefully help you do just that.
Show the scale of the Mountains
A big problem when photographing mountains is to convey the sense of just how big the mountain really is. Without a size reference, a photograph of a mountain peak can look the same as a photo of a top of a rock. (Technically a mountain peak is the top of a rock, but hopefully you get my point).
To really give a sense of scale, you need something else in the scene of a known size. This then gives the viewer a reference, which they can compare to the mountain, and get an idea of how large it really is.
near balea by paul bica on flickr (licensed CC-BY)
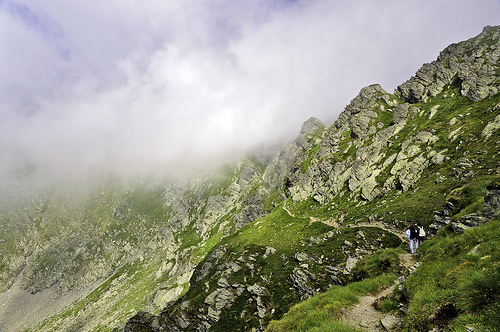
This could be a hut or barn at the base of a mountain. Or a boat crossing a lake by the mountain. For closer shots, trees or mountain climbers can give an idea of scale.
final destination by Giulia Passerini on flickr (licensed CC-BY)
Showing scale isn't essential for a good mountain photograph. But it can make a viewer stand back and say 'Wow, that's big!'. Especially impressive when you want to show friends and family a mountain that you climbed!
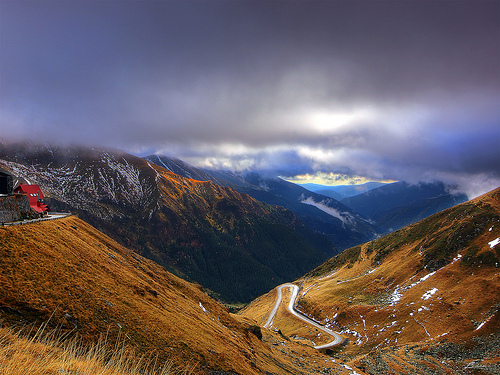
Capturing mist and clouds
One of things about mountains is that even in the summer, you'll often get inclement weather. Depending on the weather and the height of the mountain, when walking up the mountain you may well find yourself walking through clouds.
Lost.... by Benson Kua on flickr (licensed CC-BY-SA)
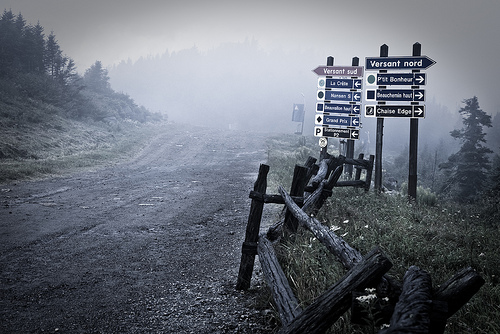
While this can spoil the view out from the mountain, the misty conditions can present other photographic opportunities. A trail round the mountain edge that leads off into the mist is a good example.
Also look to capture the clouds rolling over the mountain peaks. This can be done from both up the mountain amongst the clouds (when the clouds are not too thick), or from the ground, below the mountains.
Two hikers on a narrow mountain path by Horia Varlan on flickr (licensed CC-BY)
If you're lucky, you might find that when you get further up the mountain, you emerge above the clouds. This, again, can make for some great shots. Capture the valleys filled with clouds while the mountains peaks poke through to the sunnier space above.
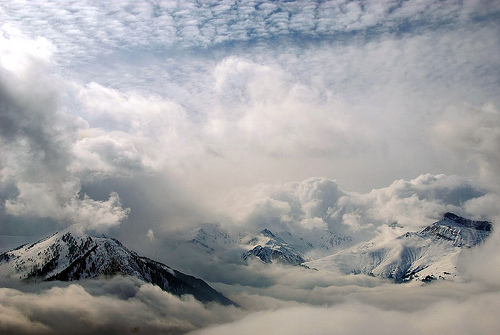
mountains in clouds || Berge in den Wolken by Manuel Calavera on flickr (licensed CC-BY)
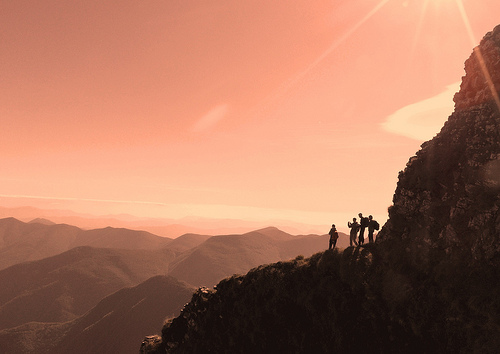
Work with the light
As with most landscape photography, the warm light around sunrise or sunset is generally best for mountain photography. The low angle of the light really rakes across the landscape, bringing out all that beautiful texture.
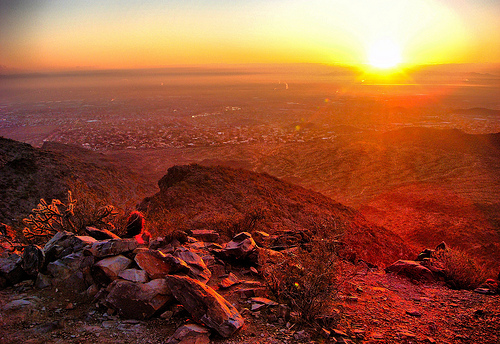
South Mountain Sunrise #1 by Andrew A on flickr (licensed CC-BY-ND)
However, you need to weigh up whether it is practical to be up a mountain around sunrise or sunset. If you are in a valley that does not face the sun, then being there for sunrise would be pointless. You'd need to wait for the sun to rise high enough to shine down in the valley.
The main issue though is that getting up (or in some cases even near) a mountain for sunrise or sunset can be quite difficult. In the case of sunrise you need to get up the mountain in the dark. Whereas for sunset it would mean getting back down the mountain in the dark.
Of course, there are photographers that navigate along mountain paths in the dark. But it is not generally a good idea unless you are familiar with the trail you're following.
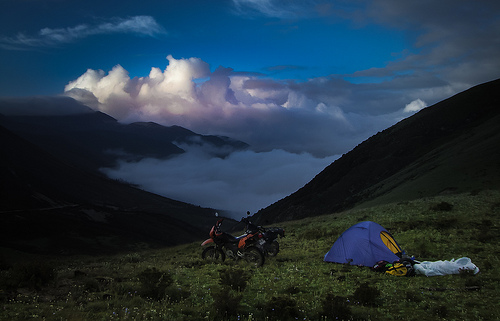
One solution to this is to camp out on the mountain. But this does require bringing your camping gear with you. Make sure you are aware of any regulations regarding camping on the mountain as well.
First Morning Light by Matt Ming on flickr (licensed CC-BY)
Some mountains feature huts where you can stay overnight. But obviously you would need to plan ahead and make sure you plan your sunrise / sunset shoots to be near one of these cabins.
Another solution that is possible in some instances is to rely on a cable car. Some mountains feature a cable car near the top, so you can take your photos around sunset, then get back to the cable car and back down before it gets too dark.
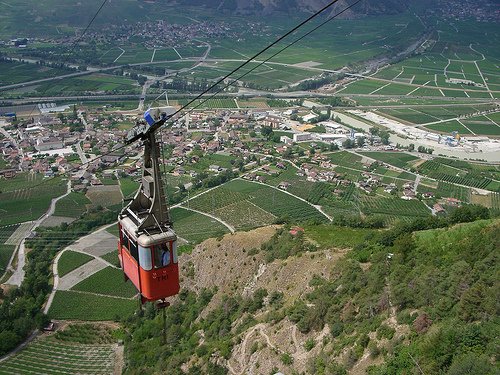
Cable car to Isérables by Henk de Boer on flickr (licensed CC-BY)
However, make sure you are aware of the last cable car time. Unfortunately many of these cable car services seem to time their last car down so that it is always before sunset, and the first one up always after sunrise.
So, realistically, for many of us sunrise and sunset mountain photography is out of the picture. But, photos taken in the early morning and late afternoon will still give nicer light than shooting at midday. So try to plan your trip with this in mind.
Equipment for mountain photography
In a similar way to being up a mountain for sunset or sunrise, the photography equipment you bring with you is something you'll need to compromise on.
Ideally you'd bring a tripod. This can be useful for low-light photography, such as under the cover of forested slopes. It is also useful for HDR photography, where you want to keep the camera in the exact same position for each shot. However, you do need to consider the extra effort it takes to lug a tripod up a mountain.
A similar view needs to be taken with the rest of your photography equipment. You don't want to bring too much and then find you don't enjoy the experience because you're carrying too much weight.
The most important equipment is not photography related. Make sure you bring plenty to drink and layers of clothing. Walking up a mountain can be quite hot work, while the top of a mountain can be cold and windy.
If you're just heading up a mountain in a cable car, then these issues are not so problematic. Most cable car stations have a restaurant (or similar) at the top where you can buy a drink. And the weight of your equipment becomes less of an issue when you're not walking uphill so far.
Forested mountains
Many mountains are covered with large areas of forest. When photographing in a mountainous region, these areas should not be neglected in favor of bare rock.
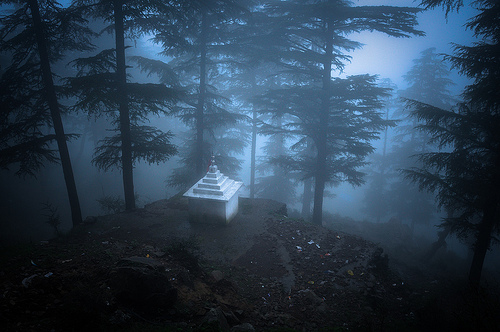
The path out of Dharamsala by Desmond Kavanagh on flickr (licensed CC-BY-ND)
Forests on mountainsides are typically quite damp. You will often find dead logs covered in moss, and lichens hanging from the trees. Details like these can make for great photos, as can the path winding its way through the trees, beams of light coming through the forest canopy, and mist in the forest.
The most appealing time to photograph mountain forests is Fall. The bright Fall colors of trees can really stand out against rock and darker evergreen trees.
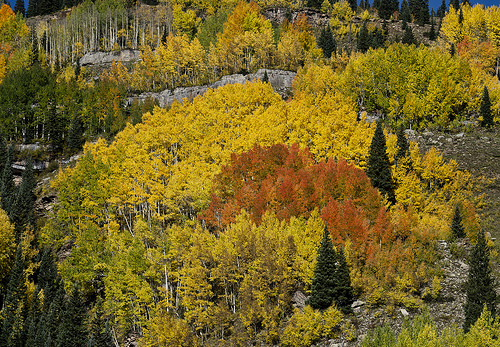
Fall Colors by John Fowler on flickr (licensed CC-BY)
Plant and Animal life
When walking up or around a mountain, it can be easy to focus on the large peaks in the distance, and miss the details by your feet. Mountains can feature plant life that only grows at high altitudes, and you will not find elsewhere. Look out for rare flowers, such as orchids.
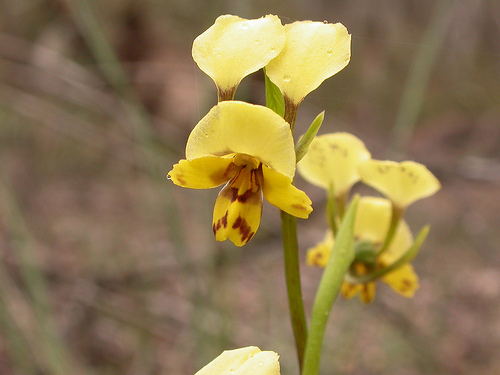
Diuris nigromontana by Donald Hobern on flickr (licensed CC-BY)
Similarly, you can often find large numbers of insects, such as butterflies high up mountains, feeding on the flowers that grow there.
And of course you may find various larger animals that you only tend to find in mountainous areas, such as certain bird species, mountain goats, and smaller mammals.
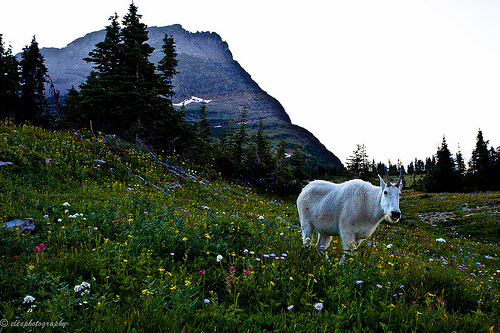
Mountain Goat, Glacier National Park by Esther Lee on flickr (licensed CC-BY)
In all these cases, it is a good idea to research the mountain area you'll be visiting beforehand, so you know what to look out for. This can also help you in planning what equipment to bring. For example, if you find that a mountain is particularly famed for its flowers, then you might decide to bring a macro lens or close-up diopter filter with you to get some nice flower photos.
Watch the time
One last point to make, is to make sure you keep an eye on the time. With all the photographic opportunities that mountain walking can offer, you'll probably want to keep stopping to take photos.
Even if you only stop for half a minute each time, this can add up. If you're planning to reach the top of the mountain by a certain time, or need to get back down (or back to the cable car) by a certain time, you need to make sure that you're keeping on track for that to happen.
If you take lots of photos during mid-day while walking up a mountain, then find you need to rush and there's no time for photos near sunset, then this can be quite annoying. Ideally plan your trip to take account of time for photos. I would suggest allocating more time to taking photos than you think you'll need. Then you should be able to take an easier pace with no need to rush.
Mountain walking can be very enjoyable, even if it's just taking a cable car to the top then going for a short walk from there. With these tips hopefully you'll be able to come back with some great shots to remind you of the awesome views or foggy conditions, damp forests, and mountain plants and animals.


