5 Landscape Photography Tips And Techniques
Landscape photography must be one of the most popular forms of photography. But it can be difficult to do justice to the beautiful world we live in. In this article I'll share five tips for capturing landscape photos. Remember, there are no hard and fast rules to photography, but I hope these tips will give you some ideas and inspiration.
Don't always use a wide angle
With landscape photography, it can be tempting to use a wide-angle lens to try and fit as much as the view into the shot as possible. This often works well, but don't stick to only using a wide angle lens for your landscape photography.
Sometimes a longer focal length lens can bring something to a photo that a wide angle lens just can't - compression. The perspective when shooting with a telephoto lens means that items in the scene appear bunched up closer together than if you moved closer and shot with a wide angle lens.
Untitled by ashraful kadir on flickr (licensed CC-BY)
Another reason for using a telephoto lens is that it can let you capture your subject from a different angle. This is most useful when you are in a hilly or mountainous area. A photo taken with a telephoto lens looking down at a valley from a mountain will look very different to one taken down in the valley with a wide angle lens.
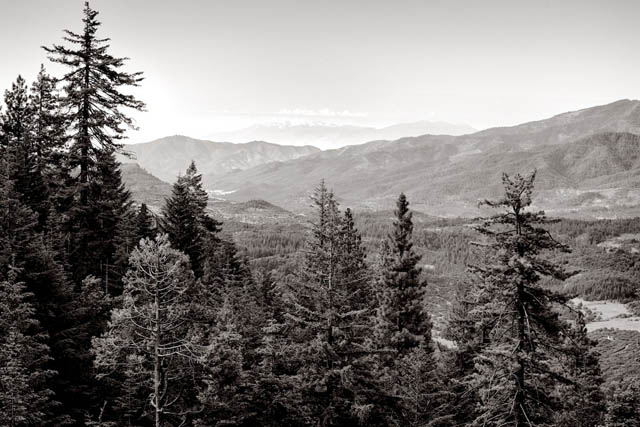
Siskiyou Mountains Landscape by Stephen A. Wolfe on flickr (licensed CC-BY)
And of course, a telephoto lens can be a great way to photograph something that you can't actually get close to. For example, if there is a river between you and the subject.
Move about / work the subject
Most landscape photographers like to use a tripod. It keeps the camera steady so you don't have to worry about camera shake. But after setting up the tripod and taking a few shots, don't feel you have to stay stuck in that one spot.
Setting up and closing up or moving the tripod can be a bit of a pain. But when you've made an effort to go out somewhere worth photographing, it's not really much more work. Walk around the area, trying shots from different locations and at different angles. Of course, you don't have to use a tripod at all if you don't want to.

Sunset over Lake Tuggerah from Canton Beach 7 by Takver on flickr (licensed CC-BY-SA)
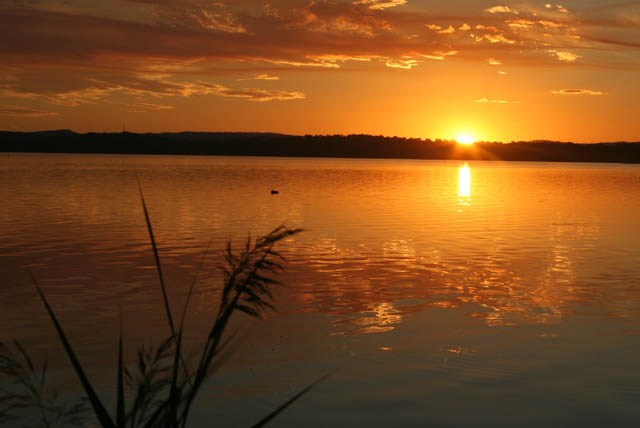
Sunset over Lake Tuggerah from Canton Beach 2 by Takver on flickr (licensed CC-BY-SA)
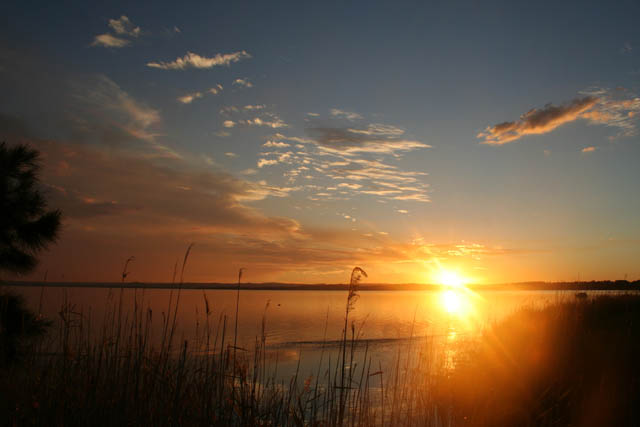
Sunset over Lake Tuggerah from Canton Beach 1 by Takver on flickr (licensed CC-BY-SA)
It's often a good idea to move around a bit, trying different framings, even before you set the tripod up. If you just set up a tripod without looking for an optimal framing first, it's unlikely that you'll put the tripod in the best position straight away. Though, with time and experience, guessing the best spot does become easier.
Look around for alternative subjects too. Sometimes we can be so focused on the scene in front of us we don't realize there's an even better scene behind us. This can be particularly true if shooting at sunset or sunrise where the light (and so a scene) can change very quickly.
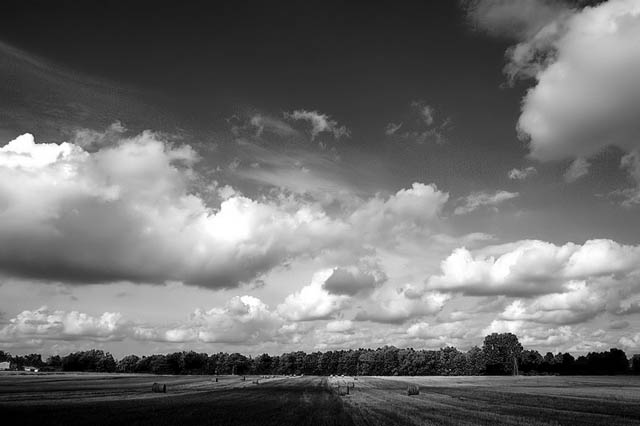
Harsh light? Go B&W
If you're shooting during the harsh light in the middle of the day, a good tip can be to shoot with black and white in mind. Black and white photos often benefit from strong contrast, which is what harsh light gives.
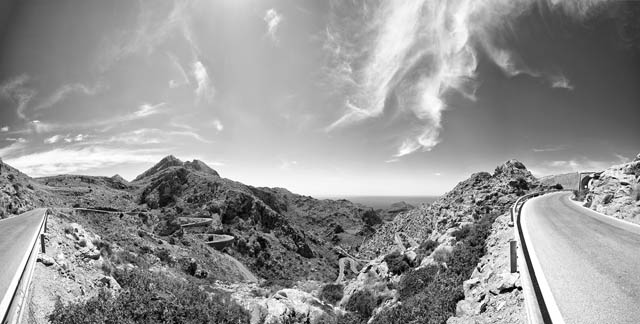
Sa Calobra Serpentinnes by Gaga M13 on flickr (licensed CC-BY-ND)
The bright light also makes it easier to get a dark sky that contrasts well against the brighter clouds and landscape. Because the light is stronger, you can under-expose the sky while getting a good exposure for the parts of the image lit by the sun.
landscapes b&w by mmlolek on flickr (licensed CC-BY)
For shooting in black and white, it is generally a good idea to shoot in color, and then convert the image to black and white using image editing software. This gives you much greater control over how the final black and white image will appear.
If your camera supports shooting in RAW, then you can set the image quality to RAW, and the color mode to black and white. This will give you a black and white image that you can review on the camera's LCD, so you can see how the image looks in B&W. The RAW image however, still contains all the color data, so you can still tweak the black and white conversion later when converting the RAW file.
Symmetry
The Rule of Thirds is a good tip for landscape photography, but sometimes a scene can work better with a symmetrical composition. You want to find a subject that is mirrored along the center, then place it at the center of your photo.
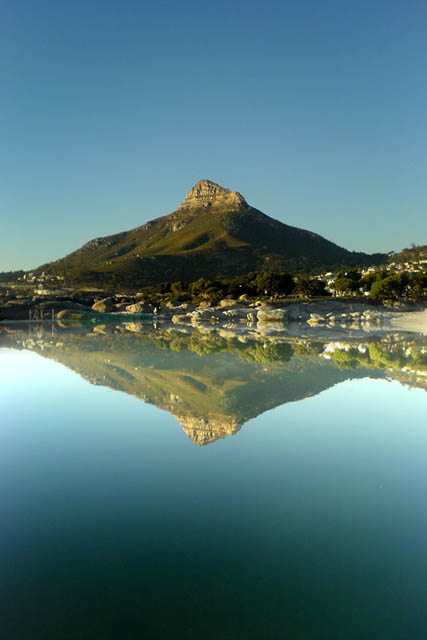
Symmetry by coda on flickr (licensed CC-BY)
It doesn't need to be identical on both sides, but it needs to be mirrored in some way. An example could be looking along a boundary line where two fields of different crops meet each other. As long as that line is straight, you should be able to create a nice symmetrical composition, even though the fields contain different crops and may be different colors.
Filters
Just as most landscape photographers use a tripod, most use filters on their camera / lens as well. The purpose of using filters is to enhance the image. Some filters, such as warming filters, can be replicated in image editing software. But others, such as neutral density and polarizing filters, are very difficult or impossible to replicate in software.
Split neutral density filters are particularly useful when shooting around sunset or sunrise. The difference between the brightness of the sky and the landscape is very large at these times. By placing the dark half of a split neutral density filter over the sky, you darken the sky, balancing the brightness of the image.
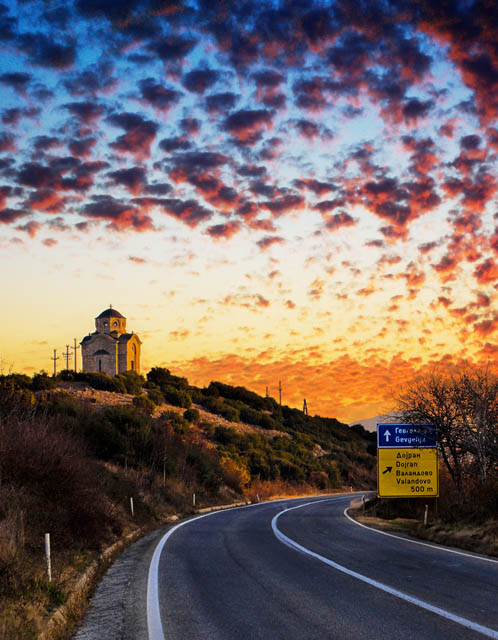
Last sun over The Church by Rilind Hoxha on flickr (licensed CC-BY-ND)
Polarizing filters can be used to remove reflections, both from glass and water, but also from grass and foliage. Using a polarizer helps to cut down on reflective glare from foliage, resulting in deeper, more saturated colors. A polarizer can also have the effect of darkening a blue sky, creating greater contrast with white clouds.
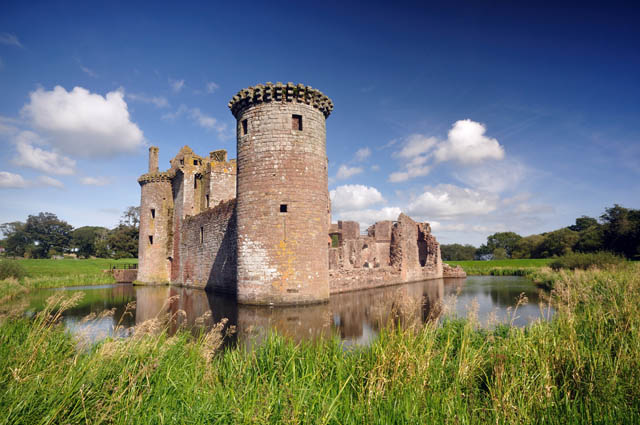
Caeverlock Castle by Paul Stevenson on flickr (licensed CC-BY)
Neutral density filters are usually used when shooting running water, such as a river or waterfall. They darken the whole image, which lets you use a longer shutter speed. This, in turn, means that anything moving in the scene (such as water) will become blurred.
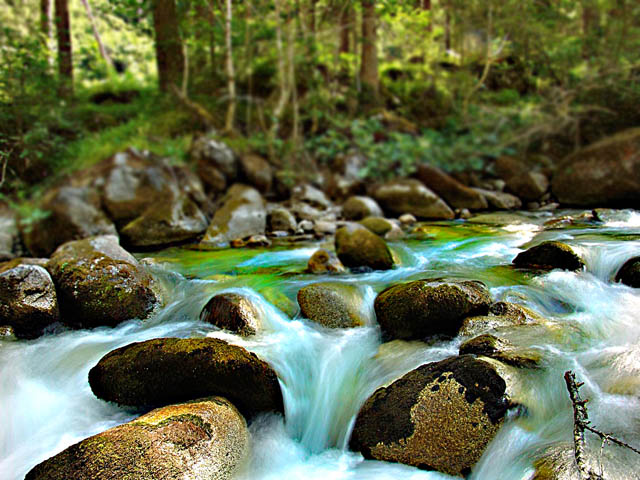
Water Melody by steve_steady64 on flickr (licensed CC-BY-ND)
I hope you find these tips useful. Do you have any interesting tips or techniques that you use for landscape photography? Feel free to leave a comment below.


Thanks for including my sunset photos at Lake Tuggerah. The photos you used were taken without a tripod, and were of the same sunset scene, just varying the zoom and moving about a few meters to capture a slightly different composition. So yes, a good example of working the scene….
Thanks very much for sharing the photos with a creative commons licence so I could use them. Thanks for the explanation of how you took them as well, a great example of how making a small change can result in quite a different result. And very nice photos too!