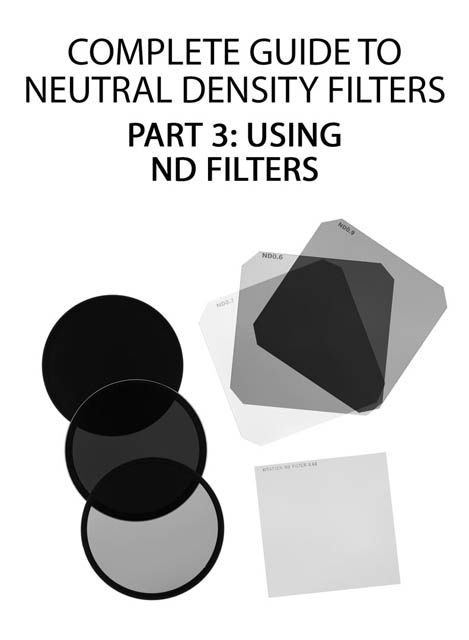
Complete Guide to Neutral Density filters – Part 3: Using ND filters
You might think that using an ND filter is simple - just attach it to the end of your camera's lens, right? Well, in actual use there is more to it than that, especially with stronger neutral density filters. In this article (and the next one) we'll look at some tips on using ND filters to get the results you want.
Focusing and composing your image when using an ND
ND filters cut down on the light your camera receives, and so for fast and accurate autofocus, it is best to focus your image before attaching the filter(s). Either set your camera to use back button AF with focus decoupled from the shutter button. Or focus the image, then switch the lens / camera to manual focus.
Both methods allow you to lock focus before adding the ND filter, and prevent the camera trying to refocus when you press the shutter. (Otherwise the camera would try and focus again when you press the shutter button, and likely fail to find focus due to the reduced light level caused by the ND filter).
Similarly, the brighter the image in the viewfinder / on your camera's screen, the easier it is to compose the image. Depending on your camera model, you may not be able to see anything at all through the camera when a strong ND filter is mounted. So, try to compose your image before adding the filter.

View through optical viewfinder of a DSLR camera without an ND filter attached to the lens.

With a strong ND filter added on the lens, the view through the viewfinder is completely dark.

Using the camera's liveview mode, the image can be composed on the rear LCD even when the strong ND filter is attached, though the preview is more grainy and slower updating than without the ND.
One of the advantages of slot type filters is that they can be (fairly) easily added and removed from their filter holder. Whereas with a screw filter, it takes some time to screw it on or off the camera. This difference is most beneficial when it comes to working with strong ND filters that darken the image enough to make it difficult to autofocus and compose the image with the filter attached.
If you want to take a number of shots with different compositions, one after the other, then having to screw and unscrew the ND filter each time can be a bit tiresome. This may be an important point to consider when choosing what type of ND filter to purchase.
A variable ND filter, on the other hand, can be quite a bit easier to use, despite being a screw-on filter. Simply dial it down to the minimum strength. This should be weak enough that the camera can still autofocus okay, and you should still be able to see well enough through the filter to compose the image without trouble. Then when you're done, just dial the filter up to the strength you want.
Determining camera settings and filter strength
There are several ways you can determine what strength filter will give you a desired shutter speed, or more realistically, what shutter speed you'll need to use with a given filter.
To begin with, you need to determine the correct exposure without the ND filter. Put the camera in manual exposure mode, choose a low ISO value, and whatever aperture you want for the depth of field you need. Then adjust the shutter speed until the camera's exposure meter shows you have the 'correct' exposure.
Take a test shot, then adjust the shutter speed up or down if the resulting image is too bright or dark, until you get an image you're happy with. This gives you your base exposure.
From the base exposure you can work out how many stops reduction in light you need for a desired shutter speed. Or what shutter speed you'll need to use when adding a specific strength ND filter. To work this out you can:
Use an app on your phone to work out the correct exposure settings.
In your head, halve the shutter speed starting from the shutter speed of the base exposure, until you reach the desired shutter speed. How many times you have to halve it gives you the number of stops you need the filter to be. Or halving the shutter speed until you've halved it by the number of stops your filter is rated for gives you the correct shutter speed to use with the filter.
For example, if the base shutter speed was 1/250s. I want a shutter speed of 2s. Halving the shutter speed starting at 1/250 gives us: 1/125; 1/60; 1/30; 1/15; 1/8; 1/4; 1/2; 1; 2. We had to halve it 9 times, so that means we need a 9 stop reduction in light.
Or, if the base shutter speed was 1/250s and I have a 6 stop ND filter. We halve the shutter speed 6 times: 1/125; 1/60; 1/30; 1/15; 1/8; 1/4. So a shutter speed of 1/4s would be needed with the 6 stop filter.
Probably the easiest way, in my opinion, is to simply change the shutter speed on your camera and count the stops on there as you change it. So if you change the shutter speed by 3 stops, then you know you need a 3 stop ND filter. Or if you have a 6 stop ND filter you want to use, you just dial the shutter speed down by 6 stops.
Base exposure with no ND filter - f/5.6, ISO200, 1/200s.
Using a 3 stop ND filter and shutter speed decreased by 3 stops gives the same exposure - f/5.6, ISO200, 1/25s.
The reason for using manual exposure and adjusting the exposure like this is that camera auto-exposure systems usually don't work that well when an ND filter is added. Generally they'll give an image that is underexposed compared to manually adjusting the settings to match the filter, especially for stronger ND filters. For long exposures (over 30 seconds) you have no choice but to use manual exposure.
Image with no filter taken using auto exposure.
Image with 3 stops ND filter taken using auto exposure - very slightly darker than the image with no filter, but nothing to worry about.

Image with 13 stops of ND filters taken using auto exposure - the camera has greatly underexposed the image by choosing a much faster shutter speed than what was needed. (There's also a strong color cast, which we'll cover in the next article).
I'd suggest trying your camera's autoexposure out with the ND filter attached, and see if it does give you a well exposed image or not. If it does, then great, you can leave the camera to do the exposure calculations automatically for you. If not, which is the case for most cameras when used with strong ND filters, then use manual exposure mode and work out the exposure settings using one of the above methods.
Use for long exposures
If you're using an ND filter to give you a long exposure time, then you need to make sure you keep the camera steady to avoid blurring. (Unless that is your intent - purposefully moving the camera during a long exposure can give some great blurry abstract images). The best way of keeping the camera still is by mounting it on a sturdy tripod.
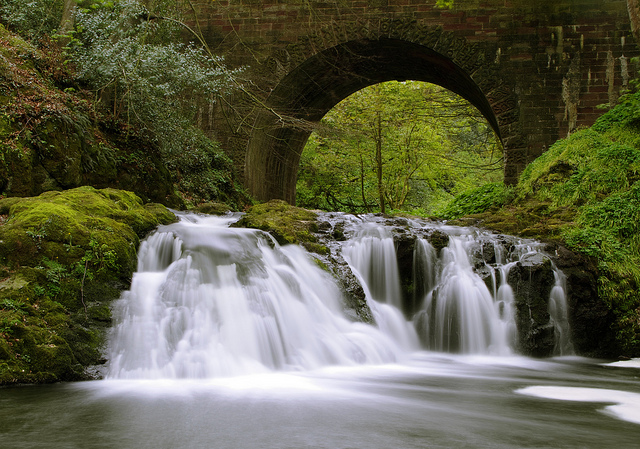
Waterfall at Arbirlot by Neil Williamson on Flickr (licensed CC-BY-SA)
You'll also probably want to use a remote shutter release. This avoids you having to touch the camera to start the exposure, which can result in some small vibrations that may cause a little blurring of the image.
A remote shutter release is practically essential for most cameras if you want to take a photo with an exposure time longer than 30s. Setting your camera to bulb exposure mode, you can lock the shutter button down using a remote release, then just release the shutter button when you want the exposure to end.
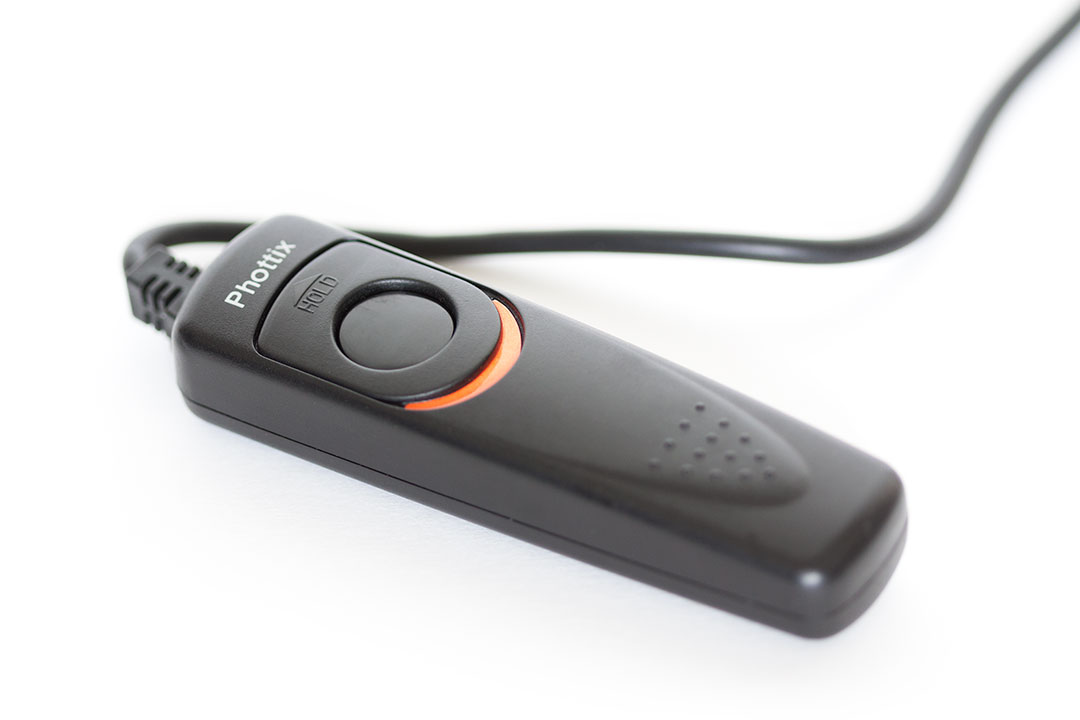
This saves you having to physically hold the shutter button down during the exposure. If your camera doesn't show you the exposure time counting up during the exposure, then you can always use your watch or the time on your phone to time the exposure.
I hope you found the above tips helpful, in the final part of this series on ND filters we'll look at problems and solutions. We'll cover problems such as vignetting and color casts caused by ND filters, and how to avoid or at least minimize these problems.


