Nine Common Mistakes Photographers Make
I've already written a similar article to this before, covering 5 Mistakes Photographers Make, in this article I want to cover a few more common mistakes.
Of course, if you do these things on purpose (which you may have good reason to do - there are always exceptions to the rule), then it's not a mistake. But if you're doing these things without really thinking about it, then hopefully this article will make you open your eyes a bit and consider if the way you currently do things is really the best way.
Only looking at price and capacity when purchasing a memory card
Although both the price and capacity of memory cards are important, there are a couple of other factors that are often overlooked: Speed and Reliability. The speed of a memory card can determine how many shots you'll be able to take in a burst.
There's not much point buying a new camera because it can take HD video, then buying a slow memory card that can't handle the data rate necessary for recording the video. A fast memory card will also make the camera feel more responsive and snappier when taking photos.
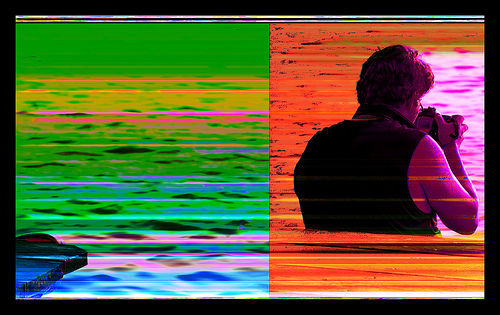
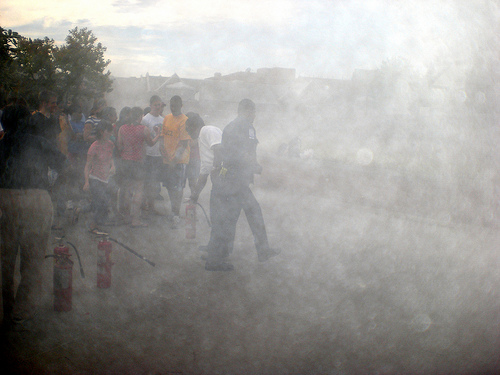
An interesting mishap by George Vnoucek on flickr (licensed CC-BY-ND)
Reliability is an important factor as well, you don't want your memory card failing on you and loosing all your photos. You can read more about Memory Cards here: Camera memory cards explained.
Using your tripod's center column
Using a tripod is a great way to keep your camera steady, particularly useful for long exposure photos. However, if you then raise the center column of your tripod, you are giving up some of the stability.
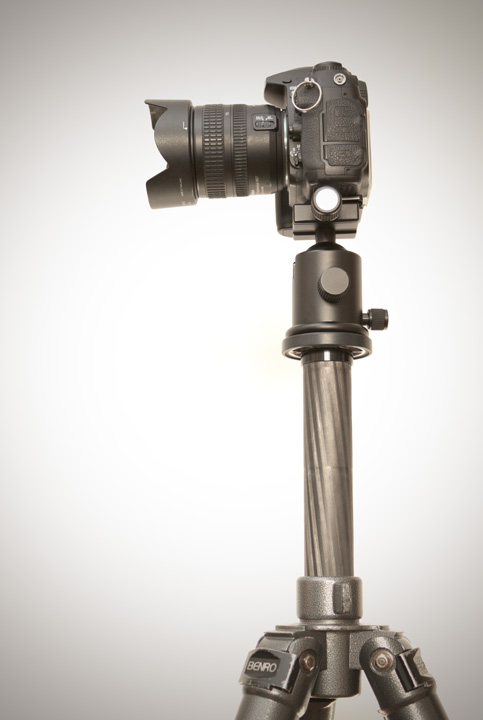
Tripod with center column extended
Instead of being supported by 3 legs, the camera is now supported by 1 leg. The higher the center column is raised, the less stable your camera will become, and the more likely you are to see shake related blur (e.g. from the wind) in your photos.
Using your camera's pop-up flash
I'm pretty sure I've mentioned this one before. Your camera's pop-up flash may be very useful in some situations, but it is rarely the best way of lighting a subject.
The problem is that because the light comes from the camera's position, it results in very flat lighting. The small, bare flash also means that any shadows you do get from the flash are likely to be quite harsh.
You might not want to carry round a lighting kit for off-camera flash lighting. But just a small hot-shoe flash with a swivel head can be used for bounce flash indoors, creating much more pleasant lighting of a subject.
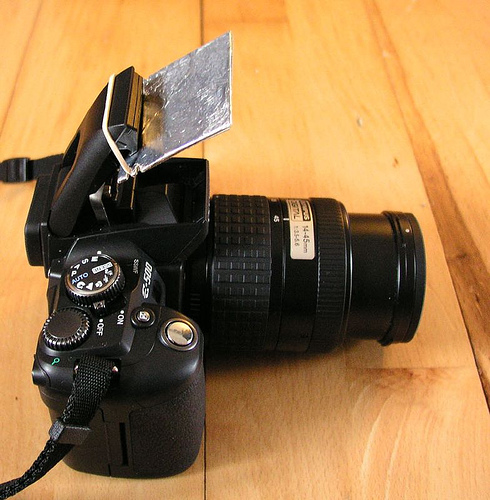
Cardboard flash bouncer by Dr. Hemmert on flickr (licensed CC-BY-ND)
Small diffusers and bounce flash devices can be bought for use with the camera's built in pop-up flash to create nicer lighting as well.
Seeing only in color
This is a mistake I expect the majority of us are guilty of. Because we're so used to seeing in color, it can be very difficult to envision scenes in black and white.
With black and white photography, it is only differences in tone / brightness that are important. Two colors that look very different to our eyes may have the same tone in a black and white image.
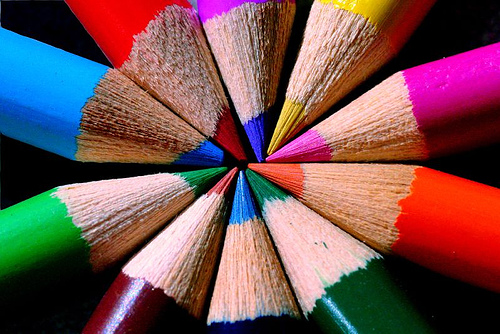
Color Your life by Capture Queen ™ on flickr (licensed CC-BY)
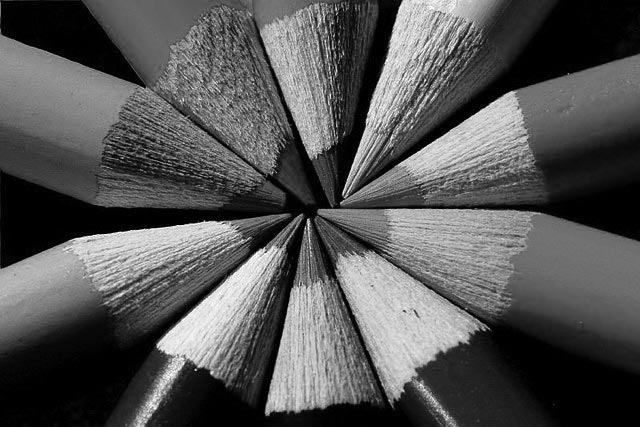
Color Your life by Capture Queen ™ on flickr converted to black and white - note the difference between the colors (particularly in the leads) is lost in grayscale as they are mostly a similar tone. (Licensed CC-BY)
The key to being able to see in black and white is just a case of practice. Switch your camera to black and white mode, and you can see how different scenes look in black and white. By doing this, over time you'll learn to determine when a scene will make for a great black and white photo, just by eye.
Using continuous shooting mode all the time
High speed continuous shooting mode means that your camera will keep taking photos while you have the shutter button pressed down. This can be very useful for fast action, such as sports and wildlife.
But do you really need it when shooting portrait, travel, landscape, or most other types of photography? All that happens is you press the shutter button and end up with 3 or more identical photos. This just wastes memory card space.
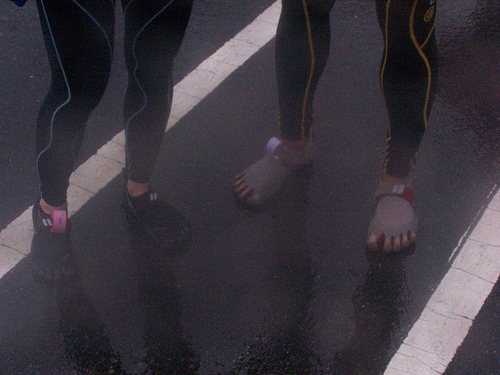
101B0020.JPG by smith_cl9 on flickr (licensed CC-BY-SA)
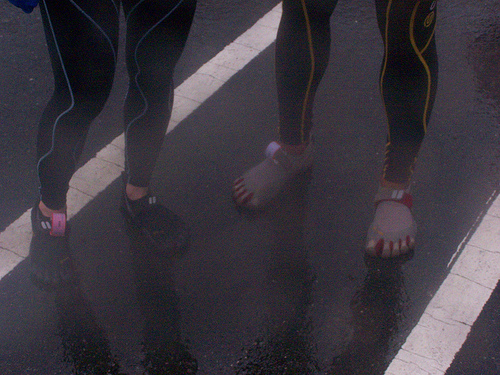
101B0021.JPG by smith_cl9 on flickr (licensed CC-BY-SA)

101B0022.JPG by smith_cl9 on flickr (licensed CC-BY-SA)
Unless you need high speed continuous shooting, set your camera to single shot or low speed continuous shooting drive mode instead.
Not checking gear is clean before using it
It's good practice to check your photography gear is clean before you use it. Otherwise you might end up with a load of photos with dust spots in them that need removing. Or worse, a blurry smudge in the middle of each photo where someone's had their sticky fingers on the lens.
Dirty Lens by hectorir on flickr (licensed CC-BY)
The best idea is to give your gear a good check and clean each time after you've used it. That way next time you want it, you can be sure that it will be clean, and won't need to spend time checking it before you go out.
Relying on the camera's image review
Being able to review what a picture looks like just after you've taken it is one of the great benefits of digital photography. However, you should be aware that the image displayed on the camera's screen won't be totally accurate.
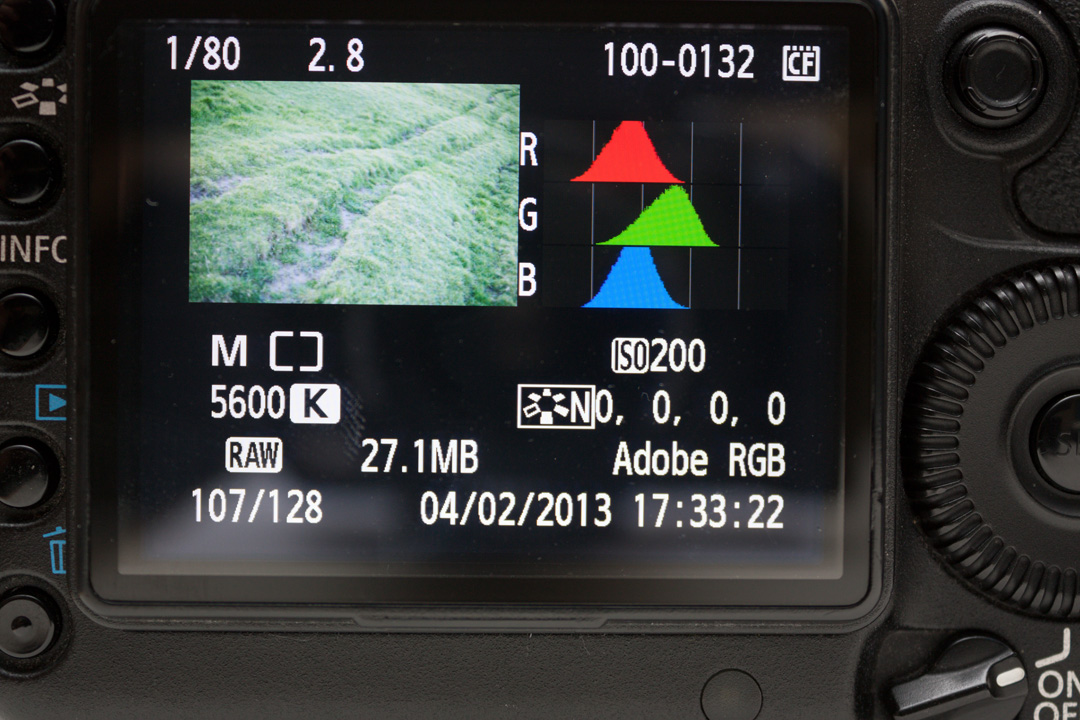
Although the image looks very bright in dim light on the camera's LCD, the Histogram shows the image is actually quite dark
How bright the image appears can be affected by both screen settings, and how bright the light is where you're looking at the image. Some screens can have a slight color tint to them. If you shoot RAW, the image preview has the current settings 'baked' into it, which you can actually change later.
Instead, you should use the image review for judging composition and focus, while using tools such as the histogram and highlight warning to judge brightness more accurately. See Using your camera’s image review playback for more information.
Blaming the camera
I'm pretty sure we've all made this mistake at some time or another. A bad workman always blames his tools
is a well known phrase to bear in mind.
DigitalRev TV's 'Cheap Camera Challenge' shows that even when the camera is at fault, reasonable results can still be achieved by a good photographer:
Sometimes the camera can be at fault, but more often it is the controller of the camera that is the problem. Often problems attributed to the camera can be because you haven't configured the camera correctly.
There are so many different settings that affect how the camera will work. It is important to become familiar with these settings, so that you can dial in the correct settings for the current shooting conditions. Read the manual, play with the settings, and above all, practice.
Not customizing the camera
I don't mean painting your camera in hot pink with go faster stripes and adding a spoiler on the back to shade the screen. Rather I mean customizing things like the way certain buttons work, putting useful settings into a quick menu, etc.
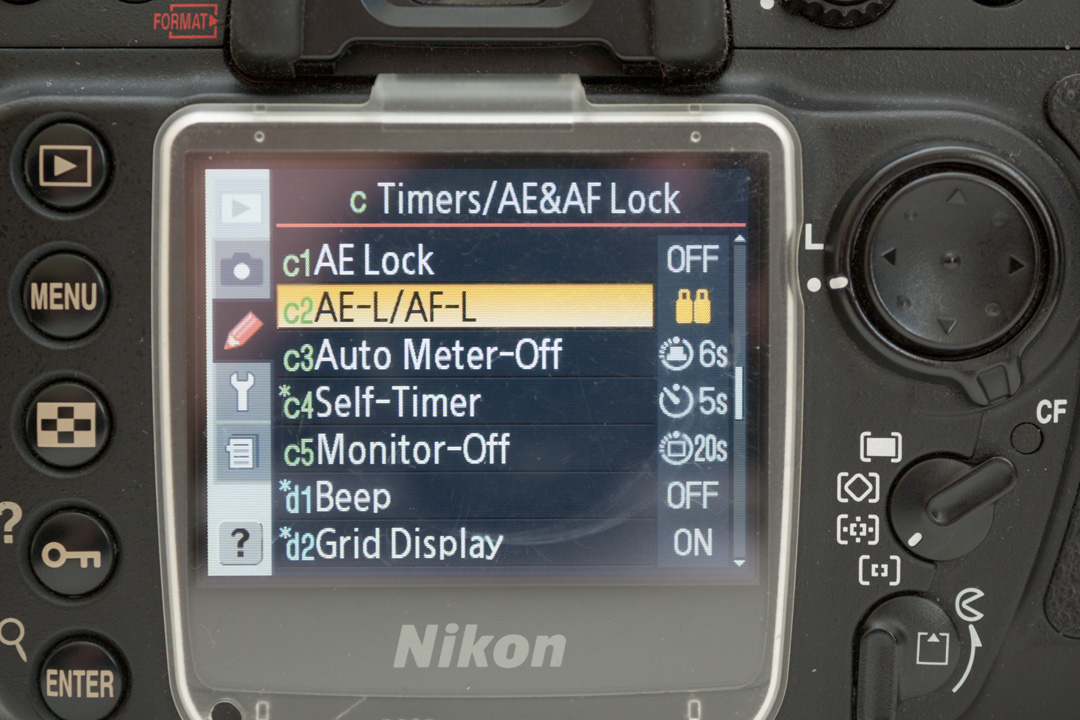
Customizing camera settings
This is likely to be more applicable to owners of more advanced cameras than compacts, as compact cameras typically do not allow much customization. But if you can customize your camera, you can usually make it easier (and quicker) to use.
I hope you found these tips useful. If you have any suggestions, feel free to leave a comment below.


