The Beauty of Smoke Pictures
When you look at smoke photos you might think that it is impossible to take such shots but it's actually not that hard. You just need to be patient because the ratio of good images to bad ones is pretty low. You will need a proper setup to photograph smoke.
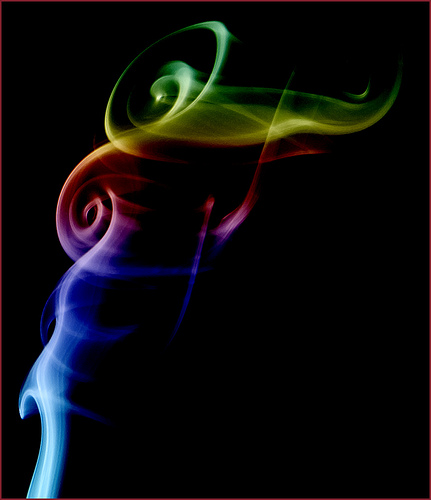
Smoke Art #35 by Rex Boggs on flickr (licensed CC-BY-ND)
This form of photography is done indoors so it is a good way to kill time when you're stuck inside. It doesn't only kill time, it can be pretty fulfilling at the same time. Do not let the setup scare you away because you will only need cheap household products. The only expensive equipment is your camera and flash. In this tutorial we will try to make smoke photography simple for you.
There is no correct or incorrect way of photographing smoke. In other words, there is no right or wrong way to photograph a smoke trail. I, myself, try to experiment with my smoke. As I say in most of my articles, the best thing is to grab your camera and experiment. Experimenting will give you that perfect picture, that perfect angle and that perfect lighting.
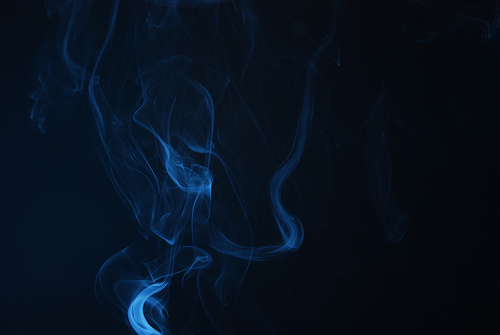
Blue by Abhijit Tembhekar on flickr (licensed CC-BY)
Let's try with some simple steps
Right Equipment
- Camera - You need a camera that allows you to take control of the shooting modes. You want to have control over the shutter speed, aperture and zoom. Most DSLR cameras allow the user to control these parameters.
- Flash - You need an off camera flash. You can either use a wireless flash trigger or a flash cable.
- Incense Stick - You need a source of smoke. The most commonly used item is an incense stick.
- Background - You need a dark color background. I personally use and recommend black color.
- Reflector - I recommend using a reflector so that the smoke trail has equal light hitting from every side.
- Lighter - For lighting the incense stick.
- Tripod - I use a tripod because it holds my still camera at one place. I don't want to refocus for every shot. You can also try shooting without a tripod and experiment around.
- Room with ventilation - You want the air to be able to exit the room. Extra smoke in the room will decrease the picture quality.
- Patience - As mentioned above, it is one of the most important tools in this photo session.
Setup
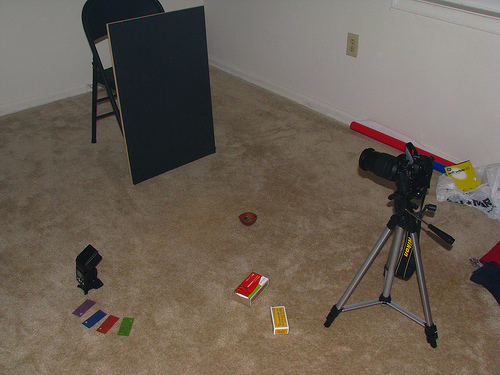
Smoke Series Setup by Abhijit Tembhekar on flickr (licensed CC-BY)
You need to make sure that there is no light spilling on the background. Remember, our purpose is to focus on the smoke and to minimize the attention on the background. You also cannot afford any light hitting the lens as it will cause lens flares to appear in the image. Below are some techniques for the setup.
- Pull out your background sheet and hang it in the back.
- Place the incense stick 3-5 feet away from the back sheet.
- Put the wireless flash 2-3 feet away from the incense stick (left or right side).
- Place the reflector on the opposite side to that of the flash.
- Sit your tripod and camera 2-4 feet from the incense stick facing the black background.
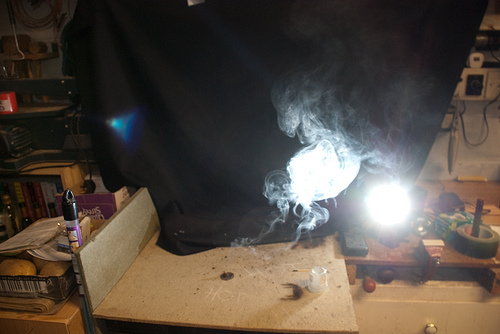
Smoke - setup by Dave Kirkham on flickr (licensed CC-BY-ND)
Remember that there is no perfect location for the flash, reflector, camera and background with respect to the source of smoke. All rooms and settings are different. Our main purpose is to avoid any light bouncing off the background or directly hitting the lens. Explore around and try different angles of flash placement to get the best setup for your needs. View your pictures as you go along to see any glare in the images and move around accordingly.
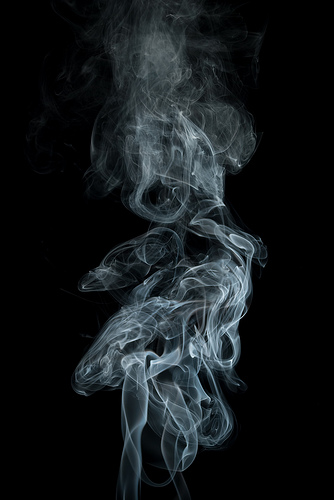
Smoke-7 by Dave Kirkham on flickr (licensed CC-BY-ND)
Camera and Flash Settings
You need to consider some important factors when shooting smoke. Understanding these settings will help you become a better photographer in general so don't hesitate to take some time and learn.
- Shutter Speed - Since smoke is constantly moving, you need to have a fast shutter speed to avoid any blur or movement from being recorded.
- Aperture - You want a great depth of field to capture details in the smoke trail. I recommend using a small aperture (larger f/ stop).
- ISO - Since there is very low light, smoke will show up grainy or noisy and a high ISO will only add to this. I recommend using a low ISO for these pictures.
- Light - I use my flash at full strength because with low ISO, fast shutter speed and small aperture there is a need of a strong light to get the exposure right.
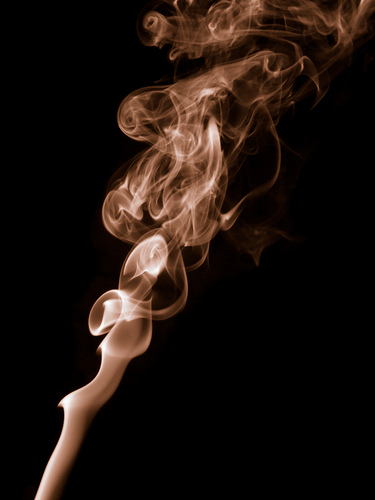
Smoke Plume by William Warby on flickr (licensed CC-BY)
To make your life a little easier, I have copied the settings from my last smoke photo shoot below.
- Camera
- Canon 7D
- Lens
- Standard 28-135 mm IS
- Mode
- Manual
- Shutter Speed
- 1/250 seconds
- Aperture
- f/8 - f/16
- ISO
- 100
- Focus
- Manual
- White Balance
- Auto
- Flash output
- Almost at full power
Don't limit yourself to the above settings. I'm providing these just to give you an idea. However, every camera is different so change the settings according to your setup.
Let's take the shot
Now that you have all of your setup complete, let's get to the camera. Close all the doors and windows because you don't want any air blowing. It will create unstable plumes which are hard to capture. Keep things to be as stable as possible.
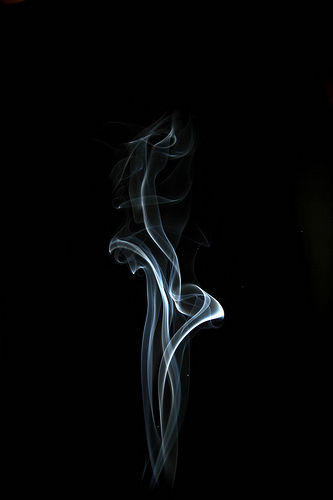
Smoke by charel.irrthum on flickr (licensed CC-BY-ND)
Light the incense stick. I am a fan of thin smoke trails but if you like thick trails you can place two stick together to get more smoke.
You must work in manual focus mode. Turn off the auto focus and take control in your own hands. I recommend focusing on the area 4-5 cm above the stick's tip.
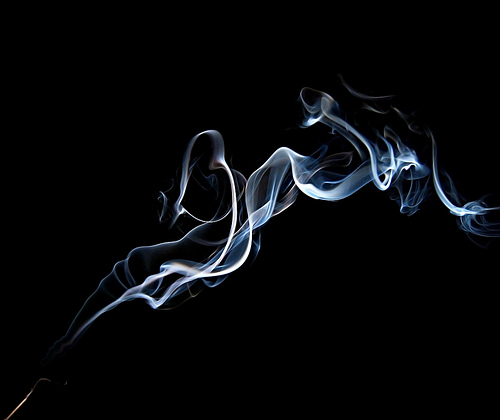
smoke by Steven Duong on flickr (licensed CC-BY-ND)
With such fast settings on the camera I don't think it matters if the lights in the room are on or off. However, I recommend turning off the lights to avoid any ambient light from interfering.
Let's get to the shutter and see what we can come up with. Try taking some test shots. Your purpose is to under-expose the background and light up the smoke. Try to get the background to be as dark and black as possible. Once you have the exposure right you can get to the creativity and take some great shots.
You can try different angles and catch the smooth curves in the trail. You can even take your camera off the tripod to move closer or away from the smoke. Try putting objects in the trail's way to make things interesting. Spoons are often used to capture smoke and it looks pretty amazing. You can even blow air towards the smoke to change its direction.
Ventilate the room every 10 minutes. Smoke is not only bad for your health; it is also bad for your photos. The smoke buildup creates a haze in the pictures. You want your images to be as crisp as possible and make your life easy for post processing. Removing haze in Photoshop can be a pain.
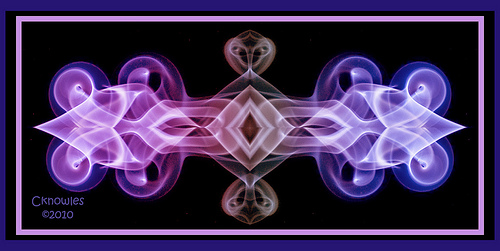
Smoke Art by Charles Knowles on flickr (licensed CC-BY)
And finally, be patient and enjoy. Shooting smoke can be frustrating but it is certainly worth spending time on.


Thank you for a great article. I will definitely be heading to http://www.rqstudios.com for more tips.