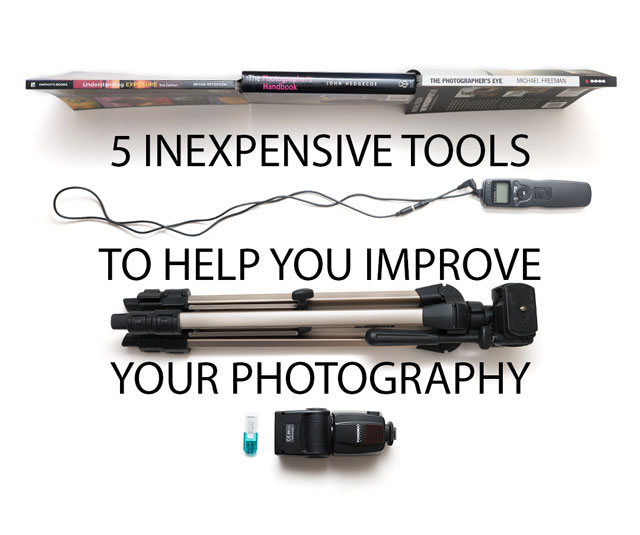
5 Inexpensive Tools To Help You Improve Your Photography
Photography can be quite an expensive hobby. Cameras, lenses, filters, and all the other accessories that go with it can cost a lot. So, in this article, I want to look at five relatively inexpensive items (under $30) that can bring a big improvement to your photography despite their low cost.
Off-camera Flash
You may be thinking that an off-camera flash is not an inexpensive item. And if you're only looking at the camera manufacturer branded units, then you'd be right. I cover this in more detail in my article Off-Camera Flash on the Cheap, but it is perfectly possible to get a speedlight flash that can be triggered off-camera for less than $30.
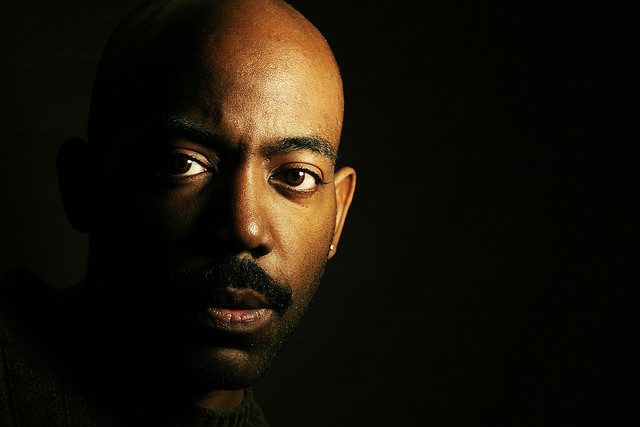
Ewe by Piotr P on Flickr (licensed CC-BY) - cheap off-camera flash used as fill light
Of course, if you are willing to spend a bit more than $30 you can get a flash with more features. But a basic flash with manual power controls and ready for off-camera use can be found for less than $30 without too much trouble.
I would suggest looking at a YN-460 II model flash on eBay - the Buy it Now listings are often over $30, but the auction listings often end around $15-22. This flash features a built-in optical trigger, and can be triggered by your camera's pop-up flash for use off-camera.
The reason why I think an off-camera flash is such a good investment, is simply that it lets you take control of the light. Photography is all about capturing light, so you should not underestimate the ability of being able to take light and shape it to your advantage.
iPAD of the yesteryear by Worapol Sittiphaet on Flickr (licensed CC-BY-SA) - two cheap speedlights used for lighting
The way an image is lit can have a dramatic difference to how it looks. The direction, softness, and color of light all play a role in how an image turns out, and the feeling that image gives. And when you control the light, you can adjust these factors as you see fit, giving you more creative possibilities, and putting you in control.
Tripod
I'm including a tripod in this list, as if you don't have a tripod, then a cheap one will give a substantial improvement to your photography over no tripod at all. But really, I'd recommend buying the best tripod you can afford.
You can buy $15 tripods, and they will keep your camera much steadier than your hands can. But if you can afford to spend more, then try and get a more sturdy model that offers better vibration dampening and has absolutely no movement when locked down.
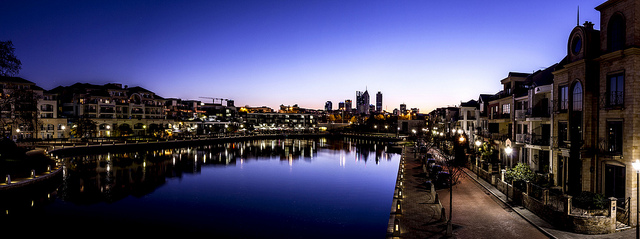
Claisebrook Cove Panorama by Daniel Lee on Flickr (licensed CC-BY-ND)
There are many reasons why using a tripod can help you take better photos, and I cover most of these more comprehensibly in the article Why use a tripod? The most obvious reason is that it removes the issue of blurry images caused by camera shake when hand holding the camera.
macro_60 by Nathan Larkin on Flickr (licensed CC-BY-ND)
If you're used to boosting the camera's ISO setting when you want to shoot in low light levels, with a tripod you don't have to. You can shoot at your camera's lowest ISO setting without worrying about camera shake. Attach the camera to a tripod and you can get away with really slow shutter speeds, and avoid the noise problems of high ISO settings.
This ability to achieve slow shutter speeds without camera shake also means you can capture great long exposure photos of moving subjects, such as water, clouds, traffic, or even people.
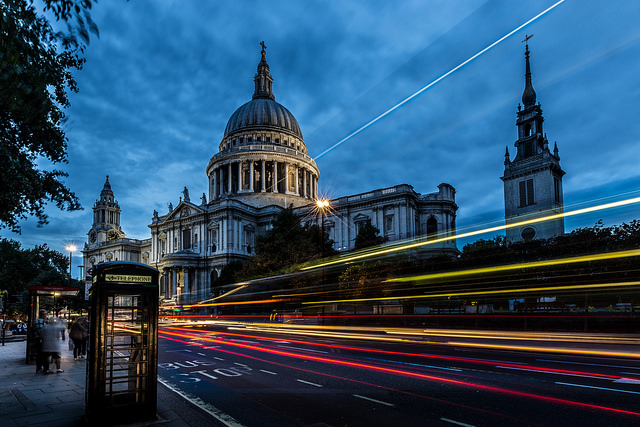
St. Paul Cathedral Long Exposure by Davide D'Amico on Flickr (licensed CC-BY-SA)
Another, often overlooked, benefit of using a tripod is that it makes you think about the photo more. If you have to take the time to carefully set up your tripod, it should get you thinking more about what the best position and height to take the photo from are.
I find it also helps me think more about the lighting - when taking a landscape I am much more likely to wait around for the 'right light' when I've set up my tripod than I am when just shooting hand-held.
Remote shutter release
Linking in with using a tripod, another very useful accessory is a remote shutter release. These allow you to take a photo without physically touching the camera. Many new cameras come with built-in WiFi, and have a free app you can download to your phone, which allows you to control the camera from the phone. And this is usually free.
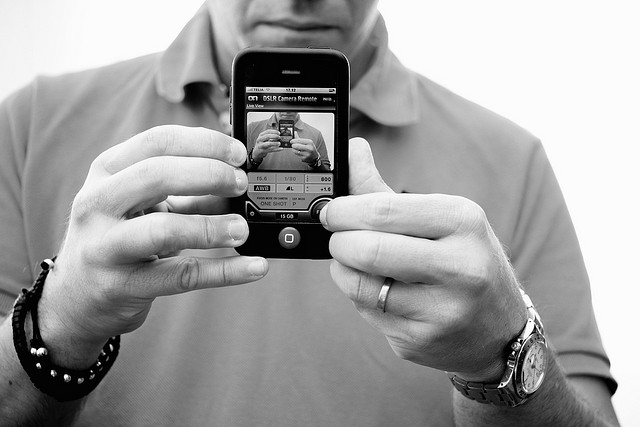
DSLR Camera Remote by Håkan Dahlström on Flickr (licensed CC-BY)
You can also purchase remote shutter releases for most mirrorless and DSLR cameras. Some cameras have infrared remote releases available, for other models they are wired and plug into a socket in the camera. The camera manufacturer branded remote shutter releases are usually pretty expensive, but you can pick up cheap third party models on eBay for just a few dollars.
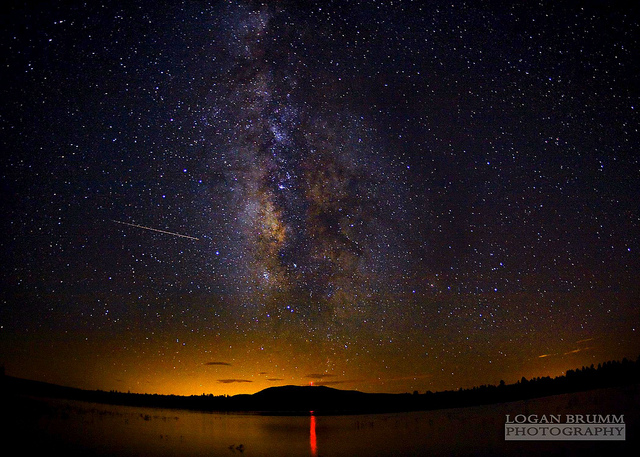
Milky Way over Lake Mary, Flagstaff - AZ - Perseids Meteor Shower by Logan Brumm on Flickr (licensed CC-BY-ND)
One benefit of a remote shutter release is that it eliminates any camera shake that would normally occur due to pressing the shutter button on the camera. This can be particularly useful for long exposure photography, such as photographing stars at night. It is also useful for taking perfectly aligned bracketed images for HDR photography.

Sunset over Iguazu by SF Brit on Flickr (licensed CC-BY)
Another benefit is that it allows you to stand further away from the camera when triggering it. The usefulness of this does depend partly on what model of remote shutter release you're using. A cable release with a very short cable doesn't give much benefit here.
But a long cable or wireless connection (such as an infrared remote or app on your phone) means you can hide away from the camera to catch unsuspecting subjects (such as wildlife in your garden). Or it also allows you to step in front of the camera for a self portrait.
Just Vox by Vox Efx on Flickr (licensed CC-BY)
Some remote shutter releases also feature a built-in intervalometer. This allows you to take photos at regular intervals, which you can later use to create a time-lapse movie. Very useful if your camera doesn't have this ability natively, and these shutter releases can usually be bought for less than $25.
Editing software
Editing your photos can put the final polish on them, taking a photo from good to great. Or you can employ more extensive editing, dramatically changing the look of an image, or even creating a photo composite. Either way, editing software can help you create captivating images.
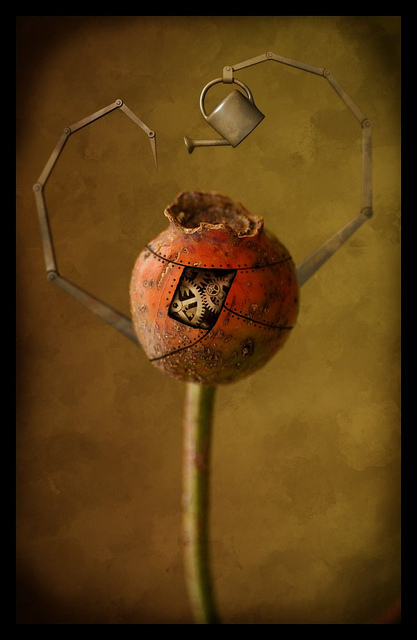
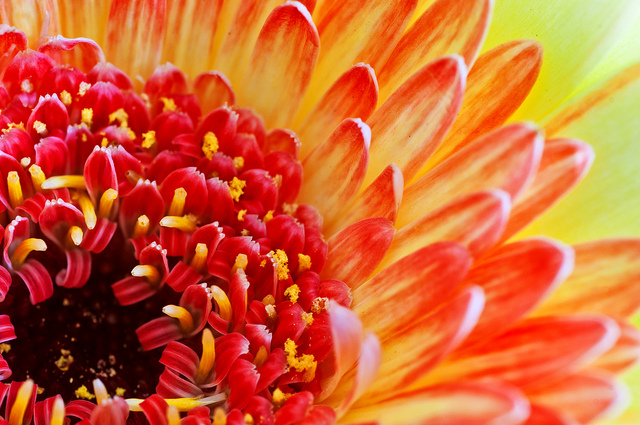
Mechanical Rose Hip by rore on Flickr (licensed CC-BY-ND)
The most well known editing software is Photoshop, but for $30 you'd only get 3 months of usage of the full version. And even the cut down version, Photoshop Elements, sells for much more than $30. Thankfully there are plenty of other choices that come in much cheaper. Probably the most feature complete alternative is GIMP, and this comes at the grand price of free.
The GIMP can do most of the same things that the full version of Photoshop can. It has many plugins available for it, and there are plenty of tutorials out there on how to use it for editing photos.
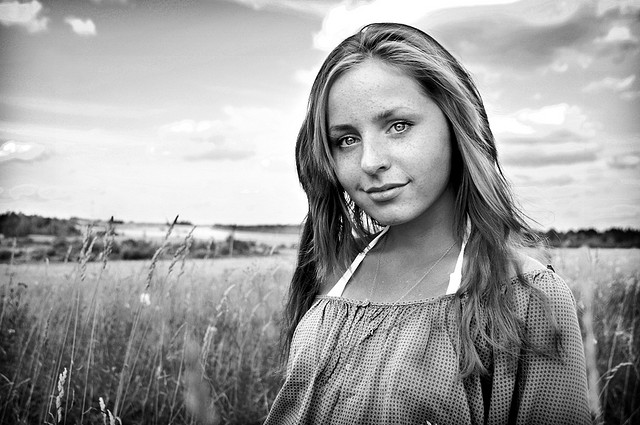
Rita. by Vladimir Fedotov on Flickr (licensed CC-BY) - edited in GIMP
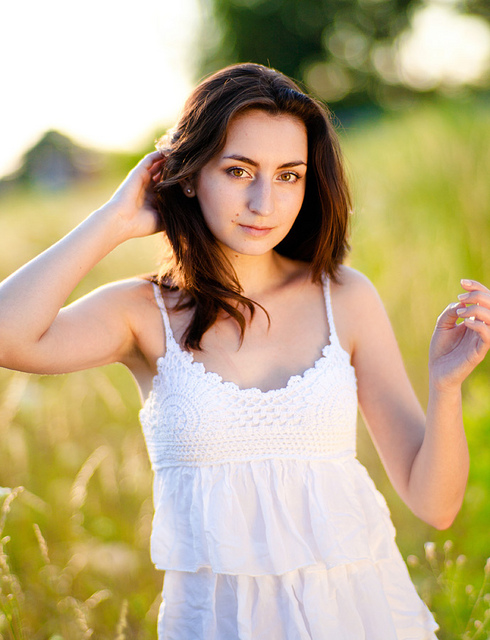
Pixelmator is a Mac only photo editing program. It can be used on a Desktop Mac or the iPad, and offers a wide range of features, making it a favorite with many photographers. And it only costs $10 for the iPad version or $30 for the Mac version.
![]()
Vintage girl by thethreesisters on Flickr (licensed CC-BY) - edited in Pixelmator
You could also consider purchasing an older version of software such as Adobe Lightroom or Paintshop Pro
, which sell at quite a discount compared to the current versions. The older versions don't have so many features, and may not be compatible with your camera if it was released after the software was retired. But they can still do a great job with your images if you're on a budget.

Books and courses
There must be thousands of different photography books out there, the vast majority priced under $20. Buy second hand or borrow from a library, and the cost is much less. Even old books written before the advent of digital photography can still be useful - the information on dealing with film may be out of date, but the photographic techniques given are just as valid today.

Max the Brown Tabby Cat with Books 2 by Found Animals Foundation on Flickr (licensed CC-BY-SA)
Reading books can be a great way to learn more about photography, and also inspire you to try out the techniques you learn. If you're interested in a specific style of photography, then a book focusing solely on that subject can be particularly helpful.
Similarly, photographic courses can help you improve your photography, albeit they are harder to find at a low cost than books. Keep an eye out for online courses, as these are sometimes available at quite a low cost. Websites such as Udemy, Craftsy, and CreativeLive occasionally have sales where you can pick up a course for much less than it would normally cost. And CreativeLive is also a great resource if you have the time to watch their live courses, which are all streamed for free.
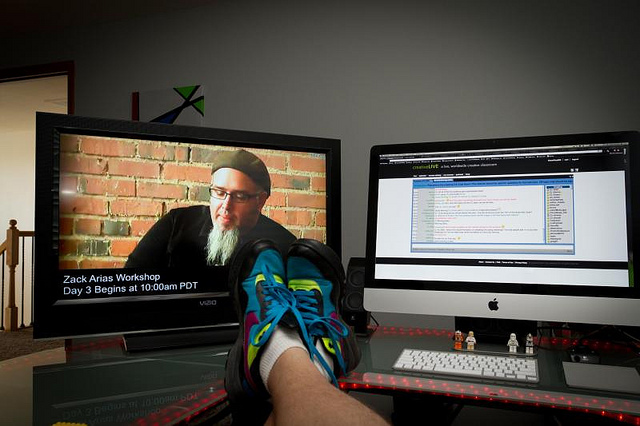
Watching CreativeLive With Zack Arias by KauaiGuy808 on Flickr (licensed CC-BY)
So, there you have my 5 recommendations for low cost tools to improve your photography. Do you have any cheap or free tools that have really helped you with your photography? Let me know in the comments below.


