Exposure Metering Modes Explained
There are very few photographers that work out the exposure settings for each photo manually in their head with no help from the camera. Whether you use your camera in manual mode or in fully automatic mode, almost undoubtedly you rely on your camera's metering system for setting the exposure.
Most more advanced cameras offer a range of exposure metering modes. Each one works in a slightly different way. It is worth understanding how these different modes work, which is what we'll look at in this article.
What is Exposure Metering?
To calculate the correct exposure for a photo, your camera has a built-in light metering system. This measures the amount of light reflected from the subject, allowing the camera to work out what the exposure settings should be.
In DSLR cameras, light enters the lens, bounces off the mirror inside the camera, then some of this light is diverted to a small metering sensor, while the rest goes to the optical viewfinder. The metering sensor is then used to determine the correct exposure.
In SLT, compact and Mirrorless Interchangeable Lens Cameras (MILCs), the light enters the lens, then hits the main image sensor. This is then used for calculating the exposure, rather than a separate sensor as DSLRs use.
The way that cameras set the exposure based on the meter reading is generally to try and average a scene to middle gray. But there is a bit more to it than that, as you'll see when we look at the different metering modes next.
To demonstrate this, I took a photo using spot metering. I then took the image into Photoshop, converted the image into grayscale, and selected an area roughly the same as the spot area used for spot metering. Then I used the Average filter, which calculates the average value of all pixels within the selection. This gives a brightness of 50%, showing how camera metering systems try to give an exposure around middle gray.

Here is another example, this time using a snowy scene. Matrix metering was used to set the exposure in Aperture Priority mode. As you can see, this has resulted in a very dark image, a common problem with auto exposure in bright scenes such as snow and beaches.
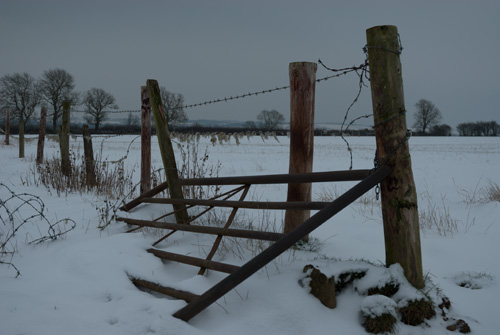
If we convert the image to grayscale and perform an average filter, this gives us a brightness of 42%. Not quite 50% gray, but it does show how the camera meter will always try to calculate an exposure that will be near middle gray.

Matrix / Evaluative Metering
Matrix or Evaluative or Multi-segment metering (the exact name used varies between camera manufacturers) is the most advanced type of exposure metering. The frame is divided up into multiple segments, with each segment analyzed individually. Weight is given to the active focus area, since this is likely what you want to be exposed correctly. The exposure is then calculated taking the meter reading of each segment into account so as to give a balanced exposure.

Area of frame covered by Multi-segment / Evaluative / Matrix metering indicated in gray. Actual grid / number of segments used varies between camera models.
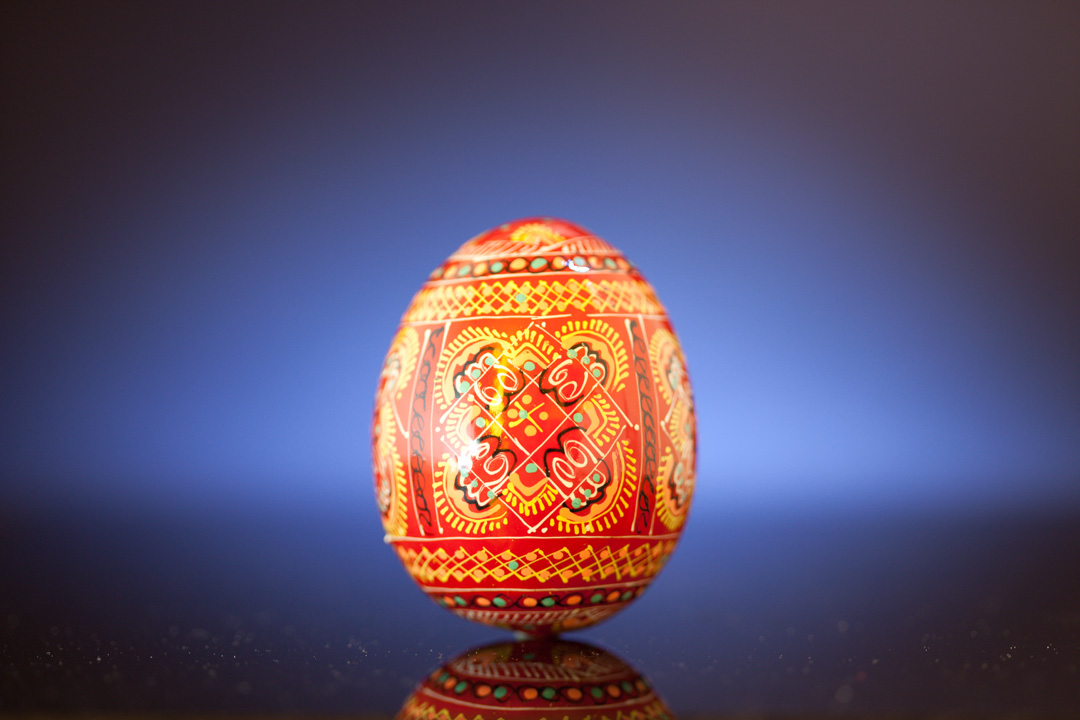
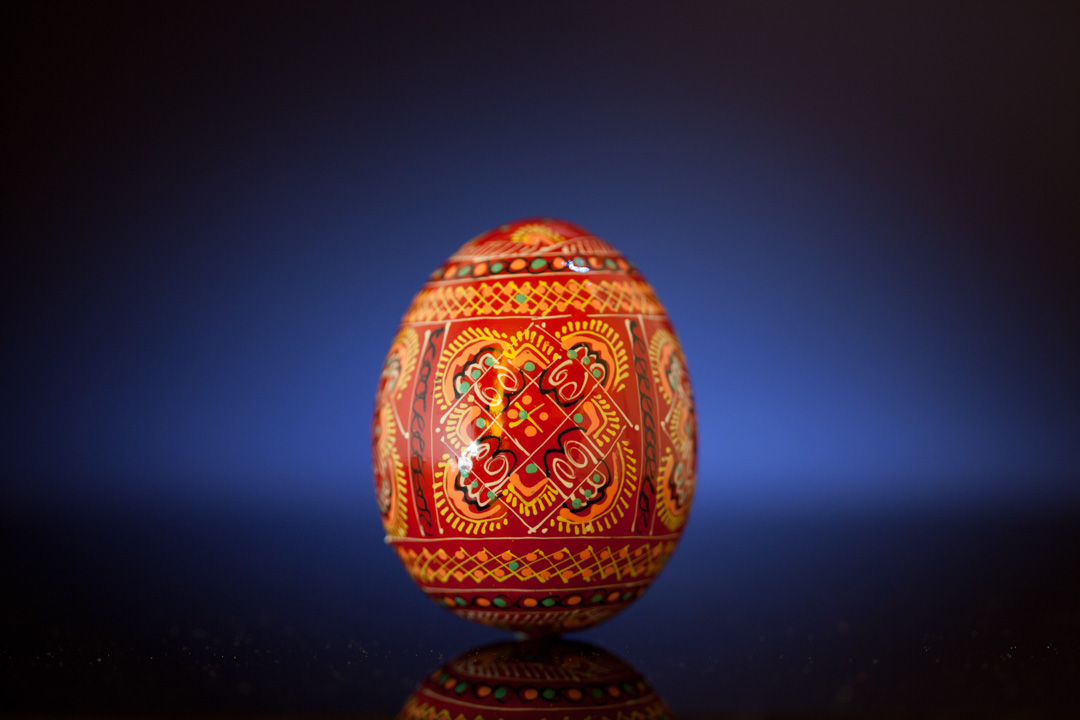
Evaluative / Multi-segment / Matrix metering - the whole of the image is taken into account, then sophisticated algorithms are used to calculate the exposure based on the tonal values of the different image areas. The camera chose quite a bright exposure because of the dark background.
Depending on your camera manufacturer, color (as well as tone) may be taken into account. Some manufacturers, such as Nikon, use a database system that compares the meter reading to a list of images to see what sort of scene it is you are likely taking a photo of, and so how the corresponding exposure should be set.
Most advanced cameras, such as DSLRs, SLTs, and MILCs use Matrix / Evaluative metering as their default metering system. So you will probably be using this if you use your camera in a full automatic mode.
Center Weighted Metering
Center weighted metering does what it sounds like. It takes the whole frame into account when calculating the exposure, but applies a greater emphasis on what is at the center of the frame.

Area of frame covered by center-weighted metering indicated in gray
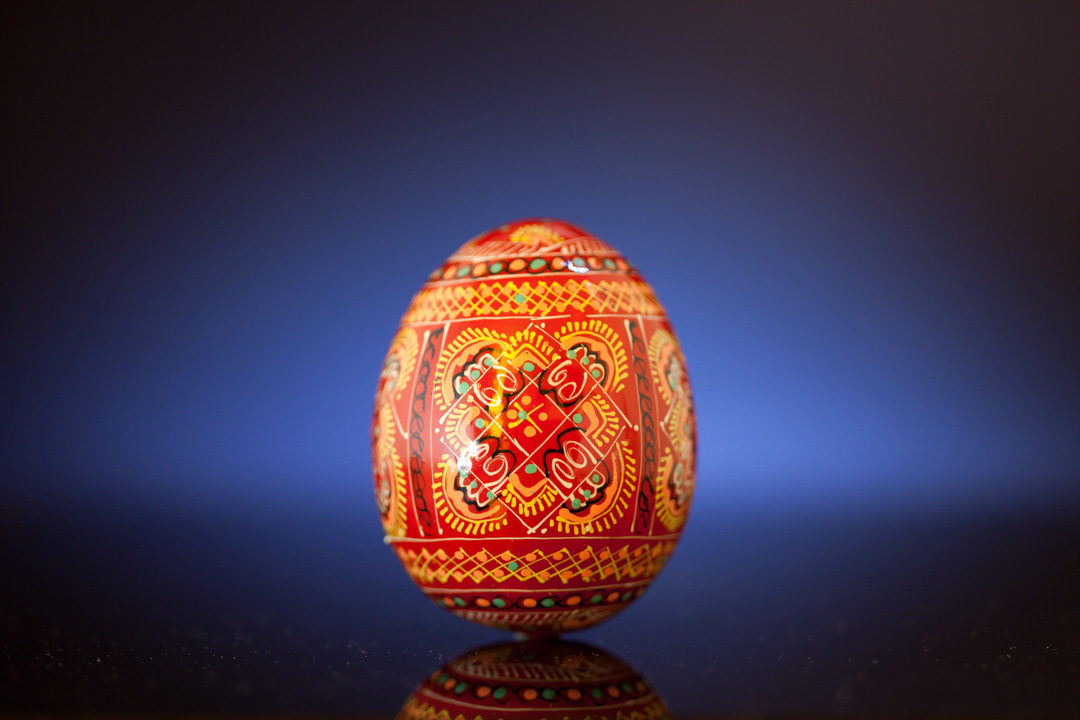
Center-weighted metering - Although the whole image is taken into account, more emphasis is put on the center of the image when calculating the exposure. This has resulted in a slightly darker exposure than evaluative metering gave, as the center of the image is brighter than the periphery.
This is quite a general metering mode, and is often used on compact cameras. Traditionally it has been used for portrait photography, as the subject will normally be filling up the center of the frame.
It is not so useful if your subject is off-center though. In this case you would need to use the focus-recompose technique: Point your camera at the subject (so they are in the center of the frame), then half press the shutter button. This will focus, take the meter reading, and calculate the exposure. Then, keeping the button half pressed, recompose to put the subject off-center. Then fully depress the button to take the photo.
Partial / Spot
Partial metering is similar to Center Weighted, except that it is only the center of the frame that is used for calculating exposure. Information outside of the center of the frame is not used.

Area of frame covered by Partial metering indicated in gray
Partial metering - the area metered is in the center, which in this image is brighter than the rest of the image. This results in an image exposed for the egg, rather than the darker background.
This can be useful for certain subjects, for example, a portrait in front of a very bright or very dark background. Partial metering would meter for only the center of the frame (where your subject is located). While Center Weighted metering would give a bias towards the center of the frame, it would not ignore the rest of the frame completely.
Spot metering works the same way as partial, but it is a much smaller area that is used for calculating the exposure. It is quite often used by wildlife photographers to ensure that their subject is exposed nicely, while ignoring how bright / dark the background is.

Area of frame covered by Spot metering indicated in gray
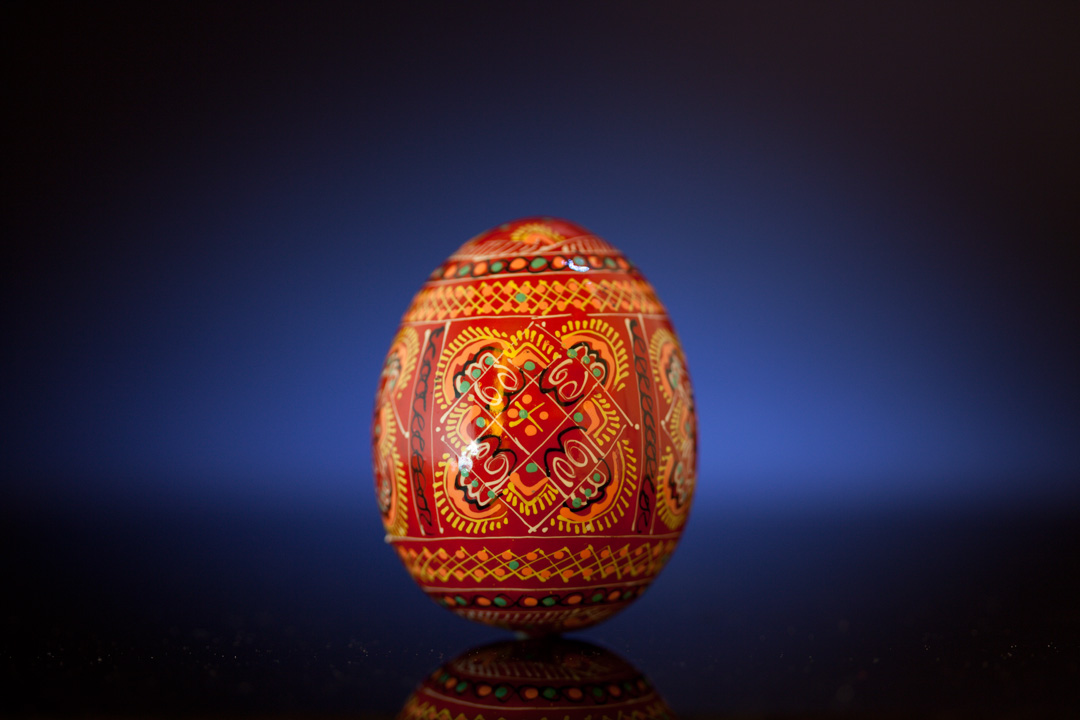
Spot metering - for this image exposure is roughly the same as partial metering as both cover the bright part of the image (the egg)
The size of the areas used for both spot and partial metering varies between the different camera manufacturers. Generally partial covers about 8% of the frame, while spot covers around 2%.
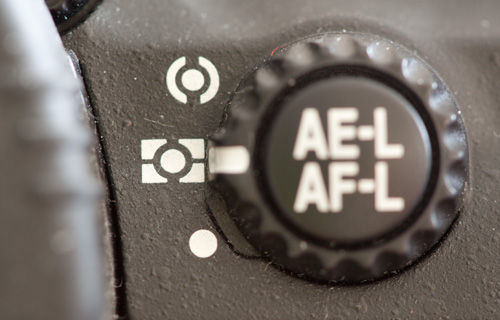
Another thing that differs between manufacturers is the location of the spot used for the metering. In some manufacturers it is stuck in the center of the frame. (So you need to focus then recompose).
With other manufacturers the area used is tied to the focus area. So if you change your focus point to focus an off-center subject, then the spot metering area will be centered in the correct place (on your subject).
Despite all the different metering modes available, and the cleverness built in to matrix / evaluative metering, the camera won't always get the exposure right. It will nearly always give you a good starting point for an exposure though. If you need to adjust the exposure, consider using exposure compensation or Manual mode. You can read more about those here: How to use Exposure Compensation and here: How to use Manual Exposure Mode.


