Clean up your photos with the Clone Stamp Tool
While I always advocate getting as much right in-camera as possible, most photos can still look better with a little touch-up in post production. It might be something in an otherwise great shot that you had no way of changing. Or it might be something you just didn't notice at the time you took the shot. But there's no foul in retouching your photos to make them look better (unless it's a strictly documentary photo).
In this article we'll look at some tips on using the clone stamp tool. This is a very useful tool for quickly and easily removing an unwanted item from an image.
The clone stamp tool allows you to copy one part of an image and paint it over another part. So if you have an unwanted piece of rubbish in the grass on a photo, you can use the clone stamp to sample the grass, then paint more grass over the rubbish, hiding it from view.
This tool has been around for a long time, and despite newer innovations such as content-aware fill, it is still the go-to tool for many clean-up jobs.
To use the clone tool, you must first select it from the tool palette. In most image editing software the icon for the clone tool looks like a rubber stamp.
Setting the clone source
The next step is to choose the area you want to copy from. In GIMP you do this by Ctrl + clicking where you want to sample from. In Photoshop you Alt + click (PC) or Opt + click (Mac) to define the clone source.
Setting the clone source by Alt / Option clicking in Photoshop CC
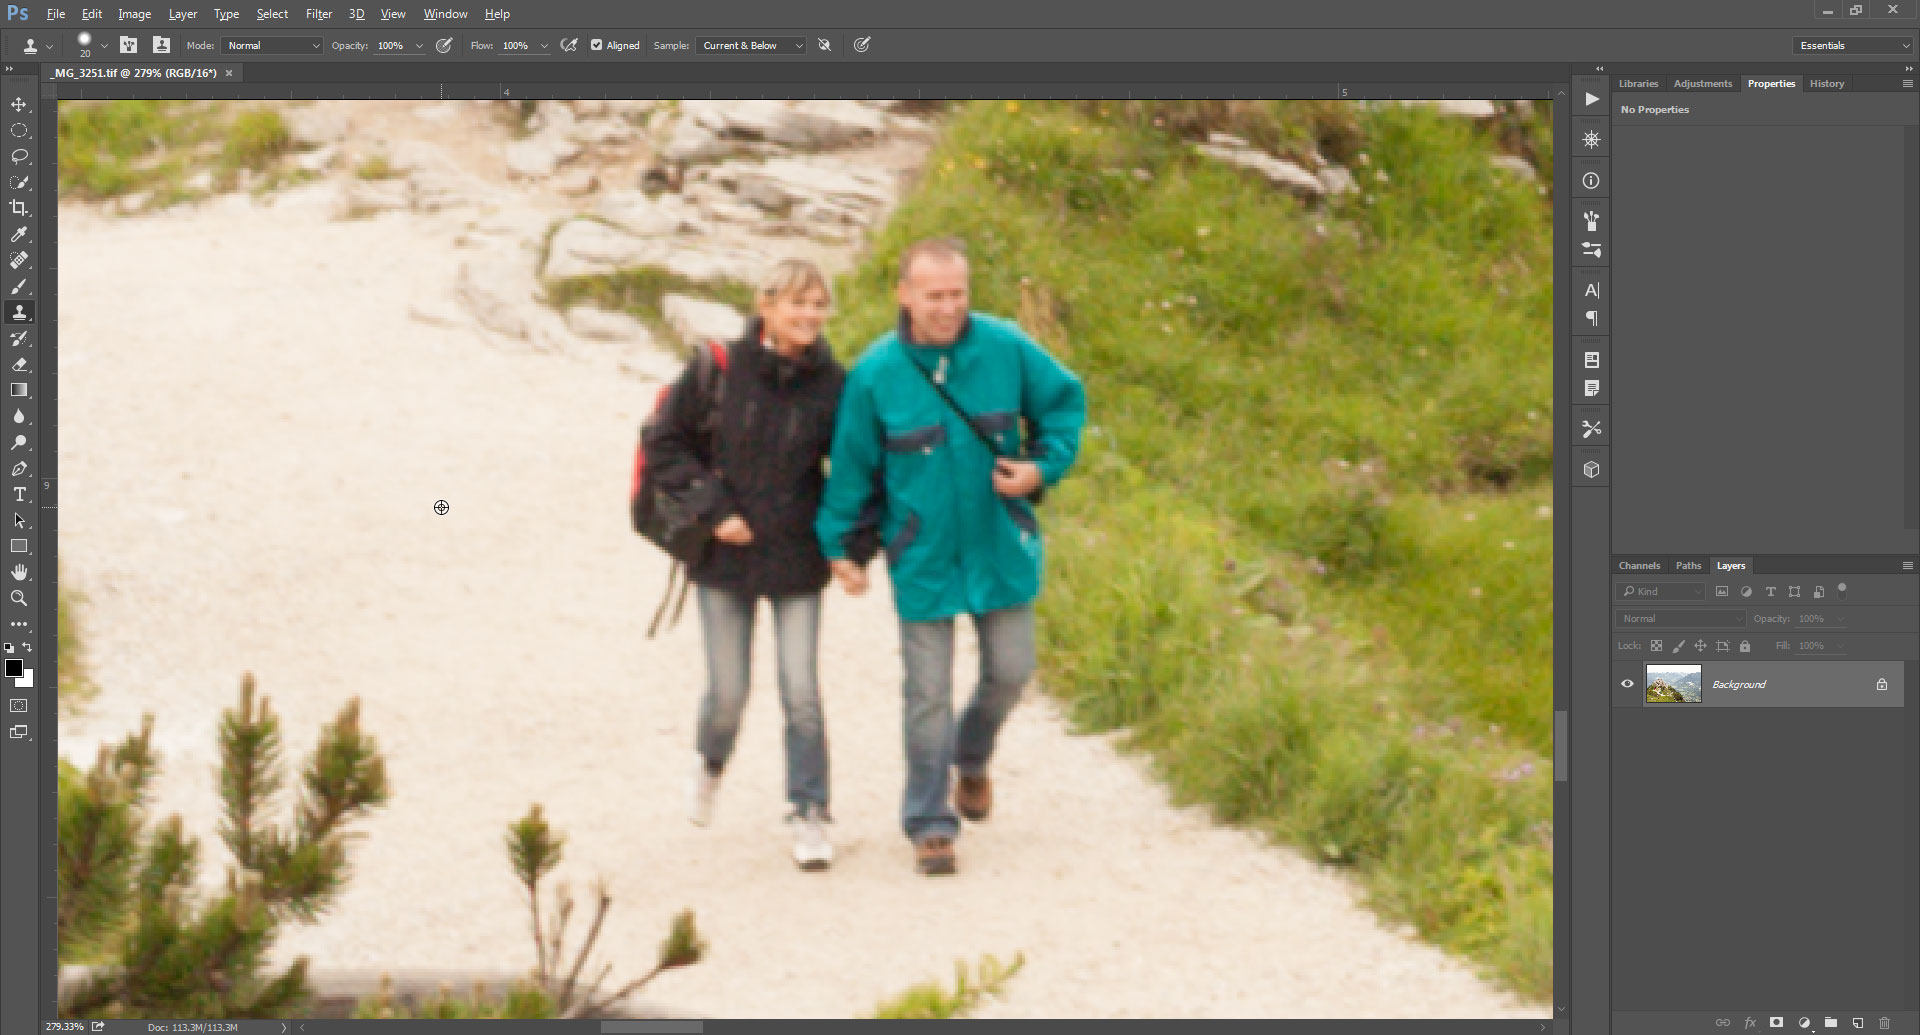
With that done, you can simply click and paint to copy from your source area over where you are painting. You'll notice that the clone source area moves with your brush as you paint, so you can see the area you're cloning from as you paint.

Painting with the clone stamp
Alignment
The alignment option of the clone stamp affects what happens when you stop painting one single stroke and start a new stroke. (What happens when you release the mouse button after painting and then click again to paint some more).
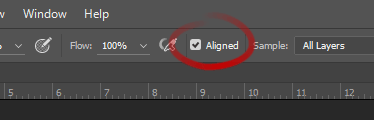
Clone tool alignment option in Photoshop CC
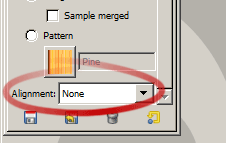
Clone tool alignment option in the GIMP
If the aligned option is on, then there is no difference between making one long paint stroke and many smaller paint strokes. The first paint stroke creates an alignment to the clone source and any further paint strokes follow that same alignment.
So, for example, I might set a clone source, then brush over an object 200px to the right of the source. If I then make a second brush stroke 300px to the right of the source, it will clone from 100px to the right of the source, keeping the area being sampled aligned with my first brush stroke.
With the source aligned, clicking again continues painting with the same offset from the clone source as your initial paint stroke
If the alignment option is not set, then any further brush strokes start anew from the original clone source point.

With source unaligned, clicking again restarts cloning from the set clone point
If you are trying to clone from a very small area and paint over a much larger area, then having your brush unaligned works best. Otherwise if you move the brush too far, you'll start cloning from outside of the area you want to clone from.
But for most purposes, I find that having the brush aligned works better. It makes it easier to copy a continuous area. And if you do need to make a stroke restarting from the clone source, you can always reset the clone source by setting the sample source (Ctrl / Alt / Opt + Click) again.
Layers
As a general rule it is always a good idea to do any cloning on a new layer, rather than straight over your photo. This allows you to easily go back and correct or remove any alterations at a later date.
An important option of the clone tool when working in a layered document is the 'Sample' setting. When set to 'Current Layer' (Photoshop) or Sample Merged is unchecked (GIMP), then it matters which layer you are on when you set the clone source.
So if I make a new layer to do my cloning on, select that layer in the layer palette, set my clone source, and start painting, I'll find that nothing is being painted. This is because I've set the clone source on the empty layer. Instead I have to select the photo layer, set my clone source, then select my new layer, and now I can start painting, cloning from the photo layer where I set the source.
The vast majority of the time this is not a simple way to work. So you can set the clone tool to 'Sample Merged' (GIMP) or 'All layers' (Photoshop). This simply clones from whatever is visible where the clone source is set, not worrying about what layer was selected when the source was set.
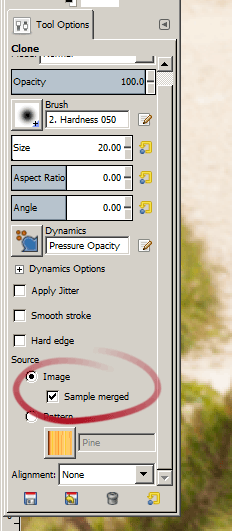
Clone tool Sample setting in GIMP

Clone tool Sample setting in Photoshop CC
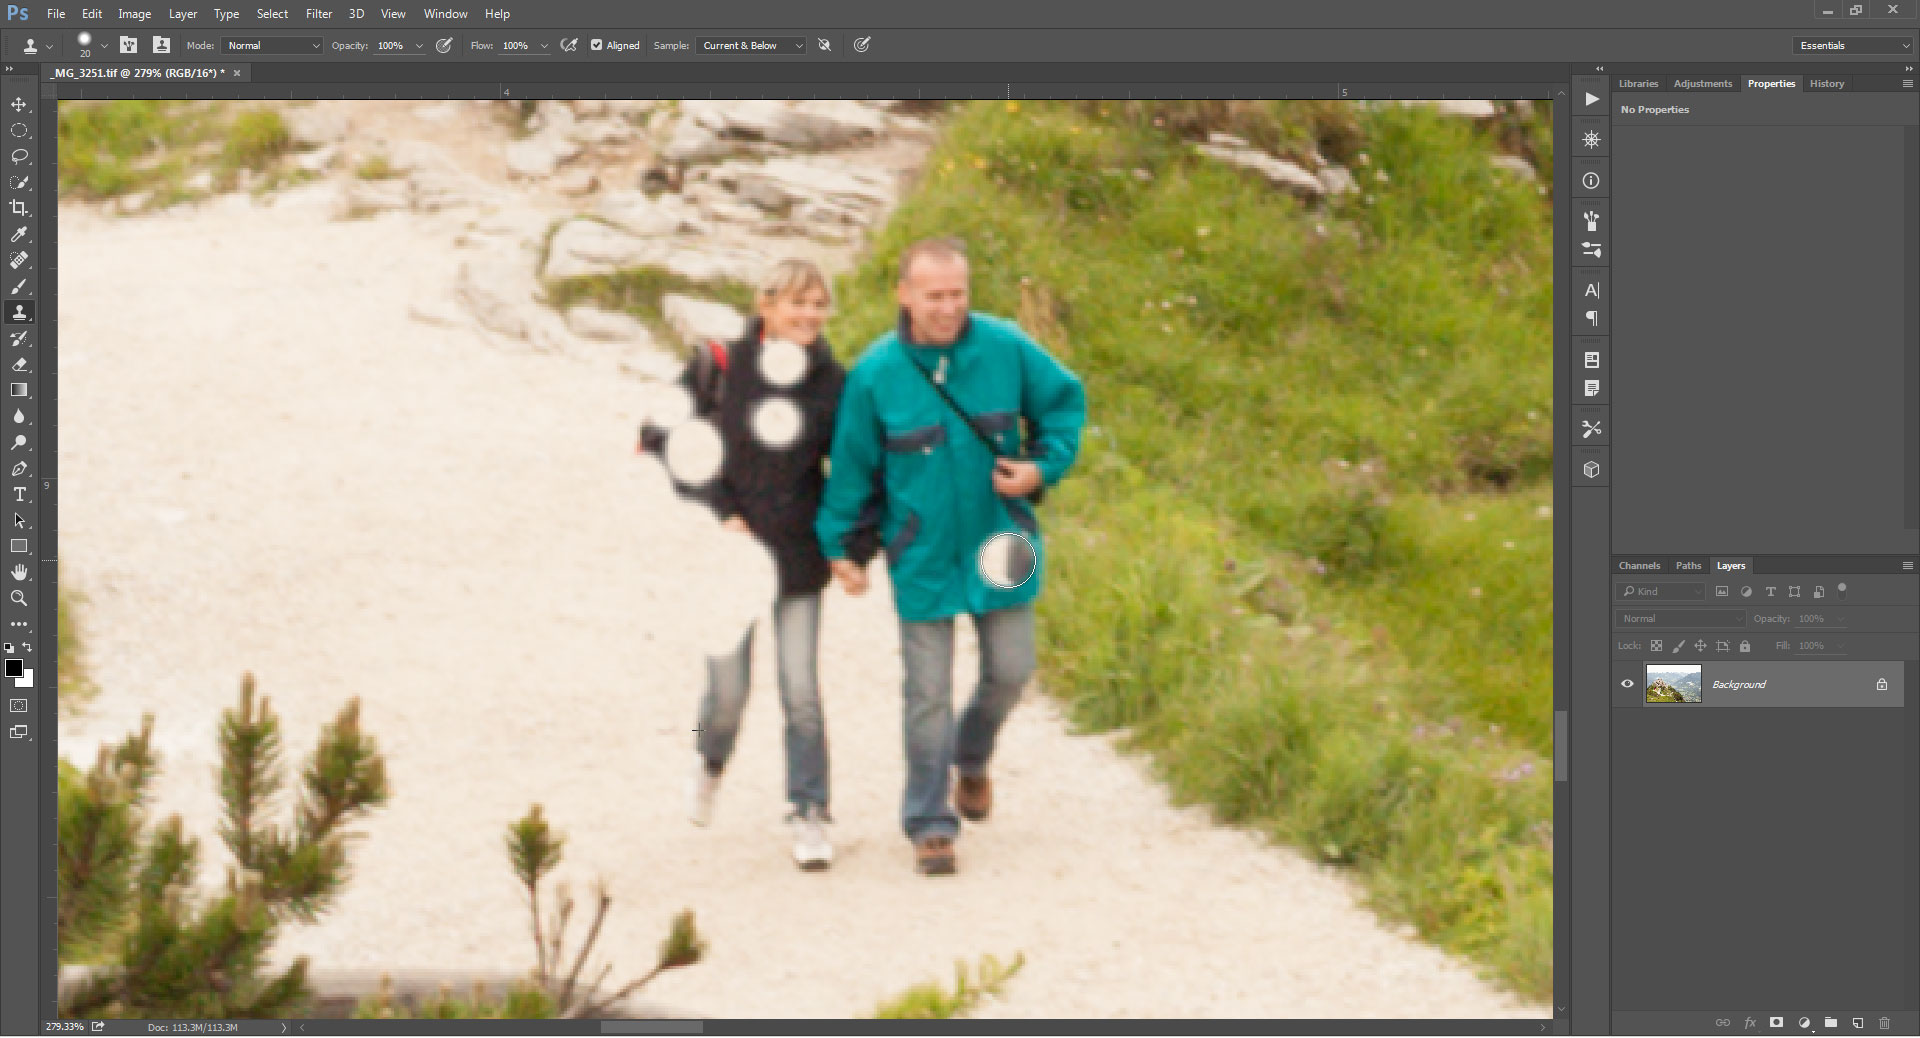
My personal preference in Photoshop is to use 'Current & Below' as the clone source. This ensures that you don't need to worry about setting the clone source on the correct layer. And you also don't need to worry about the effects of any adjustment layers above the current layer.
If Sample All Layers is checked, then the clone tool clones the image as it appears with the adjustment layer active. But as the adjustment layer is above the layer being cloned to, it is also applied to the cloned area. And so the cloned area has the adjustment applied twice.

With sample all layers checked and an adjustment layer above the layer being cloned to, the cloned area is affected doubly by the adjustment layer
With Sample Current & Below checked, this doesn't happen. I can easily change the strength or remove my adjustment layer, and my cloned layer will still fit right in with the rest of the image. (If I simply cloned to a new layer above the adjustment layer it would initially match, but would look out of place if the adjustment layer was later modified at all).

When sampling the current and below layers, the cloned area matches despite the adjustment layer above
Brush softness
The brush settings for the clone stamp can be adjusted easily, just the same as the standard brush tool in Photoshop. So you can choose to have a soft edged or hard edged brush, or anything in between. Generally you'll find that a soft edged brush works best.
When you need to brush right up next to an edge, then a harder edged brush is often more appropriate. It's unlikely you'll ever need 100% hardness, 70 - 80% is usually enough.
Where there is a lot of texture in the area you are cloning, a harder edged brush may perform slightly better than a soft edged brush. A soft edge brush can give a slight blur effect around the edge of the cloned area.
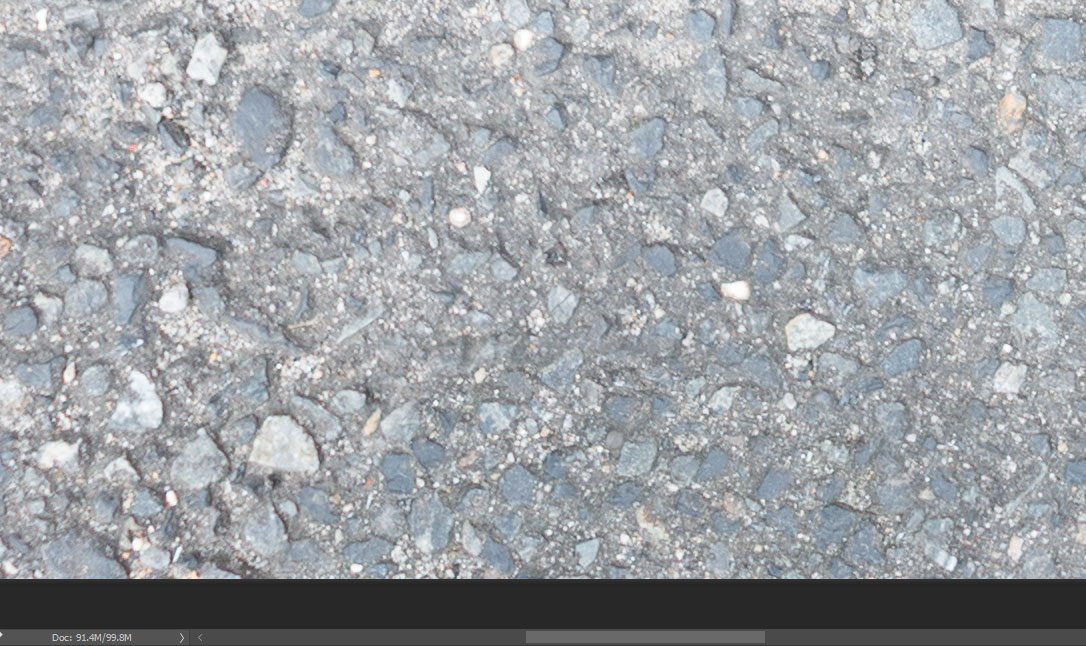
On a textured surface a hard edged clone brush can work well
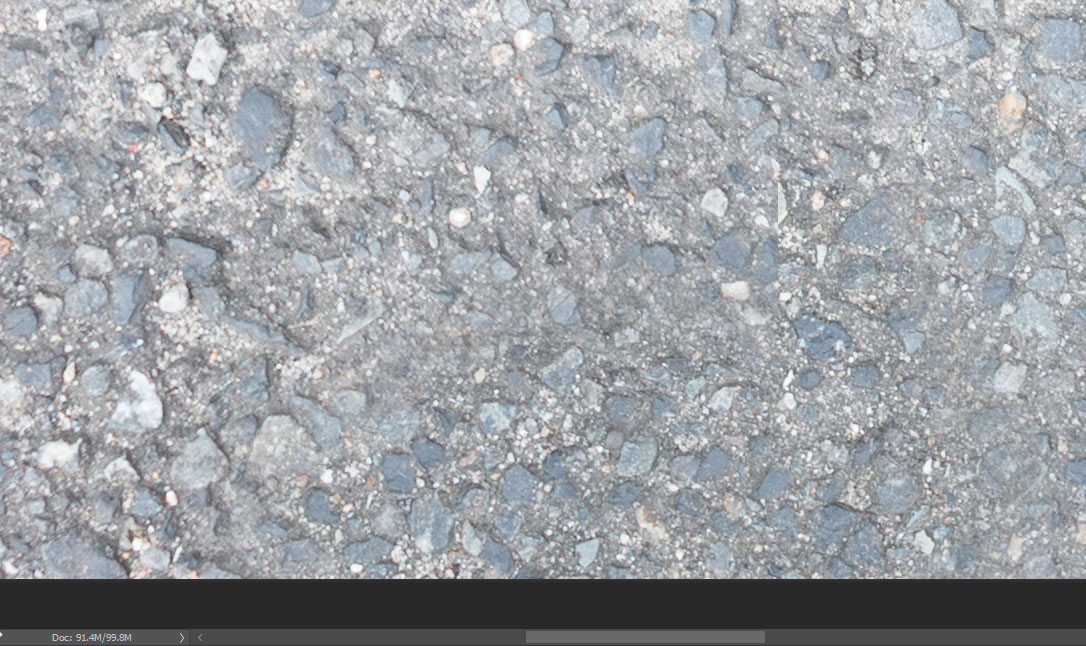
With a soft edged brush the edge of the cloned area appears slightly soft
For areas without much texture you definitely want a soft edge brush to ensure the cloned area blends smoothly with the area around it.
With a hard edged brush setting the cloned area is immediately obvious
With a soft edged brush setting the cloned area blends in with the background much better
Brush opacity
Normally you'll want to keep the brush opacity at 100%. When cloning out something against a background that has a subtle gradient, then using a very soft edged brush setting plus multiple strokes at low opacity can sometimes give a more seamless removal.
Avoid patterns
A tell-tale sign of obvious cloning is where the same thing can be seen twice in an image. The easiest way to work is to completely clone out your subject. Then look for any obvious repeating features. Use the clone tool again, and clone over these features to remove or alter them.
You don't have to clone over repeated features completely, just modifying them in some way can be enough to stop them jumping out at you.

Cloned area contains repeated features from clone source, giving an unnatural appearance

Cloned area further adjusted to remove repetition of features
Keep colors and tones consistent
Sometimes when cloning over something, the cloned area will match the area around it in terms of content, but the color or tone may be slightly off. Your cloned area may be slightly darker or brighter, making it stand out.
If it is quite a smooth area you're cloning, one possible solution is to brush round the edges with the clone stamp set to a soft brush at low opacity (as mentioned earlier). However, often a better solution is to use a curves adjustment layer clipped to the clone work layer.
For Photoshop, do your cloning, then create a curves adjustment layer. Alt / Option click between the clone layer and the curves layer to clip the curves layer to the clone layer. Then adjust the curves until the brightness of the cloned area matches the area around it.
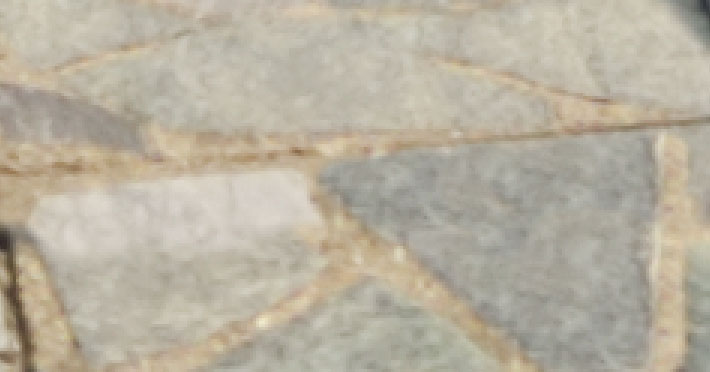
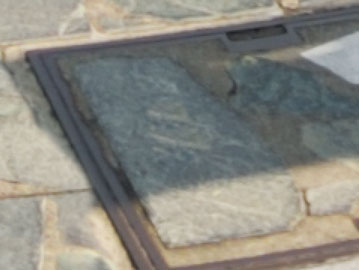
Cloned top half of paving stone on left is too bright
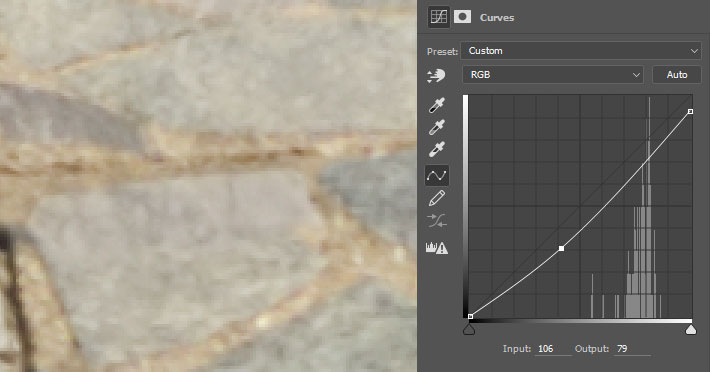
Curves adjustment clipped to cloned area to darken it, matching brightness of surrounding area
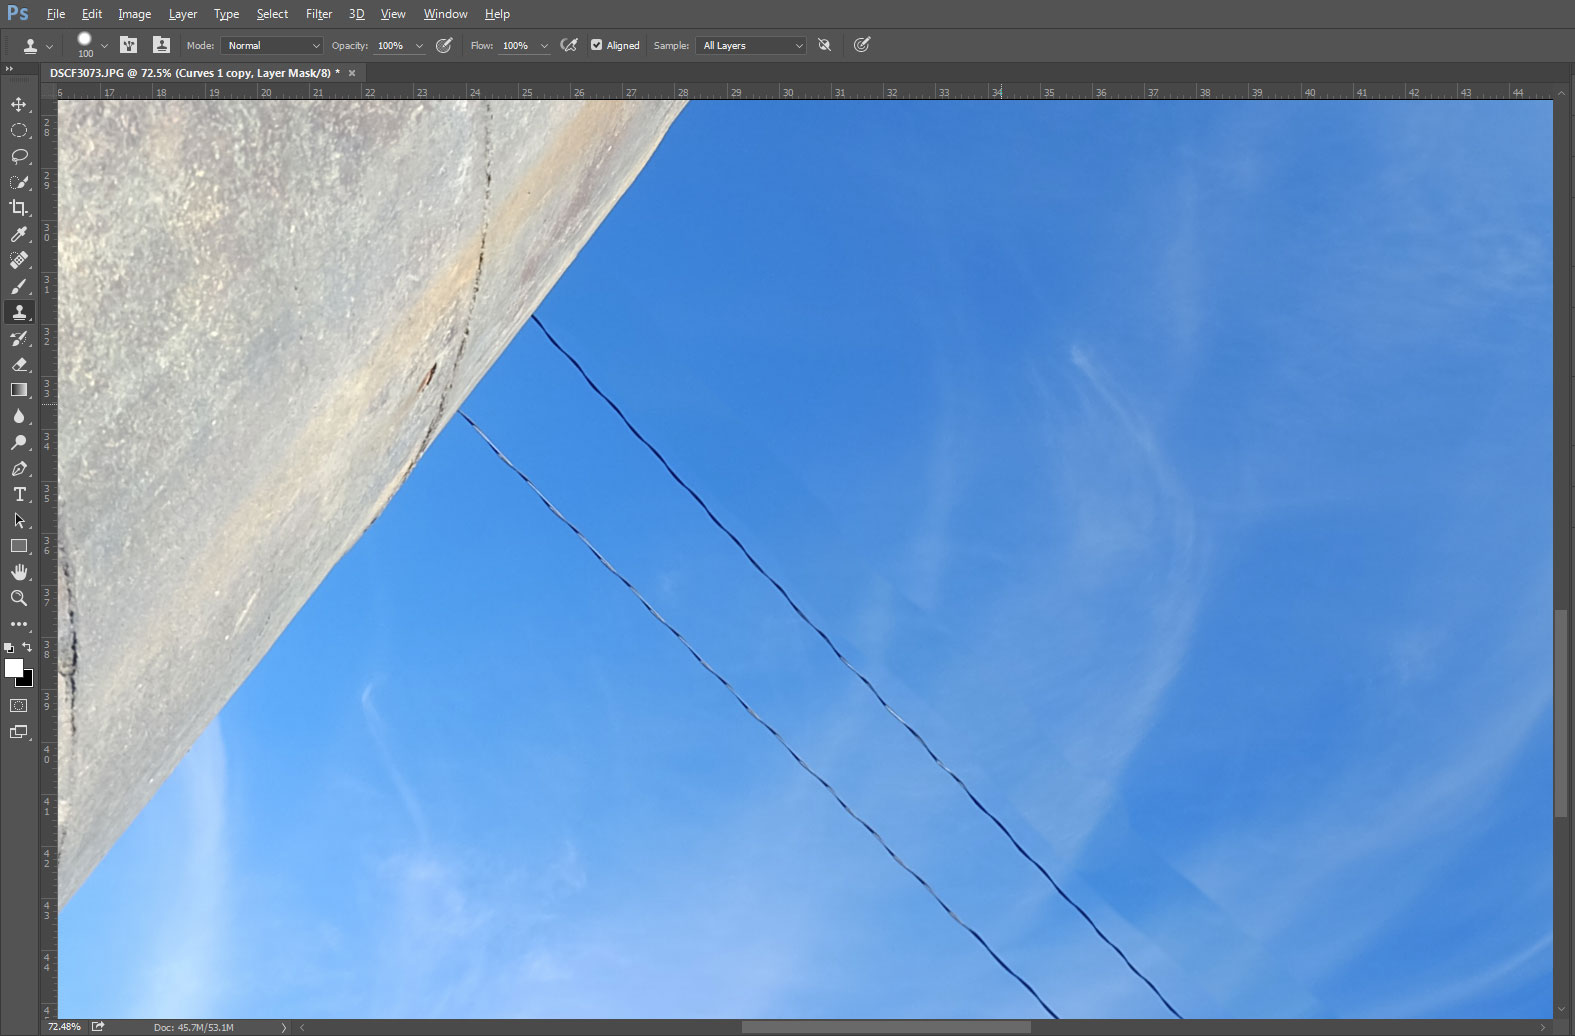
The process works for matching changes in color too. For example, you might need to clone from an area in sunlight to an area in shadow. Clip a curves layer to the cloned area, then darken the rgb curve, increase the blue curve, and decrease the red curve. After a bit of adjusting you should be able to get the cloned area to match.

Cloned area too bright and wrong color
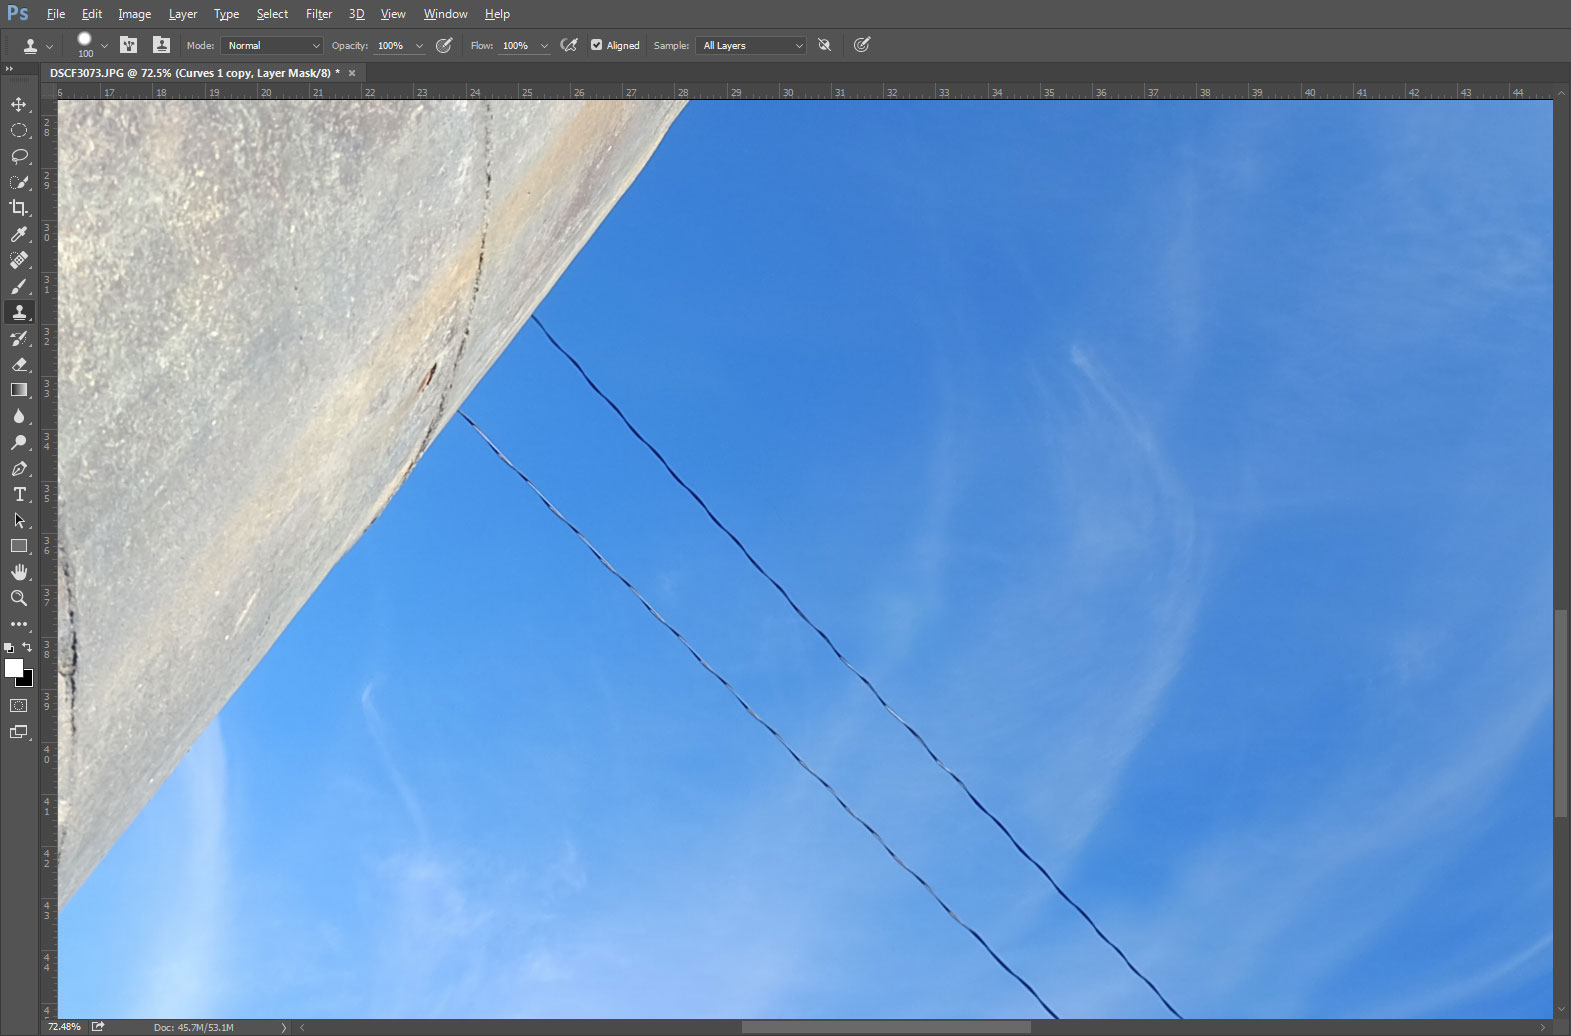
Curves adjustment layer clipped to clone layer to match brightness and color
GIMP doesn't feature adjustment layers, but you can just apply the curves adjustment straight onto the cloned layer.
You might be thinking that in the above example you can still see where the cloned area is. But that's because you're specifically looking for it and know where it is. You don't need the cloned area to match perfectly, you just need to ensure that it won't stick out.
Sometimes you might have to deal with a gradual change in brightness that doesn't match your cloned area. In this case a plain curves adjustment may make the cloned area the correct brightness in one area, but make it too dark or bright in another area.
The solution in this case is to make a curves adjustment that matches the darkest / brightest area correctly. Then paint (or use a gradient fill) on the curves' layer mask to reduce the effect over the rest of the cloned area.
Clone Source Options
In Photoshop there is a 'Clone Source' window that gives you quite a few more options for the clone tool. You can set and choose multiple clone sources.
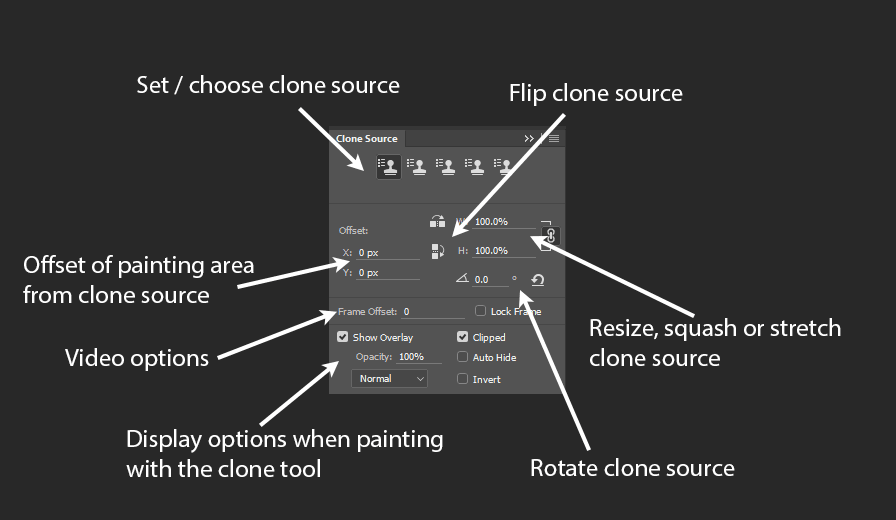
You can flip the clone source vertically or horizontally. This can be useful when cloning over something that is mirrored / symmetrical. For example, if you have a person standing against the left of a door you want to remove. You can paint over them using a horizontally flipped clone from the right side of the door.
You can also rotate the clone source. Rotating and / or flipping can also help when you are trying to avoid repeated patterns in your cloning, as it makes the cloned area slightly different from the original clone source.
The clone stamp tool is not always the best choice for cleaning up an image. Sometimes the patch tool may work better, or the healing brush. In certain cases you may be best off manually copying and pasting an area, warping / distorting it as appropriate, then applying a layer mask to blend it in.
But the clone tool is a good general purpose tool for removing items from images. It's probably the tool you'll want for 90% of this type of touch-up job, and so is well worth understanding how to use well.


