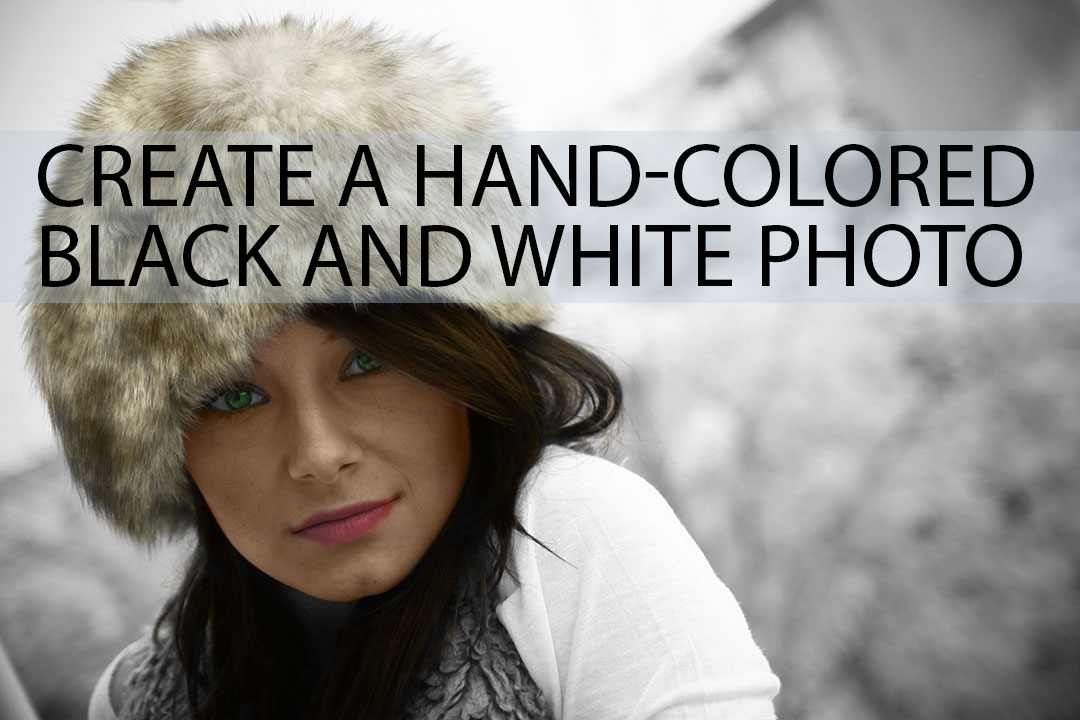
Create a Hand-Colored Black and White Photo
Before the advent of color photography, a process of hand coloring black and white photos was sometimes used. Color (often using watercolors) was simply painted on top of the photograph, to create a color image.
This process gives the images quite a unique look. In this article I want to look at how you can do the same, giving any image that hand-colored black and white photo look.
For the purposes of this tutorial I will be using Photoshop Elements, however the process is very similar whatever image editing software you use.
To start off with, we need a black and white photo. I am going to use a color photo and then convert it to black and white. The image I'll be using is Girl with fur cap by Catalin Pop. You can download the image to follow along with the tutorial.
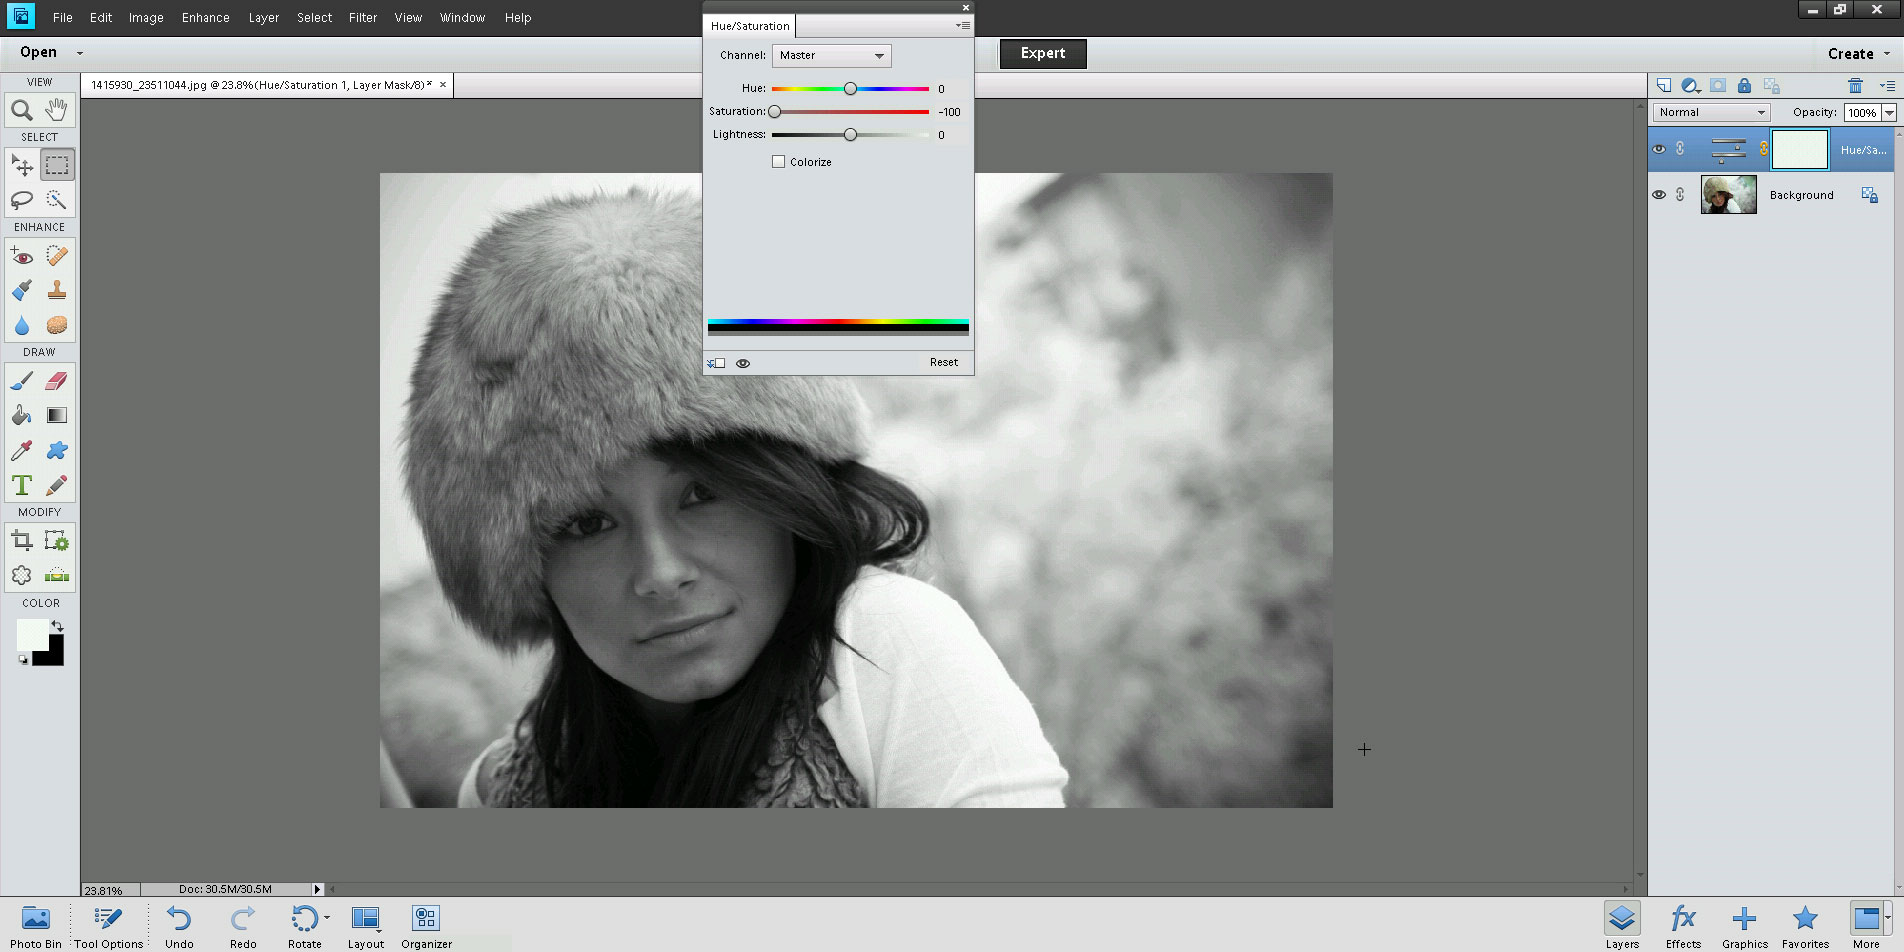
With the image open, I create a Hue / Saturation adjustment layer, and set the saturation to zero.
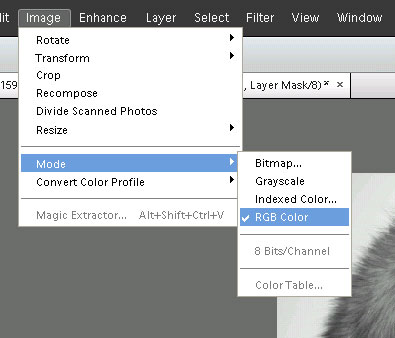
If you are starting off with an image that is already black and white, you may need to convert it to a color image. Otherwise you won't be able to add any color. To do this in Photoshop Elements, go to Image > Mode > RGB Color.
To start colorizing your image, create a new layer. (Click the new layer icon above the layers palette, or go to Layer > New > Layer... or press Ctrl / Cmd + Shift + N on the keyboard).
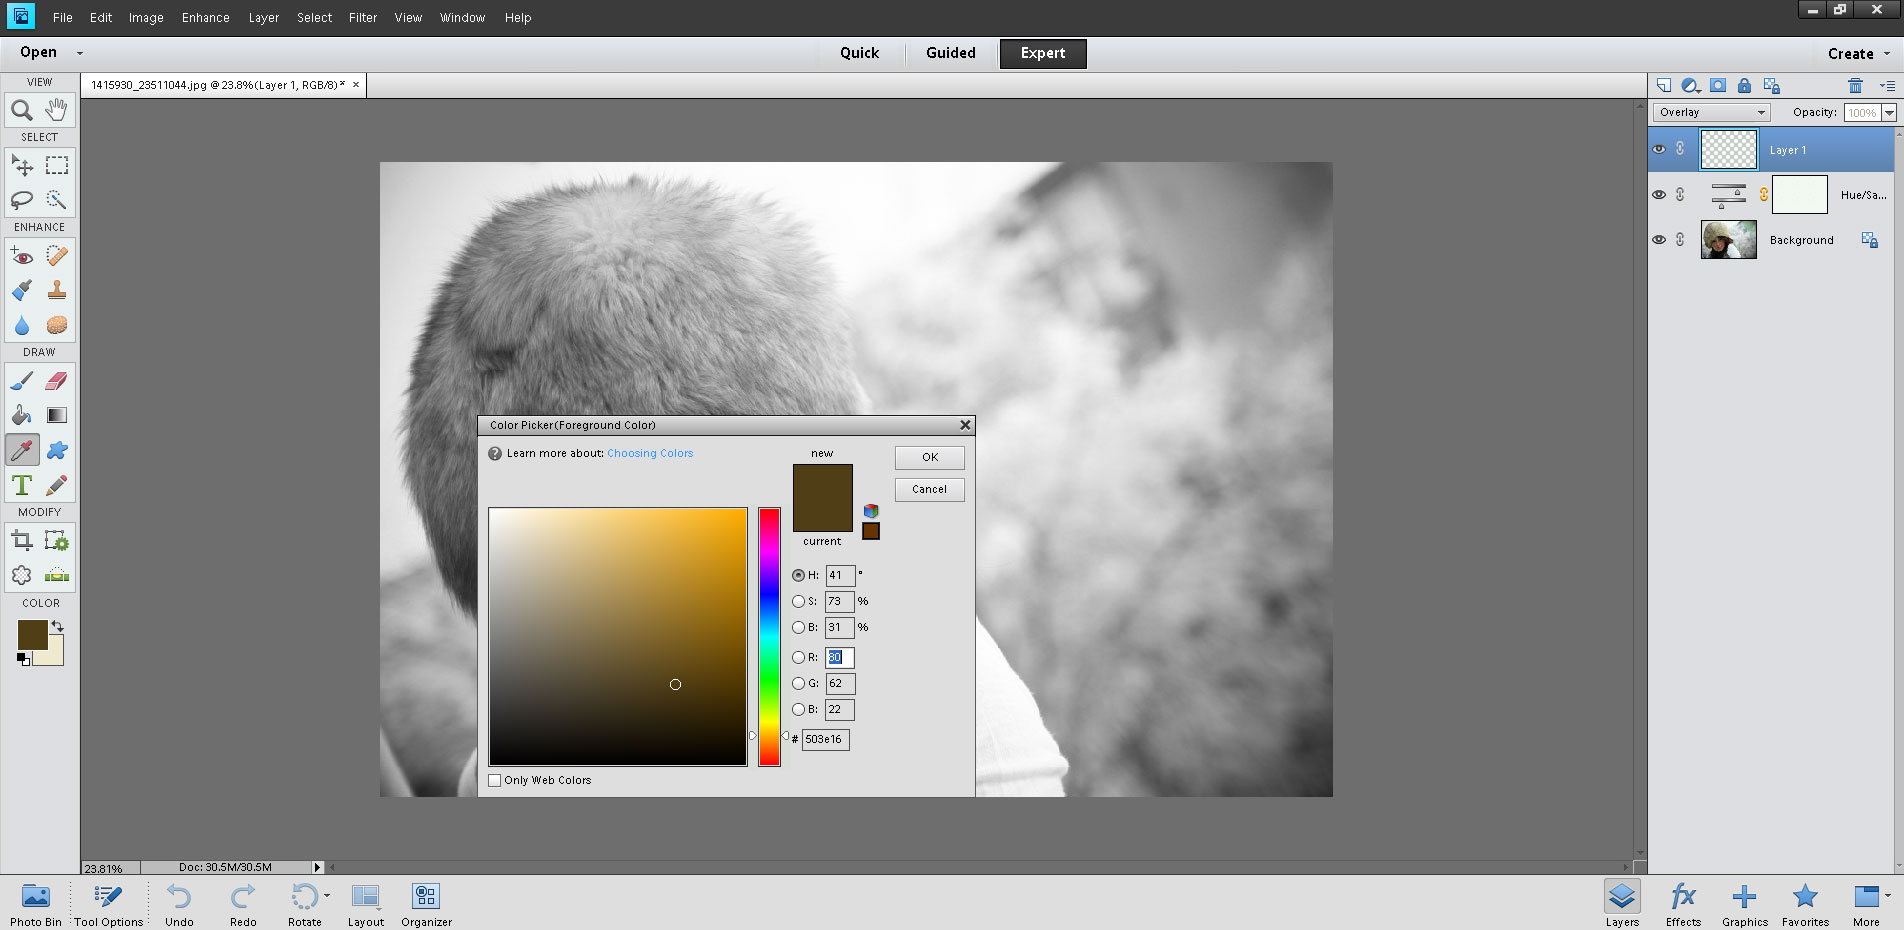
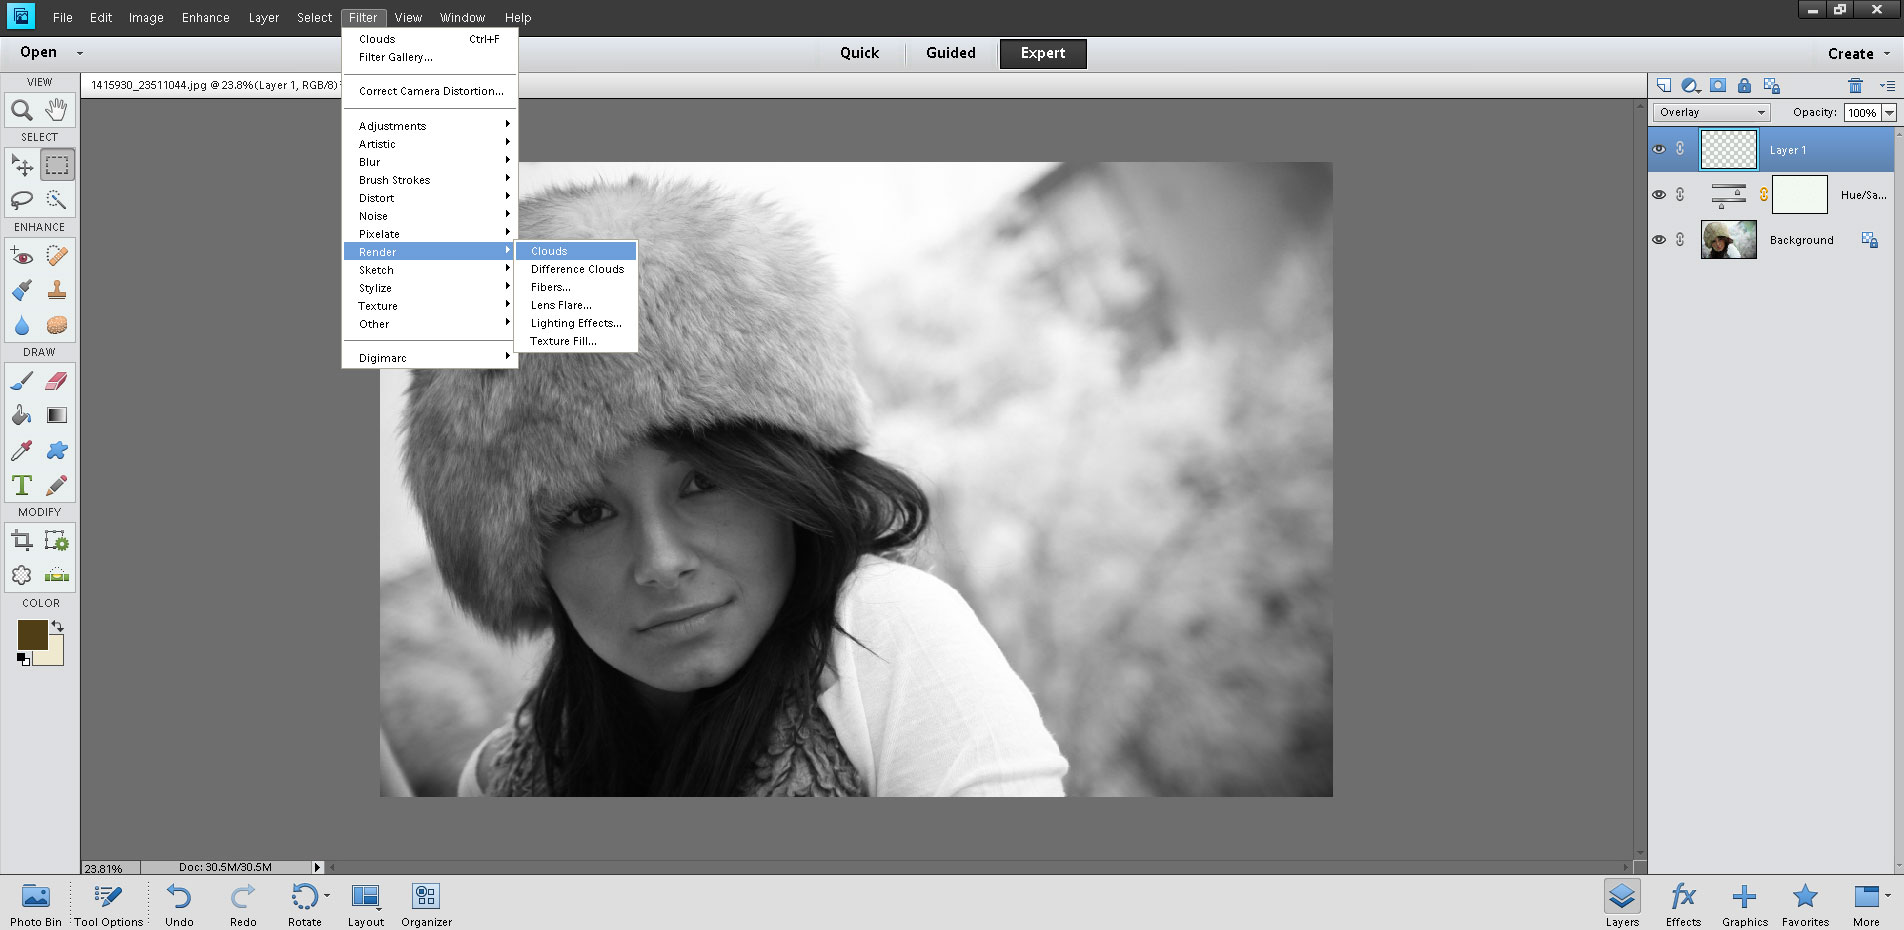
Decide what part of the image you want to paint first. I'm going to start with the hat. Now, there are a variety of ways you can paint over the image. For the hat I want to paint it a mottled brown color.
To do this, I'm going to use Photoshop's clouds filter. This creates a cloud-like texture using your foreground and background colors as the light and dark parts of the 'clouds'. So I choose a dark brown as my foreground color, and a light brown as my background color.
To choose your color, just click on the respective color chip in the tool panel. This then brings up the color picker where you can choose your color.
To create the cloud texture, go to Filter > Render > Clouds.
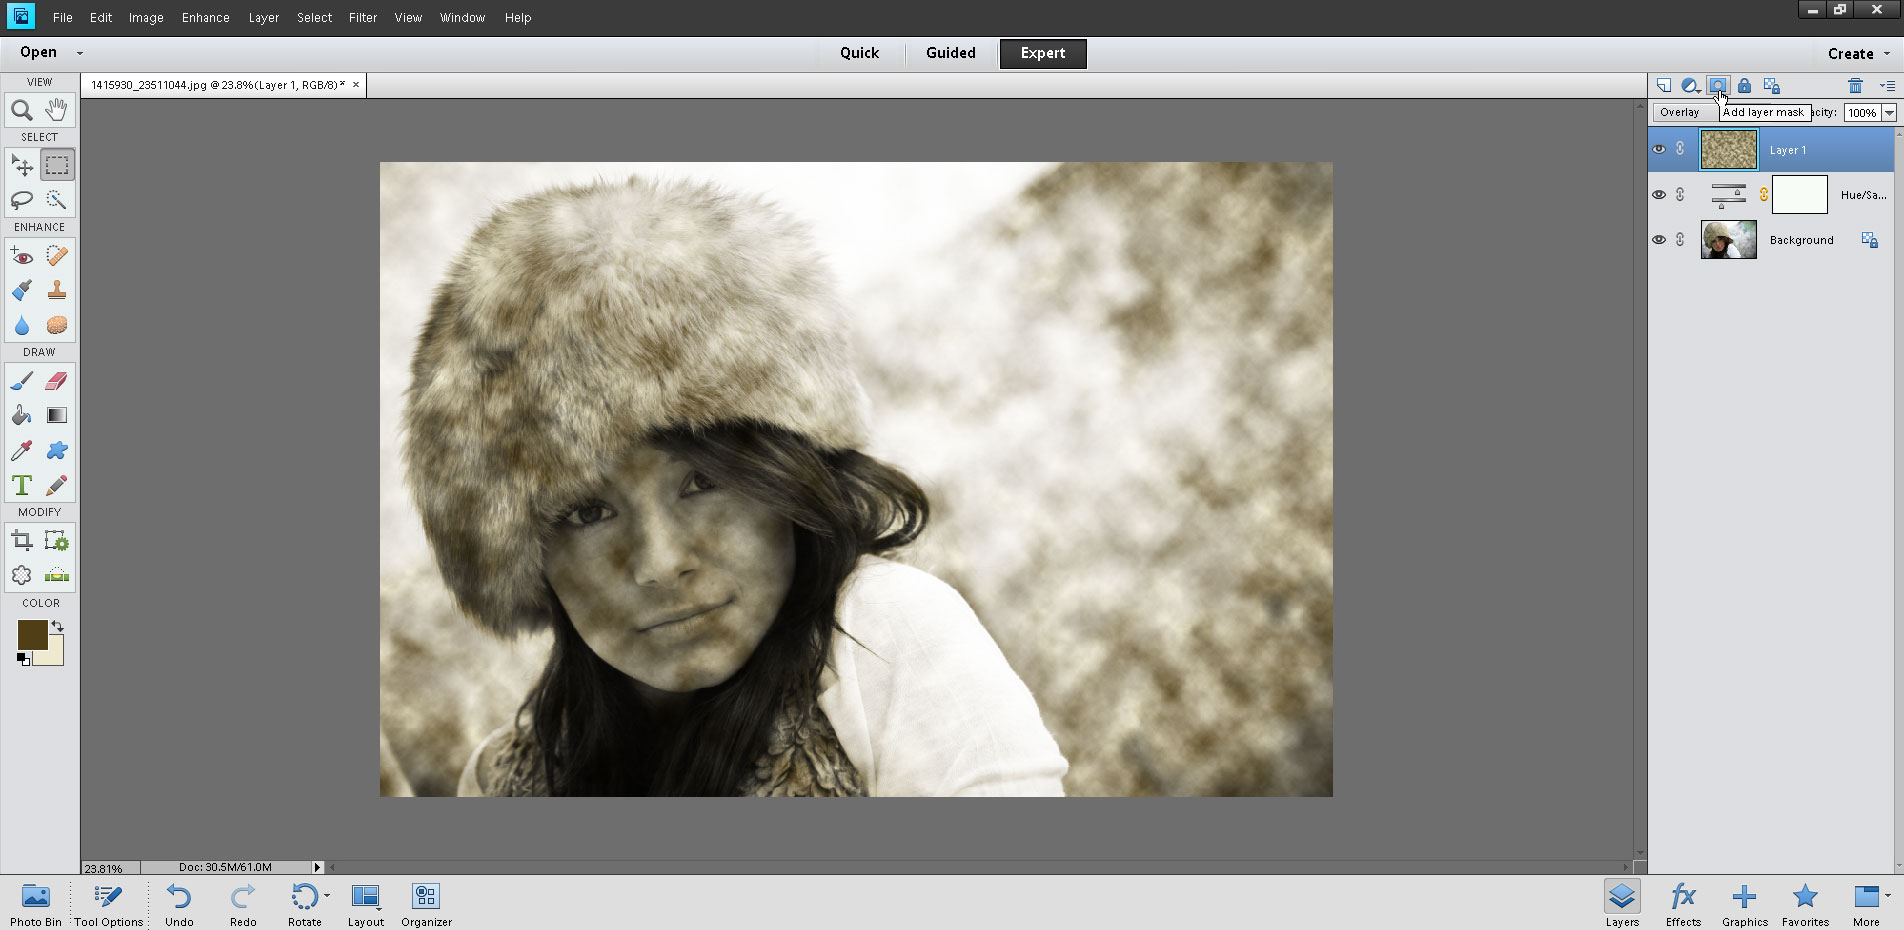
Then change the layer blend mode to Overlay.

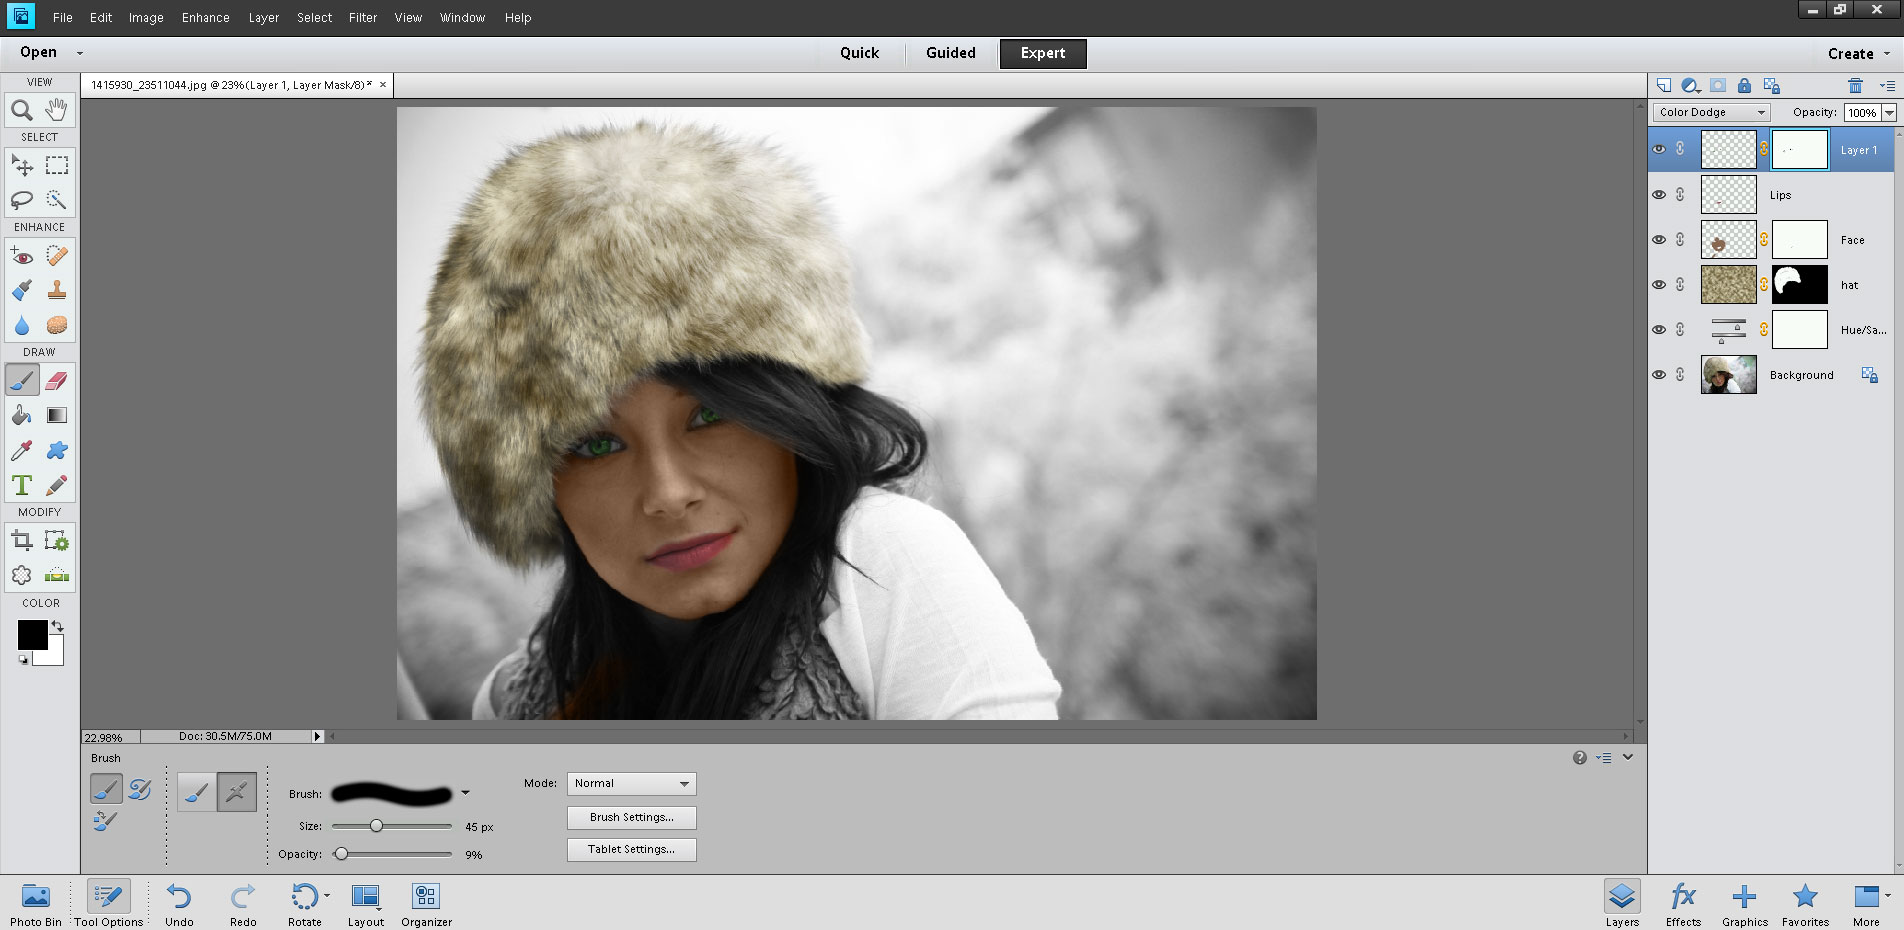
Next, add a layer mask to your layer. This will be used for restricting the color only to the hat. At the the top of the layers palette Alt / Option click the Add layer mask icon, or go to Layer > Layer Mask > Hide all. This will create a black mask that hides the layer.
Click on the layer mask thumbnail in the layers palette to select it.
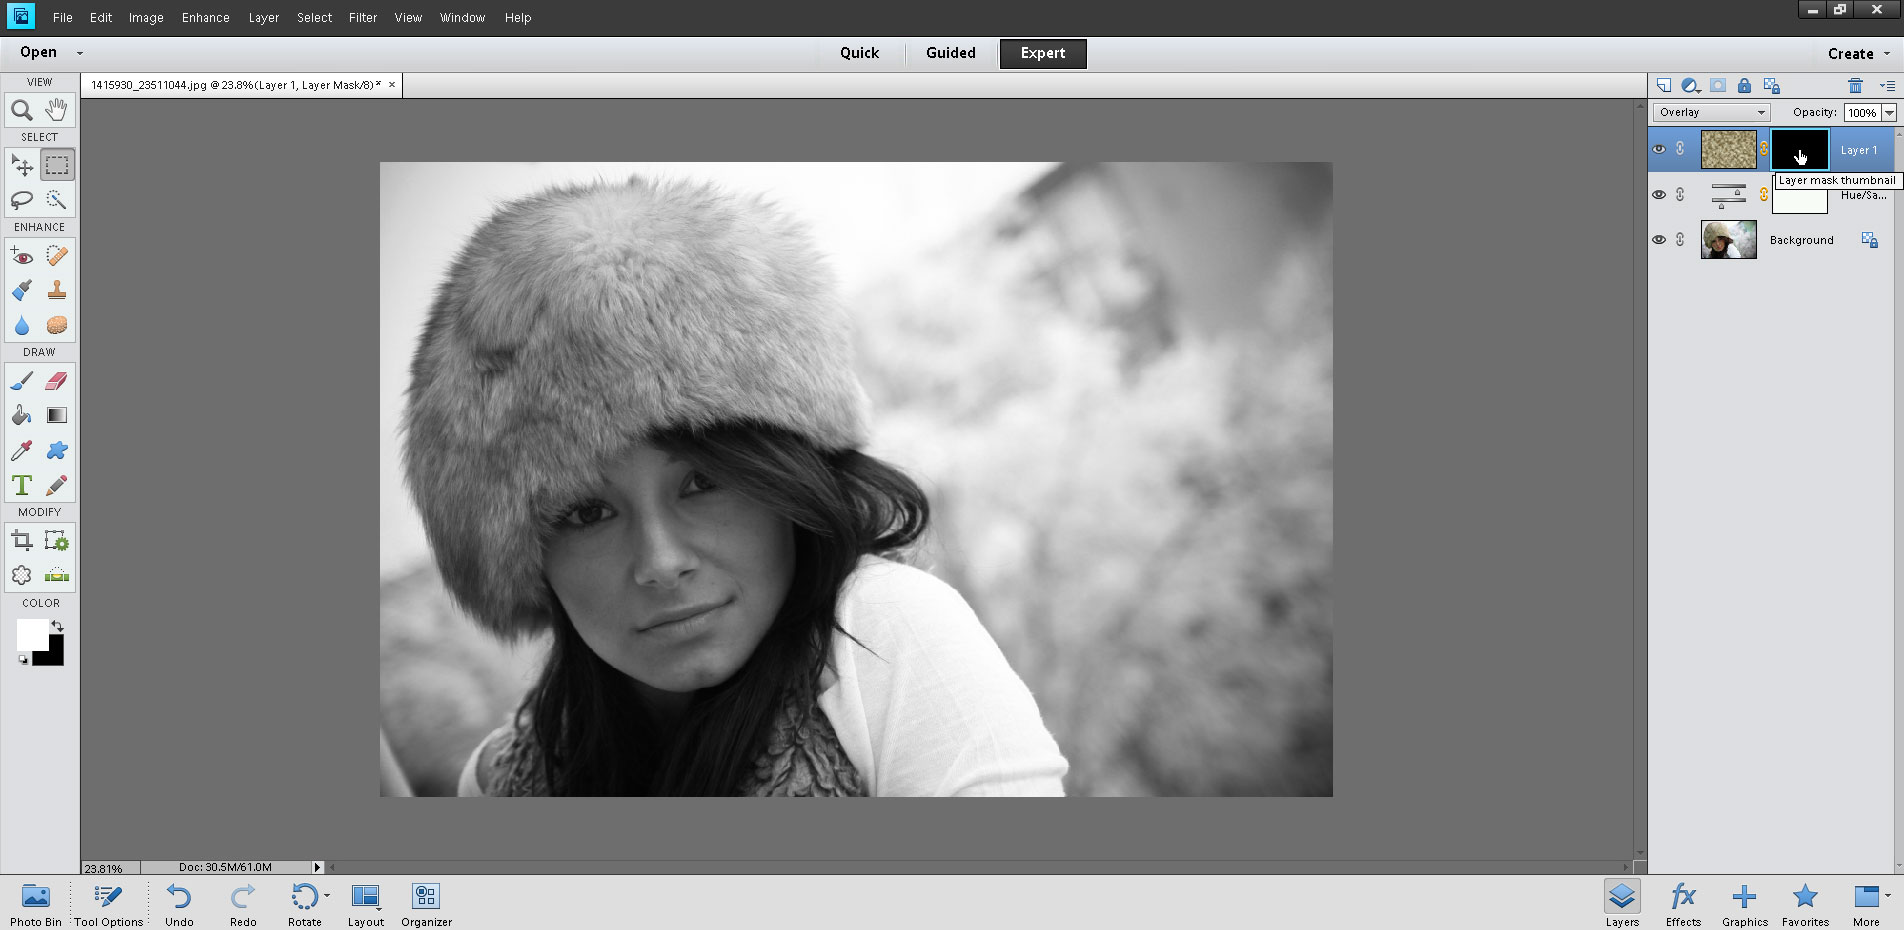
In the tool palette, select the paintbrush tool. Choose the brush settings as you see fit. I've gone for a soft round brush. Then paint in the color over the hat, remember for layer masks white reveals while black conceals. You can quickly change between black and white paint by using the X key on your keyboard.
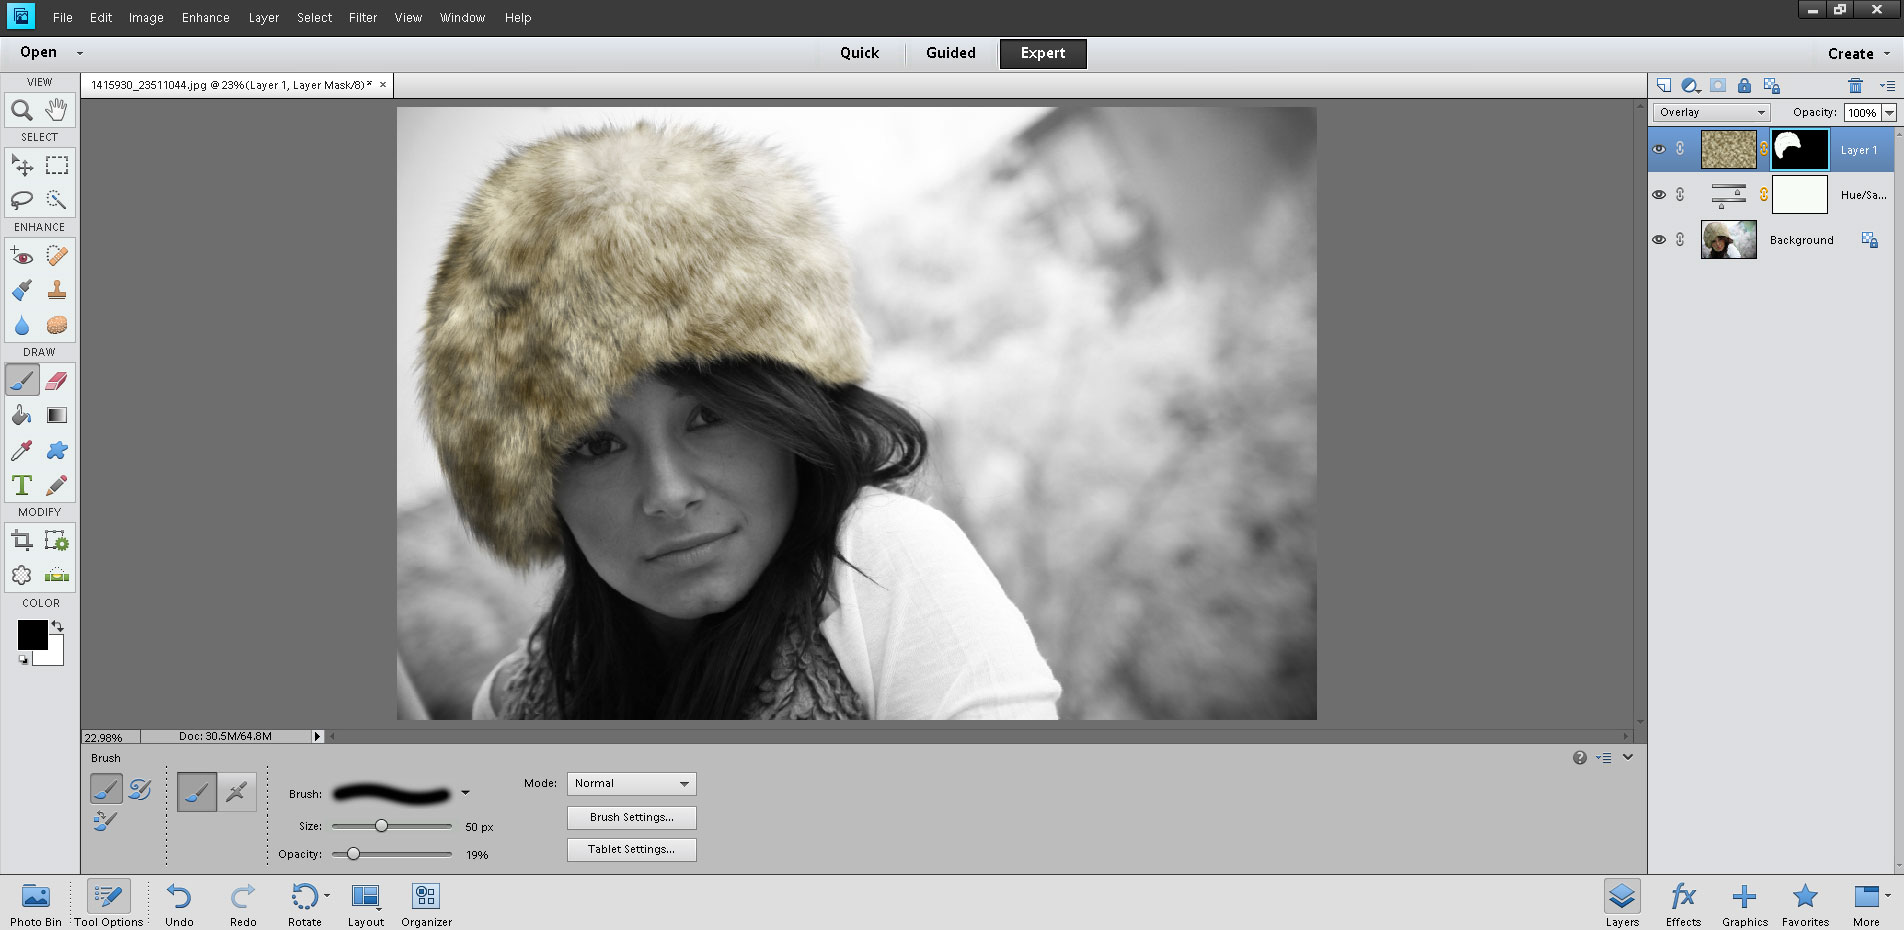
For areas around the edge of the hat you may want to use a smaller brush size. The brush size can be adjusted quickly by using the left and right square bracket keys - [ for reduce size, and ] for increase size. For the thin hairs around the edge you may want to brush over them very lightly by setting a low opacity for your brush.
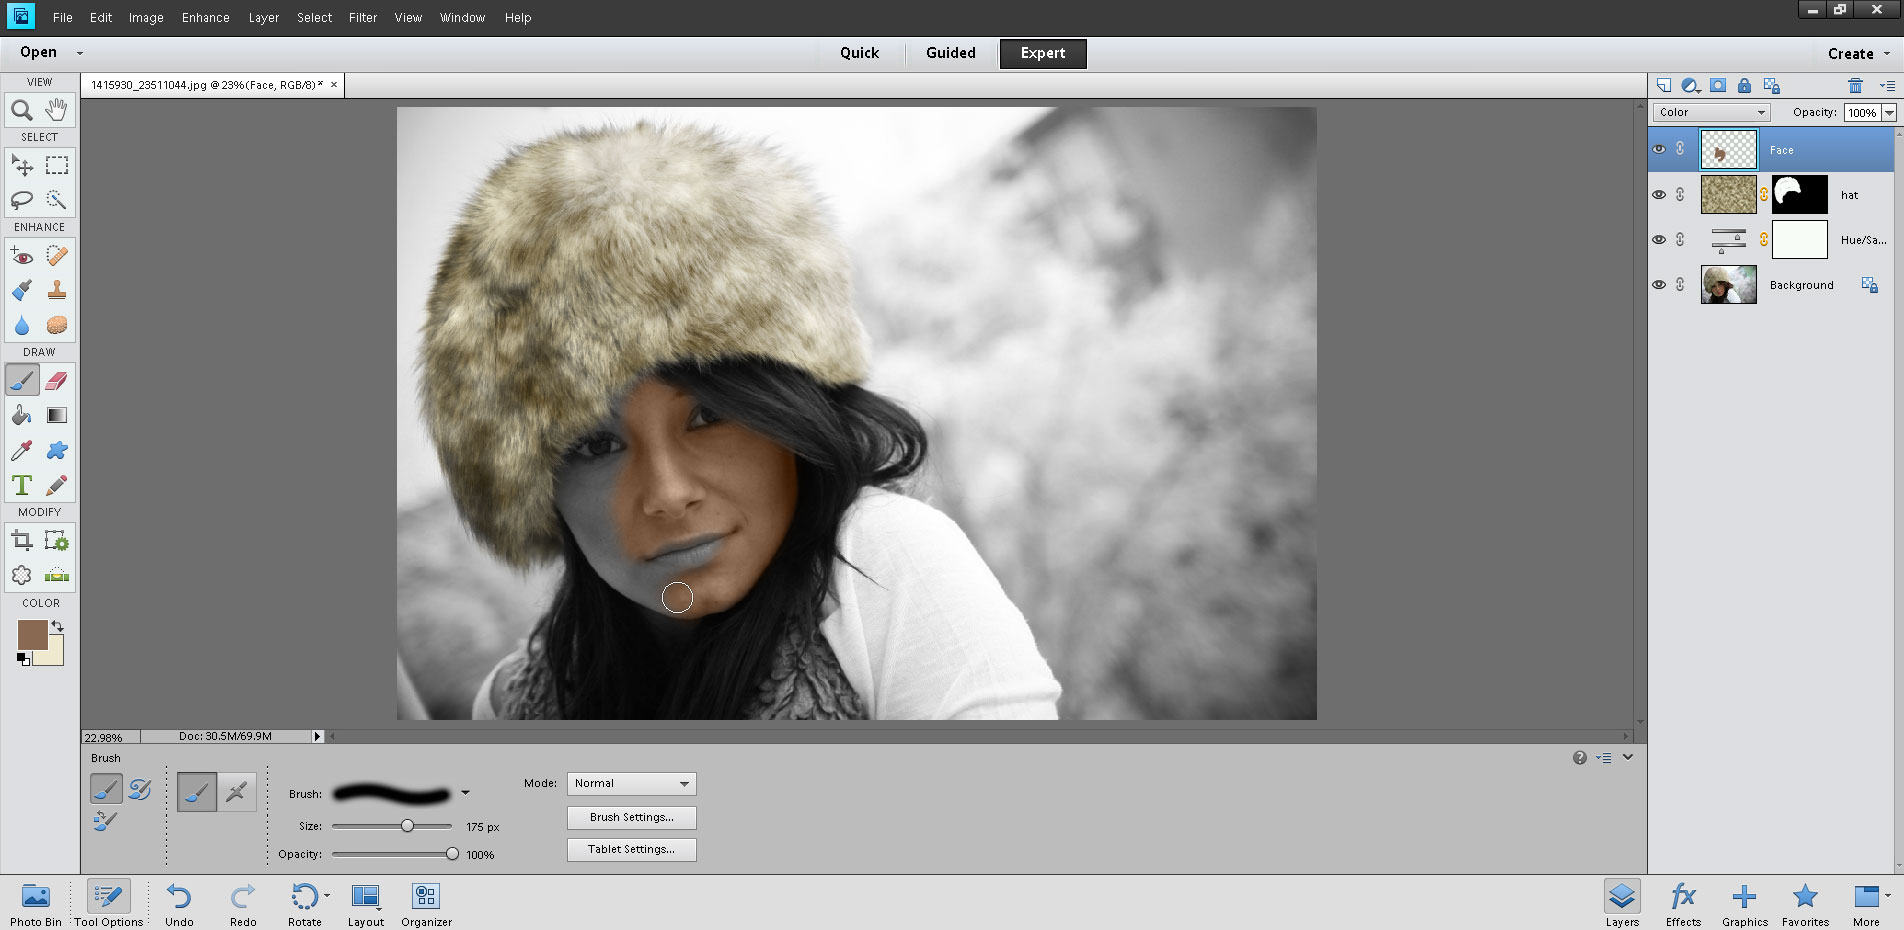
Next, to color in the face, create a new layer. You may want to rename your layers to indicate what they contain. You can do this by just double clicking on the layer name in the layer palette.
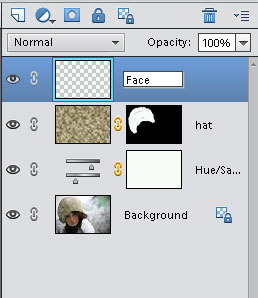
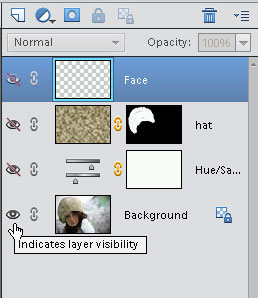
Select a flesh tone color. To do this, I am going to sample a tone from the skin on the color image. Alt / Option click on the eye icon next to the image layer. This will hide all other layers, showing just the image layer.
Select the eye dropper (color picker) tool, and in the tool options choose Average (5x5). This will make the tool sample the average color from a 5x5 pixel square, giving a better result than just sampling an individual pixel. Click on an area of the face to take a sample of the color.

Now Alt / Option click on the eye next to your image layer again to reveal all the layers again. Select your face layer, and change the blend mode to Color.
With the paint brush tool, start painting the color over the face. As with the hat, you may need to reduce the brush size and / or opacity for coloring in more tricky areas.
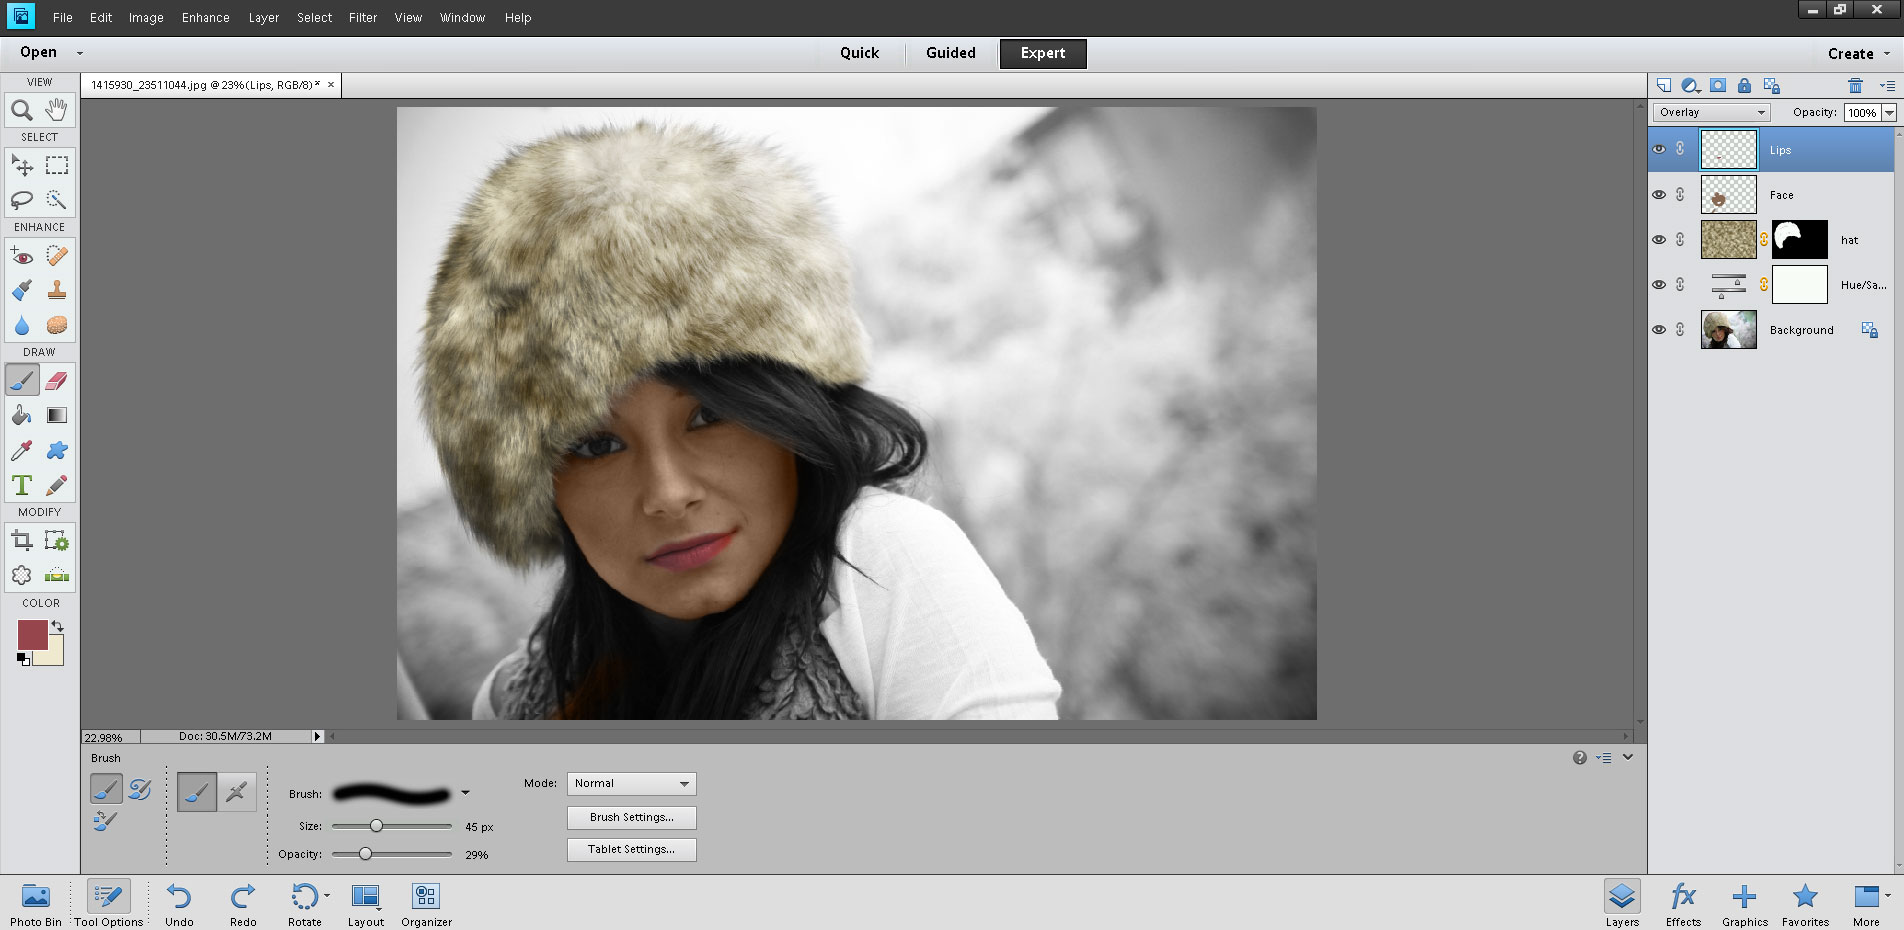
Create a new layer for the lips, and change the blend mode to Overlay. Again, you can select a color for the lips manually if you like, but I'm going to sample a color from the original color image. The process is the same as for the skin. Then color the lips in.
After coloring in the lips I found that when doing the skin I'd accidentally painted some of the skin color on the bottom right of the lips. This results in the lips color being too strong here, as it has the lips color overlaid on top of the skin color.
So to correct this, I add a layer mask to the skin layer, and then use a low opacity black brush to paint out the skin coloration over the lips.

Create another new layer for the eyes. The eye color isn't very strong in the original image, but for the painted image I will make the eyes a stronger green color. I choose green as my brush color and paint over the eyes.
Because the eyes are quite dark in the original image, the Color Dodge blend mode works well for brightening up the eyes. I find that painting sloppily over the eyes, and then adding a layer mask to clean it up is easiest. Getting the pupils right will take a bit of trial and error with brush softness and size.
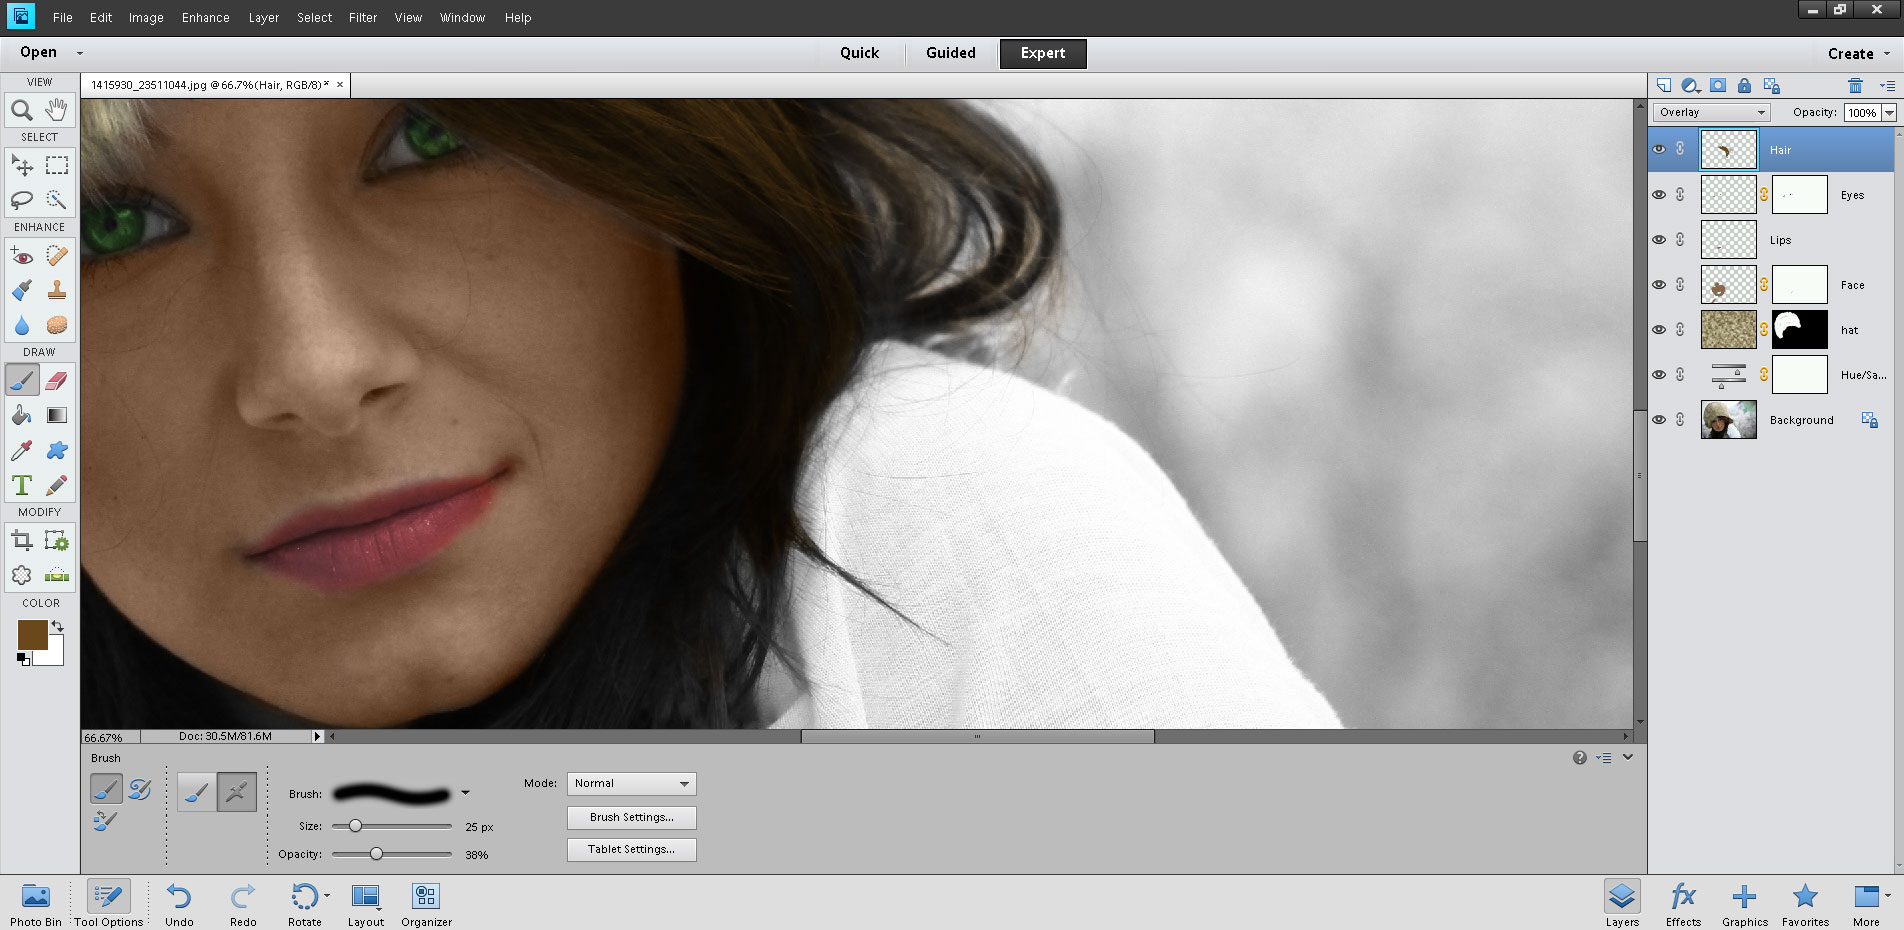
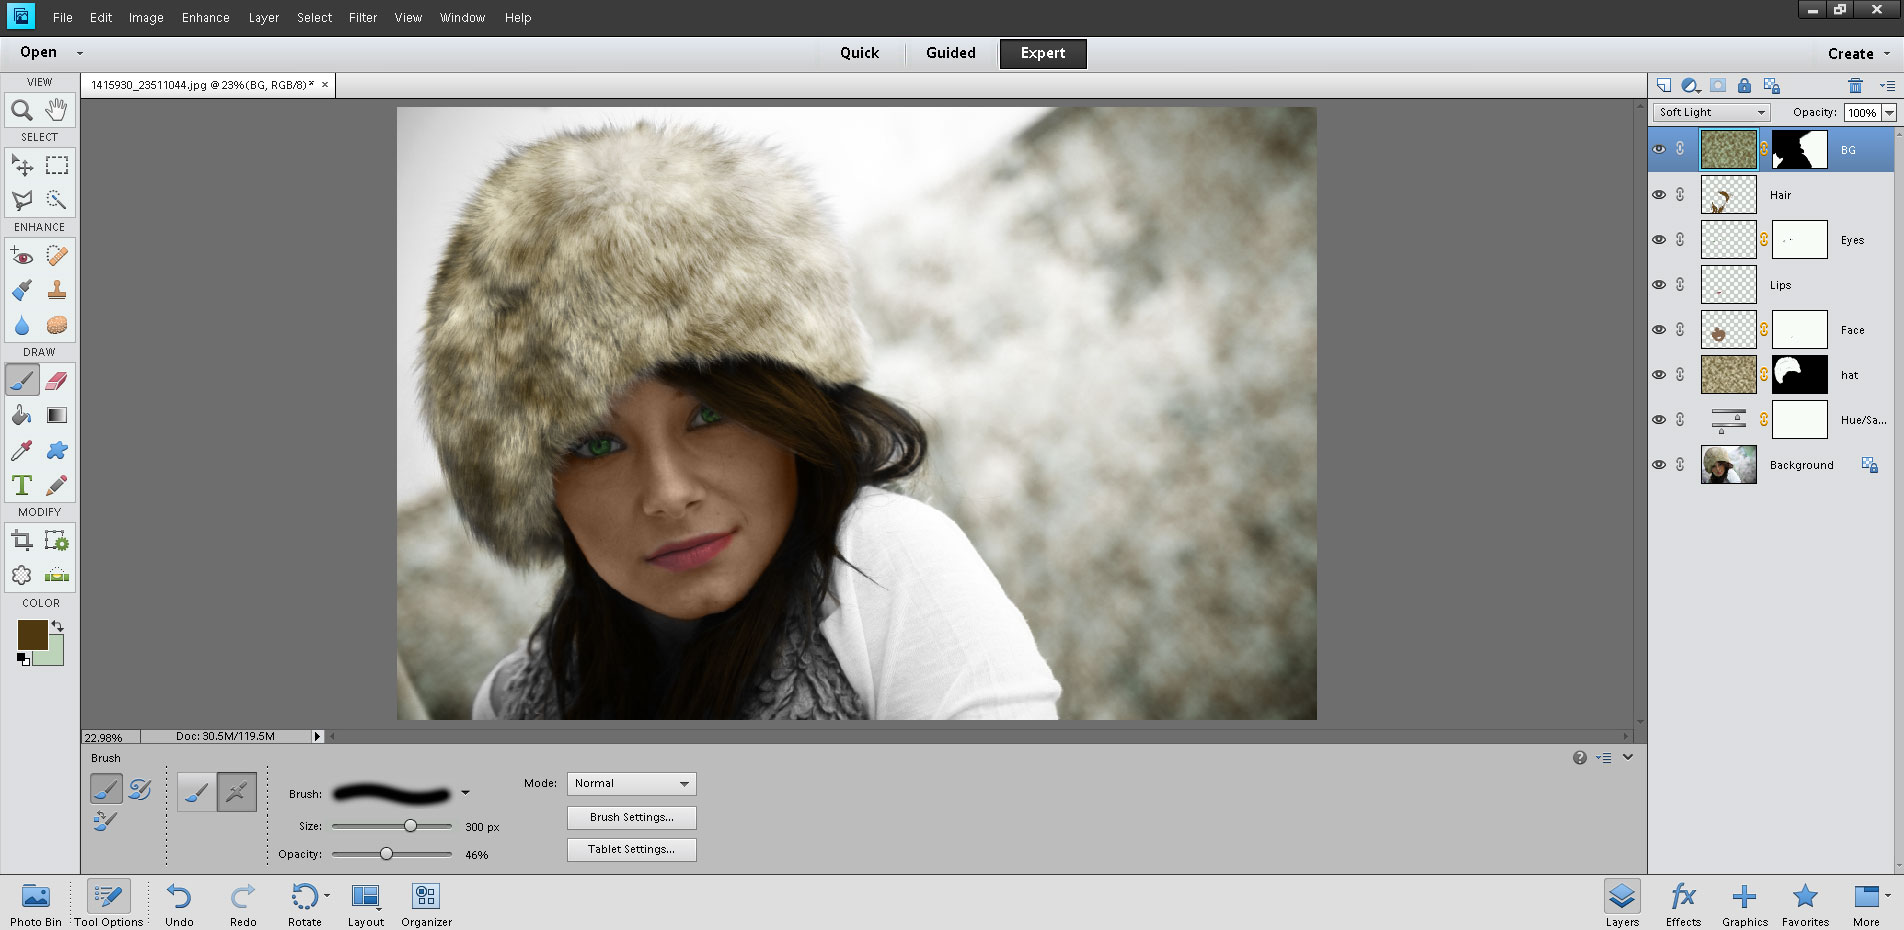
Next add another layer for the hair. Change the blend mode of this layer to Overlay. Choose a dark brown hair color, then paint over the hair. Change the brush size and lower the opacity of the brush when dealing with tricky areas.
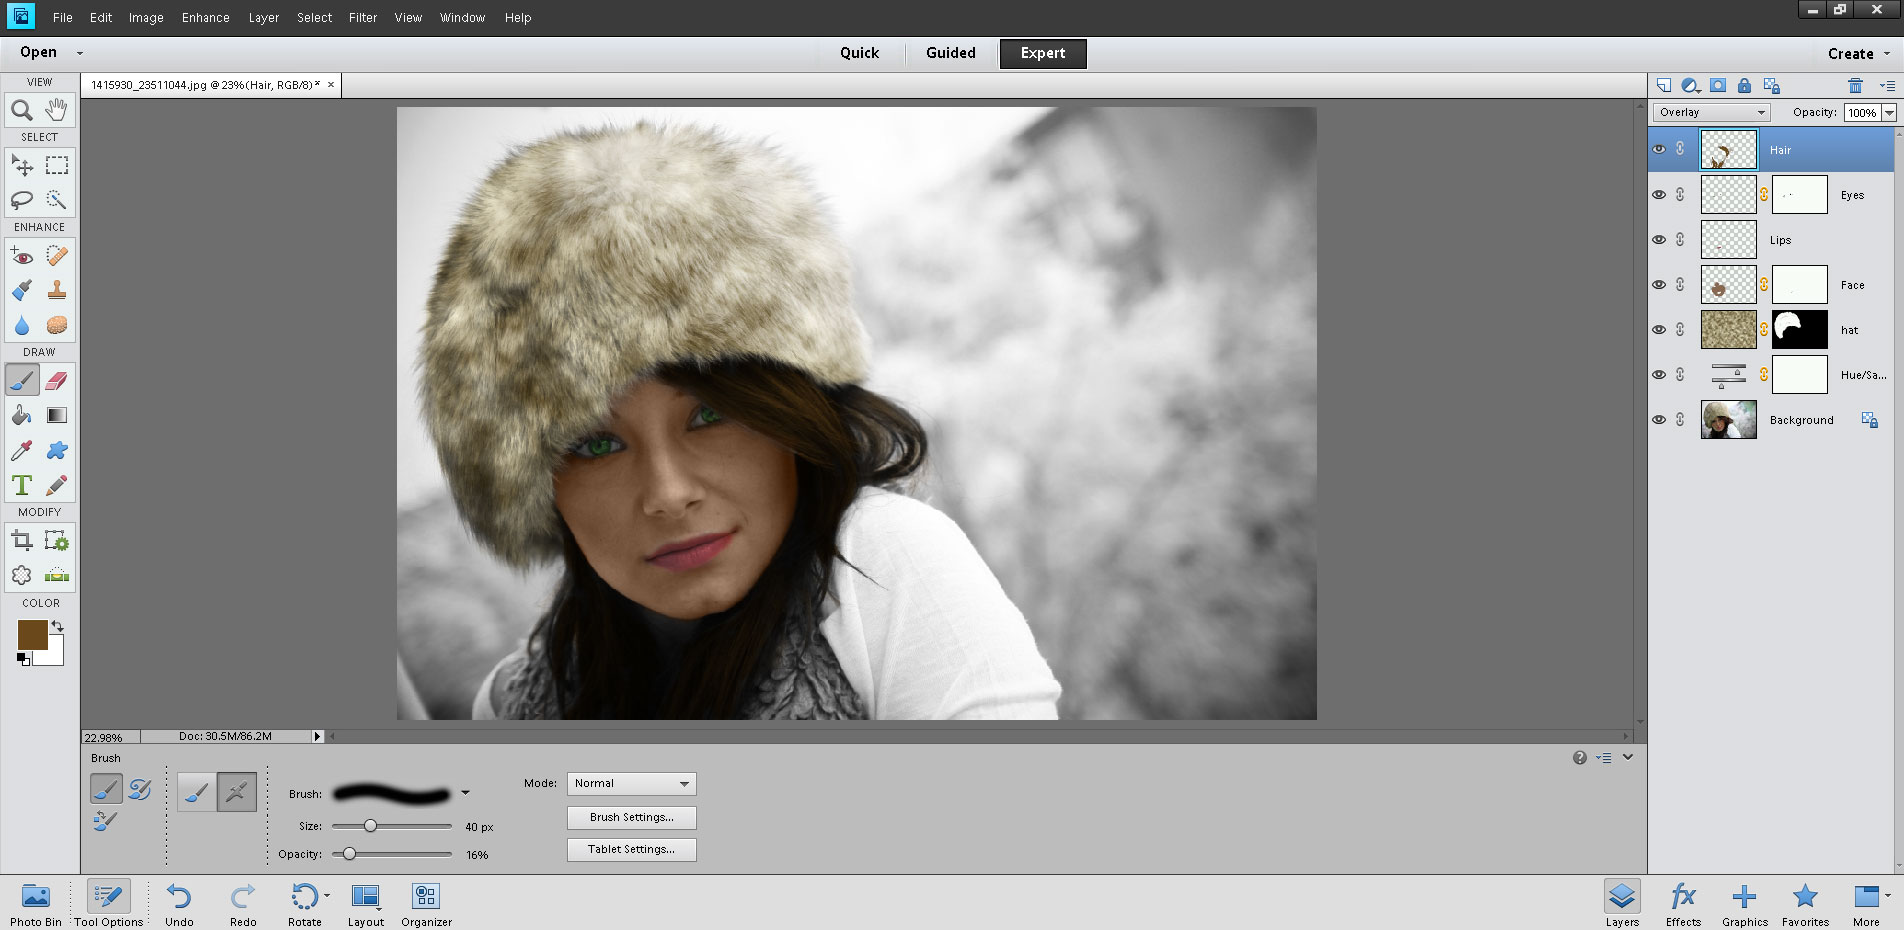
Personally, I am quite happy with this image as it is now. The desaturated background helps draw attention to the subject (or should that be it doesn't distract from the subject). However, for the sake of completion I'll go over colorizing the background as well.
As the background is out of focus, another clouds layer will work well. I chose dark brown and pale green as my background and foreground colors, created a new layer, and then went to Filter > Render > Clouds. Then change the blend mode of the layer to Soft Light.
How did I decide to use the Soft Light blend mode? Or how did I decide which blend mode to use for any of the other layers? It's just a case of experimenting with the different blend modes to see which one looks best really.
For this layer, Overlay is too strong in my opinion (though you could use Overlay and reduce the layer opacity). But Soft Light gives a nice balance of color to my eyes.
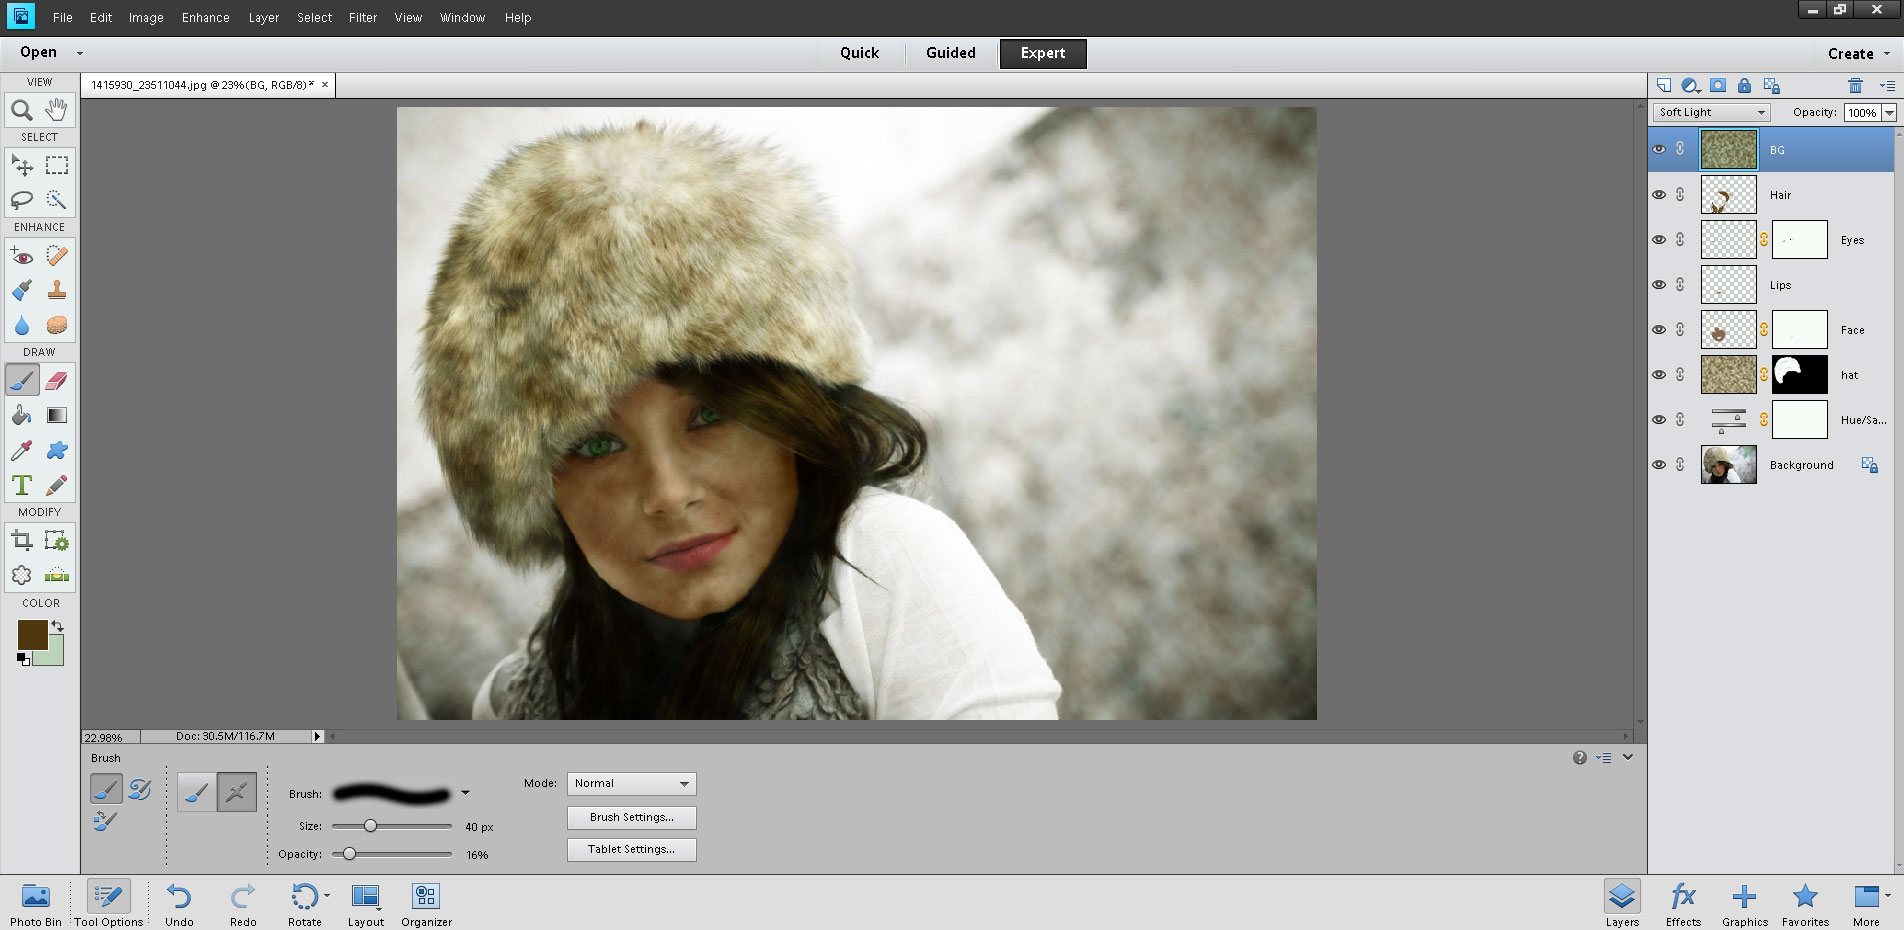
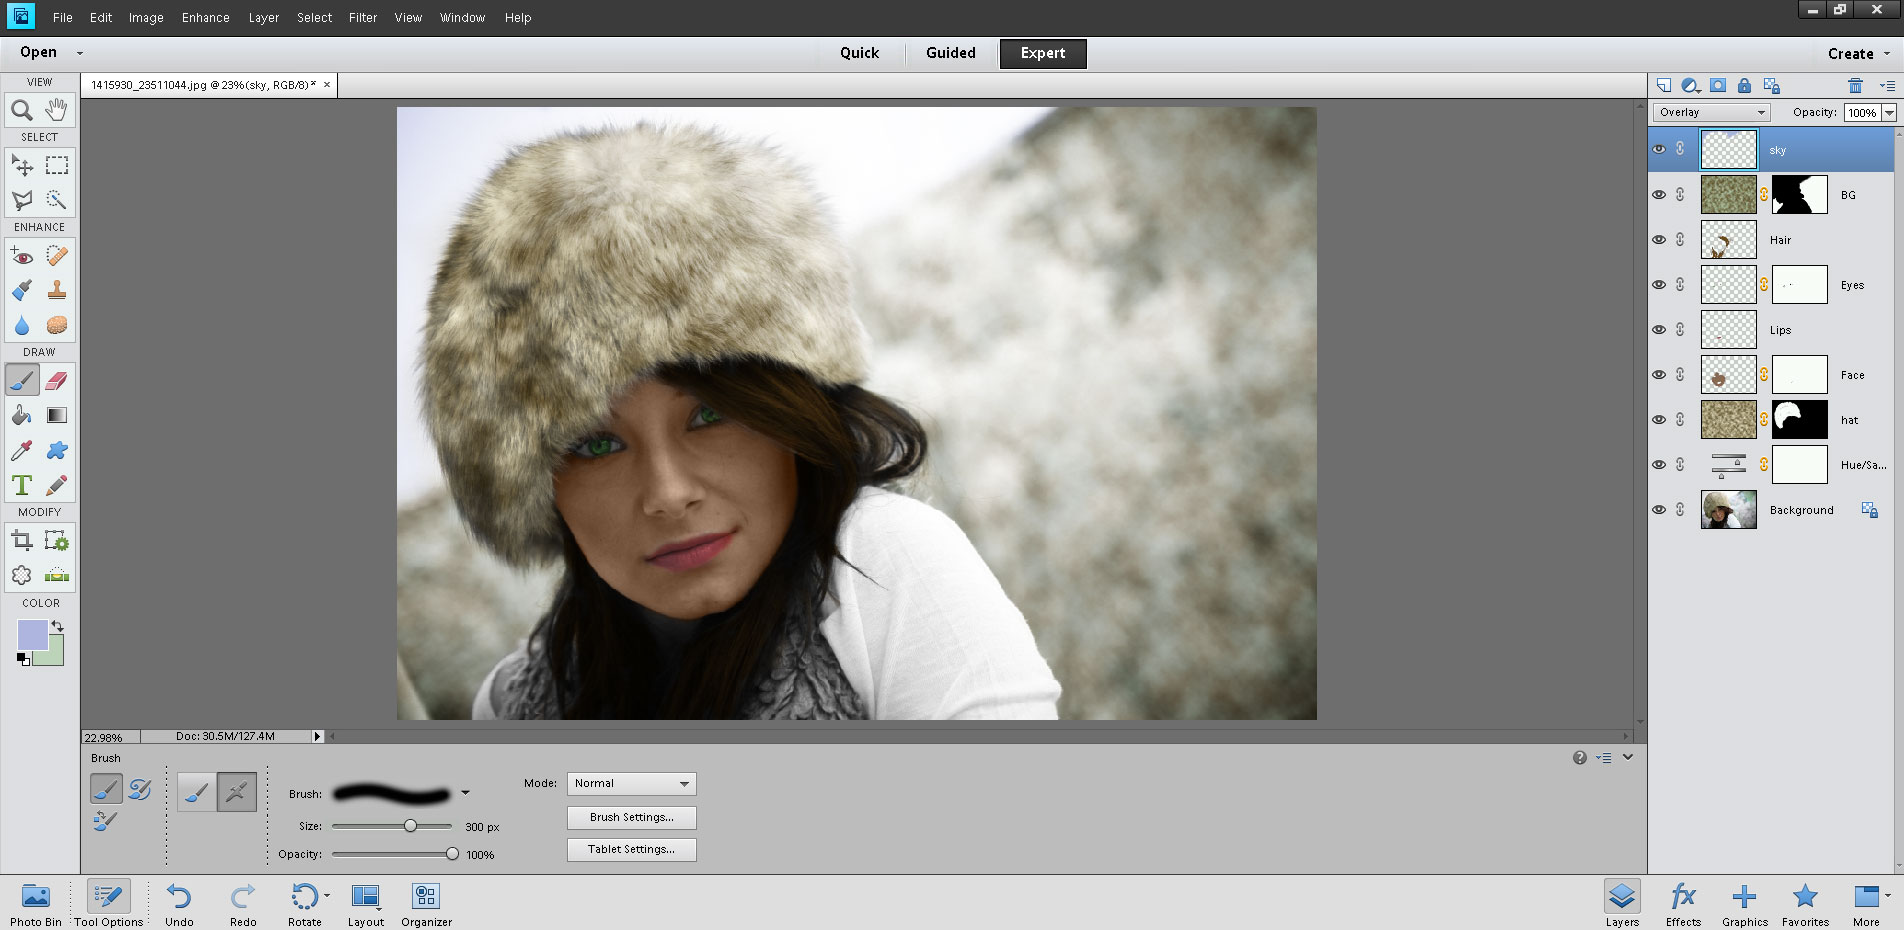
Add a layer mask, though this time just add the layer mask normally (or use Layer > Layer Mask > Reveal all). Then use a black paintbrush to paint out the effect over the sky and person.
Finally, add another layer for the sky, put it in overlay blend mode, and paint the sky area blue. This won't have much effect as most of the sky is blown out white anyway. You could choose a different blend mode (such as multiply) and reduce the opacity. But it's not worth the effort of trying to paint around the edge of the hat in my opinion.
So, the technique of painting over a black and white image is quite simple really, though not necessarily easy. Some images can be quite tricky to paint over correctly. How accurately you paint the image, and how many different areas of color you use are really up to you.
Bear in mind that these issues were the same when people colorized black and white prints by hand. Some studios would hire expert painters to colorize the images carefully, whereas others would do a quick 'good enough' job (and of course the prices reflected the level of work done).
If you are looking to colorize black and white images as accurately as possible without doing much detailed brushwork, then you may want to consider specialist colorizing software such as Akvis Coloriage or Recolored.
It would also be remiss of me not to mention this excellent video tutorial from Photoshop Video Academy. The video shows how to go about colorizing an image based on selections, rather than painting. This can give a more accurate result than painting.
Colorizing black and white images isn't restricted just to portraits, though in my opinion this is where it is most effective. If you have some old black and white images you'd like to see in color, or you'd just like to give some modern images a vintage effect, then give it a go.


