Action figure & toy models photography tips
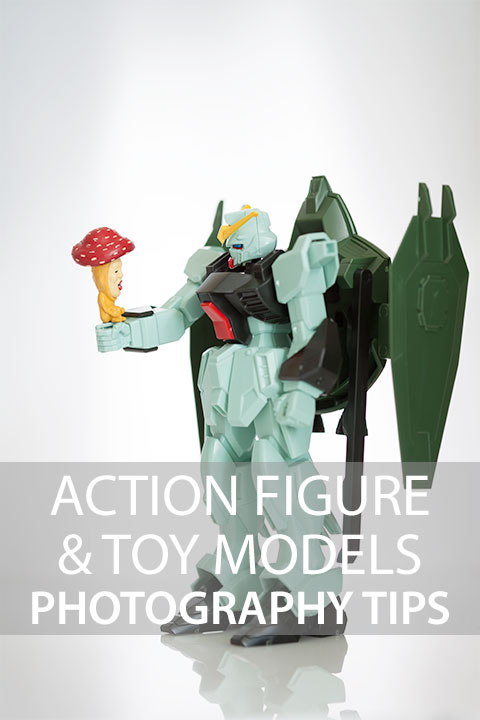
Action figure / toy photography is a relatively new genre of photography that has risen in popularity in recent years. Photos often feature well-known characters in unusual situations, or playing characters from different 'universes' off against one another.
In this article we'll look at why you might want to give action figure photography a try, the potential issues you'll come across and how to deal with them, and some tips for getting interesting and engaging photos.
A big advantage of action figure photography is its low barrier to entry and convenience. All you need is an action figure and a camera. You can take photos at any time of day, in any weather, and don't need to travel anywhere. There are no time constraints - you can set up the scene and then take as long as you want until you get a photo you're happy with.
The majority of action figure photography is done indoors on a tabletop. While natural light can be used, artificial light is usually preferred since it gives you more control over the lighting. This might be something as simple as a flashlight - since you are shooting static subjects, you don't have to worry about keeping the exposure time short like you would with a real-life model.
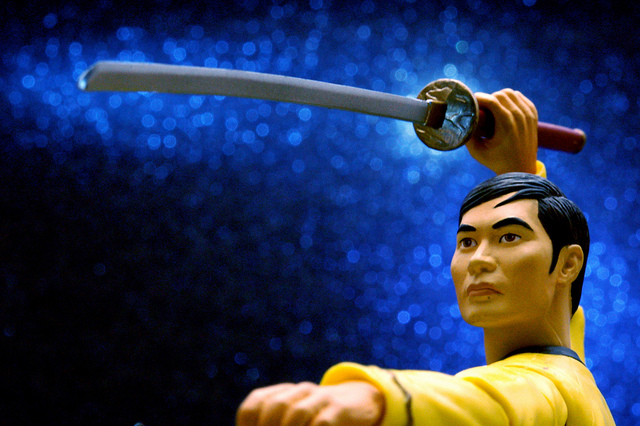
Edge Of Space by JD Hancock on Flickr (licensed CC-BY)
Playing around with lighting in tabletop photography is a great way to learn about lighting. The exact same principles apply whether you're shooting an action figure on a tabletop or a real-life person in a studio - it's just the scale that's different. Making your own light modifiers out of card and tissue paper is much easier at the tabletop scale too, since they can be so much smaller than they would need to be for full size subjects.
You don't need large expensive backdrops to use behind your model. You can use a piece of bent white card for a seamless background, or use a sheet of colored paper tacked onto the side of a box as a background. Experimenting with different colors and materials for the background is very easy.
A well done background can take a photo from good to great, so certainly play around with this. Using shiny / reflective items as the background, e.g. scrunched up foil or glittery card can give an interesting effect as it creates multiple highlights in the background.
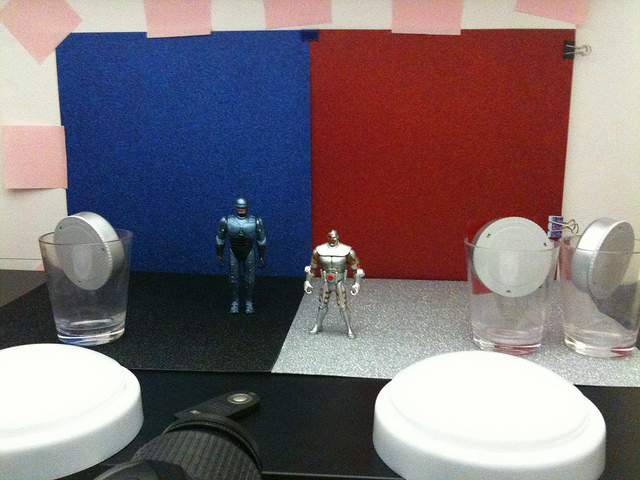
RoboCop vs. Cyborg Setup by JD Hancock on Flickr (licensed CC-BY)
When photographing action figures, the best angle is usually low down, effectively at eye-level with the figure. This creates a great sense of engagement and allows the viewer to relate to the figure more as a person than just a simple toy.
Before you start to photograph your action figure, make sure you give them a thorough dusting off. Use a soft brush and a blower to give them a good clean. Through your photos you want the figure to become something more than just a toy. But that won't work if it's covered in a visible layer of dust and lint.
Photo Gear
In terms of photographic equipment needed, you'll need a camera / lens that can focus fairly close. It does depend on how large your action figures / toys are that you want to photograph, and also how much space you want to leave around them. But most cameras and lenses can focus close enough for a good shot without you having to buy anything extra.
In terms of extras, if you need to get closer, you may want to consider using a macro lens, or Extension Tubes or Bellows if you have an interchangeable lens camera. Or you might want to try using a Close-up diopter lens, which will work with any camera that allows attaching filters in front of the lens.
A tripod can be handy to keep your camera in position while you experiment with the lighting. It is also a good idea if you're planning to shoot with continuous lighting, which typically requires a longer shutter speed than flash. A remote shutter release or using the camera's self timer function is also a good idea to avoid blur caused by camera shake if you are using a slow shutter speed.
Multiple lights and color balance
If you are using multiple light sources for your photo, then you need to be aware of any color temperature differences between the lights. If you are using continuous lighting (such as a flashlight or household lamp, as opposed to a flash / strobe), then remember that other light sources (such as room lighting or daylight coming through windows) can affect the image too. If you have an image lit with different color temperature light sources, then one of the light sources will appear to give off a warm (orange) or cool (blue) light, depending on how you set the white balance.
The majority of bulbs have a warmer color temperature than daylight, while LEDs can vary from warm to neutral to cool. Most bulbs and flashlights will give you the color temperature of the light in their specifications.
Generally you will want to avoid mixing light sources with different color temperatures. However, it can sometimes be used for creative effect. For example, if you light your subject with a warm light (e.g. 4500k) and light your background with a neutral light (around 5500k), and set the white balance to 4500k, then the background will appear to be lit with a blue light.
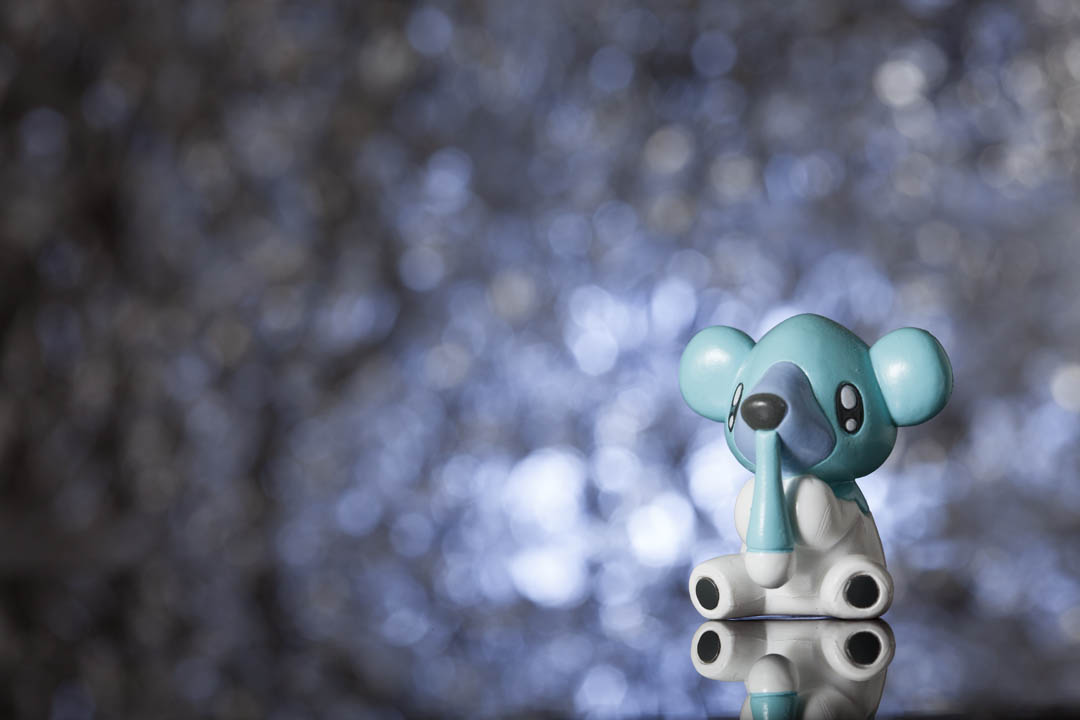
For this image a flashlight with a slightly cool color temperature was used to light the background, and one with a warm color temperature was used to light the model. Then white balance was set to make the warmer light on the model neutral, which shifts the color temperature of the whole image cooler, making the background light turn blue. The background was scrunched up foil, and the toy was placed on a piece of black acrylic, which reflects the background behind it.
Alternatively, if you're photographing with black and white, or using a fast shutter speed and flash, then you don't really need to worry about this at all.
If you want to give your lighting a certain color, then you can easily gel your lights. You can do this using colored gels designed for speedlight flashes, or by using translucent colored sweet wrappers. Just place the colored 'gel' in front of your light (attaching it with an elastic band normally works well), and you've got a colored light.
Speedlight flash with a purple flash gel attached and flashlight with a purple sweet wrapper attached
Giving the character feeling
The fact that your model won't complain about holding the same position for a long time is a definite positive. However, most action figures are rather limited in the actual positions they can be moved into. This is where your creativity needs to come into play - you need to figure how to convey what the character is feeling / doing despite their limited movement and inability to change the facial expression.
One way to do this is through the lighting - bare lighting will create a stronger, more dramatic atmosphere than soft diffuse lighting.
Hellboy by Marcelo Braga on Flickr (licensed CC-BY)
Very soft lighting, especially when combined with overall low contrast across the image, can create a more dreamy, peaceful feeling.
Danbo and Dandelion by Takashi Hososhima on Flickr (licensed CC-BY-SA)
To create strong, harsh lighting, use a point light source such as a bare bulb or speedlight flash. For softer lighting you need to create a larger light source. This can be done by bouncing the light from a large surface, such as a wall or ceiling. Or by using a surface between the light and the subject that will spread the light out. This could be a softbox, or something simple and cheap like a sheet of tissue paper.
Using an action figure that has no defined facial expression can help quite a bit. It can be very difficult to make a figure with an angry expression look loving, confused, or happy. This is why figures with expressionless masks such as Storm Troopers and Clone Troopers from Star Wars are so popular for action figure photography.
Dealing with tricky poses
If you want to capture a figure in a tricky pose, such as jumping, you have two options. One is to create a composite image. Take one photo of the scene without the figure. Then, being careful not to move your camera or the scene, take another photo with your figure propped up in the position you want. Make sure that whatever you're using to prop up your figure does not obscure any part of the figure - it needs to be behind or to the side of the figure.
Then add both the images as layers into a single document in your photo editing software. Use a layer mask to hide the item propping up your figure, revealing the empty background shot below. For a more detailed look at using layer masks, please see: How to use Photoshop Layer Masks.
Images of background and toys before compositing together. One toy was held up by a piece of thread and the other toy was stuck in position using a piece of plasticine behind it.
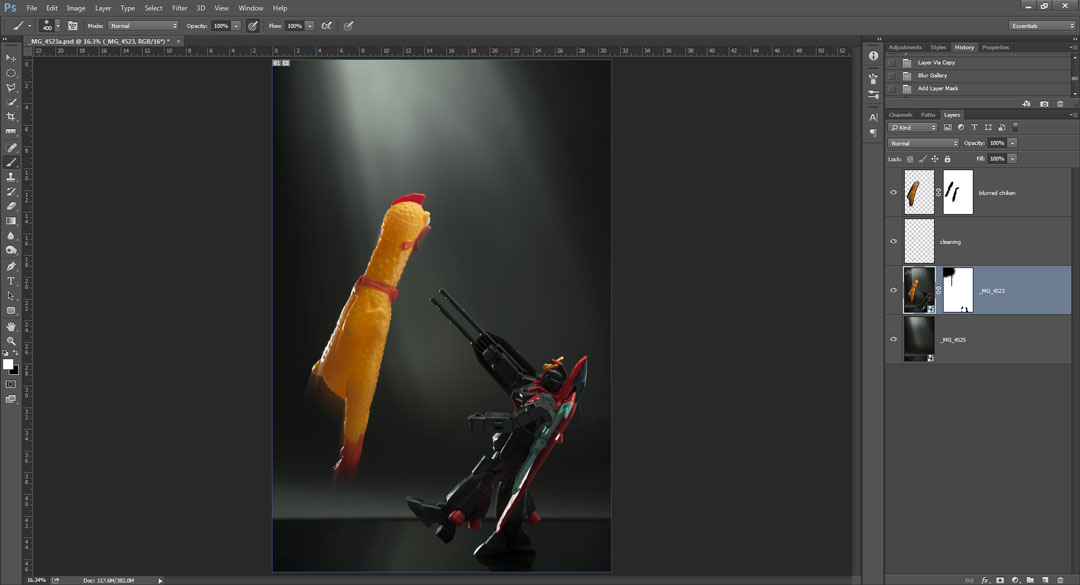
After using a layer mask to blend the two images together. The thread round the chicken's neck had to be cloned out, and some other clean up work using the spot healing brush was done. Finally a blur was applied to the chicken to give more of an impression of the chicken jumping.
The alternative to the composite technique is to use flash and a relatively fast shutter speed to freeze the figure before they fall over. Getting the timing right between removing your hand from holding up the figure and triggering the camera to catch the scene without your hand in it but before the figure falls over is quite tricky. It will likely take you a few shots before you get it right.
party time! by Yohanes Sanjaya on Flickr (licensed CC-BY)
The benefit of getting the result in-camera is that the shadow of the figure, and lighting on the figure will be accurate and real. Whereas with a composite image, the prop holding up the figure may block some light from hitting the back of the figure, and cast its own shadow in the scene. If you go the composite route, try to use as small an item as possible to prop up the figure to minimize these issues.
Depth of field
Because you are shooting relatively small models you'll need to get much closer to them than you would with a full size subject. This reduces the depth of field (amount of the image in focus), which can be a good or a bad thing, depending on what you're going for.
With a compact camera or phone camera, they typically have a very large depth of field. So shooting small subjects where the depth of field will be reduced can provide a nice change from the 'everything in focus' look you normally get with these cameras.
With an interchangeable lens camera, the depth of field can be too shallow, making it difficult to get most of the scene in focus. You'll likely find that you need to use a relatively small aperture setting (e.g. f/8) to increase your depth of field. Of course, if you only want a sliver of the scene in focus, then use a large aperture (e.g. f/2.8) setting instead.
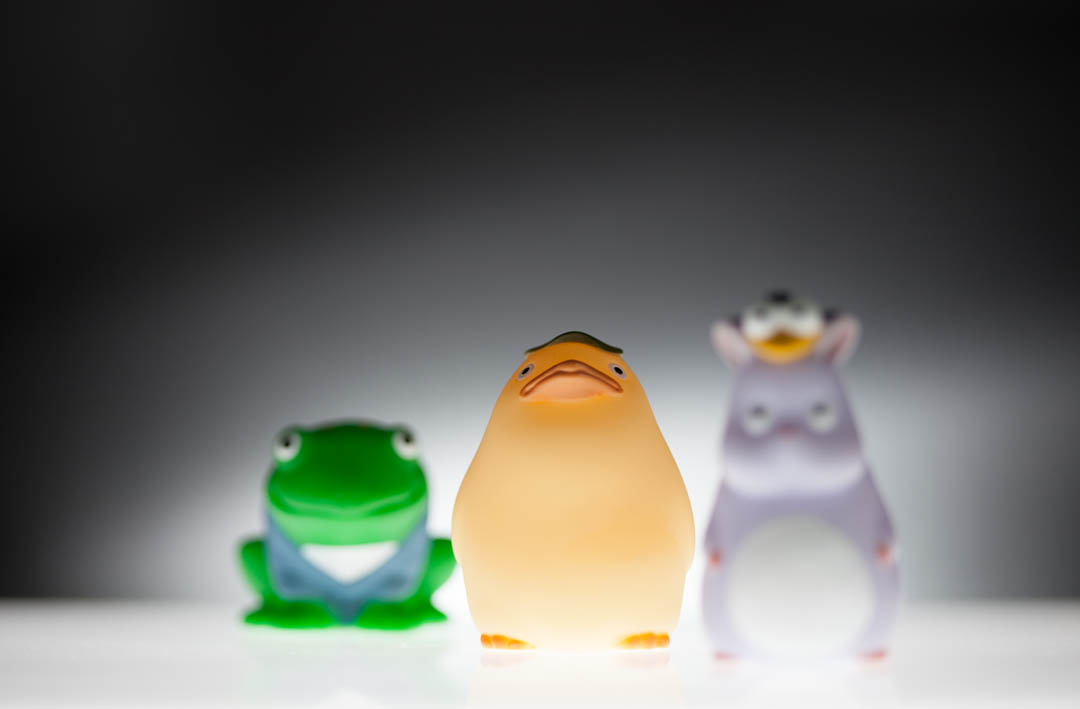
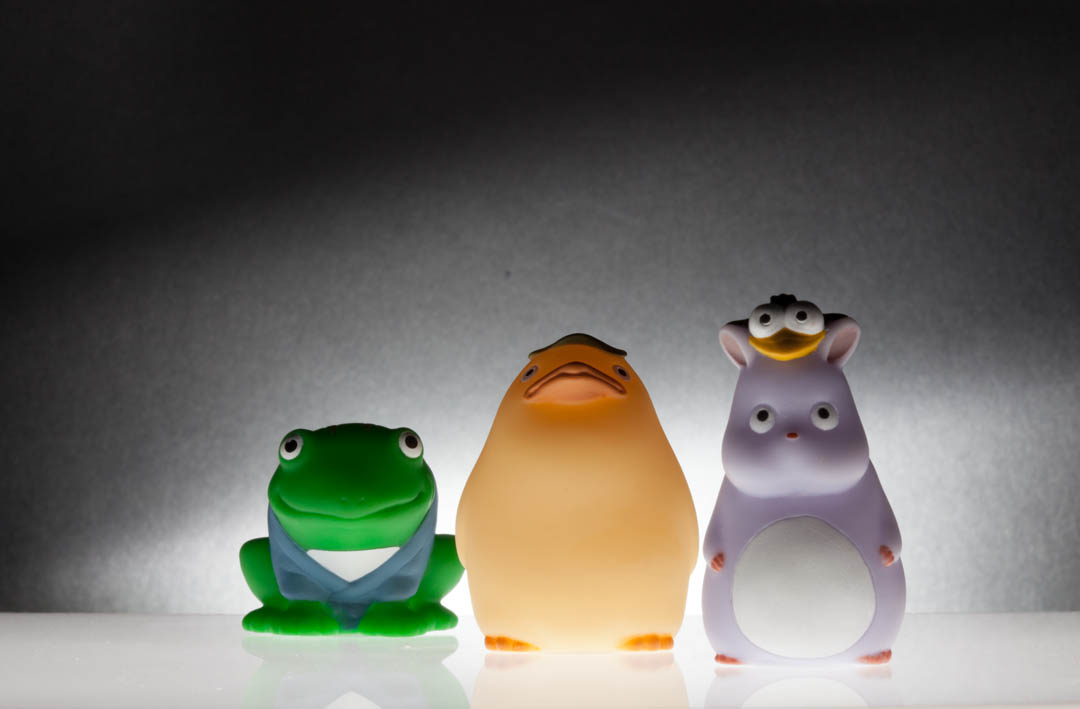
Aperture of f/2.8 on a DSLR - Depth of field is very thin and only the central figure is in focus
Aperture of f/8 on a DSLR - Depth of field is a bit larger, the near and far figures are more in focus, but not really in sharp focus
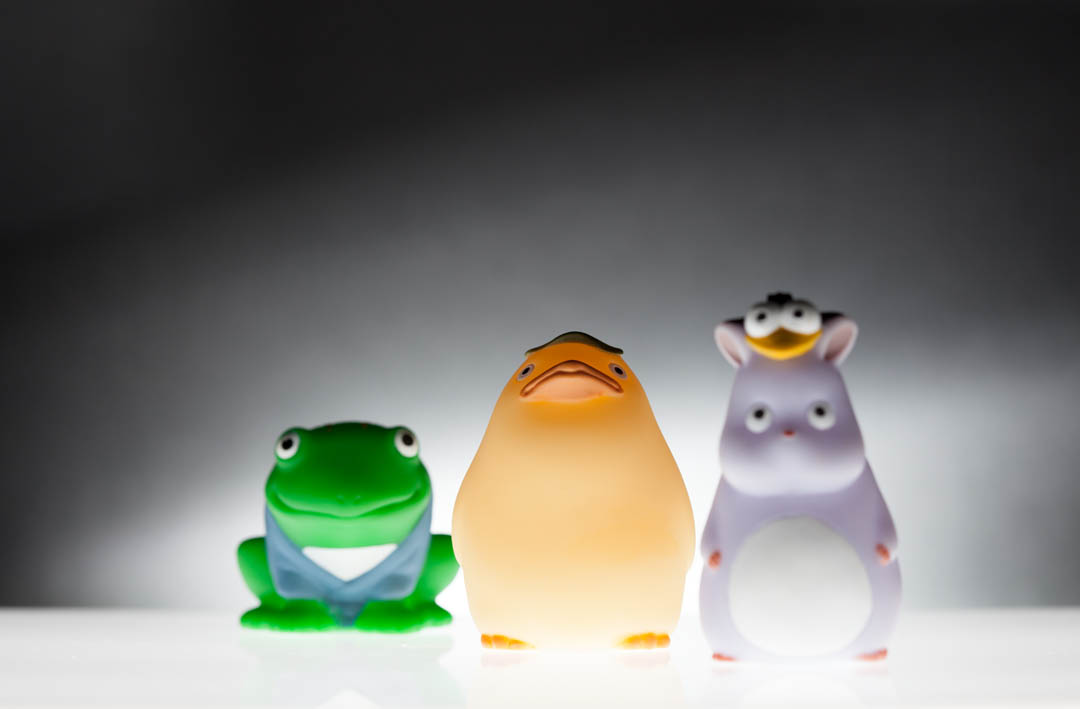
Aperture of f/32 on a DSLR - Depth of field is now large enough to get all three figures in sharp focus. But a lot of light is needed for such a small aperture (7x as much as f/2.8 needs).

Aperture of f/3.2 on a superzoom camera - By using a camera with a small sensor, depth of field at a wide aperture like f/3.2 is even larger than that of the DSLR at f/8
Play with scale
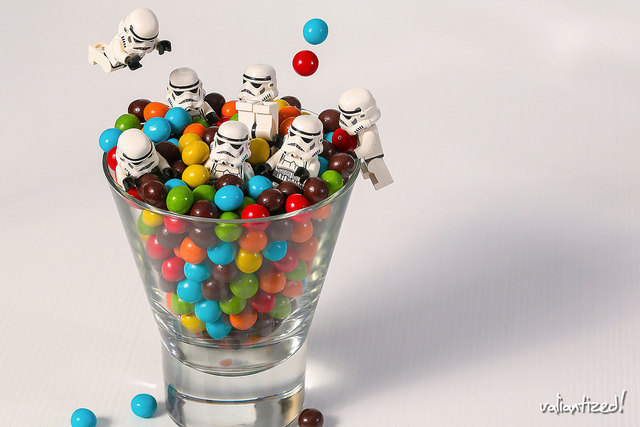
There are a couple of ways you can play with scale with action figures. One is to compose your shot so that it does not include anything in the background that would give away the scale of the scene. A tabletop 'studio' setup is ideal for this type of shot. Then add in a standard size prop. With nothing else in the image to gauge the scale from, this makes the prop really giant.
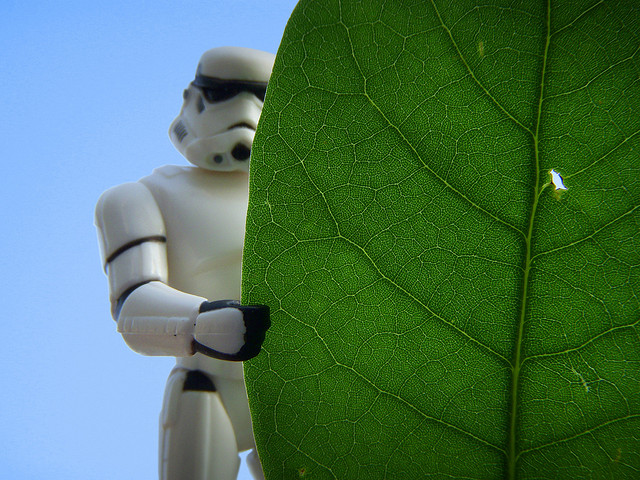
Leaf No Man Behind by JD Hancock on Flickr (licensed CC-BY)
A different way to play this is to include something full size in the background, but compose the shot in such a way that it appears to have the same scale as the figure. The best way to do this is to try and position your subject with nothing between them and the background.
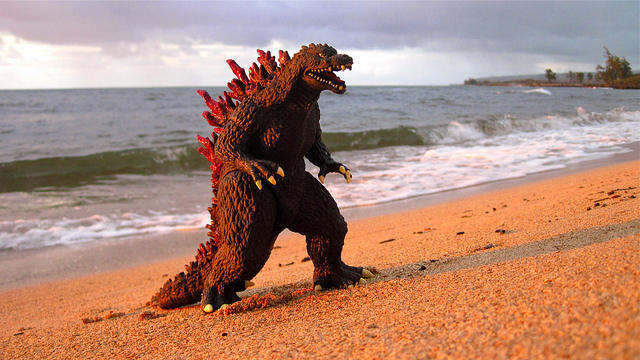
162/365 - King Kaiju! by davidd on Flickr (licensed CC-BY)
It can help to use a wide angle focal length and shoot up at the subject. The wide angle includes much more of the background, effectively making it smaller in the image, giving a more realistic looking photo in terms of scale. You will likely need to use quite a small aperture to get the background in focus enough to make it recognizable. (Though with a compact camera or phone this is less of an issue).
The third way you can play with scale is to capture images of the action figure(s) interacting with the real world. By including more background, it becomes more obvious that the action figures are, indeed, small. But by careful positioning they appear to be alive, in a world of giants.
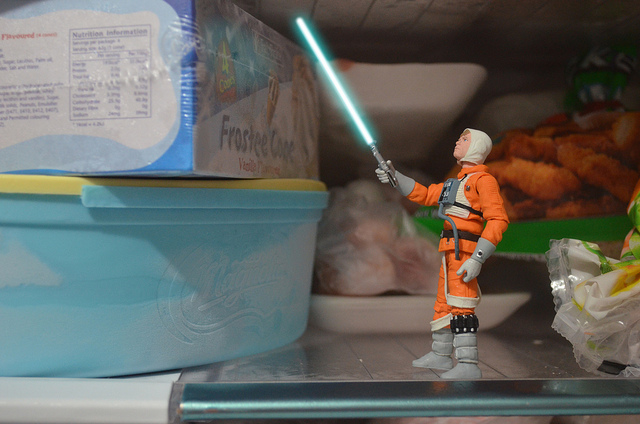
Hunting around in the Freezer by Gramicidin on Flickr (licensed CC-BY-SA)
Go outside
Don't feel restricted to photographing action figures just in a tabletop studio setting. Photographing figures outside can produce great shots too.
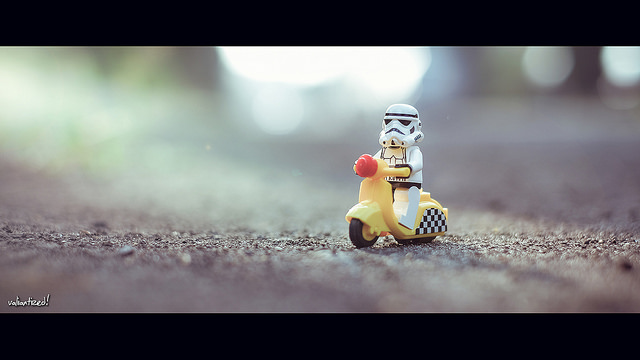
stormscooter by Yohanes Sanjaya on Flickr (licensed CC-BY)
It can be much trickier than shooting indoors though. Finding an environment that suits your subject with a good background is more difficult than just shooting on a tabletop with a clean background.
For shots where you place your subject on the ground, that will also mean you need to get your camera down on the ground to get on eye level with your subject. You then have to deal with the potential for bits of grass etc. getting between your camera and the subject.
Sometimes this 'looking through the undergrowth' sort of effect can work well, but other times it is more of a problem. If you're working in your garden, you can always use a pair of scissors to cut away anything in between the camera and your model.
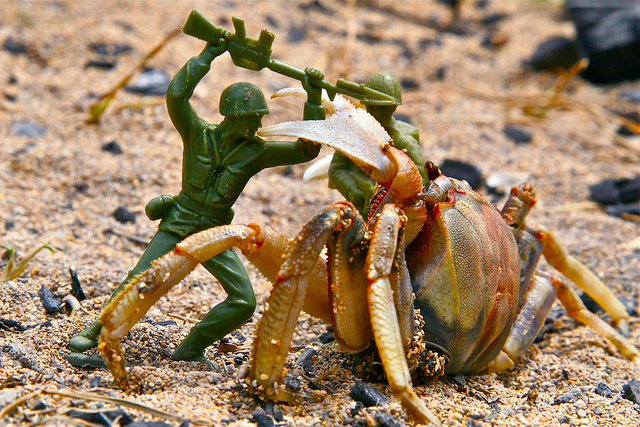
Attack of the Crab Monsters by davidd on Flickr (licensed CC-BY)
Another issue when working outside can be the lighting. Due to the unevenness of natural surfaces and the wind, setting up the same lighting that you use for tabletop photography could be quite difficult. You also can't shut out the sunlight from affecting the picture by just drawing the curtains like you can indoors.
For outdoors work I would suggest to stick mainly to using natural light. Maybe add in a speedlight flash if you're feeling adventurous.
Photographing Action figures and toys can be a great way to learn about lighting, while also producing some great photos. For relatively simple setups, you can get a scene set up and photographed fairly quickly and conveniently. So if you're always thinking that you don't have enough time for photography, why not give this a try?


