Low Key Photography Tips
Low key photographs are those that are overall quite dark, often with just a small patch of light picking out the subject. Basically, it's the opposite of a high key image.
Whereas a brightly lit high key image appears bright and airy, a low key image appears dark and moody. The lack of light can be used to give a sense of foreboding or fear, or just to create a dramatic image. In this article we'll look at some tips to help you create low key images.
To create a low key image, you need a location that is relatively dark. Outside on a sunny day isn't going to work. (Well, technically it can be done, but it is a lot of trouble). But most indoor locations can be made dark just by tweaking your camera settings.
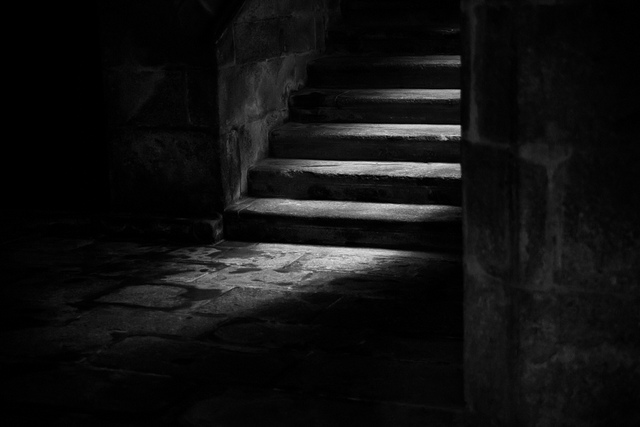
El piso de arriba by Dani_vr on Flickr (licensed CC-BY-SA)
Camera Settings
As I've mentioned in previous articles, the exposure metering mechanisms of cameras are designed to try and create an image that is overall middle gray in tone. But for a low key image, we want an image that is much darker. So you have two options:
- Use an auto exposure mode and apply negative exposure compensation. This tells the camera that you want the image to be darker.
- Use manual exposure mode and adjust the exposure settings to create a dark image yourself.
I would advise using manual exposure mode as this gives you full control over the exposure. You'll generally want to use a small aperture (e.g. f/8), fast shutter speed (e.g. 1/200s), and low ISO (e.g. ISO100). This reduces the amount of light that will hit your camera's sensor (and the low ISO ensures a low level of light sensitivity for the sensor), resulting in a dark image.
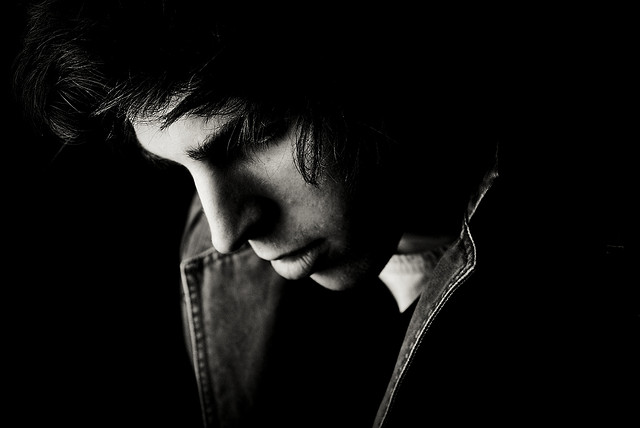
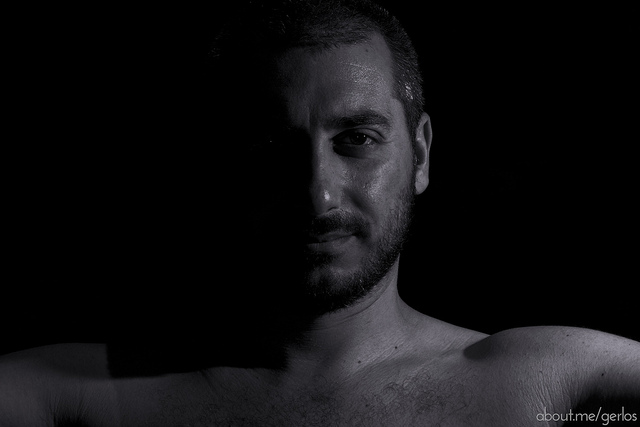
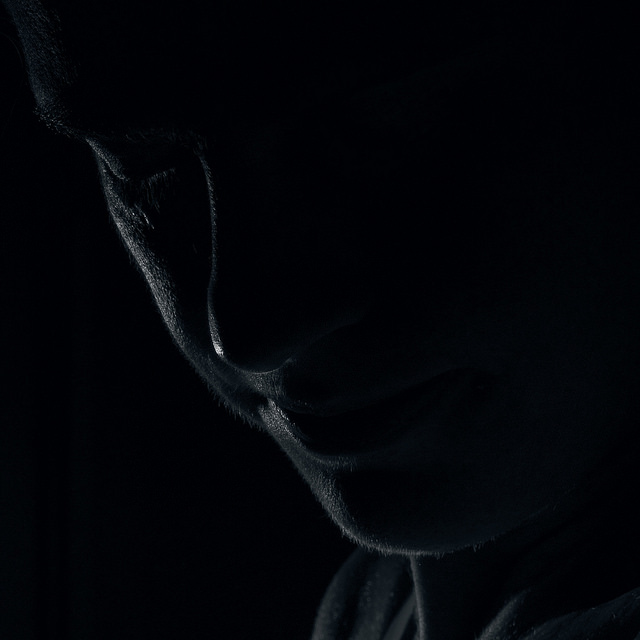
A Portrait in Darkness by Sean McGrath on Flickr (licensed CC-BY)
If you decide on using an auto exposure mode with exposure compensation, then I would suggest switching the camera's metering mode to spot metering. Spot metering only uses a small area (typically at the center of the frame, though in some cameras it is linked to the active focus area) to calculate the exposure. So by using spot metering and metering off your subject (which should be lit brighter than the background), then the camera won't take the dark background into account when calculating the exposure. This should give an exposure closer to what you're looking for.
Lighting
The lighting is the difficult part of creating a low key image. A low key image is not just an image that is underexposed. But it is where you purposefully underexpose much of the image, while picking out details with brighter lighting.
Lighting just your subject (or part of your subject) while keeping the background dark is the tricky part. You need to set up your scene so that the subject receives light, while the background doesn't.
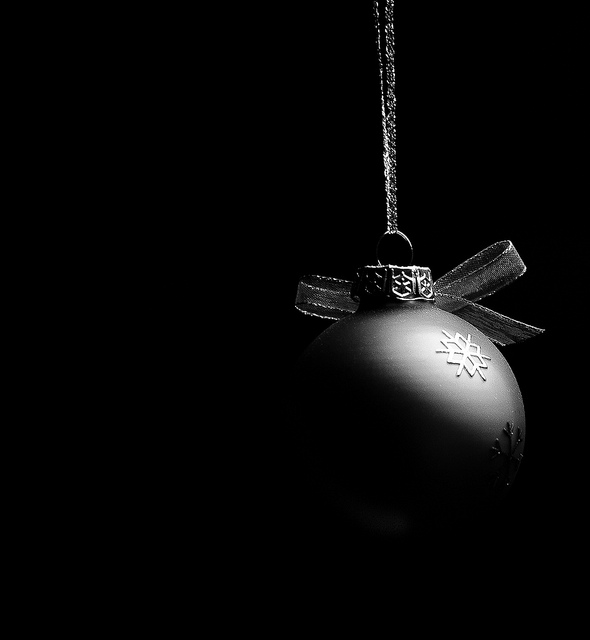
[5/365] Hanging Ball by Stefan Insam on Flickr (licensed CC-BY-SA)
Working only with natural light, this is quite a challenge, but it can be done. If you can position your subject in light, but with an unlit (or poorly lit) area behind them, this should work. As an example, you could photograph someone at the entrance to a tunnel - the dark tunnel would then create a dark background behind them. Or photographing someone by the doorway of a well-lit room, with an unlit hallway behind them.
Alternatively you may want to consider working with artificial light, such as speedlight flash or LED lights. This makes life much easier as you can point the light where you want, being careful to aim it at the subject and not the background.
The inverse square law also comes into effect when using artificial light. This law states that when you double the distance between your light and your subject (or the background), the intensity of the light will reduce by 75%. So if your subject is 10 feet away from your light, and the background 10 feet behind your subject (20 feet from the light - double the subject's distance), then the background will receive only a quarter of the light that the subject will receive.
Hopefully you can see how this can be used to easily create an image with a dark background - simply position your light much closer to your subject than the background. Using the same example as before, if we moved the light to 5 feet from the subject, the background (15 feet from the light - triple the subject's distance) would receive only 11% of the light that the subject receives.
Daylight night self portrait by gerlos on Flickr (licensed CC-BY-SA)
And this is with the light positioned so that it is pointing at the subject and the background. If we angle the light so that it is not pointing at the background so much, then we get an even darker background.
We also have methods for controlling where the light falls. Using items to block or reflect the light (such as black or white card) can be used with both natural and artificial lighting. By placing a piece of black card or foamcore between the light source and the background, we can block the light from hitting the background.
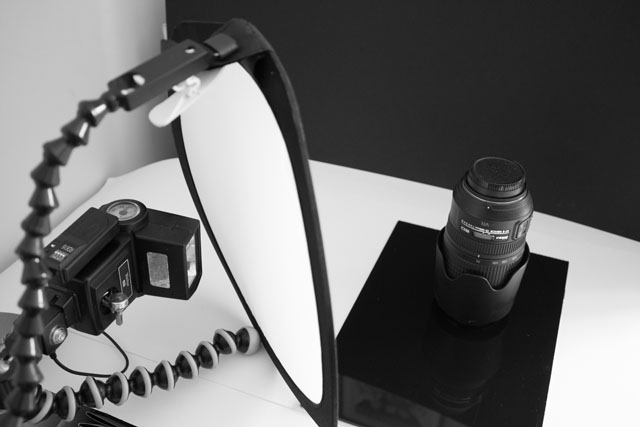
Example setup for a low key style photo of a camera lens
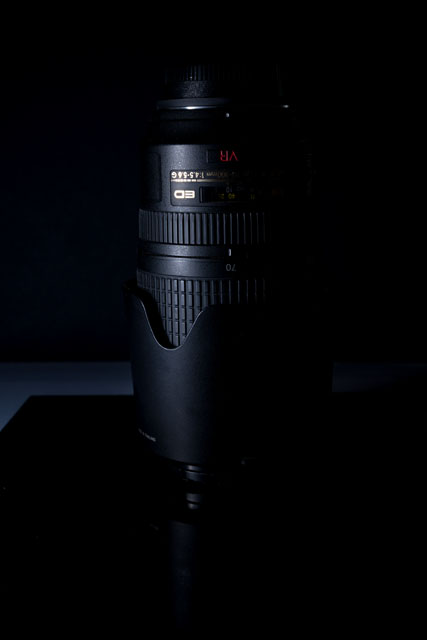
Resulting photo - light from the flash has spilled onto the surface behind the subject a bit
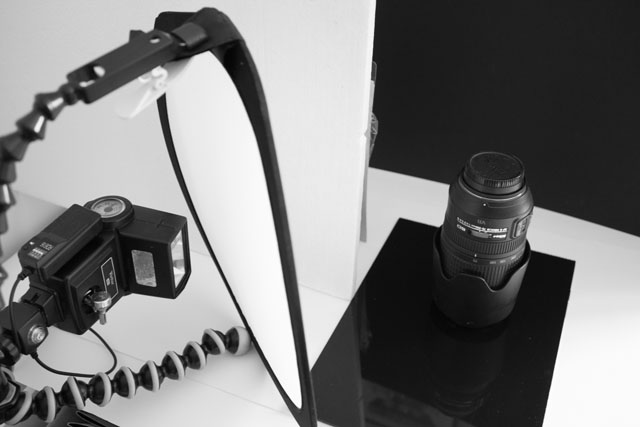
Same setup but with a piece of polystrene used to block the light from hitting the background. (A piece of black card would have been more suitable but the polystyrene was convenient).

Resulting photo - there is much less light spill on the background.
If you're shooting indoors with natural light this could just be a case of partially closing the curtains. Leaving a slit in middle for light to come through and hit your subject, while keeping the rest of the room relatively dark.
The technique of blocking the light does require your light source to be at an angle to your background though. If your subject is lit straight on, then you can't really add a black card between the light and the background, as the card would have to be positioned within the frame.
For small artificial light sources, such as a speedlight flash or flashlight, you may want to look at using a snoot or grid. These attach onto the end of your light and give a relatively narrow, focused beam of light. This allows you to carefully position the light so that it hits only your subject, even if the subject is standing close to the background.
A common way of lighting a low key image is to have the light angled off to the side of the subject quite a bit. One benefit of this, as I already noted, is that it reduces the amount of light that will hit the background, thus creating a darker background. The other effect is that the light can just skim across the surface of the subject, really picking out the contours, creating a very dramatic image.
Kiss of Light by Bryon Lippincott on Flickr (licensed CC-BY-ND)
Using a wide aperture with flash
One potential problem you may come across is if you want to create a low key image using a wide aperture (e.g. f/1.4) for a shallow depth of field, and lit with flash. The wide aperture lets a lot of light in, and even the minimum power of the flash may be too strong, resulting in an image that is much brighter than it should be. You can't use the shutter speed to compensate as most cameras don't work with flash at shutter speeds greater than 1/200s - 1/320s.
One solution could be to move the flash further back. But then you are likely to get more light from the flash on the background (remember the inverse square law - if you move the flash further from the subject, then you'd also need to move the subject further from the background to keep the lighting ratio the same).
This also won't work well if you're using a snoot or grid on your flash. By moving the the flash further back, the light beam will now be more spread out over a larger area.
A better solution is the use of a neutral density filter. This is a neutral gray filter that cuts down on the light level. You can buy them to attach in front of your flash, or to attach in front of your camera's lens.
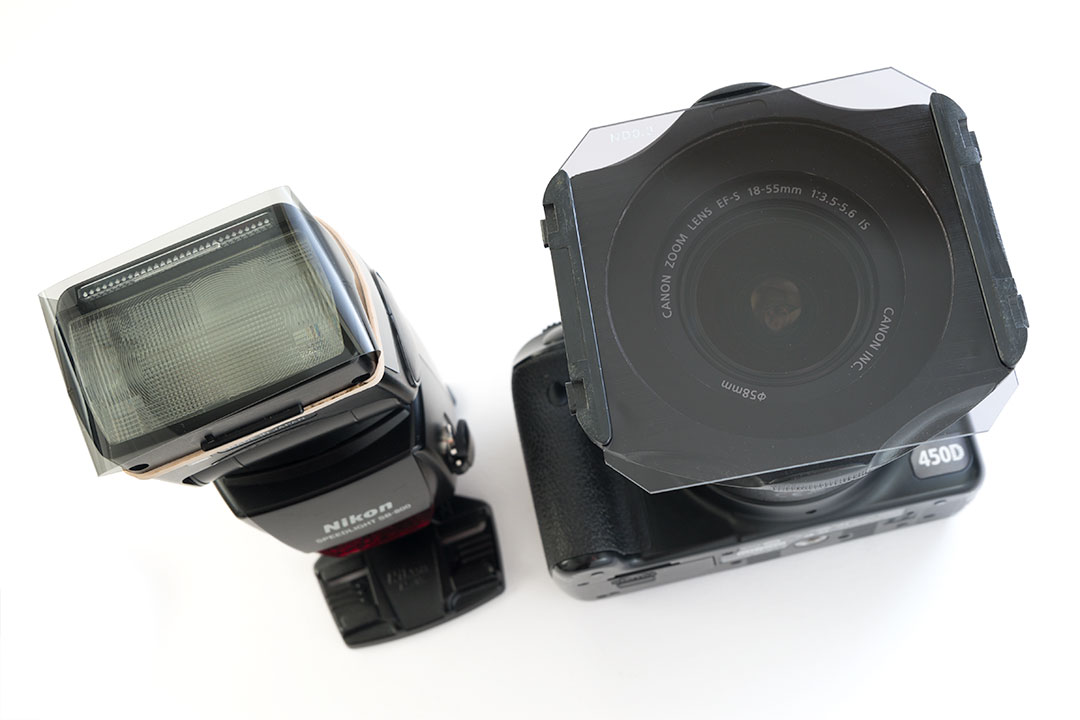
Example of a ND0.3 neutral density flash gel attached to a speedlight flash and a ND0.3 slot type neutral density filter attached to a lens
If you find that using a large aperture results in the background exposure being too bright just from ambient light, then you want to use a neutral density filter on your lens. This reduces the total amount of light (both flash and ambient) that reaches your camera's sensor.
If, on the other hand, it is only the light from the flash that is too bright, then you can use a neutral density gel on the flash. This just reduces the amount of light from the flash. If you don't have a neutral density gel, just use a piece of tissue, it will still do the same job of reducing the flash power.
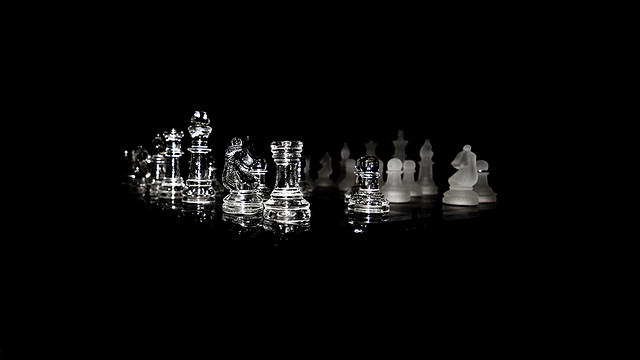
your move by Stepan Mazurov on Flickr (licensed CC-BY-SA)
Getting the lighting right to pick out part of your subject while leaving the rest of the image in darkness can be quite tricky. But with a bit of work, using low key lighting can produce a dramatic image. Why not try producing high key, normal, and low key photos all of the same subject, and see how the different lighting affects the mood of the image?


Great informative article. Cant wait to try low key portraits…in my living room. I’ve only natural light so here goes
Nice post! I talk about this in my latest piece, but I love to shoot using natural light sources at night for my low key photos. The only catch is finding the right extraneous lights, or making sure the night sky isn’t cluttered with clouds so the moonlight illuminates enough of my subject without drastically raising my exposure:
https://brandonlazovic.com/low-key-photography