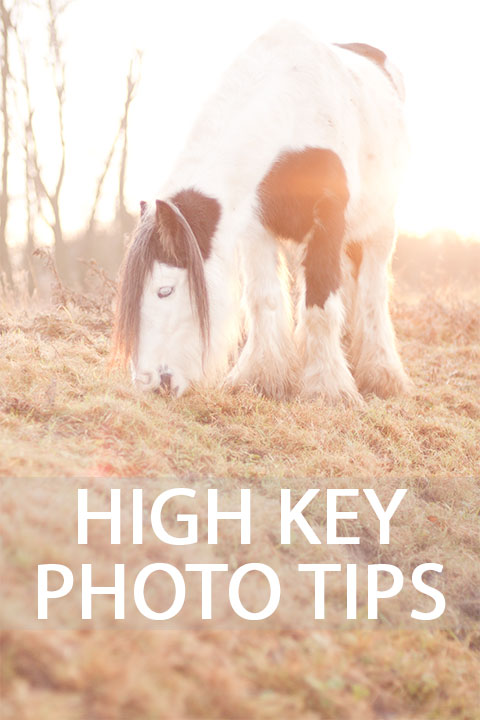
High Key Photography Tips
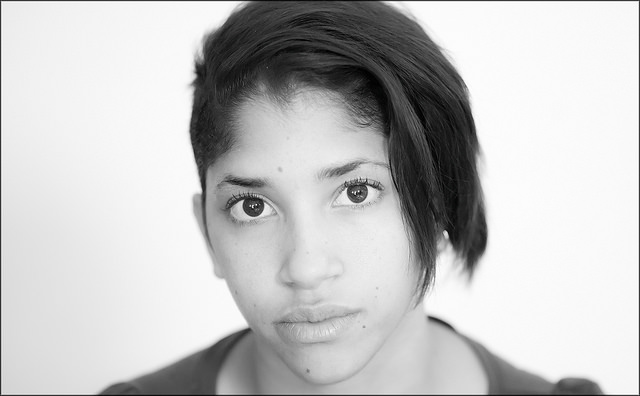
A High key photo is where the majority of the photo is quite bright. Most of the tones fall in the upper-midtones and highlight range, and often a large area of the image will be white or almost white. This type of image can appear quite clean and clinical, or more often, soft and dreamy.
High key images can work well for portraits, product photography, and flower photography. It's not always the best choice for those subjects, but if you want to go for a feeling of delicacy and lightness, then a high key image is a good choice. For landscapes, creating a high key image can be a bit more tricky, but sand and snow scenes can lend themselves well to high key images.
You might think that you can create a high key image just by taking an over-exposed photo. While this may work in some situations, it is not necessarily the best solution. Depending on the lighting you could end up with your subject blown out, but the background still relatively dark.
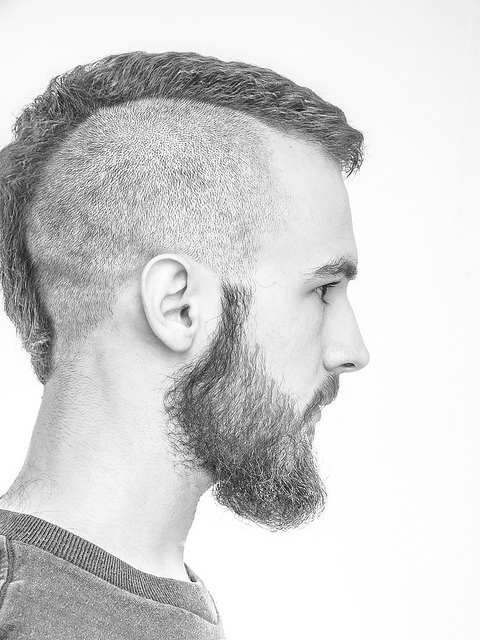
Self portrait 2014 I by János Csongor Kerekes on Flickr (licensed CC-BY-ND) - a good example of a more clean, clinical style of high key image
Using back lighting
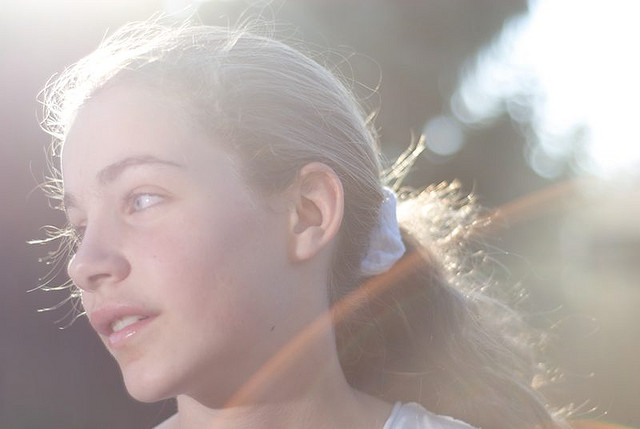
If you're using natural light as your light source, the best time of day for high key photos is around sunset or sunrise. At this time of day the sun is low in the sky, and creates a softer light that works well for a high key image.
Position your subject with the sun behind them or slightly behind and off to one side. Then set the camera's exposure about 1-2 stops higher than what would be correct for your subject. There are several different ways you can do this.
The first is to set your camera to use spot metering mode. This uses just a small spot in the frame for determining the correct exposure, rather than using the whole frame. By then metering the subject, the camera will calculate the exposure based on the darker subject, rather than the brighter background.
You can then take a test shot to see how it comes out. If the image is not bright enough, apply some positive exposure compensation. If the subject is quite dark, then you might not need to apply any exposure compensation. However, if they are quite bright (e.g. a person wearing light colored clothes or a white flower), then likely you will. (The camera calculates the exposure so that the average of the tone in the area where it metered should be gray).
Another option is to use manual exposure mode and dial in an exposure a bit brighter than what the camera's metering system suggests. That is, use a slightly higher ISO, slower shutter speed, or wider aperture, or some combination of those three settings.
If you are going for the dreamy look for your photos, I would suggest using a wide aperture setting (e.g. f/2.8), a low ISO (e.g. ISO 100 or 200) and a slightly slower shutter speed than what would be needed for a correct exposure. Because you have a wide aperture setting, this should let plenty of light into the camera, so you shouldn't struggle with having to use a slow enough shutter speed that would cause camera shake.
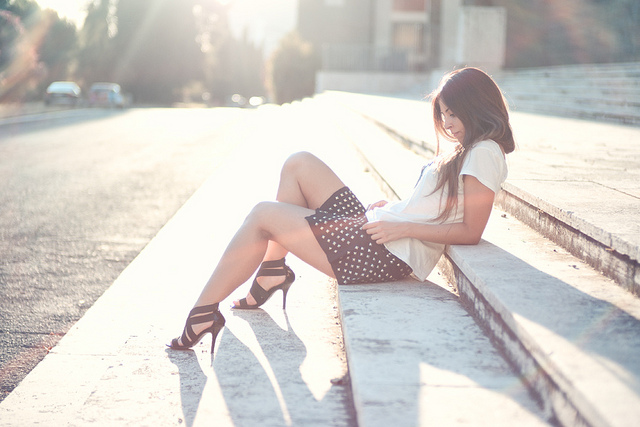
posing by Joe Green on Flickr (licensed CC-BY-ND)
Take a test shot, and if it's not bright enough, then just adjust the exposure settings, and repeat until you get the image looking how you want.
Because the sun is placed behind the subject this will blow out the sky to white. Your subject will be in shadow (no direct light hitting the side of them facing the camera). This ensures that when you bring up the exposure for your subject, it also brings up the exposure for all the other shadow areas in the image. Thus, you are left with an image with very few truly dark areas, and the majority in the upper midtones and highlights.
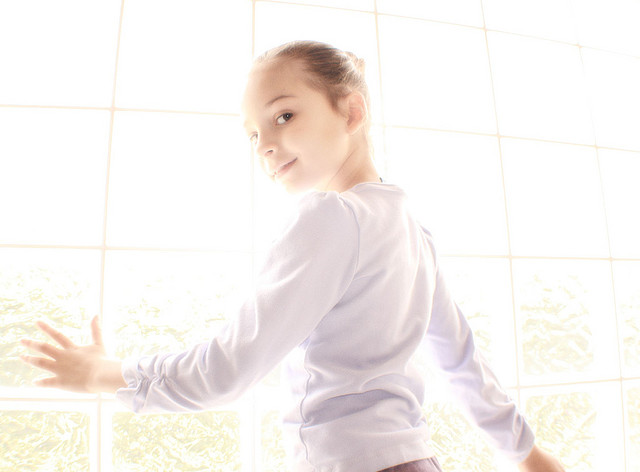
Cecilia by Daniel Zedda on Flickr (licensed CC-BY) - a softbox was also used to add the light to the subject in this image
If you're photographing with artificial lighting, you can achieve much the same effect. You can over-light your background so that a lot of light spills forward and around your subject. Or you can have a light behind your subject, pointing at it. Usually you'll want this light to be slightly off-axis so as not to appear in the shot, but sometimes including the light in the shot can work well.
You will also need something to reflect the light back at the front of your subject. This could just be a wall of the room you are photographing in, or you may need to introduce a reflector.
With the back lighting method then you do need to be aware of lens flare, particularly veiling flare. This type of flare reduces the overall contrast of the image. Now, this is not necessarily a bad thing. In fact, I would say this effect often works to the benefit of a high key image. The hazy low contrast look goes well with the whole dreamy aesthetic. But it may not be something you always want.
Day 259 - High Key Sun by Ken Wilcox on Flickr (licensed CC-BY-ND)
Using multiple light sources
Although relying on back lighting is the easiest way (in my opinion) of achieving a high key image, it's not the only way. You can also use multiple light sources to light your subject and background separately. This allows you to get a bright background and bright subject, without blowing out any details to pure white (unless you want to).
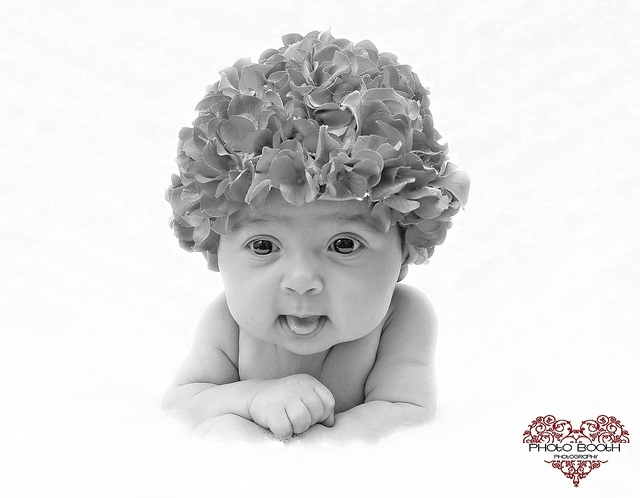
Baby -- High Key by PHOTO BOOTH on Flickr (licensed CC-BY-ND)
Using multiple light sources also allows you to make your subject brighter than the background - something that can be difficult to do when just relying on backlighting and reflected light to light your subject.
Typically you will want to use soft, even, diffused lighting, as this reduces the darkness (and harshness) of shadow areas, and also works well with the generally ethereal feeling that a high key photo can give. This means either bouncing your lighting from a large surface, such as a wall or ceiling, or aiming the lighting through a large diffuser, such as a diffusion panel, softbox, or shoot-thru umbrella.
Naomi 714.1- high key by Alexander Russy on Flickr (licensed CC-BY)
Overcast days or working in shadow
Another option is to try photographing your subject on an overcast day. This may seem counter-intuitive, since everything is less bright on an overcast day, but the fact is that the cloud cover gives very soft, even lighting. You then simply need to adjust your exposure to purposefully over expose the image.
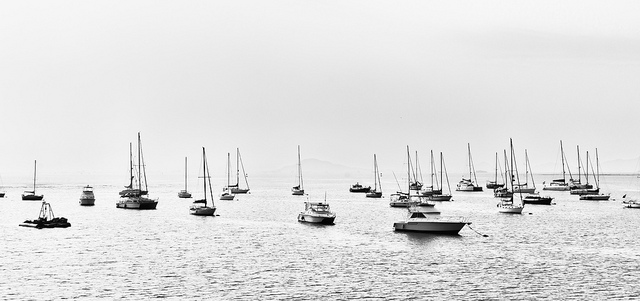
High Key at the Canal by Alberto Abouganem Stephens on Flickr (licensed CC-BY-ND)
Working in a shadowed area, e.g. in the shadow of a building, or in a room lit by indirect sunlight has a similar effect. The light is much less directional, and so there is much less contrast between areas of shadow and highlight. This allows you to increase the exposure to brighten shadow areas without blowing out important detail in the mid tones and highlights.

girl in the high key style by Niikesch on Flickr (licensed CC-BY-SA)
Next time you're photographing a subject that you want to give a delicate or ethereal feel to, why not try making a high key image?


fantastic,meaning full well details note, cheeres