10 things you can do to improve your photography today
In this article I want to look at ten simple tips you can use to start improving your photography today. You don't need to wait for nice weather, you don't need any expensive equipment. You can start putting these tips into practice right now. So let's get to it!
Change your perspective
The vast majority of photos are taken from eye level. And I must admit, I take most of my photos at eye level too. However, just because this is the most natural and easiest height to take photos from, doesn't necessarily mean it is best.
A photo taken from a low perspective, or a high perspective can sometimes give a much stronger photograph than just photographing from eye level. Try getting your camera down near the ground, or holding it up above your head and pointing it down towards your subject.
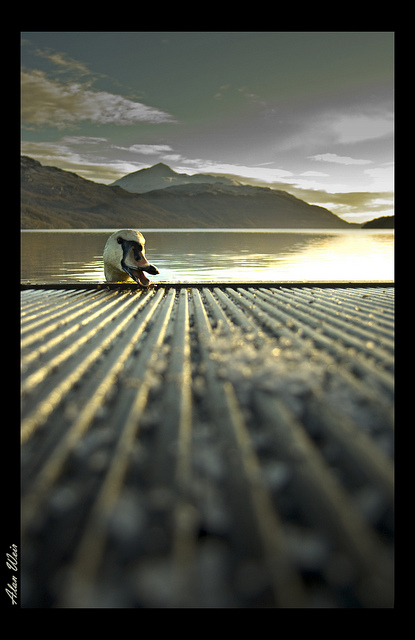
Ben Lomond and Loch Lomond and Hello Where did you come from? by Alan Weir on Flickr (licensed CC-BY)
If your camera has a flip-out screen, this is brilliant for taking photos from a low or high angle. No flip-out screen? Try holding a small mirror at an angle to the screen to see what the camera is seeing. (Though note the image will be reversed in the mirror).
If your camera can't display a preview image on the screen at all, you'll just need to lie down with the camera so you can look through the viewfinder. Or get up on a ladder or steps for high angle shots. Not so convenient, but certainly doable.
Play with lighting
Lighting is extremely important in photography. Great lighting can make an interesting photo from a boring subject, while poor lighting can make a boring photo from an interesting subject. So mastering lighting can really help with your photography.
If you have an off-camera flash system available to play with, this is a great way to experiment with lighting. If you don't, you can use the sun or a household light as your light source.
The best way to learn is through experience, so try a lighting setup, starting as simple as possible. Then modify one part of the setup, and see how it changes the image. Move your subject (or yourself or the light) so the light hits them at a different angle. Move the light closer to the subject (okay, that might be a bit difficult if you're using sunlight). Add a reflector, diffuser, or another light source. Just play around and see how each small change affects the image.
But be sure to only change one thing at a time. You want to understand how each variable affects the light separately before you go changing multiple things at once.
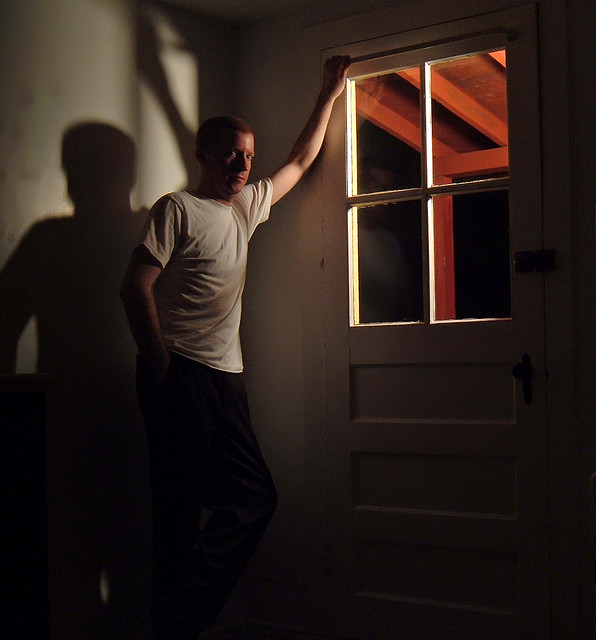
Patience by Nicholas A. Tonelli on Flickr (licensed CC-BY)
Don't have any light modifiers? A piece of white card will act as a white reflector, while a bathroom mirror will work as a silver reflector. Tissue paper or translucent white plastic (e.g. shower curtain, cheap plastic tablecloth, plain plastic bag) will work as a diffuser.
You don't need to buy expensive equipment to learn about light, you can always buy better equipment later. But by experimenting with cheap equipment you can gain the knowledge on how to use the more expensive equipment effectively.
Learn your camera
This tip is kind of a two-parter. Read your camera manual to learn how your camera works, and all the different functions and settings the camera has available. But secondly, also try out these different settings as you are reading about them.
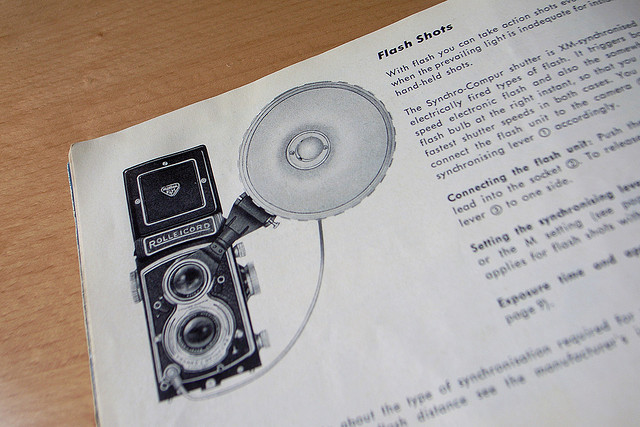
Rolleicord Vb manual by yoppy on Flickr (licensed CC-BY)
Today's cameras offer so many different features this may take quite a while. But it certainly helps to know what your camera is capable of, and where in the menus certain settings are hidden.
You may even find some function of your camera really useful that you wouldn't previously have thought of using. For example, I have read reports from some nature photographers praising face-detect autofocus for use in photographing wildlife. If they had never tried it out, they would still be stuck trying to manually position their autofocus point over their subjects.
Get off auto mode
I'm pretty sure I've mentioned this tip before, and it's probably mentioned lots of times elsewhere across the web. But it is one of the best ways to learn about photography, and how to get results you want. If you're shooting in auto mode, you'll only ever get results that the camera thinks you want.
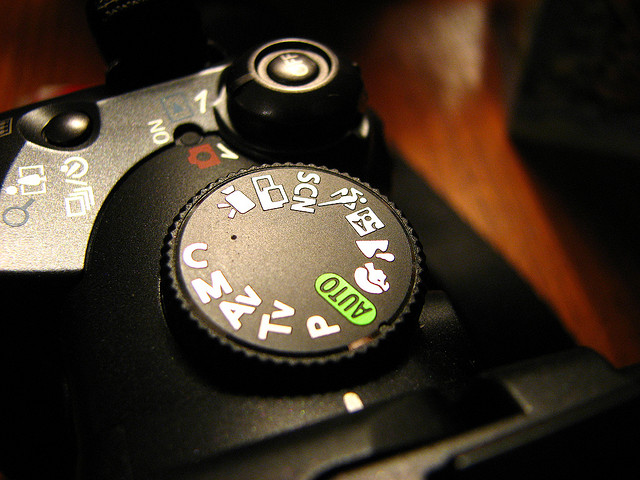
S5 by Ian Muttoo on Flickr (licensed CC-BY-SA)
Put your camera in manual or semi-automatic mode (aperture or shutter priority). Then just as with learning about lighting, try changing just one single setting and see how it affects the image.
Use a small aperture setting, use a large one. Use a slow shutter speed, and use a fast one. Keep the camera steady, try moving the camera during the exposure. What difference do the settings make when you're zoomed in compared to when you're zoomed out?
When you have this knowledge of how the different settings and other factors affect the image, it makes it much easier to choose the correct settings when you want to replicate that effect. (Or conversely, avoid choosing the wrong settings when you don't want a certain effect).
Use a tripod
Okay, I've definitely mentioned this one before. In fact, I even have a whole article on it: Why use a tripod?. It might not fit in quite so well with the subject of improving your photography today if you don't already have a tripod. But using a tripod for many types of photography can bring about a big improvement.
If your photos are dark, blurry, or grainy, (and you're photographing a static subject) then a tripod can solve these issues. These problems typically all come from lack of light. A tripod allows you to position your camera while keeping it still. This allows you to use a longer shutter speed (letting in more light) without the risk of blur from camera shake.
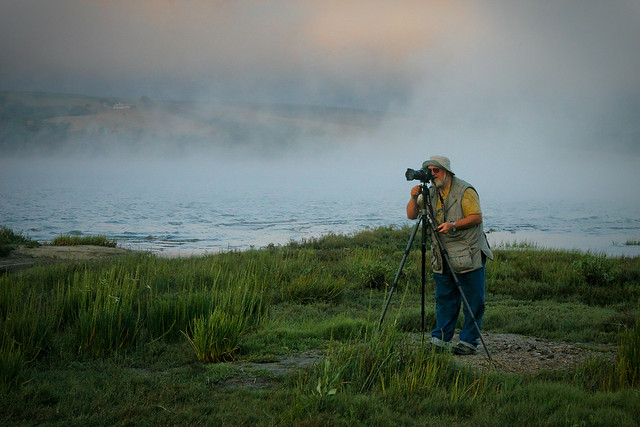
Tripod at Dusk by Orin Zebest on Flickr (licensed CC-BY)
If you have one available, use a remote shutter release to trigger your camera. This avoids you having to press the camera's shutter button, which would introduce a little bit of vibration. Otherwise, use the camera's self timer feature so that the camera has a few seconds for the vibration to dissipate before it takes the photo.
As a bonus, using a tripod forces you to slow down and consider your composition more carefully. A tripod is also (almost) essential if you want to try out techniques such as HDR photography.
If you're photographing indoors with a light-weight camera, then you can probably put this tip into practice today, even if you don't have a tripod. Pop down to the shops - most large stores at least sell cheap tripods. While not very sturdy, if they're away from the wind and vibrations, they should still do the job of allowing you to position your camera and keep it absolutely still.
Critique your work
Look through a selection of your photos and think carefully about how they could be improved. Are there any issues with the composition? Is the horizon level? Are the colors correct / pleasing? Is the subject of the photo clear?
Evaluate the photos as critically as you can. Even if the photo is really good, there are likely some small things that could be improved. Especially look out for any mistakes you are making regularly in your photos.
This technique for improving your photography works particularly well if you can critique images that you can easily re-shoot. Then after critiquing, you can try and put your thoughts into action and re-take the photograph, correcting everything that was wrong (or just not as good as it could have been) with the first photo.
When you have a photo where you can't think of anything that can be improved, then try asking others for critique. It is quite easy for you miss something in your own photos. The meaning of a photograph may be obvious to you, while to others it may be more difficult to decipher.
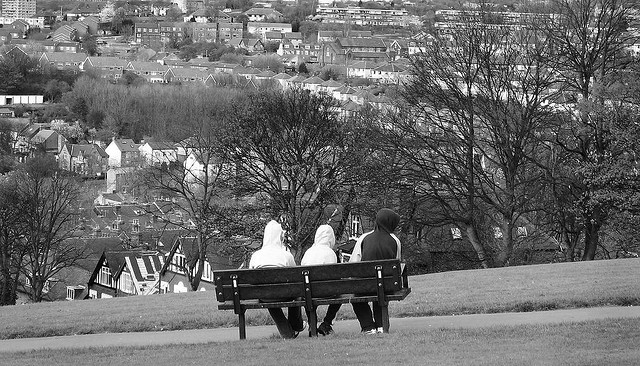
Boys On Bench - Critique Edit by purplezebra on Flickr (licensed CC-BY-SA)
Just remember that when others are critiquing your work, they aren't doing it to shoot you down (most of the time). Rather they are trying to help you improve your craft. So if someone gives you a long list of problems with your photo, you should be thankful, not resentful!
Finally, bear in mind that different people will have different opinions on what makes a good image. It is up to you to take the advice on improving the image and filter it as you see fit. If you have time though, it can still be worth trying out advice given that you think would result in a worse image. You might be surprised at the result.
Practice editing
Many photographers don't like editing their images. Editing photos takes time that they'd rather spend elsewhere. On top of that, learning how to use the various editing tools in the first place can take quite a bit of time.
But even just a small amount of editing can make a big difference to a photo. It can certainly be worthwhile to take some time to practice editing your photos, seeing how they can be improved in the digital darkroom.
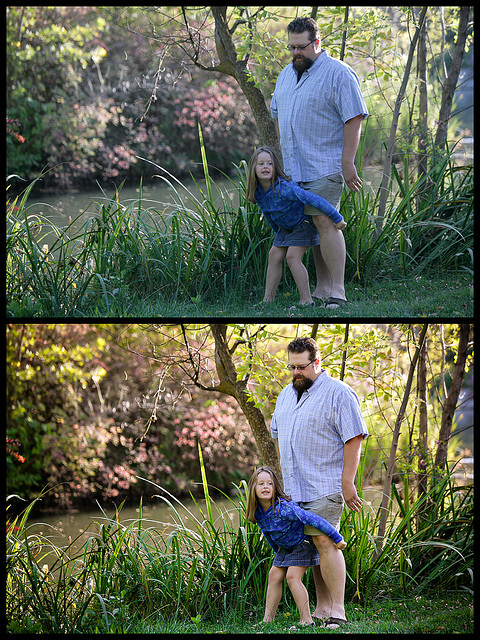
before_after-003 by Seth Lemmons on Flickr (licensed CC-BY)
With many image editing packages, such as Lightroom, you can save presets. So if you spend some time playing around with editing, and create an effect / style you really like, you can save this as a preset. Then if you want the same effect in the future, just apply the preset. That's fast and painless editing.
The other thing is that the more you practice editing, the better you'll get at it, and the faster too. You'll be able to know more intuitively what editing needs doing to an image to bring it to its best, and how to go about that.
Try a different style
Many of us have one or two types of photography we practice fairly regularly. And generally focusing your time and skills on a specific style will help you get better at that style faster. However, trying out a new style of photography can also be very beneficial.
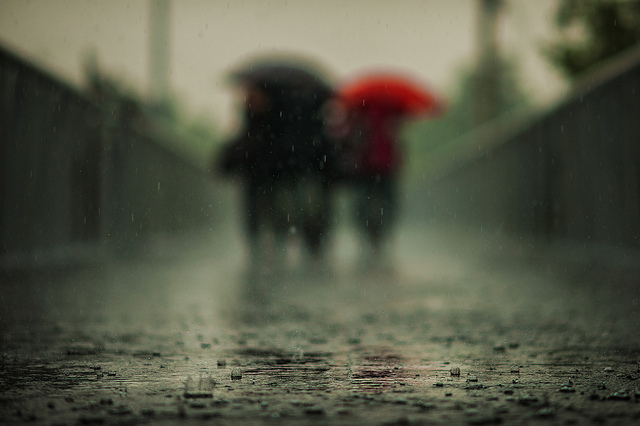
Red Umbrella by Jonathan Kos-Read on Flickr (licensed CC-BY-ND)
First, it may force you think about things that you wouldn't normally think about in your style of photography. This can inspire you and give you ideas that you can apply to your photography, even though it may be a completely different type of photography.
For example, you could be a portrait photographer and try out motor racing photography. When photographing the cars you'd likely want to try some shots panning with the moving vehicles. This might give you the idea for your portrait photography of having a moving subject, and panning with the subject while using a slow shutter speed. A creative idea that you may not have thought of otherwise.
Secondly, you might find that you actually really enjoy the new type of photography you've decided to practice. In which case, you'll probably want to carry on doing it.
Read / Watch / Learn
There are literally thousands of different resources for learning about photography. Books, website articles, videos, and courses. All can be used to improve your knowledge of photography and how to capture great images.
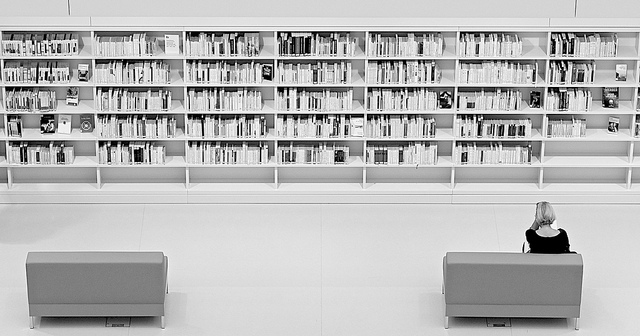
book city by Magdalena Roeseler on Flickr (licensed CC-BY)
The good thing is that many of these resources can be very specialist. So if you particularly want to improve one aspect of your photography, you can get advice focused on just that. For example, if you're interested in portraiture using just one light, you can buy books, watch videos, and read articles on just this.
By focusing your attention like this you should be able to improve your skills in this area quite quickly.
The other good thing about learning this way is that you can usually do it in short gaps of spare time. For example, reading about a technique during your lunch break, and then putting it into practice in the evening. Which brings me onto the last point...
Practice
No matter how much you read or how many videos you watch, it won't improve your photography until you put that knowledge into practice. Practice is very important not only for learning new techniques and trying out new ideas, but also for just making sure your current skills don't get rusty.
Practice - Day 223 by Vox Efx on Flickr (licensed CC-BY)
There's a well known phrase - The best camera is the one you have with you
. You might not want to take your camera into work, but you still have your phone camera with you. Why not practice your photography with your phone whenever possible?
Okay, so you likely can't practice anything where you need control over shutter speed or aperture. But you can still practice your compositional skills, looking at how lighting affects a subject, shooting from unusual angles, etc. These sorts of skills are the same whatever your camera, and all rely on you rather than the camera.
With these ten tips, particularly critiquing your shots and practicing to avoid making the same mistakes, you should be able to improve your photography simply and quickly. So what are you waiting for?


