Macro Photography Using Flash – How To Avoid Black Backgrounds & Harsh Lighting
In the last couple of articles we've looked at lighting for macro and close-up photos, and the different flash configurations available. In this article I want to look at a couple of problems you are likely to come up against when using flash to light your macro photos. These issues with are black or dark backgrounds, and harsh lighting.

Black or dark backgrounds when using flash
The first thing to say is that black backgrounds aren't automatically a bad thing. They can do a very good job of making the well lit subject really pop out from the image. But they also give a slightly un-natural look, as if they were taken in a studio, or at night.
The reason why you often get dark backgrounds when using flash is known as flash fall off. As light spreads out from the flash, the further it travels then the larger the area it covers, and so the less its intensity.
The amount of light fall off on the background is dependent on the distance between the light source and the subject compared to the distance between the light source and the background. In the case of natural light, the sun is approximately the same distance from both, so both subject and background will both be lit the same (unless one is in shadow and the other not).
But in the case of flash, there is usually a much shorter distance between the flash and the subject than there is between the flash and the background.
The intensity of light falling on the background compared to the subject can be calculated using the inverse square rule. An object that is twice the distance from the flash compared to the subject, will receive one quarter of the light that the subject receives. This is a difference of 2 stops. (See Photography Basics – Exposure for more information on how exposure is measured).
For example, if your subject distance is 20cm from the flash, and your background is 20cm behind the subject, the background will receive 2 stops less light than the subject. If the background was 60cm behind the subject, it would receive 4 stops less light than the subject.
So, there are a few different solutions to this problem:
-
Move your flash further back so that there isn't such a large difference between the flash to subject distance and the flash to background distance.
With the flash placed close to the subject, the background appears quite dark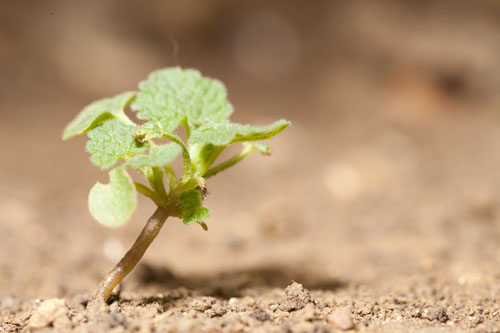
Placing the flash further away from the subject results in a more evenly lit sceneHowever, with the flash further away from the subject, you will need to increase the power of the flash to compensate. Your flash might not be able to supply the level of light needed from a longer distance away. Even if it can, it means you'll be using up batteries quicker.
-
Add another flash to light the background. If you place a second flash the same distance from the background as your main flash is from your subject, then both will be lit at the same intensity. (Assuming you use the same power on both the flashes).

With flash on the subject only the background is quite dark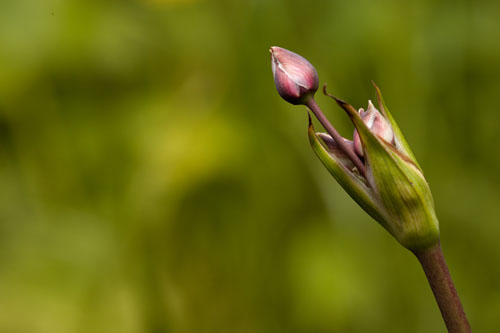
Adding another flash to light the background makes it much brighterAlthough this is quite a good method, it's not always practical to bring an extra flash unit and then spend time setting it up.
-
Move the background. Okay, you probably can't move the actual background, but you can introduce a background that is nearer the subject. For small subjects you can just hold a leaf behind them.

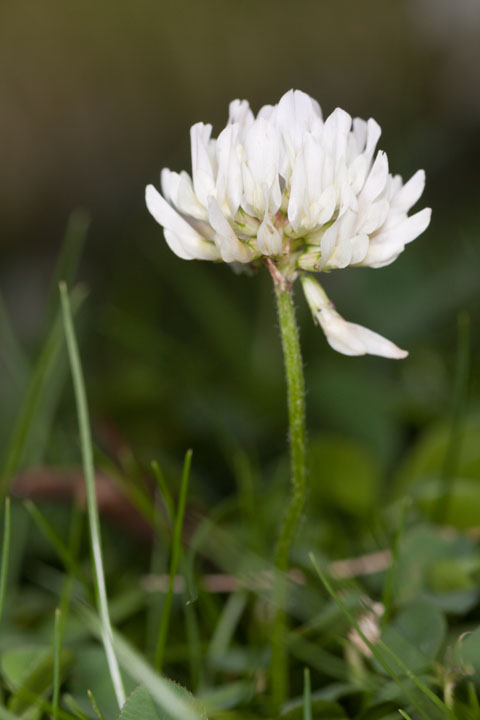
Using flash to light this snowdrop flower resulted in a black background
Placing a background behind the flower gives the background some colorFor larger subjects you can place a sheet of paper that has been scribbled on in natural colors behind the subject. When out of focus this will look like a natural background. If you just use plain colored paper, there is usually not enough variation in the lighting on the background for it to look real. Another alternative would be a natural photo that has been printed out.
If you don't have enough hands to hold the background in place, you can use a small clamp that attaches to your tripod, such as the Wimberley plamp. I have also used a tent peg with plamp, so that it can clamp onto the tent peg instead of the tripod and be used with a tripod at all.
You might need to experiment a bit with the distance between the subject and the false background. Placing the background the same distance behind the subject as the flash is from the subject is a good general starting point. This should result in the background being two stops under-exposed compared to the subject.
-
Move the subject closer to the background. Whether you can actually do this depends on what you're shooting. If you're photographing a garden flower, you might not mind cutting it and then positioning it close to a suitable background. But you can't do that with wildflowers.
What you may be able to do, depending on the flower, and it's position, is to bend the flower over so that it does have some background behind it.
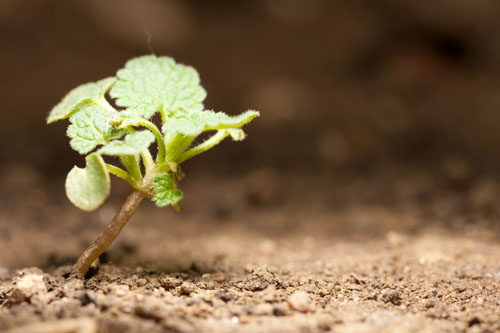
Because the background is some distance away from the grass it appears black when using flash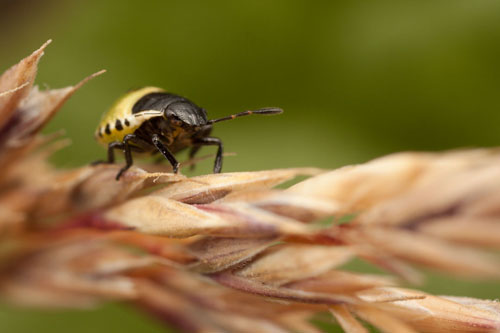
Cutting the grass and holding it in front of a leaf provides a closer background that can be lit by the flashFor lethargic insects resting on a piece of grass, you can cut the blade, and then move them to position them near a good background.
-
Balance the flash with natural light. Lastly, you can reduce the power of your flash so that it is just acting as a fill light rather than the main light source.
You'll need to change at least one of the exposure variables as well, to allow more natural light into the photo. Use a slower shutter speed, and / or higher ISO, and / or larger aperture.

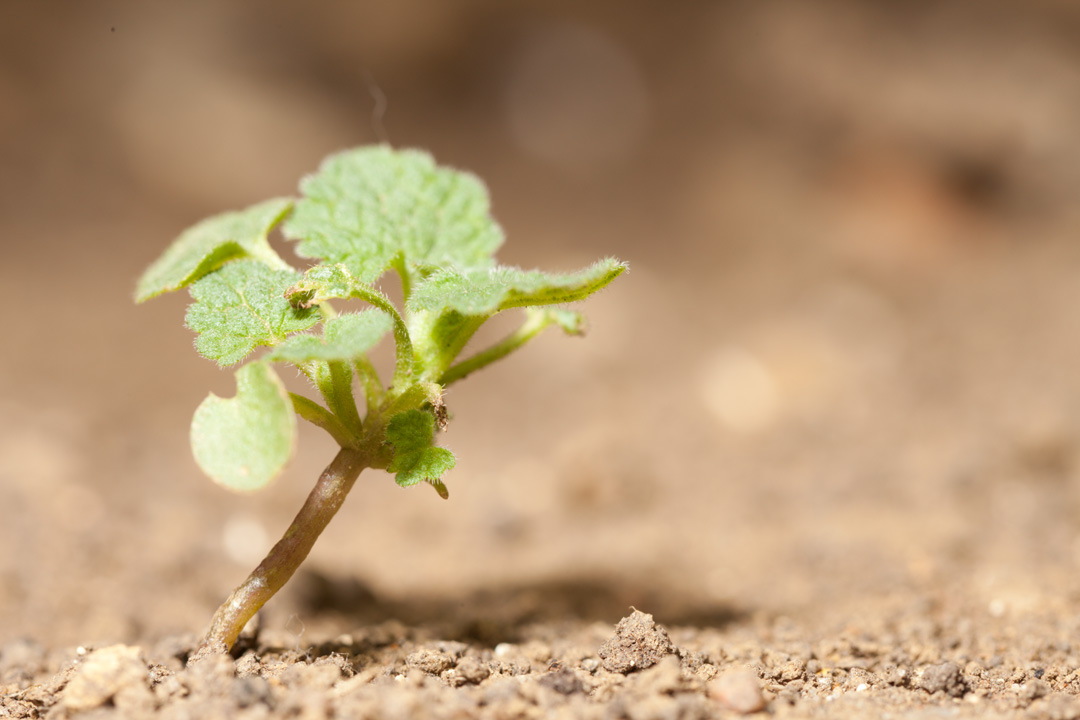
In this image flash is providing the main light, resulting in a dark background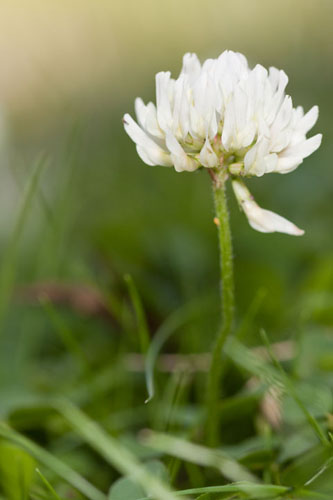
By changing the exposure settings and reducing the flash power, more ambient light contributes to the image, resulting in a brighter background


Combating harsh flash
The softness of light is related to the apparent light size compared to the subject. Moving flash closer to the subject increases the apparent light size, and results in slightly softer light.
Crop of a photo shot with bare flash - notice the harsh highlights

Moving the flash close to the subject results in a small improvement, highlights are smoother and not as harsh. This does result in a darker background though (as discussed above).
Using a diffuser in front of the flash can create much softer, more diffuse light, resulting in less harsh highlights and shadows. As with natural light photography, you may want to consider placing a diffusion panel between your subject and the light source.
You can also purchase mini-softboxes for speedlight flashes (or make your own). These can be used to create a larger, softer light.
For very close working distances, you can attach a piece of vellum paper or tissue paper over a piece of plastic drinks bottle attached to the end of your lens. This then is positioned above your subject, and will diffuse the light of a flash fired through it.
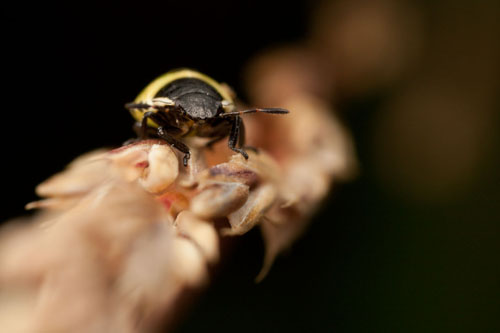
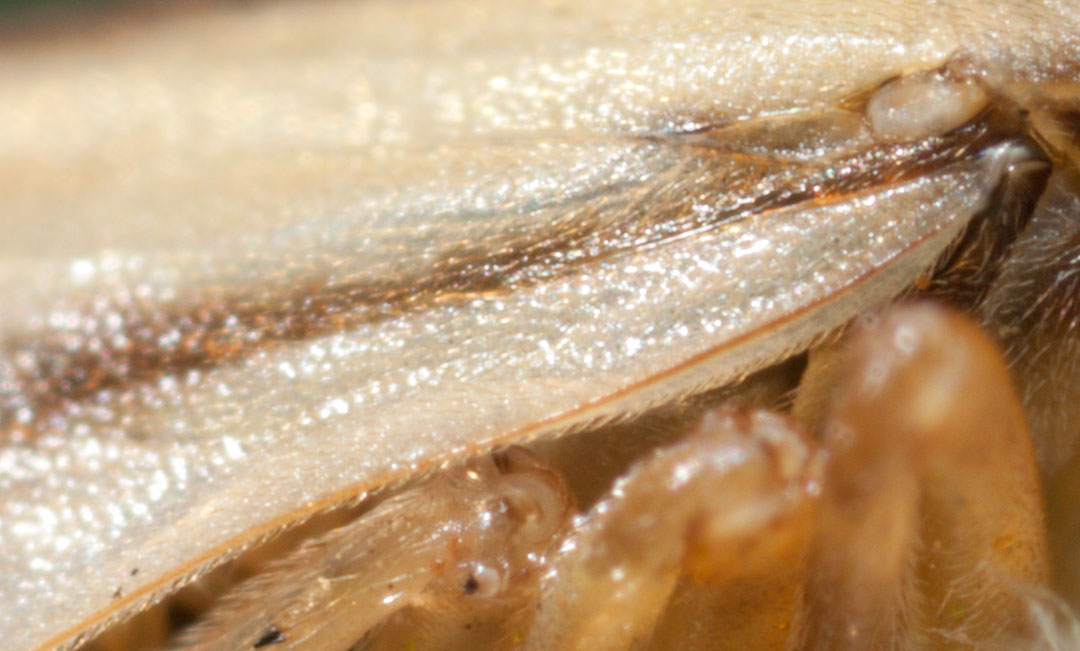
Using undiffused flash results in harsh highlights on the beetle's shell where the flash is reflected.

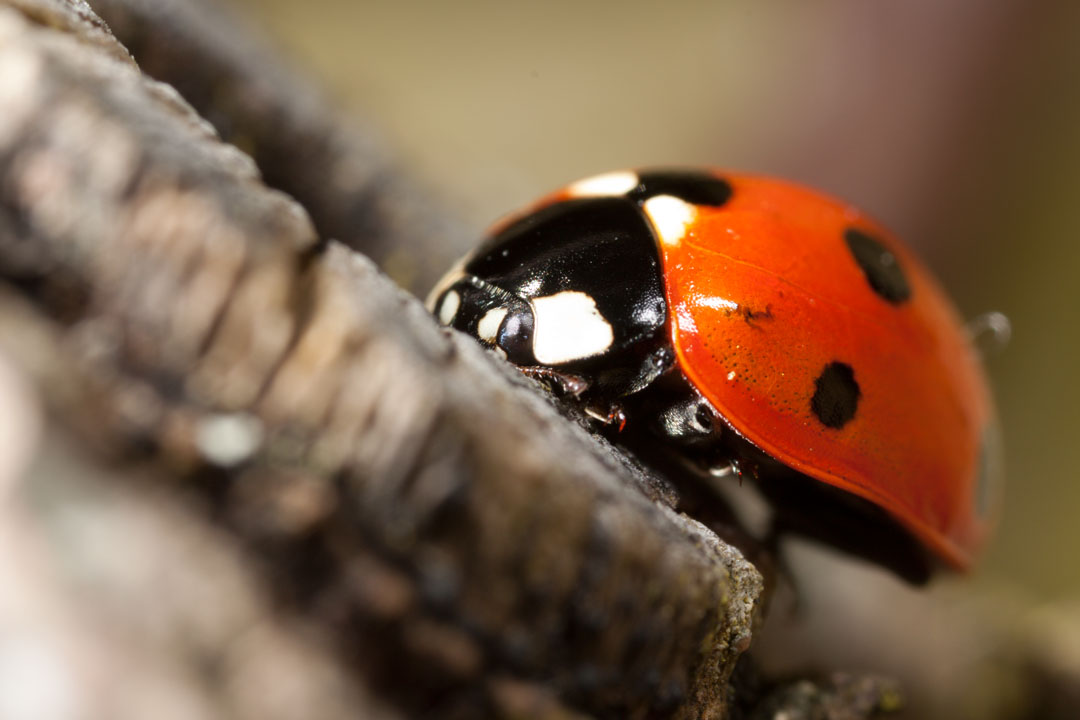
With diffused flash the highlights are much smoother and the lighting is generally more pleasing to the eye
Well, I think that about covers the different solutions to black backgrounds and light quality when using flash for macro and close-up photography. If you have any suggestions or comments, feel free to leave your thoughts below.


Very good article. Thank you. I have been struggling with getting my macro shots in the field to look more natural (handheld with flash) with some of the background included – its mostly dark and not as appealing as I’d like. So I’ll put some of this into practice. Seven years after publishing, still helpful 🙂