Macro & Close-up Photography using a Reversed Lens
If you use an interchangeable lens camera, you can purchase an adapter that will let you reverse mount a lens on the camera. Depending on the focal length of the lens, this can get you a good macro photo. A lens with a focal length of 50mm will give a reproduction ratio of around 1:1 when reverse mounted.

A macro photo of an ant drinking from water on a red leaf - this photo was captured using a reverse mounted lens.
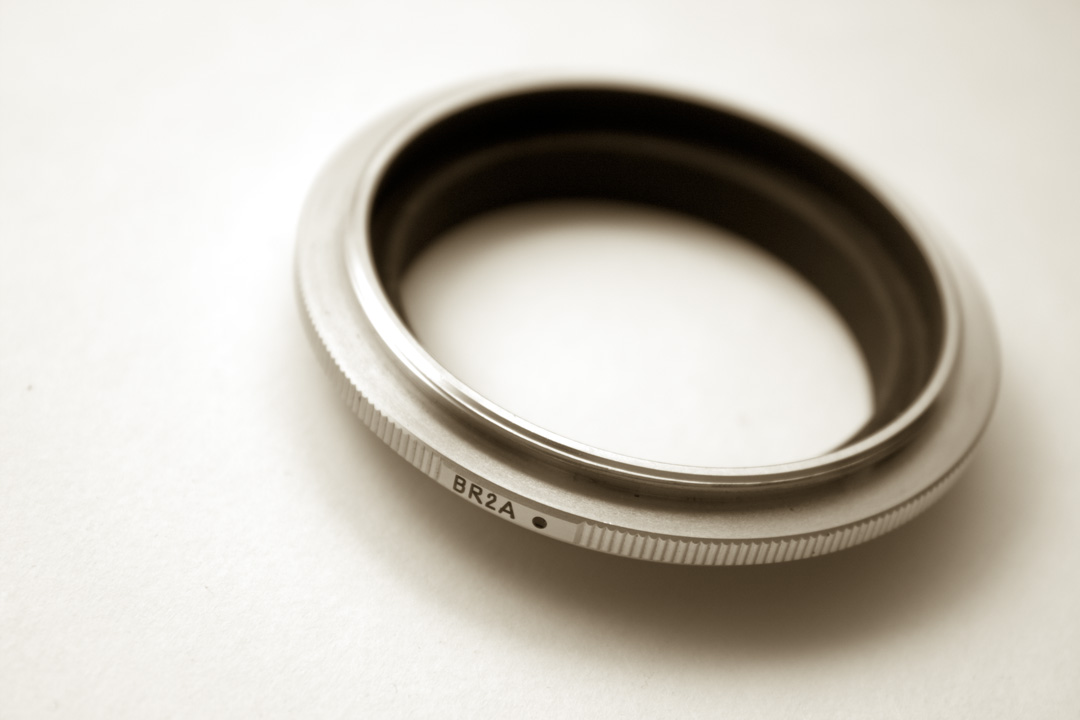
The Nikon BR-2a is an example of a reverse mount adapter for Nikon DSLRs. Similar adapters are available for all interchangeable lens cameras.
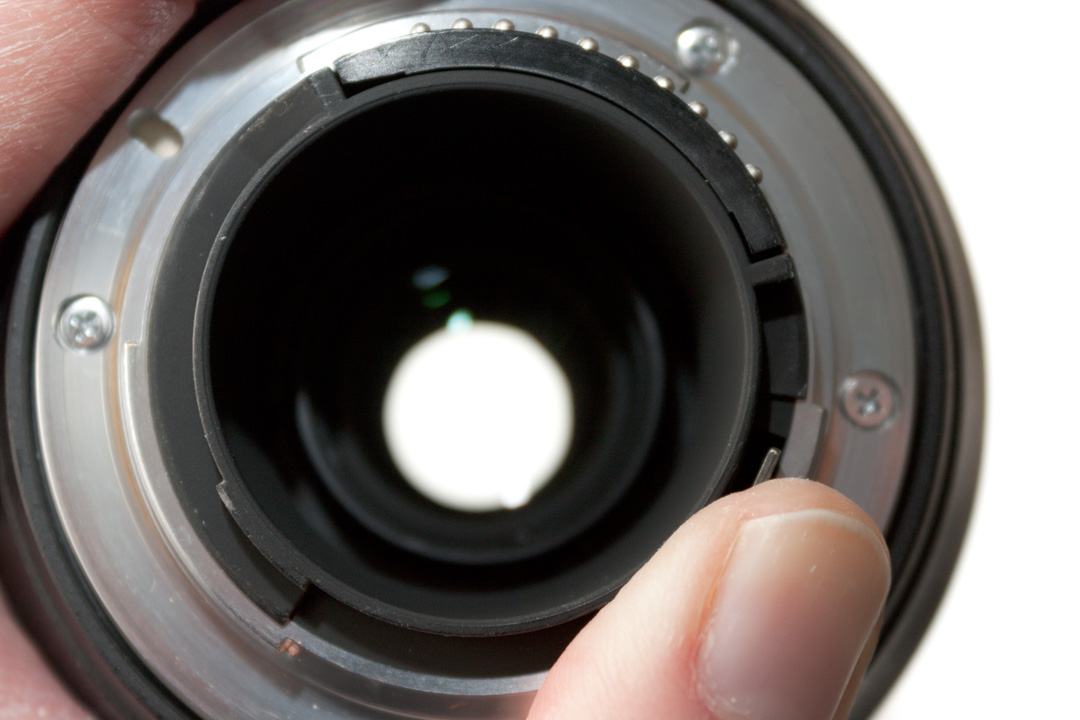
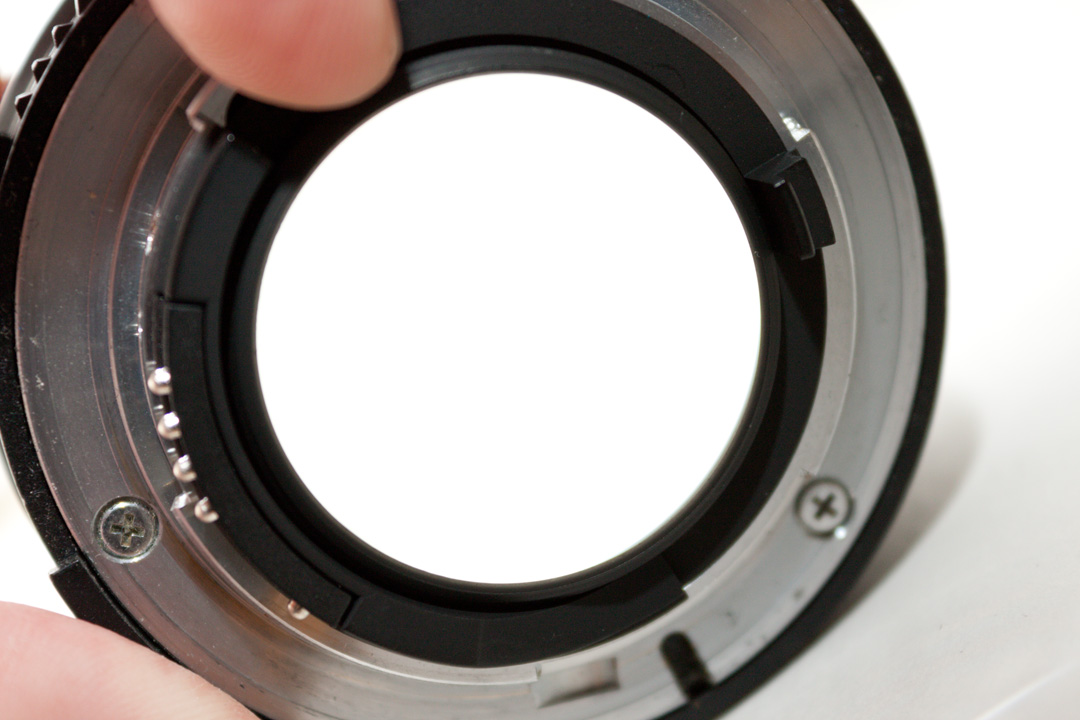
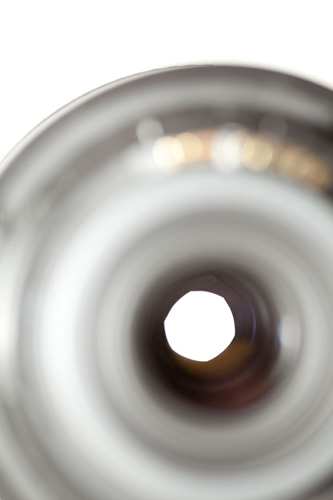
A reversing adapter has a bayonet mount on one side, that fits into your camera's mount the same way as a lens does. On the other side it has a male filter thread. You can then screw the front of your lens onto this filter thread, as if you were mounting a filter onto the front of your lens.
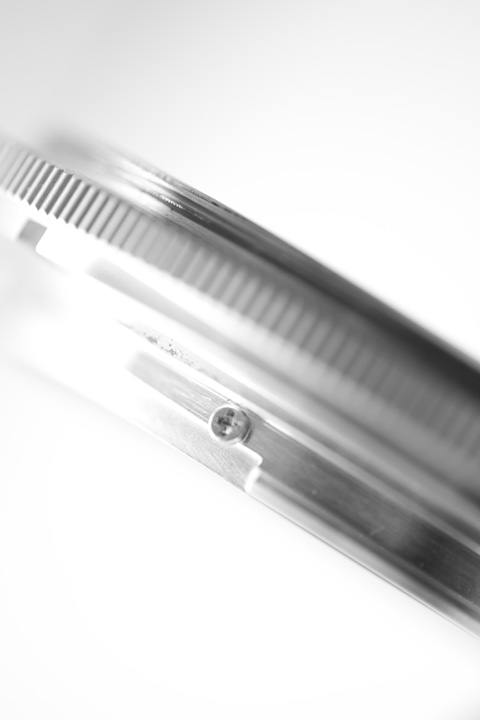
In this close-up image of a lens reversing adapter you can see the bayonet mount that attaches to the camera on the bottom, and the male filter thread that the front of the lens screws onto, on the top.
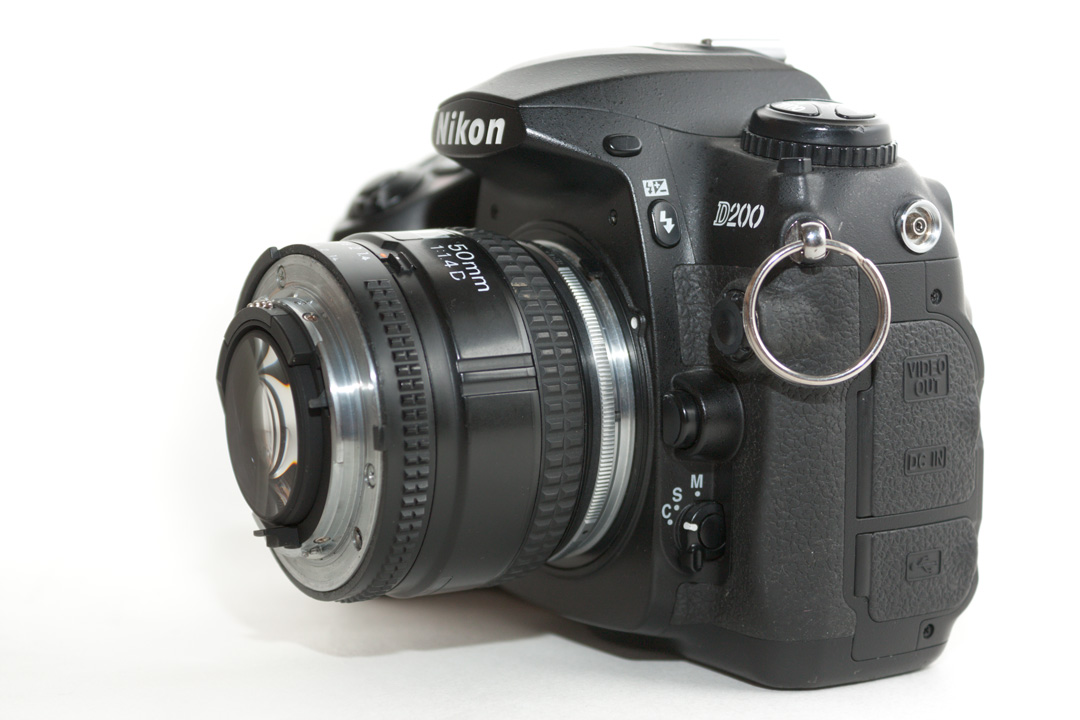
Camera with reversed lens mounted
If your lens has a different size filter thread to the adapter, then you can use a step-up or step-down filter ring. This is just a metal ring with male filter threads on one side of a certain size, which screws into your lens, and a female thread on the other side of a different size, which the adapter can screw into.

For reversed lenses, the wider the focal length, the larger the magnification. Below are some examples. The images were shot using a camera with an APS-C sized sensor, with a horizontal width of 23.6mm. I have also included the working distance, that is the distance between the front (or should that be rear?) of the lens and the subject, for each image.
A 50mm lens will give you about 1:1 magnification (life size).
95mm working distance
A 24mm lens will give you about 2:1 magnification (twice life size).
50mm working distance
A 100mm lens will give you about 1:2 magnification (half life size).
250mm working distance


Controlling the aperture
When using a reversed lens on your camera, you need some way to control the aperture of the lens. This controls both how much of the image is in sharp focus, and how much light enters the camera. Normally the camera would control the aperture mechanism, but since you have the lens reversed, it has no way of doing this now.
If you can't control the aperture, then the lens will either be wide open or stopped down fully (depending on the lens model). Neither of these are completely useless, but they do limit what you can do with the lens.
A lens that has an aperture permanently wide open will have a very shallow depth of field. It might be good for some abstracts, but won't be much good for other subjects as so little of the subject will be in focus.
A lens with the aperture permanently stopped down as far as it will go will have a comparatively large depth of field (in terms of macro photography). This might be okay for some subjects, such as insects. However, your photos will suffer from diffraction softening caused by the small aperture. You will also need a lot of light to capture well exposed images. (I will cover the choice of aperture in macro photography in more detail in a future article).
There are several things to cover with regards to controlling the aperture of a reversed lens:
- Does the lens have a mechanical control that the camera uses to control the aperture?
- Does the lens feature an aperture ring?
- Does the lens use an all electronic interface?
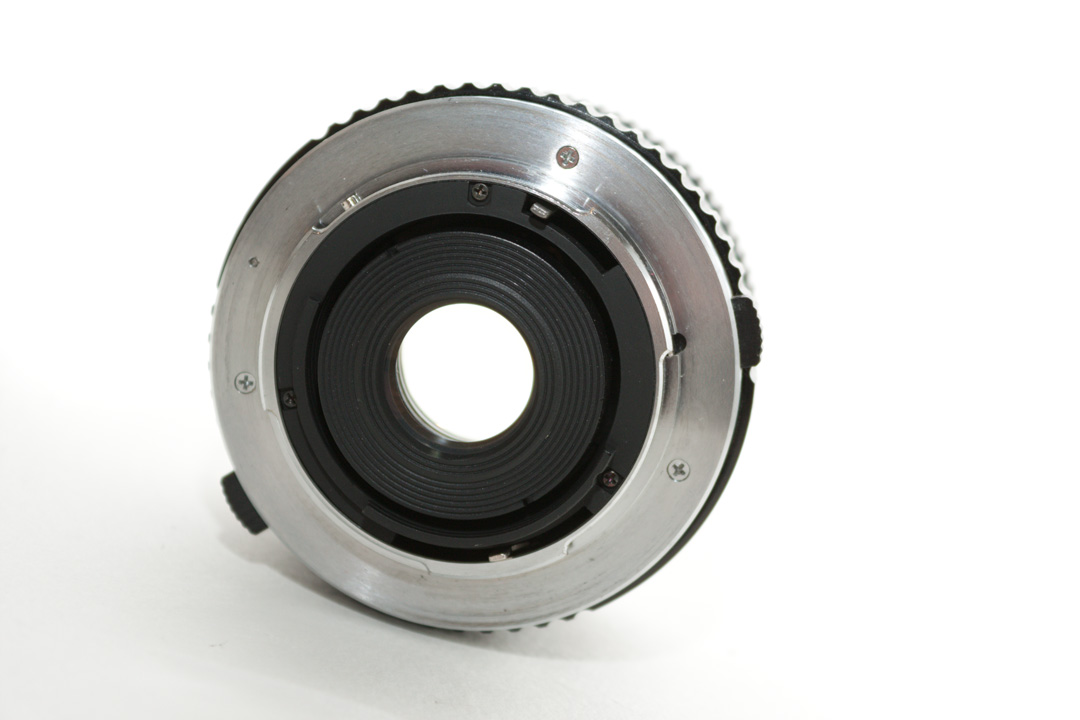
Lenses with an aperture lever on the mount
As far as I'm aware, Nikon F, Sony alpha, and Pentax K mount lenses all have a mechanical control that can be used to control the aperture. I don't own any Sony or Pentax lenses to check them, however, this video shows a notch on a lens cap being used to push a lever on a Sony lens to control the aperture: My cheap Sony Alpha reverse ring aperture solution. And various sources state that Pentax lenses have a lever on the mount side that can be used to control the aperture.

Nikon G type lenses do not have an aperture ring and the aperture automatically stops down fully when not mounted on the camera normally.
The aperture lever on the rear of the lens can still be used to control the aperture though.
If your lens has no aperture ring but does have an aperture lever, you probably won't want to be trying to hold the aperture lever in place while you're taking photos. You can use a small piece of rubber tubing to lock the aperture lever in place. Or tape it in place, but make sure you use tape that won't leave a sticky residue.
Locking the aperture lever in place
I should mention that you are not limited to using a lens that has the same mount as your camera. Since you are reversing the lens, it only matters that the lens has filter threads on the front. The mount of the lens doesn't matter at all. So you can always buy cheap old manual lenses from ebay to use just as a reversed macro lens.
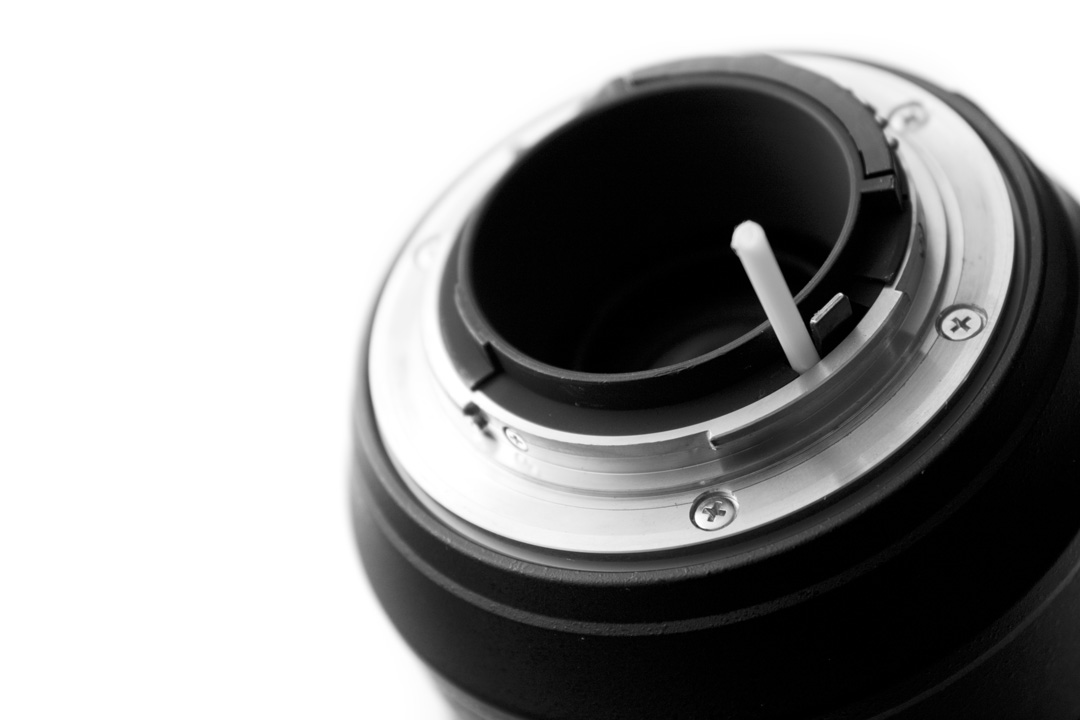
Lenses with an aperture ring
If a lens has an aperture ring (virtually all old manual lenses will, many modern lenses do not), this makes it much easier to control the aperture. It must be a mechanically coupled aperture ring. Some modern lenses feature an electronically coupled aperture ring, which won't work when the lens is not mounted normally.
Controlling the aperture via a small lever on the back of the lens is not very convenient. A lens with an aperture ring allows you to easily set the aperture you want.
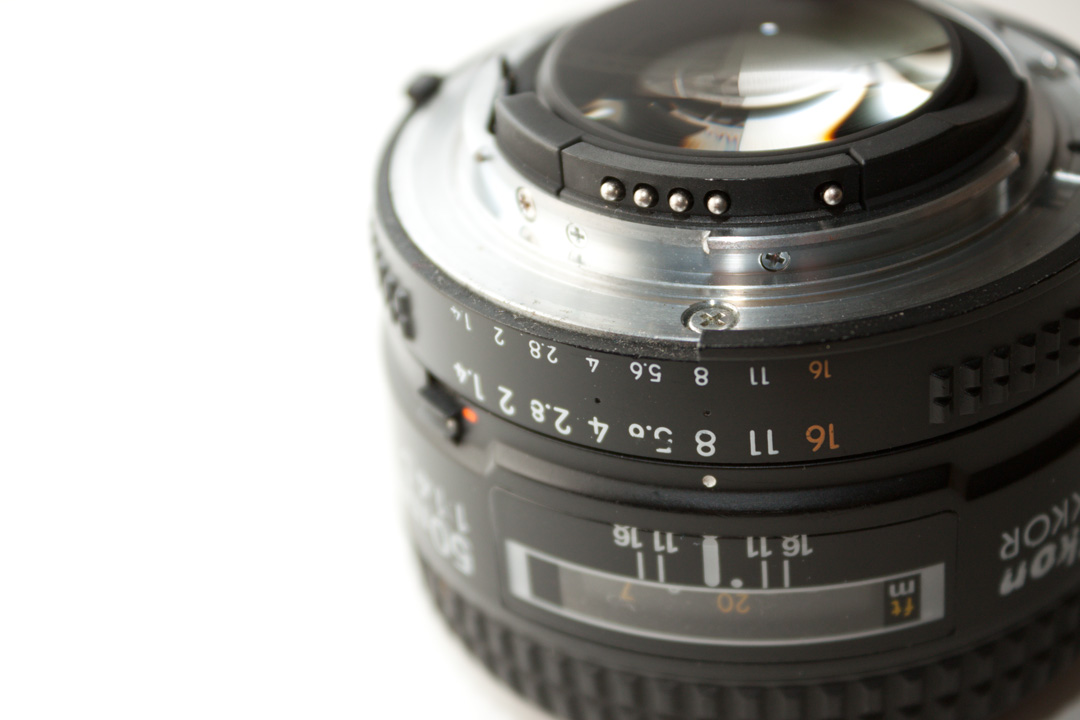
Lens with an aperture ring
Another benefit of using a lens with an aperture ring, is that you can focus with the lens wide open. Then stop the lens down when you take the photo. This means you get a brighter image in the camera's viewfinder, and can also place the plane of critical focus more accurately.
Typically you can do this by setting the aperture ring to your desired aperture. Depending on your lens model, the lens may immediately stop down to that aperture. In this case you can pull the aperture lever on the lens rear to open the lens back up again. Then just release the lever to stop the lens down when you come to take the shot.
Holding down the aperture lever keeps the aperture wide open, giving a brighter viewfinder image, making it easier to focus.

Releasing the lever, the lens automatically stops down to the set aperture (in this example f/8).
On other lens models, you may find that the aperture stays wide open. In this case you then press the depth of field preview button on the lens to stop it down when you come to take the photo.
The lens is wide open normally

Holding down the DoF preview button on the lens stops the aperture down to the set aperture. Note you could also push the lever on this lens model to stop the lens down as well (pressing the DoF preview button just pushes this lever).
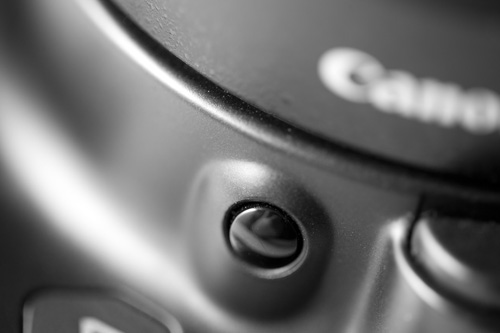
Lenses with electronic mount (Canon)
Canon EF mount lenses use an all electronic mount, and have no lever or aperture ring that can be used to control the aperture. Normally the lens aperture will be wide open when not attached to the camera. However, there is a nifty trick that you can use to set a lens to certain aperture:
Attach the lens to the camera normally.
Put the camera in Aperture Priority (Av) or Manual (M) exposure mode. Change the aperture setting to whatever you would like to use when the lens is reversed, e.g. f/8.
Press the Depth of Field (DoF) Preview button on the camera. (Small round button bottom-right of the lens mount).
While still holding down the DoF preview button, press the lens release button, and remove the lens from the camera.
If you look through your lens, you should now see that the aperture is stopped down.


Lenses by other manufacturers that use an all electronic interface with the camera (e.g. Sony Nex, Micro four thirds) may be useable by mounting them on the camera, setting the aperture you want to use, and then removing the lens. Unfortunately I cannot test this myself, and there does not appear to be much information on the web about whether this works or not.
Camera settings
When you have the lens successfully reverse mounted on the camera, you may need to change a setting on the camera to allow it to take photos. Because the camera does not know a lens is attached, it may refuse to take photos. This is typically the case with Sony cameras. In this case, you need to find the menu item Release w/o Lens
, and change it to enabled.
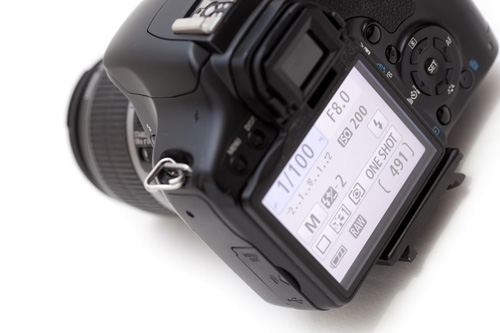
Exposure mode should be set to Aperture Priority or Manual mode. In Aperture Priority mode the camera will set the shutter speed automatically. In Manual mode, you set the shutter speed. This can be particularly useful when shooting with flash, as you can set a fast shutter speed and let the flash illuminate the subject.
Focusing
With a reversed lens, the focusing mechanism on the lens will have little effect on the focus of an image. The focus point is fixed, so you focus by moving the camera nearer or further away from the subject until it comes into focus.
Protecting the rear element of the lens
Bear in mind that the rear element of the lens is quite exposed when using it reversed. (This is another good reason for using a cheap old manual lens - if it does get damaged it doesn't ruin an expensive lens). Focusing distances also tend to be very short, meaning you are more likely to bump the end of the lens into a twig when trying to photograph an insect sitting a bush.
Nikon actually makes an adapter for their lenses that fits on the reverse of the lens. This provides some protection in itself, and also allows you to use filters. So you could use a clear protective filter on the adapter to protect the rear element of the lens.

You can make a cheap adapter like this yourself. Get a rear lens cap (you can find spare ones cheaply on eBay). Cut out the center of the cap. If you would like to be able to use filters, then find a step-down ring that will fit onto the cap, and then glue it in place.
You can now screw the modified cap onto the rear of the lens, which will provide some protection for the rear element.
Working with a reversed lens is not as easy as using a macro lens. The main issue is with DSLR cameras, where you will get quite a dark viewfinder when the lens is stopped down. You can keep the aperture open and only stop down when you are about to take the shot. But when shooting handheld doing this can often result in a small bit of camera movement, which is often enough to put your subject out of focus.
The other issue is that a reversed lens has a fixed magnification (unless you use a zoom lens). So if a subject is too large to fit in the frame, you can't just move back a bit, as then the subject won't be in focus.
While using a reversed zoom lens does solve this problem to some extent (you can vary the zoom to vary the magnification), they are still not as flexible as a real macro lens. If you want to switch quickly from shooting a macro to a much larger subject a few meters away, you'll be a bit stuck if using a reversed lens. You'd have to unmount the lens, then mount it back the normal way round. With a macro lens it's just a case of focusing.

Small caterpillar shot with a reversed lens plus extension tubes
The good point about using reversed lenses is that it is quite a cheap method of macro photography. If you already have a suitable lens for reversing, you can buy a reversing adapter very cheaply from ebay. If you don't have a suitable lens, old manual focus lenses can be bought pretty cheaply on ebay as well.
Using reversed lenses can also give you a chance to try high magnification macro photography. A reversed 18-55mm zoom lens will give you approximately from 1:1 magnification (at 55mm) all the way to 5:1 (at 18mm).


