What is Chromatic Aberration (CA) and how to correct it
Chromatic Aberration can be seen as color fringes, most noticeable near the edge of an image. This is caused by different wavelengths (colors) of light being focused at different points.
In the image above you can see chromatic aberration - a green fringe on the left of the leaves, and a magenta fringe on the right.
This happens because lenses have a different refractive index for different wavelengths of light. So as the light passes through the lens, it can become split, like it does through a prism. The problem is only relatively small, but it can show up in images, particularly if you view them at large sizes.
There are two different types of chromatic aberration:
-
Axial (longitudinal) CA is where the different wavelengths of light are focused at different points perpendicular to the plane of focus. So, for example, green light may be focused correctly, while red light and blue light may be out of focus. Thankfully this is not the type of chromatic aberration you are likely to come across very often.
Axial CA can be difficult to correct, but can be compensated for by using a smaller aperture to increase the depth of field. This ensures the different wavelengths of light all fall within the range of acceptable focus. Also see the section below on purple fringing.
-
Transverse (lateral) CA is where the different points of light are focused at different points within the plane of focus. It results in the red, green, and blue planes having slightly different magnifications, with the differences being greater near the edges of the image.
This is the most common type of CA, and can be easily corrected in software.
How to correct Chromatic Aberration
To correct lateral chromatic aberration, you have a couple of choices. Some modern cameras correct it automatically in-camera, but you will need to shoot JPEG. For RAW files, you need to remove the CA when converting the RAW file. If you shoot JPEG with an older camera, you will need to correct the CA using image software as well.
Most image editing and RAW conversion software feature chromatic aberration correction tools. If you use Photoshop Elements, you'll find this feature is lacking. It can be added through the PTLens plugin ($25).
In most software, you are given 3 sliders, one for each color channel. Then you adjust the slider to correct for the fringe. Once you have determined the settings needed to correct chromatic aberration for your lens, you can save them. Then you can easily use the same settings on all future photos taken with that lens.
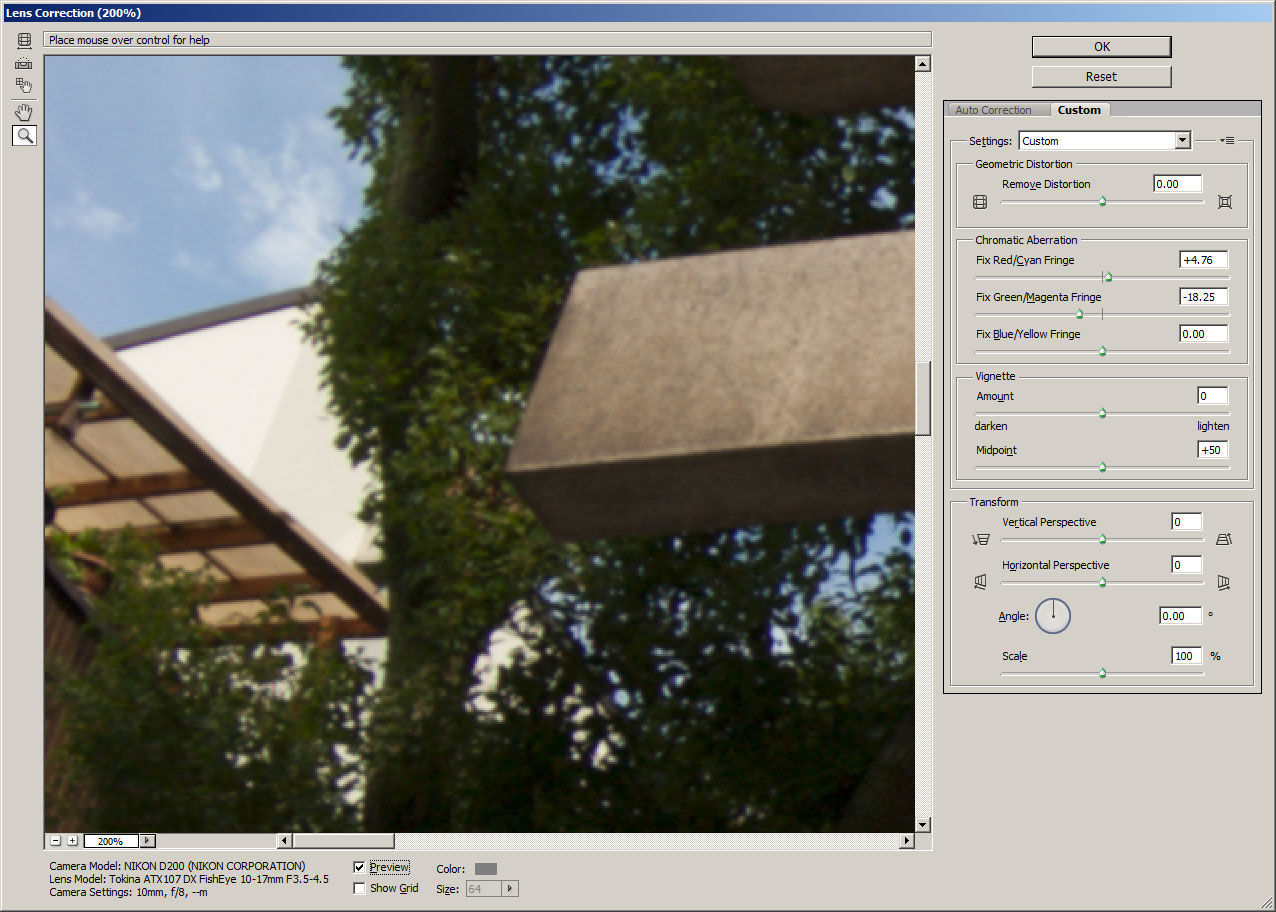
Some companies profile lenses, and record the corrections needed for a lens so that you don't have to figure out the correct setting yourself. Examples of software that does this are DXO Optics, Adobe Photoshop, and the PTLens plugin. The software usually automatically detects the lens used and applies any corrections needed for chromatic aberration.
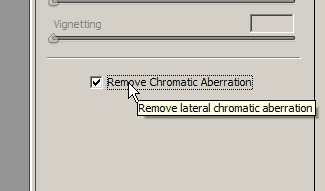
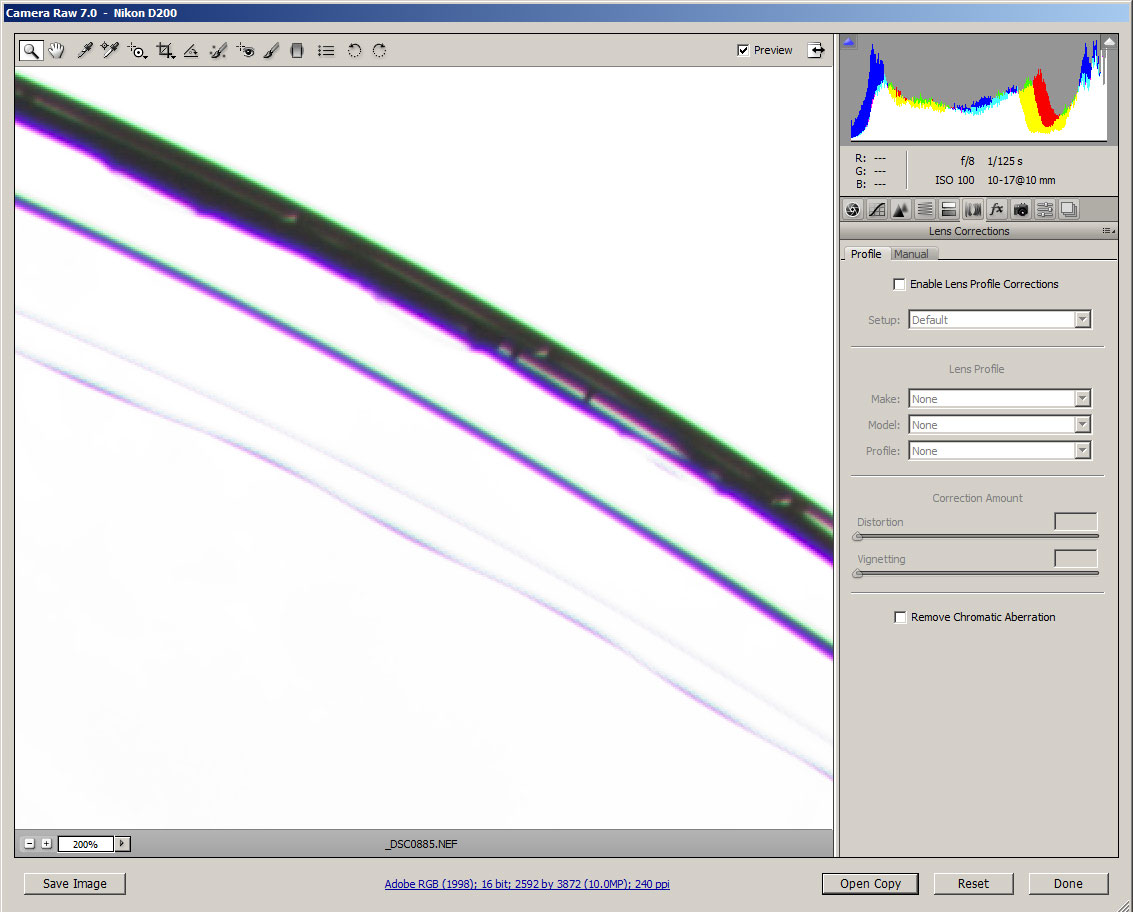
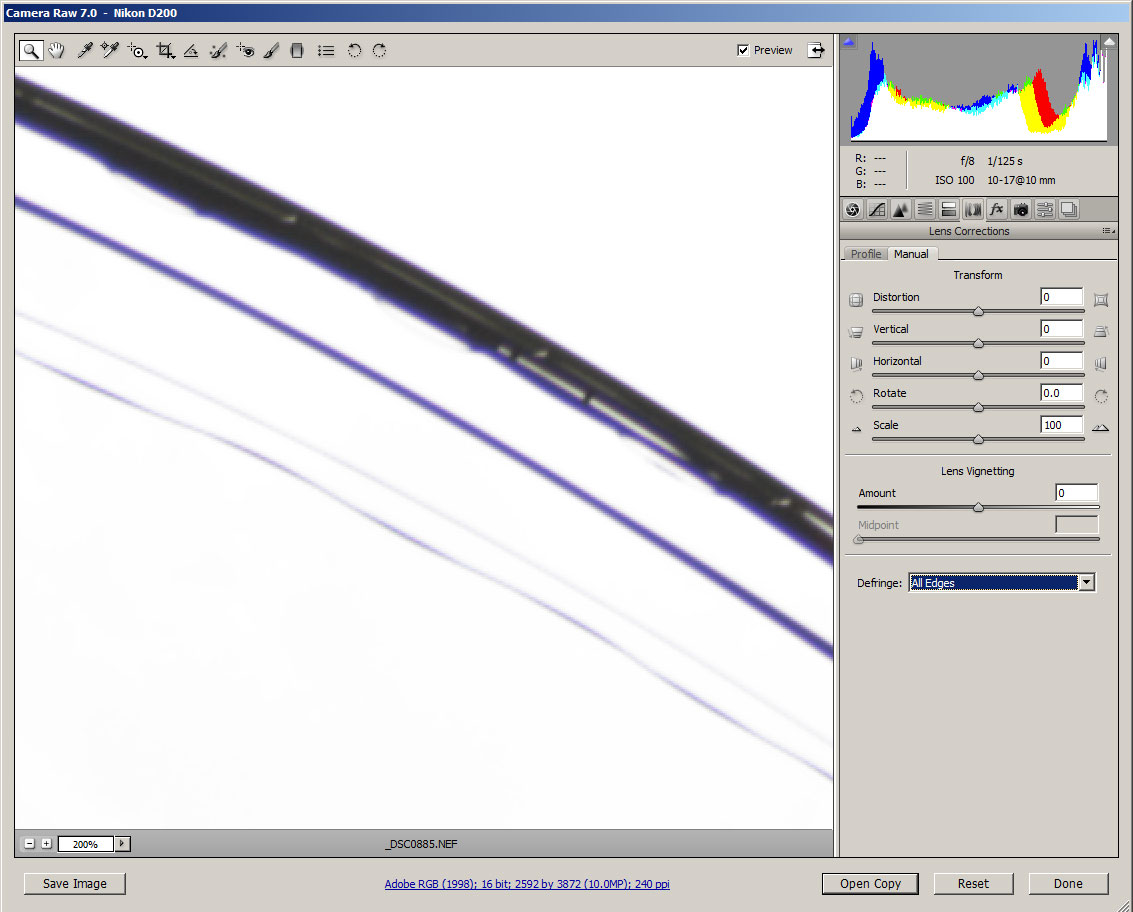
For example, correcting Chromatic Aberration in Adobe Camera RAW is most simple. It just requires ticking the 'Remove Chromatic Aberration' checkbox.
Purple Fringing and how to remove it
Purple fringing is often attributed to axial chromatic aberration. It appears as a purple or blue color fringe along high contrast edges.
Crop of image with no CA correction applied

Crop of image with lateral CA correction applied in ACR - PF still visible
Some software has built-in fringing correction or axial CA correction tools that can be used to reduce or remove purple fringing.
Crop of image with lateral CA correction and defringing applied in ACR - PF reduced slightly
However, I find the best way to remove purple fringing is by using a Hue / Saturation adjustment to desaturate the purple color.

Crop of image with lateral CA correction applied in ACR and fringing desaturated in Photoshop - PF gone
To do this, create a Hue / Saturation adjustment layer. From the drop-down list of colors that the adjustment will affect, change from 'Master' (all) to 'Blues' or 'Magentas'.
Reduce the saturation to zero. I also usually reduce the lightness slightly as well. Now move the color selection slider to target the fringing, until the slider is placed so that all the fringing disappears. I find that normally the adjustment needs to be targeted more towards the blues than the reds.
You can see the process in the video below:
With most modern lenses, chromatic aberration is not particularly troublesome, unless you are viewing your images at large sizes. However, it is quite easy to fix, particularly now that quite a few software packages feature automatic correction. If your software does not allow for automatic correction, you can use the tips above to remove any CA.


