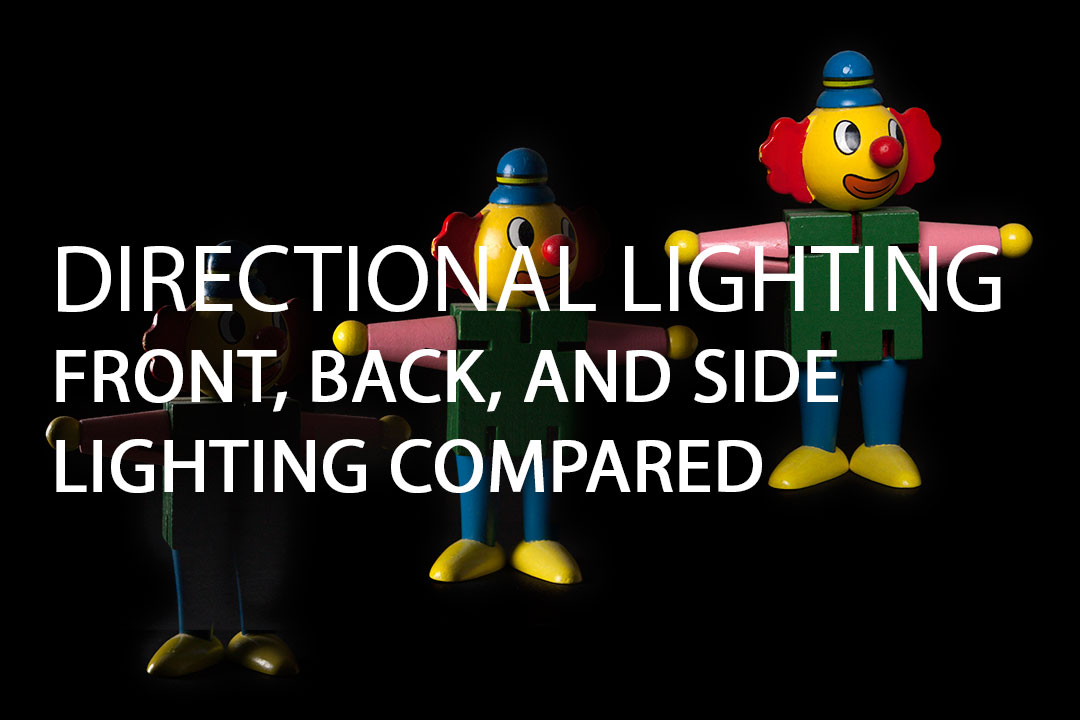
Directional lighting – Front, Back, and Side lighting compared
Lighting is obviously very important in photography. Without light, there'd be no photo. But what you may not realize is that the direction of the lighting plays a large role in the look of a photo.
There are three main directions of light that are purposefully used in photography - Front Lighting, Back Lighting, and Side Lighting. It is these that I want to take a look at in this article.
Creating directional lighting
The direction of lighting can be set by either changing your position relative to the light, or by moving the light source. If you're shooting with artificial light, e.g. off-camera flash, then moving the light to give the directional lighting you want is pretty easy.
If you're working with sunlight, then you're not going to have much luck moving the light source. Instead, you must change your position to put the sun where you want it. The problem with the sun is that at midday you're not going to have much luck. The sun will always be giving top lighting. But earlier in the morning and later in the afternoon, getting side, front, or back lighting from the sun is pretty easy.
One solution to creating directional lighting during the day with sunlight is to position your subject in an area of shadow. This way they are not receiving any direct light from the sun. Then use a reflector to reflect light at the subject, creating the directional light you want. This will require a stand or assistant to hold the reflector in place while you take the photos though.
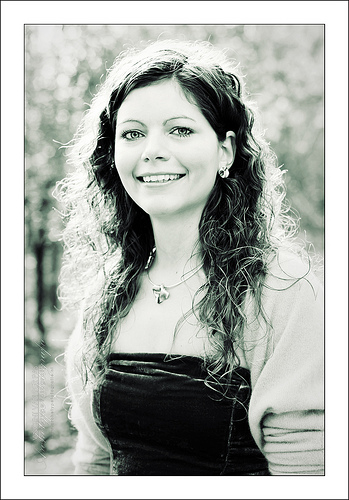
Front Lighting
Front lighting usually gives a relatively 'flat' look, with little shadow. It is not dramatic, rather giving the sort of light we are used to seeing people in.
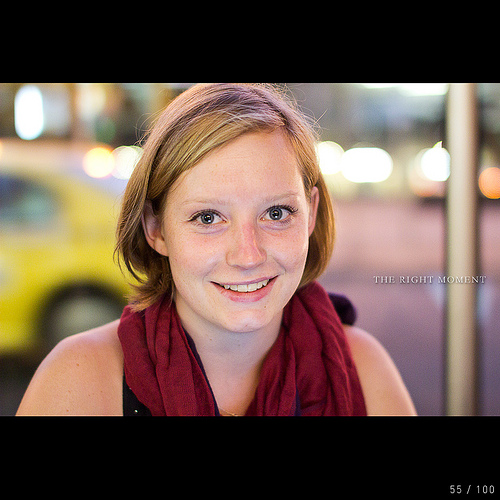
The right moment by Logan Campbell on flickr (licensed CC-BY-SA)
Due to the lack of shadows front lighting gives, it can be particularly useful for photographing older people when you want to de-emphasize their wrinkles. Instead of bringing out the texture, front lighting hides it.
Front lighting can be easily achieved just by using your camera's pop-up flash. Ensure that your subject is not also being lit by another dominant light source (e.g. the sun). If they are, either turn the subject so that the dominant light source is behind them (though not necessarily directly behind), or move them into a shadowed area. Then your pop-up flash will act as the main light, giving front lighting.

Dawn in the shadow using fill flash by Jim Legans, Jr on flickr (licensed CC-BY)
Alternatively, front lighting from the sun can be used early morning and late afternoon. Just photograph your subject so that you have your back to the sun. Be aware that your subject may get squinty eyes from looking towards the sun though. This is why using flash for front lighting is usually preferred.
Back Lighting
Back lighting is not often used as a single light source. As the name suggests, it involves lighting the subject from behind, which will not give any lighting on the front of the subject. So an additional fill light is often used to add some front or side light.
Used by itself, strong back lighting will typically create a silhouette.
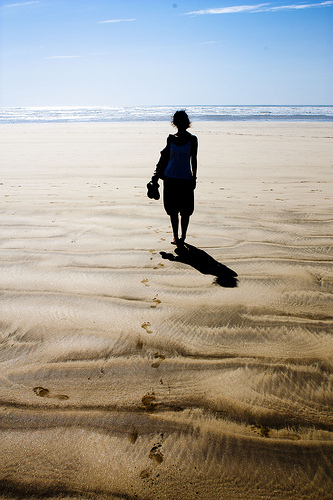
back light silhouette at the beach by Amos Bühler on flickr (licensed CC-BY)
By increasing exposure, you can start to get some detail back on the subject, at the expense of an overexposed background. Using this technique can work well for high key style photographs.
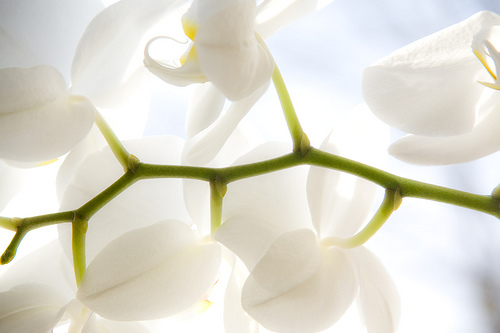
Orchid High Key by kayugee on flickr (licensed CC-BY-ND)
Used with front or side fill-light, back lighting can help give your subject some edge definition, and separate them from the background. This combination of lighting is a favorite of many photographers.
Black and White Classic Portrait by Vincent van der Pas on flickr (licensed CC-BY-SA)
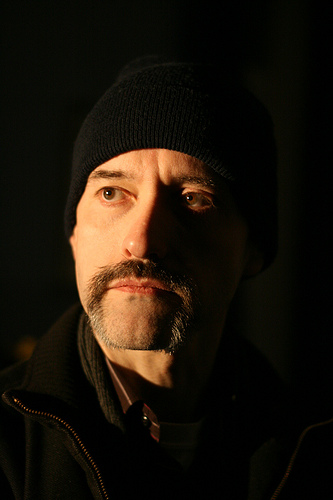
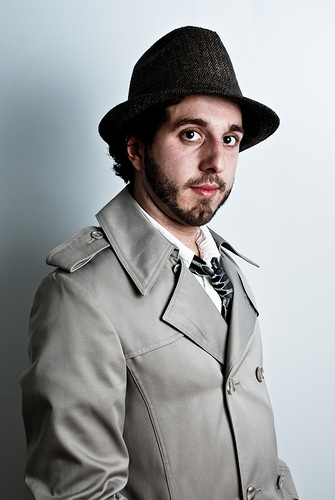
Side Lighting
Side lighting is a good way to bring out the texture in a subject. Lighting from above or below are both technically forms of side lighting. But usually when we think about side lighting we mean lighting from the left or right of the subject.
For more dramatic images with areas of strong shadow, side lighting works very well.
Project 366 #336: 011212 Guerrillero...something by Pete on flickr (licensed CC-BY)
For portrait photography, a point half-way between side lighting and front lighting is often used. That is, the light is positioned at approximately a 45° angle from the photographer. This helps bring out texture and gives areas of shadow, without the shadow areas being overly large or dark.
M. Allaire ~ The Lawyer by Pier-Luc Bergeron on flickr (licensed CC-BY-SA)
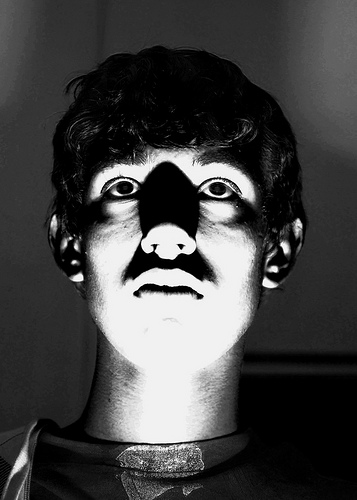
What about Top and Bottom Lighting?
Now, I didn't really mention top lighting or bottom lighting. Top lighting is probably one of the most used forms of directional lighting (taking a photo in the midday sun). However, this tends to be just because its convenient, rather than the photographer purposefully wanting top lighting.

11photo07 by Michael Miller on flickr (licensed CC-BY)
As I mentioned earlier, both top and side lighting are forms of side lighting, and can be used to bring out the texture in a subject.
Bottom Lighting is very unusual, when it is used, it is usually to create an eerie or spooky effect.
Light Below by Josh on flickr (licensed CC-BY)
I hope these examples have given you a good idea of how the direction of light can effect the way a photo looks. Why not try lighting a subject from different directions yourself? Trying something out in person is always a great way to learn.
And when you're done with that, what about mixing it up by using multiple light sources pointing in different directions. You could just use the sun and your camera's pop-up flash. Or add a reflector to act as another light source. Experiment and have fun!


Hi,
I want to say “Thank You” as I am studying photography and needed to complete a visual diary for my class. This page was a big help in learning the difference in the different type of lighting system.
thank you for sharing this page it was very helpful
I agree
Just letting you guys know that someone lifted a pic from here to be rude on FB.
https://www.facebook.com/brenda.ashcroft.980
great and very useful to our studies at university of art
I love this website very helpful for our studies at uni