Museum Photography Tips
Museums can be frustrating places for photography. They contain lots of interesting subjects, but are usually poorly lit and have restrictions on photography. Some museums may have restrictions on certain exhibits or exhibitions where photography is completely prohibited, but allow photography of other exhibits.
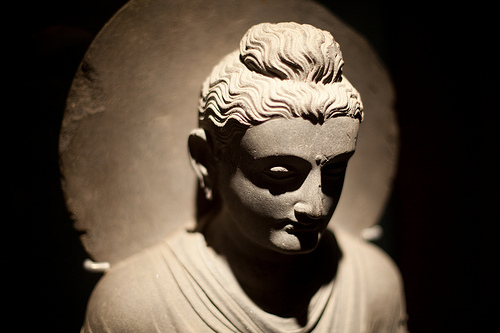
Buddha by eschipul on flickr (licensed CC-BY-SA)
A few museums even ban photography completely. This usually just relates to photography of the exhibits, and photographing the grounds of the museums is usually still allowed. If the museum has an outdoor area, you may find there are large exhibits outside that you are permitted to photograph. Photographing outside exhibits also means you don't need to worry about the poor lighting found inside.
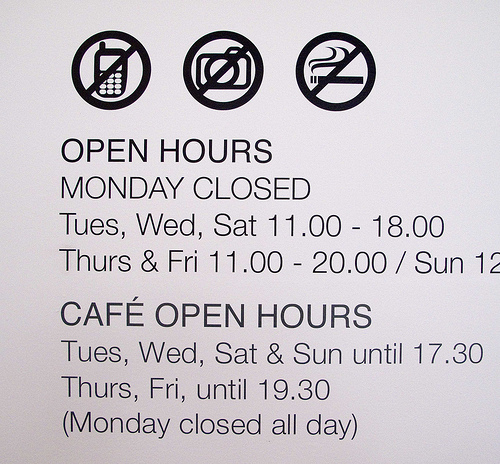
IMG_1706a-sm by Julian Stallabrass on flickr (licensed CC-BY)
A common restriction found at most museums is no flash photography. Along with this, tripods are usually not allowed either. These restrictions just exacerbate the problem of having to deal with the low lighting levels found in most museums.
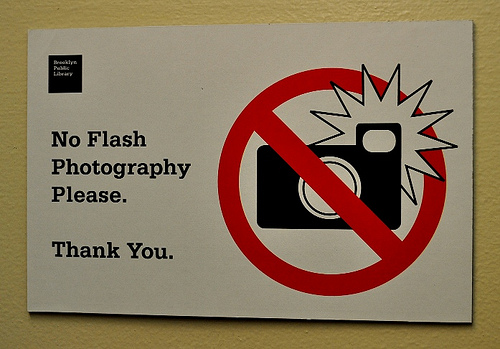
No Flash Photography Sign by Whistling in the Dark on flickr (licensed CC-BY-SA)
Because of the poor lighting, you will very likely need to use a high ISO setting on your camera. The higher the ISO, the faster the shutter speed you can use, and so the less likely your image is to suffer blurring from camera shake.
I would also recommend using your lens at or near its widest aperture. Although lenses are typically not at their sharpest when wide open, and depth of field can be quite shallow, this is preferable to having a photo ruined by camera shake.
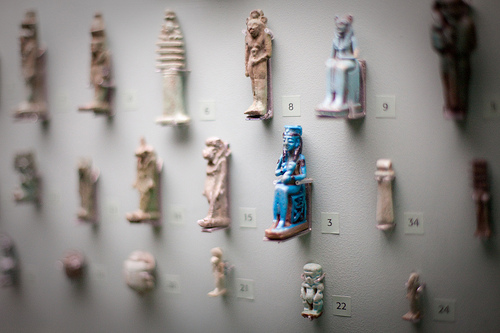
after death by eschipul on flickr (licensed CC-BY-SA)
When taking photos of exhibits in glass cases, try to put your lens right up against the glass. This will work best if you have a rubber lens hood. With a rubber lens hood you can press it against the glass case to create a 'seal' around the lens. This reduces reflections from the glass case, so you can get a much clearer photo.
With a rubber lens hood, the flexibility of the hood also means that you can tilt the camera slightly at an angle (if needed) without compromising the 'seal' between the hood and the glass case. Holding the camera up against the glass also helps to steady the camera, so you are less likely to get blurry shots.
A polarizer can be a handy filter to reduce reflections, however, they do cause a reduction in the amount of light (typically 1-2 stops) that reaches your camera's sensor. With light at a premium in most museums, you are probably better off using the lens hood trick above, or re-positioning the camera until you can get a shot with minimal reflections.
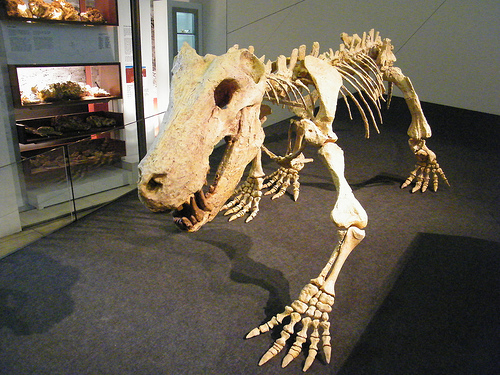
Inostrancevia by zayzayem on flickr (licensed CC-BY-SA)
For taking shots of items where you can't brace the lens against the glass case, try to gain extra support some other way. If there are railings around the exhibit, you may be able to use the railings to support your elbows, giving you a bit of extra stability. Or if there is an empty wall near the exhibit, push your back against the wall to help steady the shot.
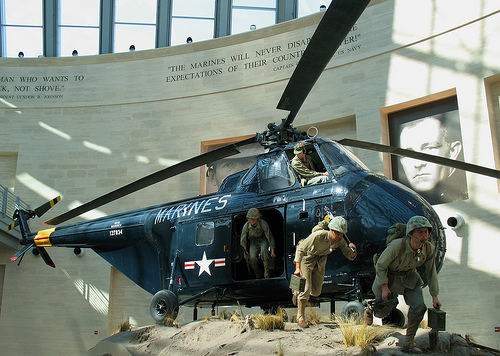
Sikorsky HRS-1 Helicopter by Mr. T in DC on flickr (licensed CC-BY-ND)
Finally, this last tip will not be applicable to most museum photography, but might be relevant if you want to photograph exhibits in your local museum. You can speak to the manager (or keeper) of the museum, and see if they would be willing to let you photograph the exhibits using a tripod and / or extra lighting.
You would probably need to arrange a time outside of the normal museum opening times to do this. If you offer to let the museum to use your photographs for promotional activity for free, then you both get something out of the deal.
They may even let you photograph pieces that are not on public display. Arranging something like this is likely to be much easier with a small local or specialist museum than a large museum.


