Wildlife Photography Tips
Wildlife photography is certainly not easy. It requires a great deal of patience, trying to get close to your subject, or waiting for your subject to get close enough to you for a shot. Sometimes even finding the subject can be a problem! But it can result in some spectacular shots.
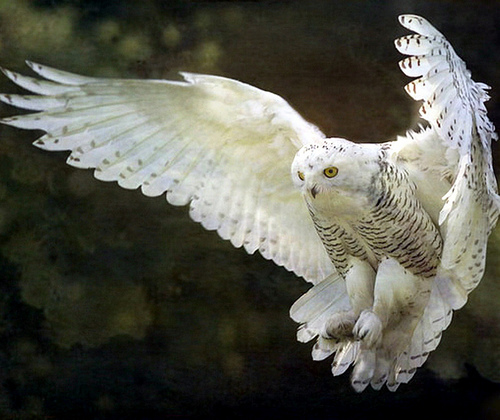
✿ Chouette ✿ by ✿ nicolas_gent ✿ on flickr (licensed CC-BY-ND)
Get close
As with most other forms of photography, filling the frame with your subject often results in a photo with the greatest impact. To do this you will need to get as close to your subject as possible.
One way is try and sneak up on your subject. This can work in some cases, and is probably the best solution for animals that can roam a large area.
For animals that spend their time in a more restricted area (e.g. waterfowl at a lake), then you can position yourself and wait for the subject to get near you. You may need to hide yourself using a blind to get the wildlife comfortable enough to come close to your position.
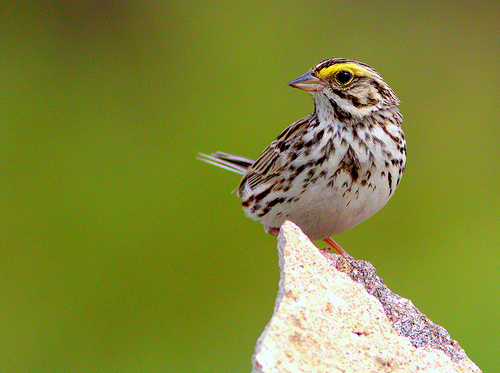
Savannah Sparrow 3-20120506 by kenschneiderusa on flickr (licensed CC-BY-ND)
A blind can be a permanent structure like a bird hide. Or you can use a small purpose-built tent with a hole for the end of your lens to stick out of. Covering yourself in camouflage netting can also work well.
Although wildlife tends to be afraid of people, for some reason they don't tend to be scared of vehicles. So you can also use your car as a blind, just wind the window down and shoot out the window.
However, at some locations the wildlife may be used to people. So you can get close to your subject with no need to dress in camouflage like a special forces soldier.
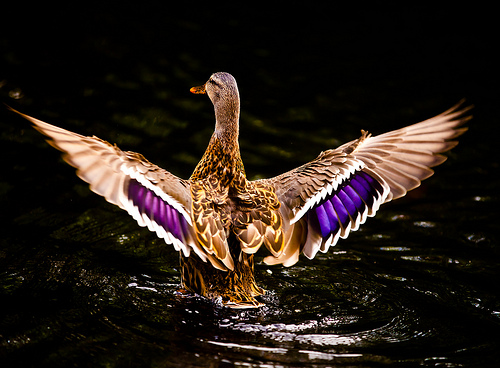
Pinion display by Steve-h on flickr (licensed CC-BY-SA)
It is a good idea to research any locations you visit beforehand to see how tame the wildlife is. You can also check to see if there are any blinds set up specially for viewing the wildlife, and their locations.
Use a long lens (if you can)
The large majority of top wildlife photos are shot using interchangeable lens cameras with telephoto lenses. Although you should get as close to your subject as possible, often this is not close enough for a frame filling shot with a standard lens. A telephoto lens is not a must, but it is highly recommended.
Probably the most popular focal length for wildlife photography is a 500mm lens. This strikes a good balance between size, weight, and reach. Unfortunately a 500mm prime lens will also strike a big hole in your bank balance.
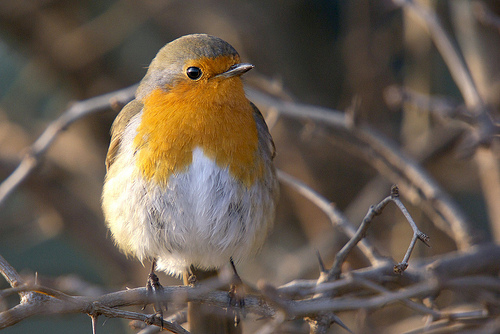
Rouge-gorge by JR Guillaumin on flickr (licensed CC-BY-ND)
As an alternative you can try adding a teleconverter to an existing lens. These act to magnify the image, and are available in strengths such as 1.4x, 1.7x, 2x, and 3x.
However, this is not a free ride, the stronger the teleconverter's magnification, the more image quality will degrade. For this reason many people stick with a 1.4x or 1.7x teleconverter.
Teleconverters are produced by various manufacturers, some better quality (and more expensive) than others. If you have an interchangeable lens camera, you will want a teleconverter that fits between the lens and the camera. For bridge and superzoom cameras you can buy teleconverter add-on lenses that screw into the thread on the front of the camera's lens.
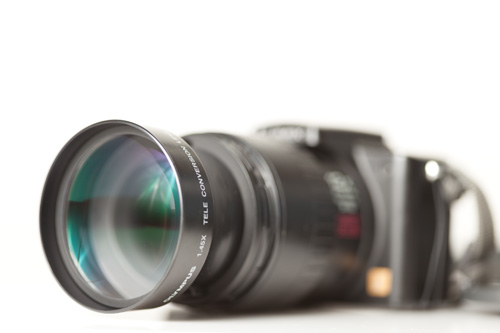
Add-on teleconverter lens attached to a superzoom camera
Most superzoom cameras have a lens that can zoom to telephoto equivalent focal lengths. The quality of the lenses used in these cameras does not compare well with real telephoto lenses, but that shouldn't stop you from getting some fantastic photos.
If you do have a telephoto lens, don't use this an excuse for not getting near your subject. Atmospheric distortions caused by heat can badly degrade image quality, so it is important to minimize the distance between you and your subject.
Use support
Particularly if you are using a large and heavy telephoto lens, using something to support the lens is important. There are two reasons for using support for the lens:
- To minimize up and down movement of the lens that can make framing difficult and cause image blurring
- To stop your arms getting tired from holding the lens / camera
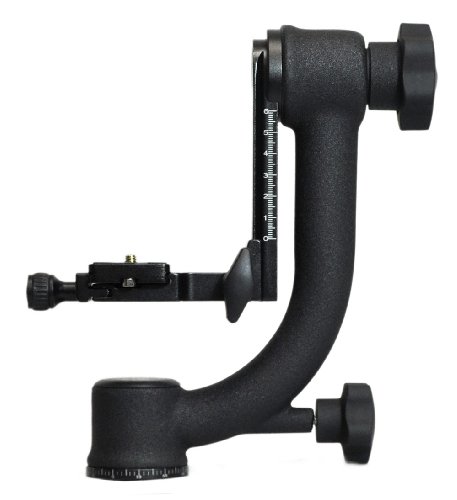
If you use a tripod and have a telephoto lens, then it can be worth investing in a gimbal head. This is specially designed for telephoto lenses, and center's the lens' weight over the center of the tripod. It allows moving the lens freely, and makes adjusting your composition easy.
A monopod is another popular way of supporting a telephoto lens. It does not provide as much support as a tripod, and unlike a tripod you can't leave it standing while you wait for your subject to appear. But it is much easier to move about with, allowing you to more easily follow moving subjects and move from one location to another.

FLaMeNGoOoOo by Najwa Marafie - Free Photographer on flickr (licensed CC-BY-SA)
Finally, you can use a bean bag as a cushion under the lens, and rest it on something. If you're shooting from your car or a hide, you can rest it on the window frame. Or you might just lie down on the ground and rest the lens on the ground for some nice ground level shots.
Use a fast shutter speed
Wildlife is often moving about quite a bit, so it is important to use a fast enough shutter speed to freeze the action. The other reason for using a fast shutter speed is to prevent blur from camera shake.
The longer the focal length (more you are zoomed in), then the more any small camera movements are magnified. A good general rule is that you should use a shutter speed of at least one over the 35mm equivalent focal length of the lens you are using. So, for example, with a 500mm lens, you would want a shutter speed of at least 1/500s.
Early in the morning or late in the afternoon is generally the best time for wildlife photography, both in terms of light quality and wildlife activity. But because the light is not as strong at this time of day, then you will probably need to use a high ISO value to get a good exposure while using a high shutter speed.
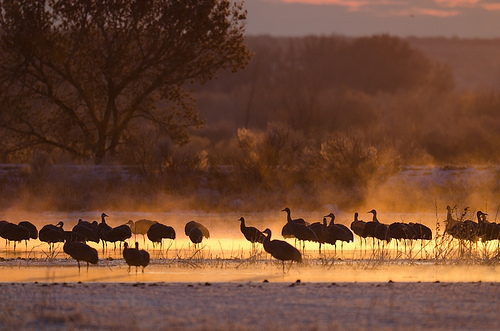
Bosque Cranes by TuckerH586 on flickr (licensed CC-BY-ND)
As far as the aperture setting goes, use a setting of wide open, or close to wide open. This allows more light into the camera so you can use a fast shutter speed. It also provides a shallower depth of field, and so better subject separation from the background.
Make sure you know how your camera / lens combination performs with the aperture wide open though. Some lenses have a significant improvement in image quality when the aperture is closed down just one or two stops from wide open. In this case it is better to shoot with the aperture closed down slightly and get the better image quality.
Learn about your subject
Learning about your subject(s) is very important in Wildlife photography. By learning about the habitats of animals, what they like to eat, when they're active, etc. you can use your knowledge to give you a greater chance of getting the shot.
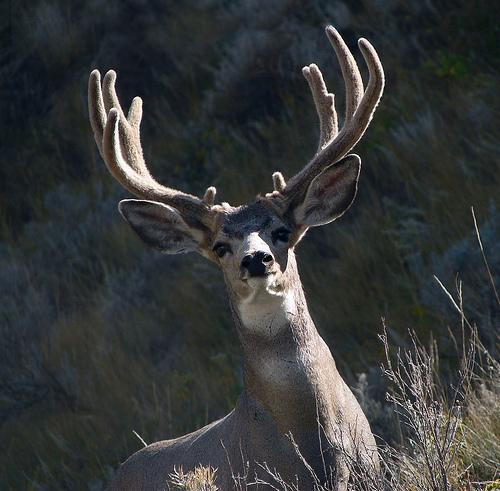
I Think He's Noticed Me by Furryscaly on flickr (licensed CC-BY-SA)
This is most important if you are looking to get photos of a particular species, but is still important if you are just looking for photos of any wildlife.
For example, you might visit a location with both a fruit orchard and a lake. You need to decide which area will give the best photo opportunities. By using your knowledge of wildlife, you can look at the local habitat, the time of day, and make an informed decision on which area is likely to be the most productive.
A final point is that you must always put the welfare of the wildlife before your need to get a shot. Don't annoy the animals, and be particularly careful if you are setting up near an animal's nest or den.


My favorite part of this article is filling the frame with your subject, like with most other types of photography, frequently results in a shot with the most impact. Someone recently told me about this and it is different from what I understand. Thanks for helping me understand wildlife photography.