How to give your photos a painted soft dreamy look
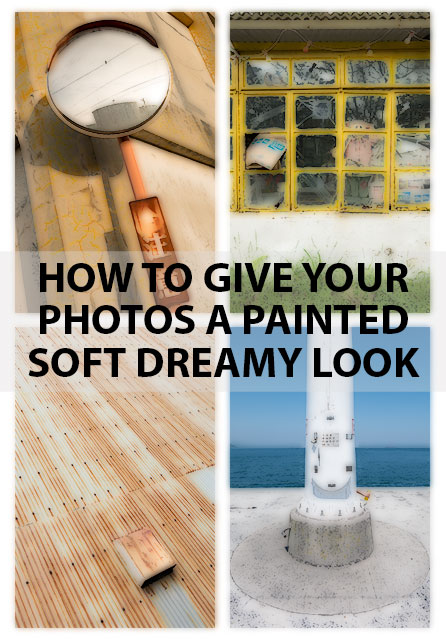
I recently came across the work of photographer Hiroshi Kamakura, and was intrigued by the unusual style of his photography. He has photographed ordinary everyday objects and scenes, using an old compact camera, then processed the resulting images to give a soft painted look to them.
Unfortunately, other than a few old articles on the web, I wasn't able to find out very much about Hiroshi Kamakura or the processing technique he uses. However, there are a couple of techniques that give similar results, which I'll share in this article.
Using the darken blend mode in Photoshop / GIMP etc.
Open your photo in your image editing software, and then duplicate the image to a new layer. In Photoshop, you can do this by selecting the image layer in the layer palette, then pressing Ctrl + J (PC) / Cmd + J (Mac) on the keyboard to duplicate the layer.
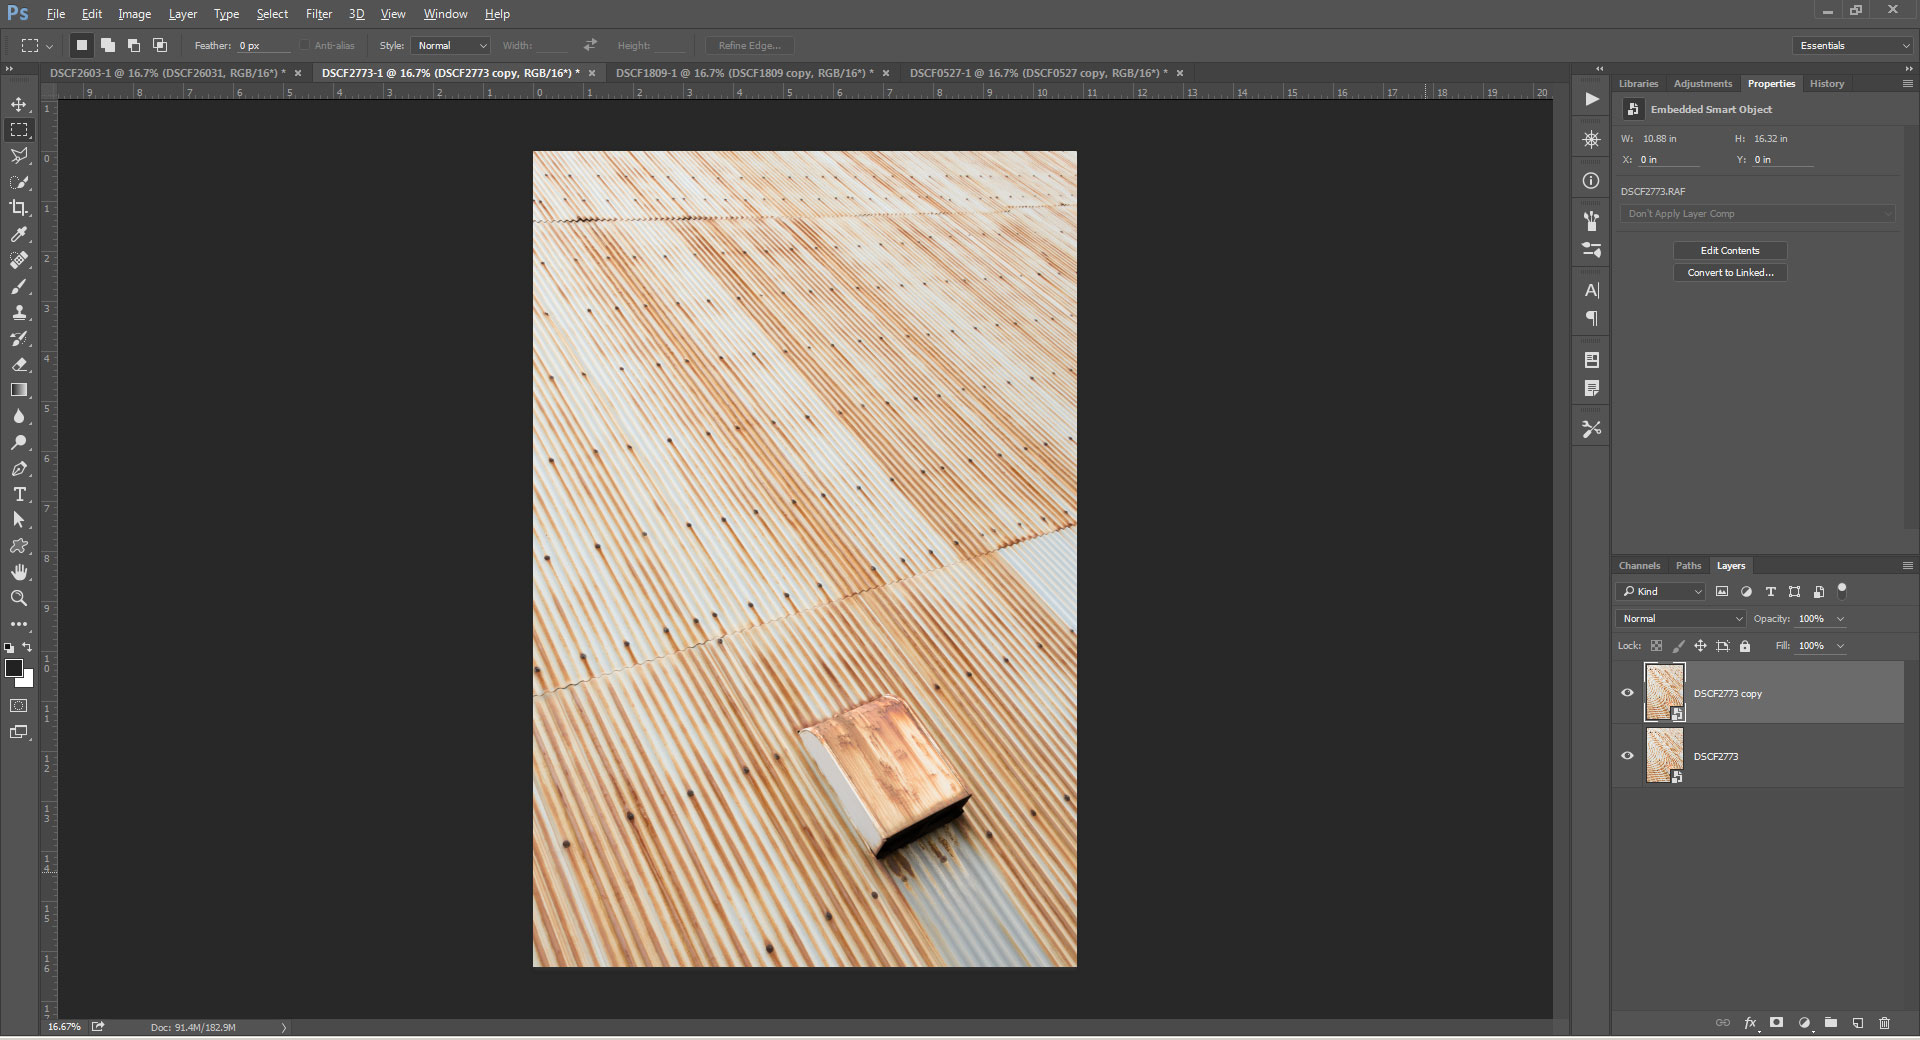
In the layer palette, select your duplicated image layer. Then apply a Gaussian blur - on the menu go to Filter > Blur > Gaussian Blur...
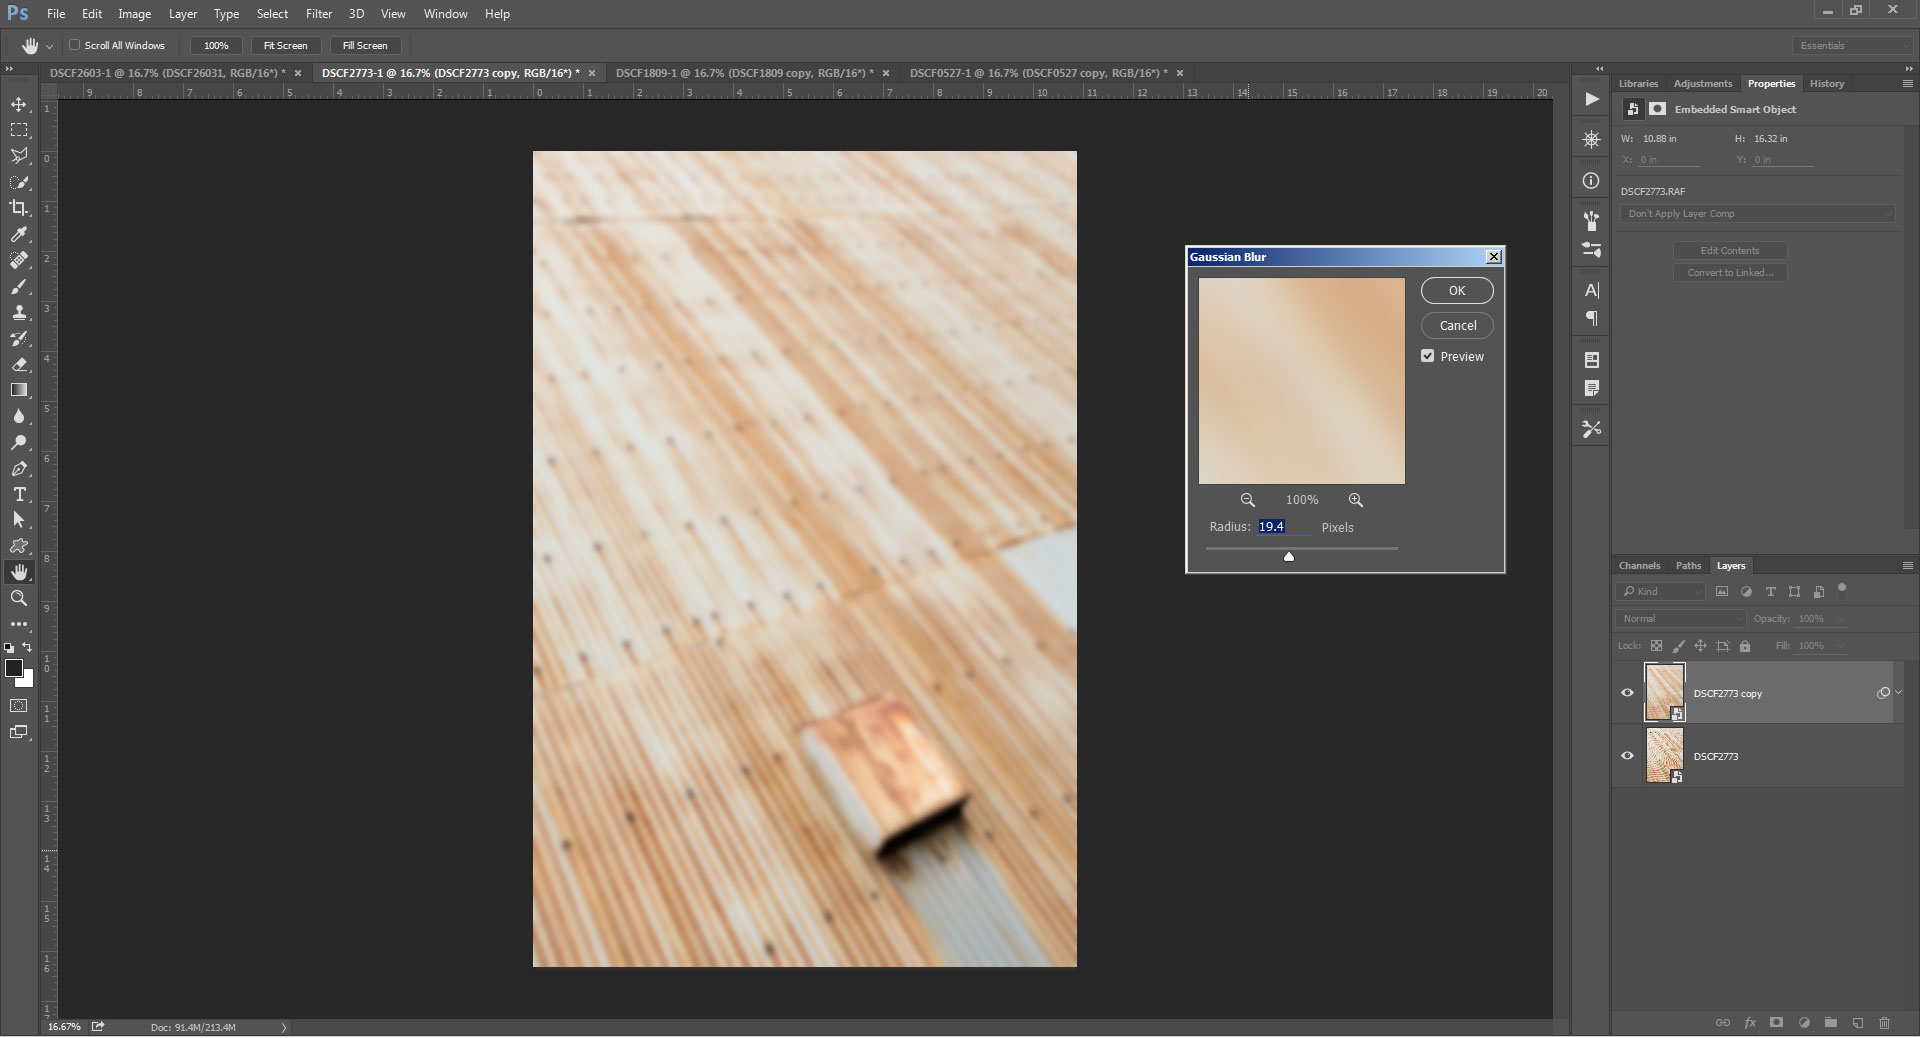
How much blur to apply depends on how large your image is. You want enough blur to remove details, but not so much that you can no longer tell what the photo is of. The photo I'm using here is 16 MP, and I'm using a setting of 19.4 pixels in the Gaussian Blur options.
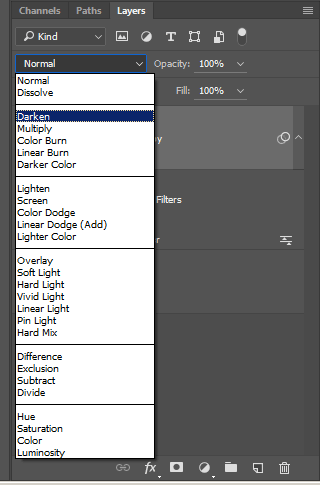
After applying the blur to your duplicated layer, change the layer's blend mode to Darken. In darken blend mode only the pixels that are darker on that layer than the pixels in the layer(s) below show up.
The resulting effect looks half painting, half photo.

I believe this is very likely the technique that Hiroshi Kamakura used when processing his photos. However, whether it is or not is really irrelevant - what's important when evaluating a technique is simply whether you like the results it gives for your own photography, or not.
Using negative clarity in Lightroom / ACR etc.
Using negative clarity doesn't give the same result as a duplicated blurred layer in darken blend mode. However, it does still give a somewhat dreamy painted look to a photo. And it can be applied in most RAW conversion software simply by adjusting a single slider. No need for Photoshop, and no need to save the resulting image as a separate layered file.
Depending on your image editing software, the clarity setting may be labeled as local contrast, tonal contrast, or dynamic contrast. You want to adjust this setting to a strong negative value.

While I certainly wouldn't want to use this effect on all my images, it is a look I find quite pleasing and may want to apply for certain images. Without seeing the work of Hiroshi Kamakura, I probably would not have considered using a soft / painted look for photos of everyday objects and scenes. However, I think the technique can actually work well for this subject matter.


